We’ve written quite a bit about our inspiration and finish but it’s time to talk about the overall DIY bathroom vanity project.
This was the final project that finishes off our bathroom revamp after we refreshed the tub area, modernized the wainscoting and replaced the medicine cabinets and vanity lights.

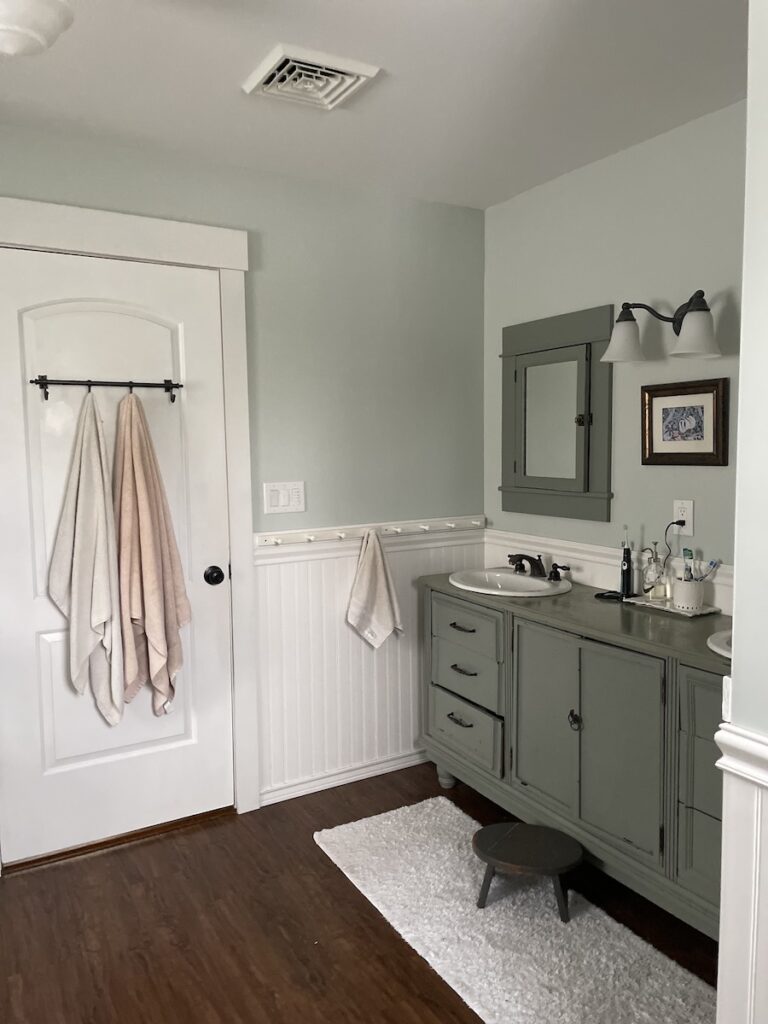
We’ve come a very long way from where we started. The original bathroom was cottage inspired with blue walls, white wainscoting and a vanity that started black and then was painted a few times.
The vanity was a refurbished cabinet that I bought off craigslist for $100 and made into a double vanity. When we were building the house, not having to spend thousands on a double vanity was great. Overtime as it chipped and warped and drawers broke it was … less great.

Coming to a design that would go wall to wall but still be symmetrical was a challenge. The total space is a little over 7′ and trying to get the sinks in the right place was rough. We wanted enough space between them but not so far that they were shoved up against the wall with a large cabinet in between.
DIY bathroom vanity builds should be mocked
No, that’s not a hot take about other DIY folks, it’s a helpful tip.
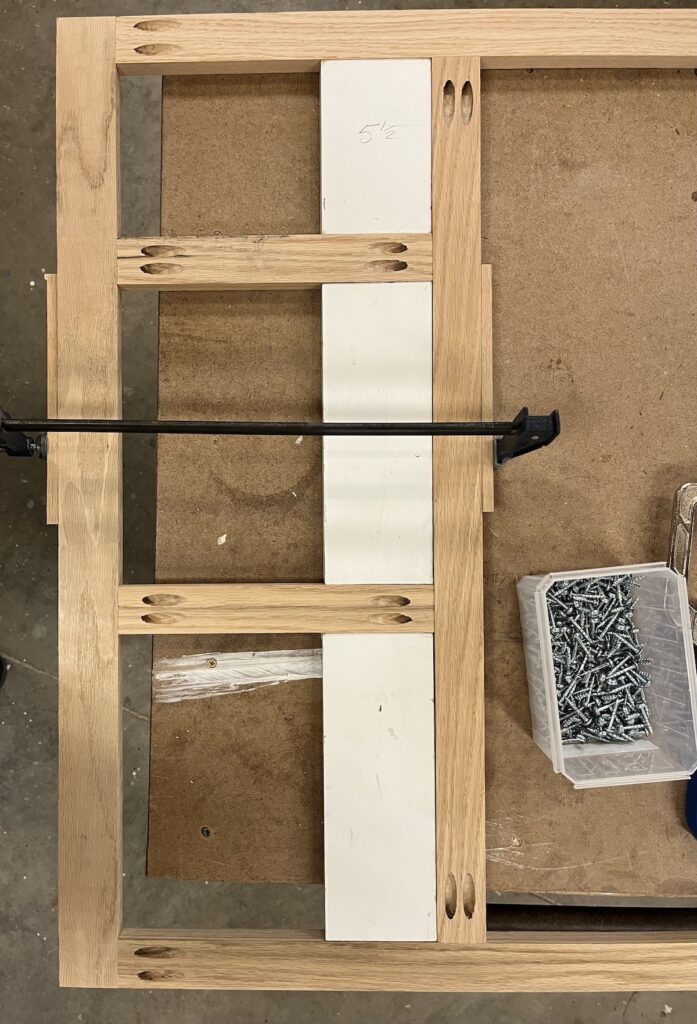
Once we had a design sketched out, the very first thing I did was to use some scrap wood to build a mockup of the frame. Anything in my shop was game and it was homely to say the least.
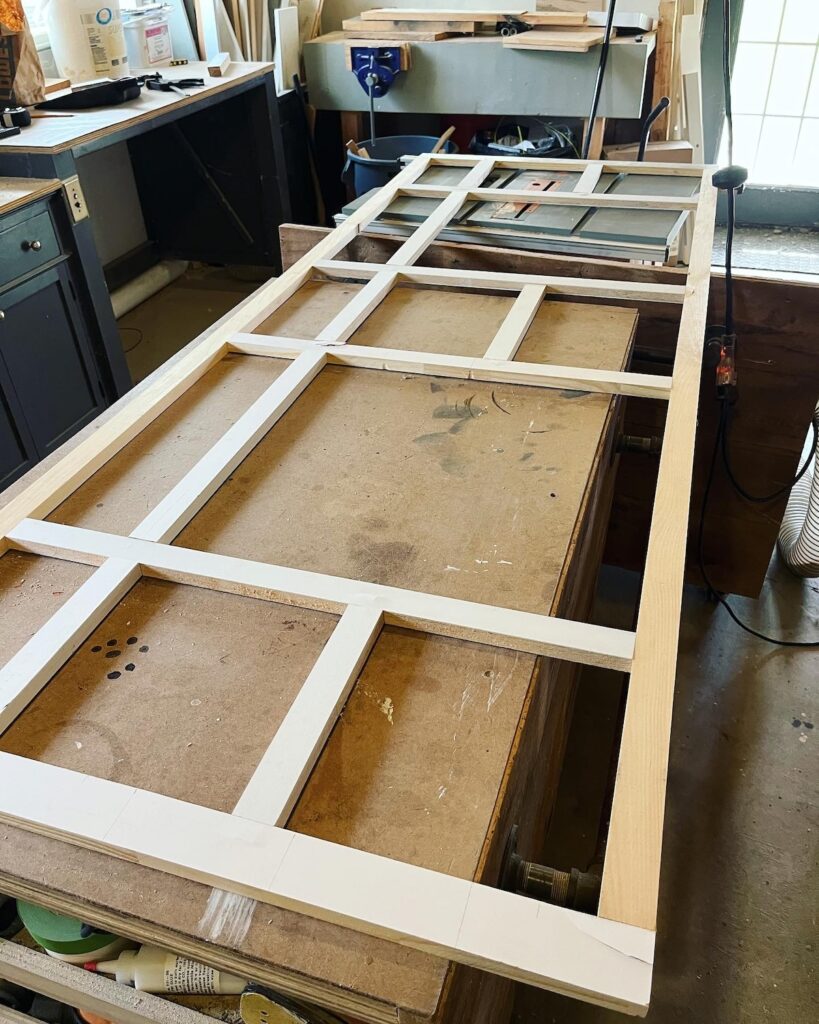
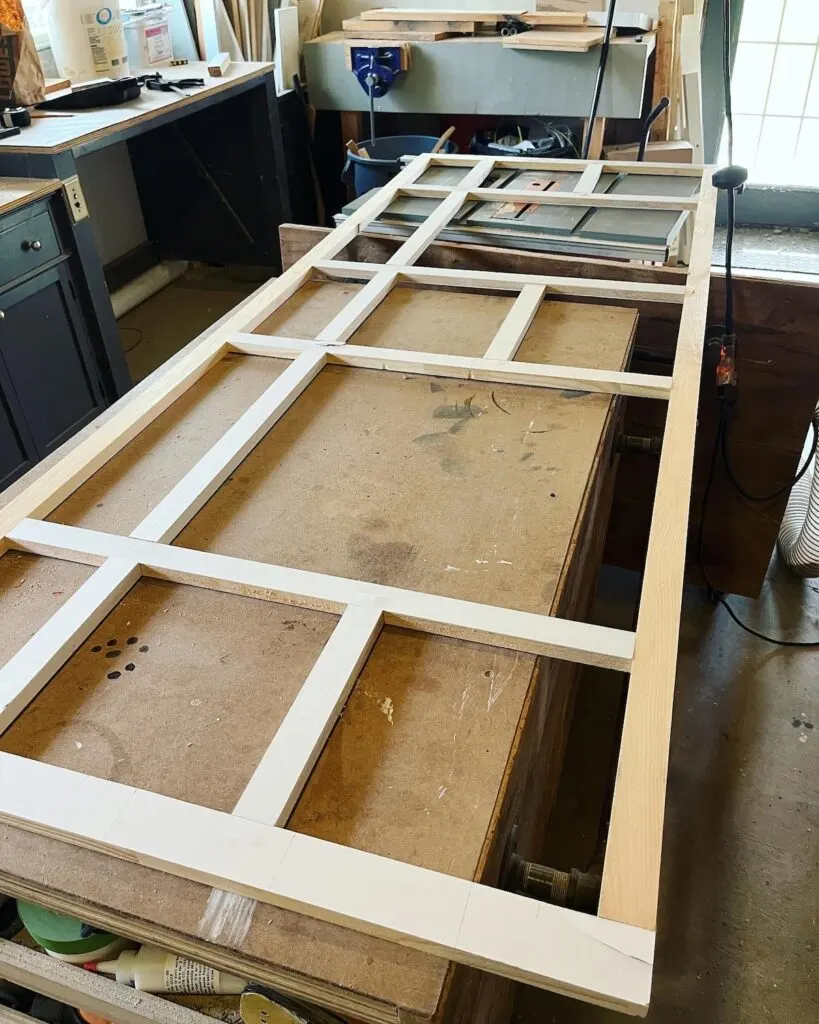
This mockup allowed me to see exactly how it would fit in the space, how big drawers would be, etc. The relative size and distance of everything in terms of the drawers, doors, medicine cabinets, lights, etc. was very hard to see, even in computer drawings.

I was nervous about working with stain grade wood. I even cheaped out and went with red oak, which took a significant amount of bleaching and futzing to get to something approaching a non-pink blush-stravaganza.
If I had a do over on that, I would have just picked white oak or ash. Originally I had grand dreams of using red oak plywood and having all the drawer boxes and cabinet boxes match. Somehow in my head doing that was better? I don’t know.
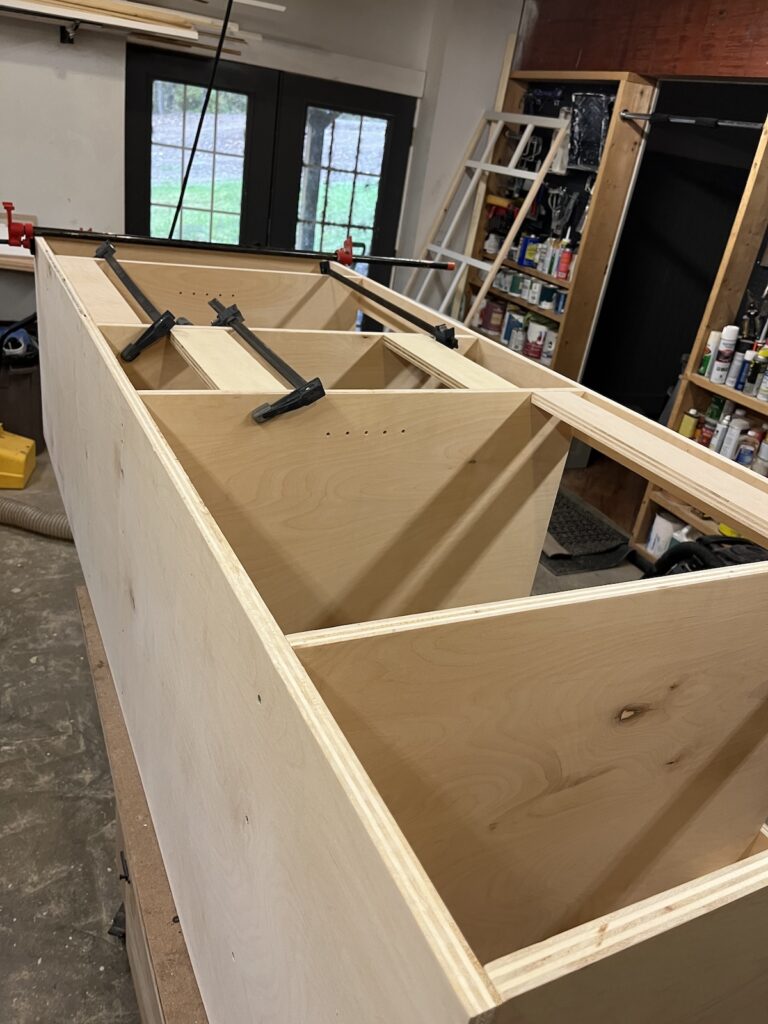
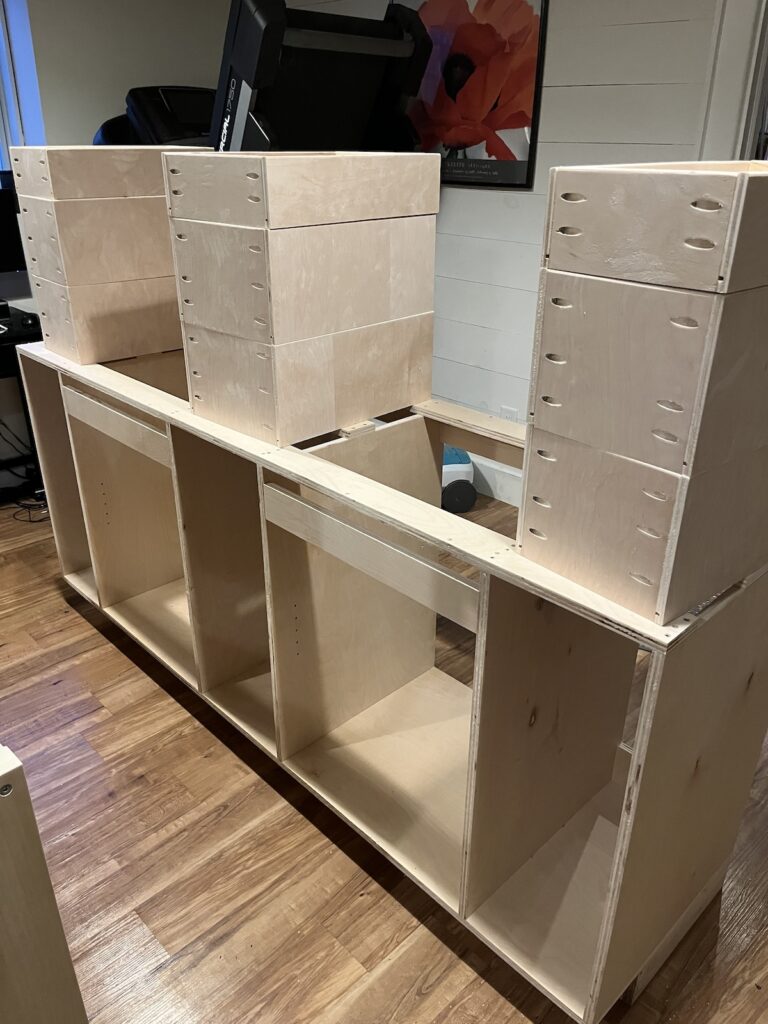
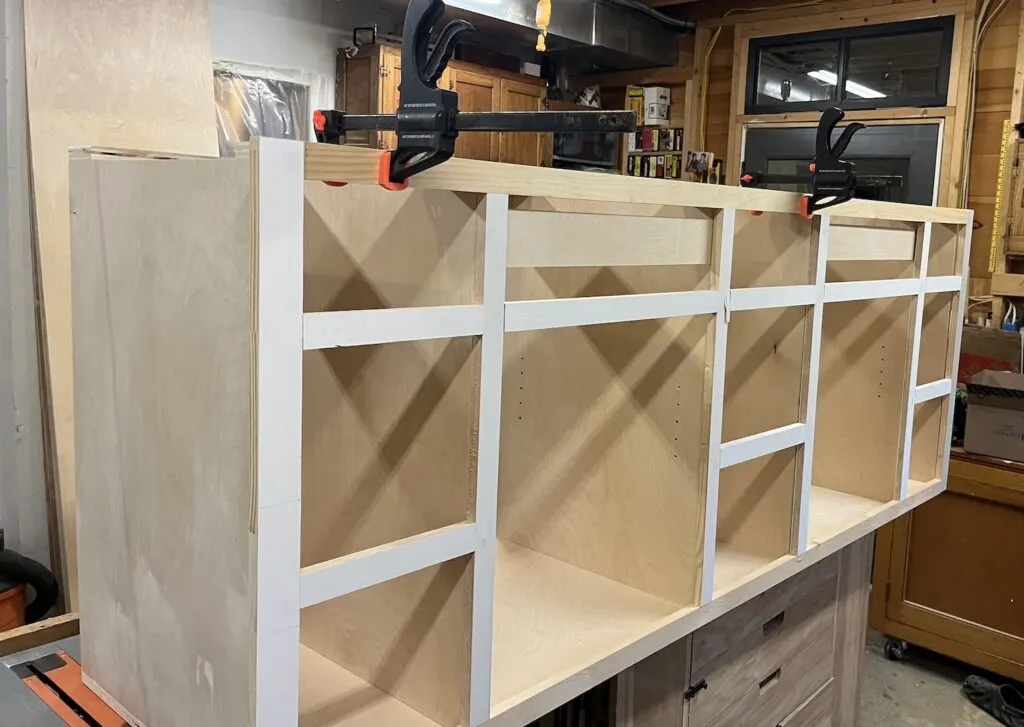
Building a DIY bathroom vanity is just boxes on boxes on boxes
I abandoned the plans for matched plywood and faces and have no regrets about the birch boxes and drawers.
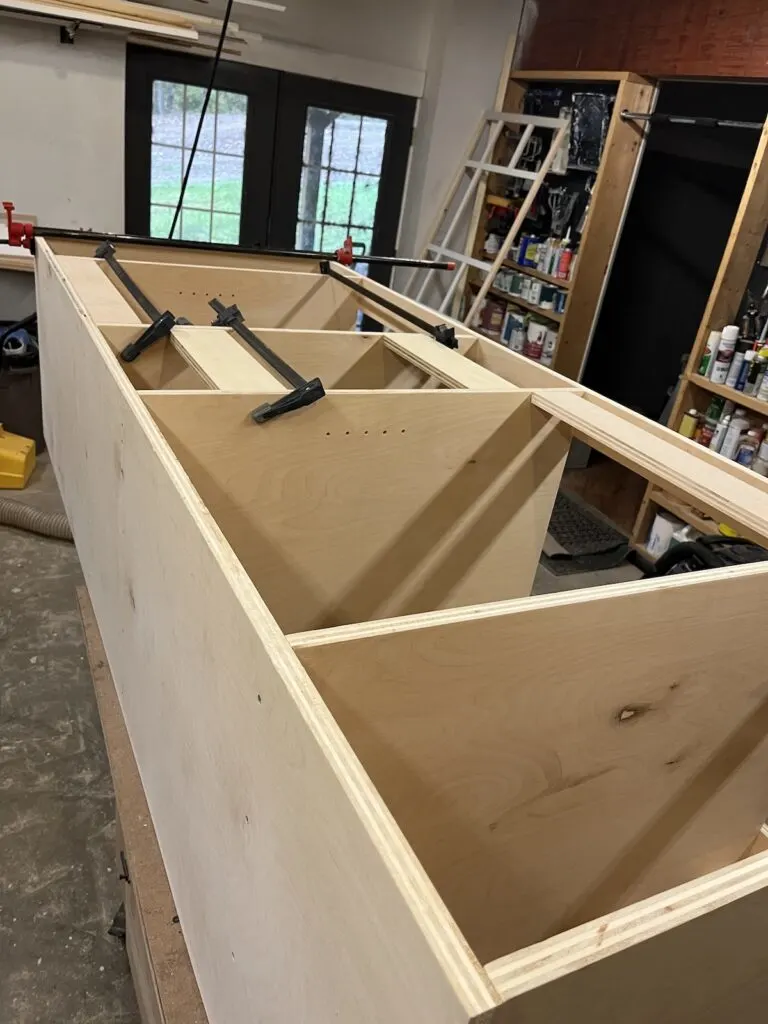

I was also planning on building two boxes and then using the face frame and stretchers to tie it together once in place. This would make it easier to move but an absolute nightmare to size drawer boxes, get the right face frame fit, etc.
Again, I’m glad I abandoned those plans. Who was that person making them? I have no idea.
There was also a time during the building of the 9 drawer boxes that I had some regrets on the design, but those faded once I had my first mockup of the face.
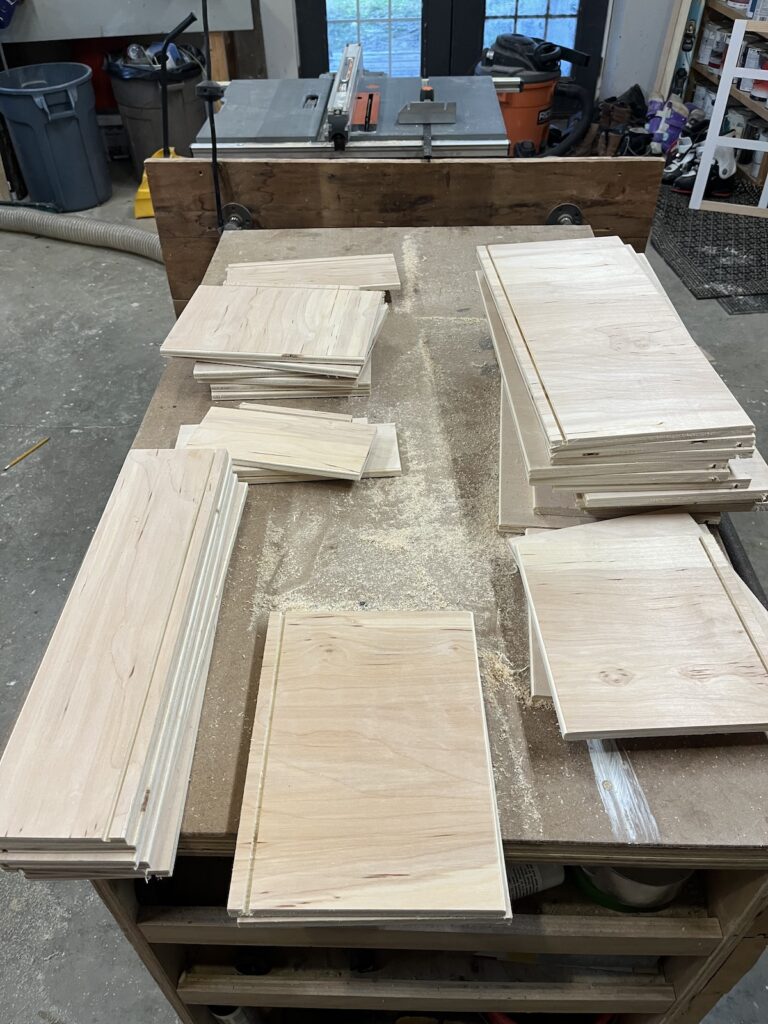
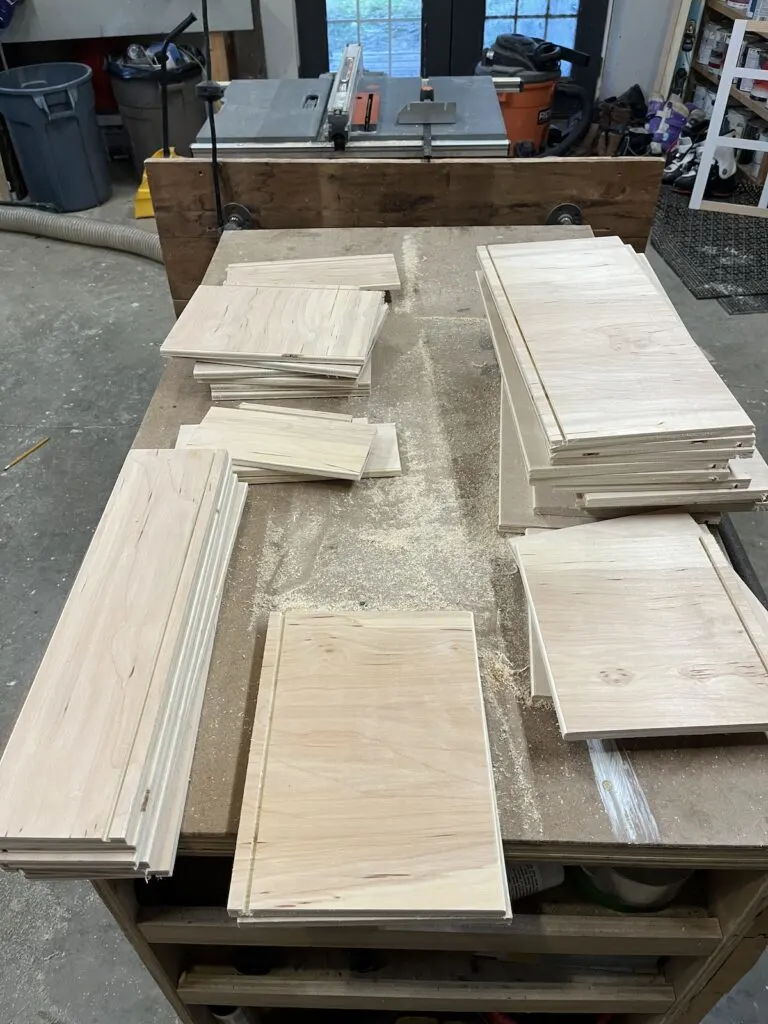
But the amount of sanding, polying, etc. that was required here should not be glossed over. I’m glad I had a sprayer at least. I blew through nearly two quarts of poly on all the boxes and drawers.
And was running out of space in my shop to build anything so I had to co-opt the basement family room.

I kept the mock face around to make sure that the boxes would work well with the actual face when that time came. This helped immensely in finding an issue with spacing and square that I had missed when building the boxes.
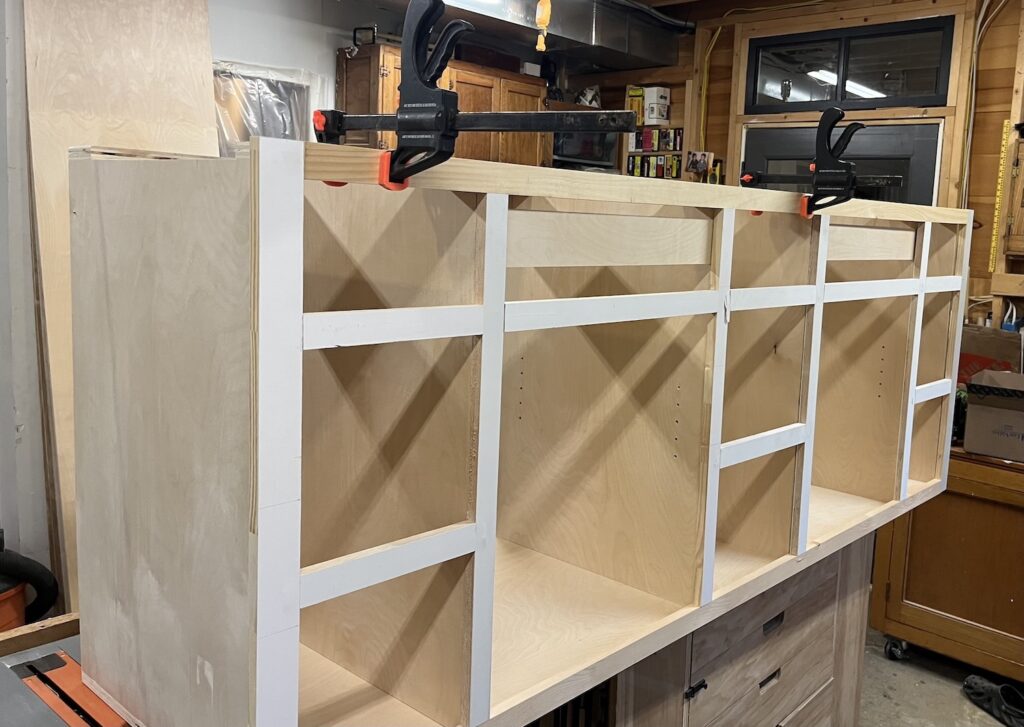
Face time with your diy bathrooom vanity build
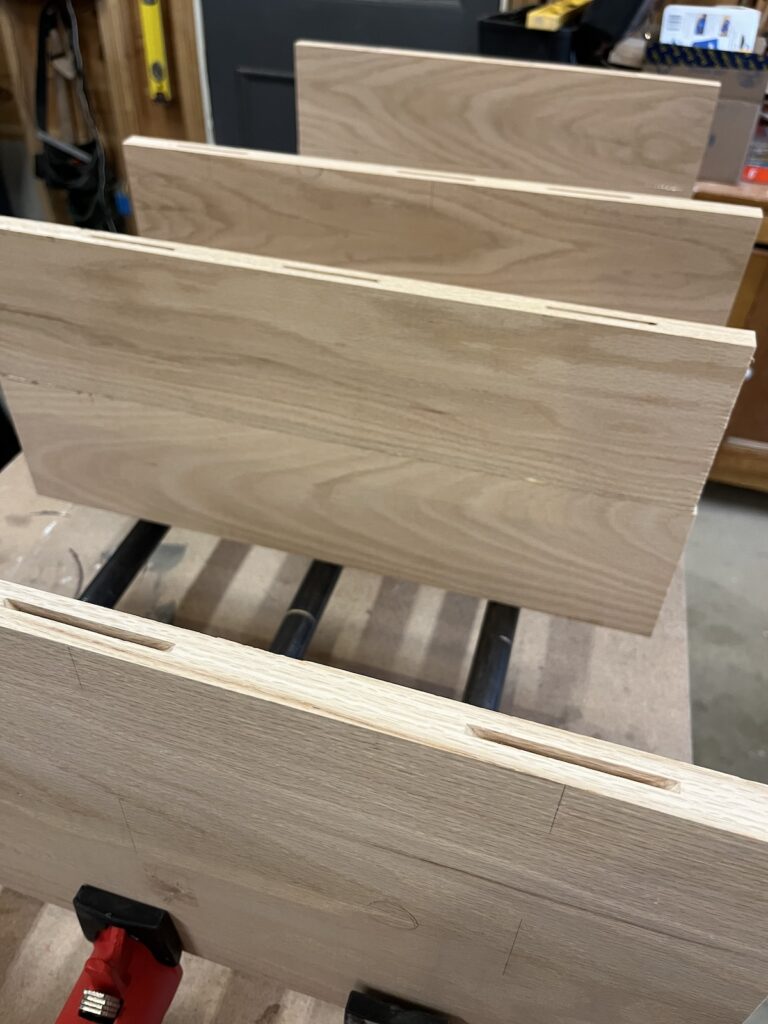
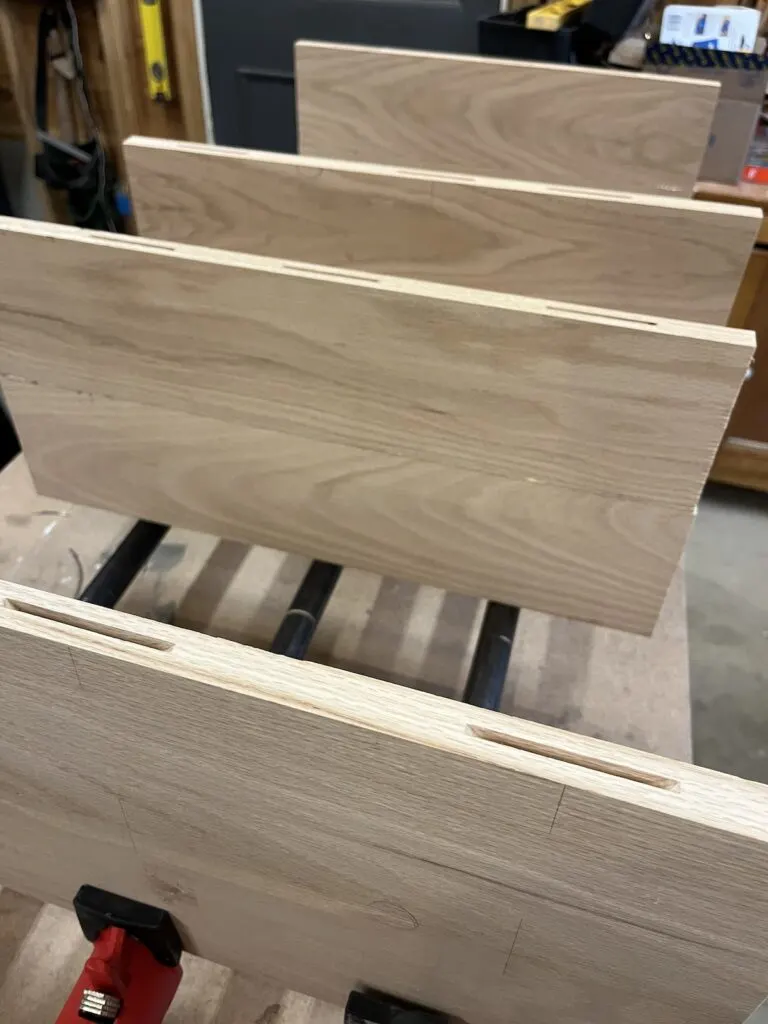
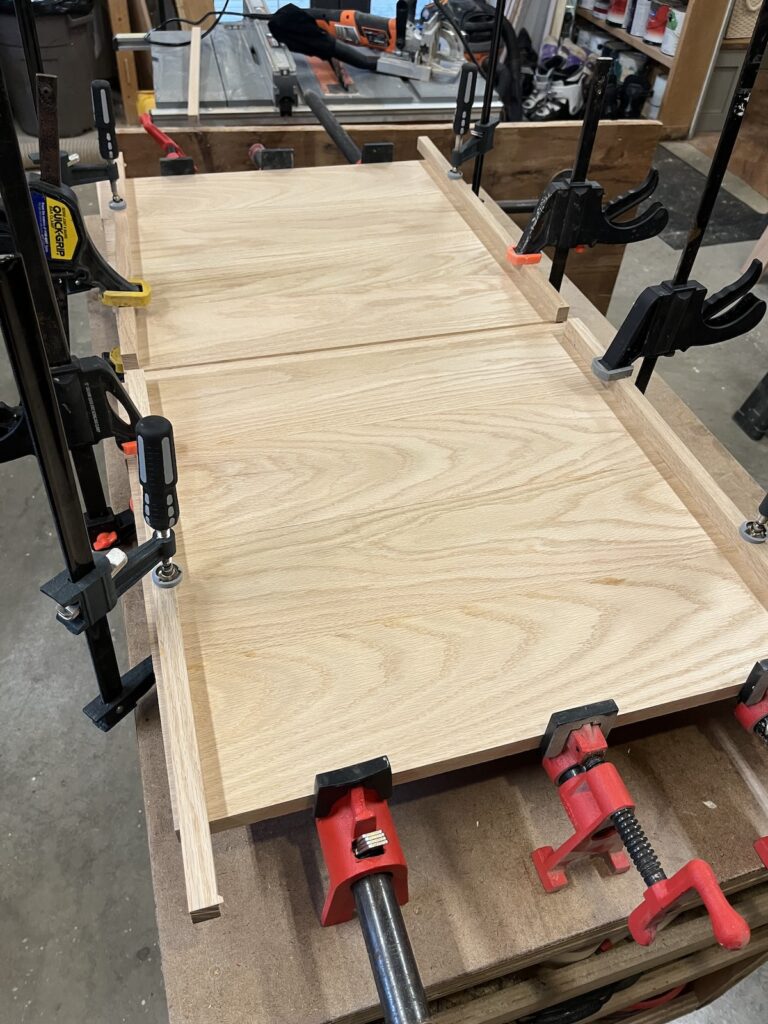
With the boxes built and knowing that I could use the mock frame as an exact pattern, building the face frame felt incredibly straight forward.
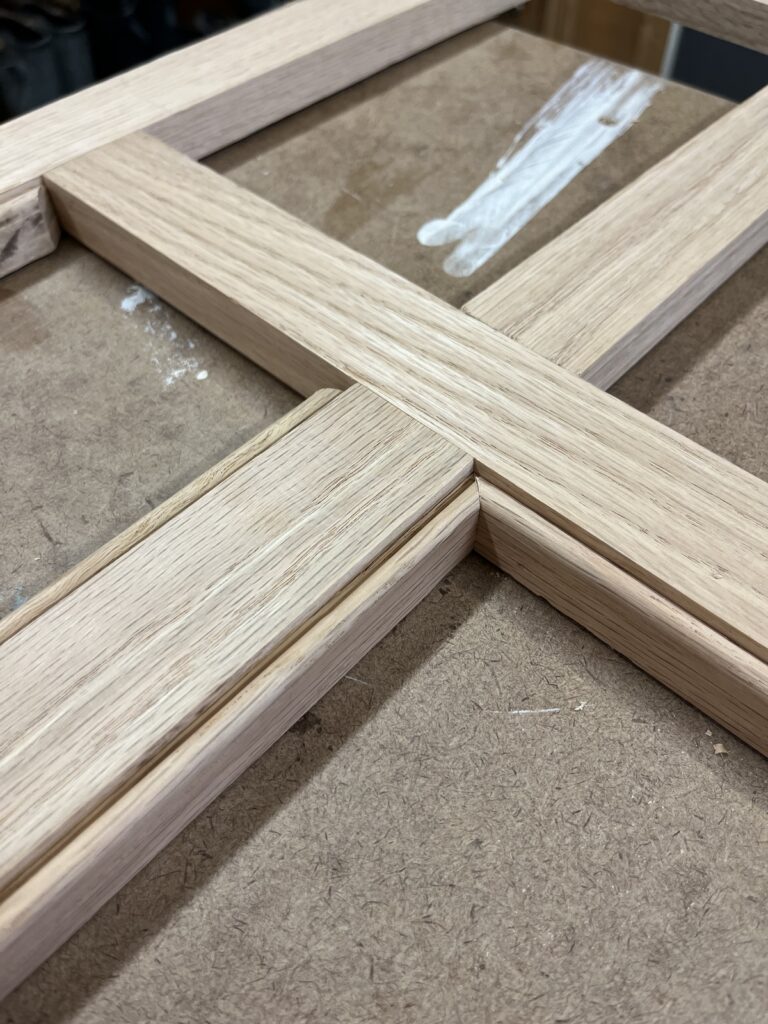
I did of course add some curve balls with a inset bead detail on the doors and sink panels. And then the oak threw me a curve ball by splitting on the very last pocket hole.


But besides that little snag, the face frame came together very smoothly using spacers and even deconstructing part of the mock-up to use to make sure they were the same size.

For the inset beading detail around the doors and sink panels, I cheated. I have used this trick on other projects like our pine buffet. It consists of routing a bead on a separate piece, cutting just that bead off and then cutting that at 45 degree angles and inlaying it.
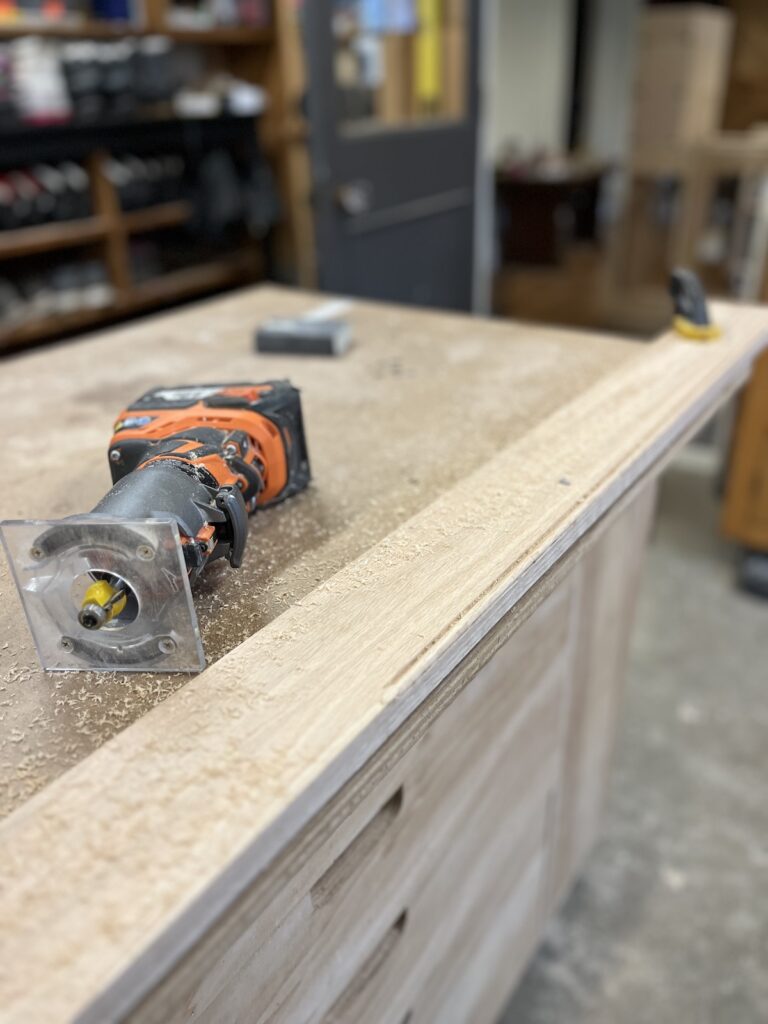
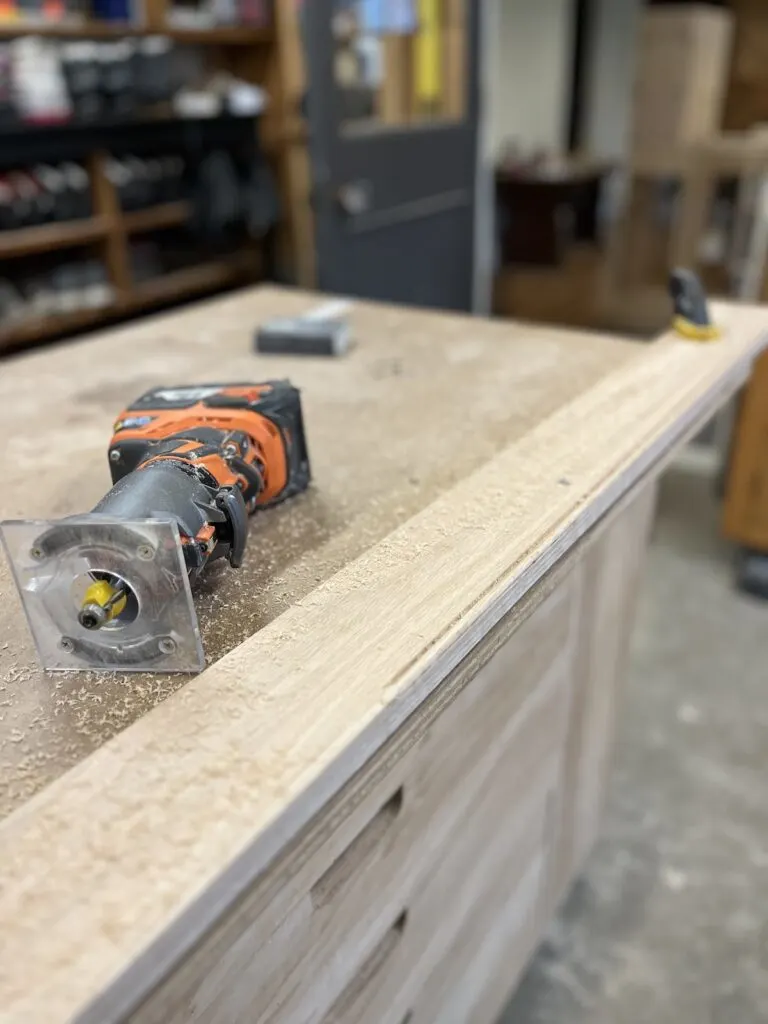
Once you have that bead, you just run it through a table saw, careful to leave a consistent gap to the side of the bead. And then you can just apply it.

Making faces
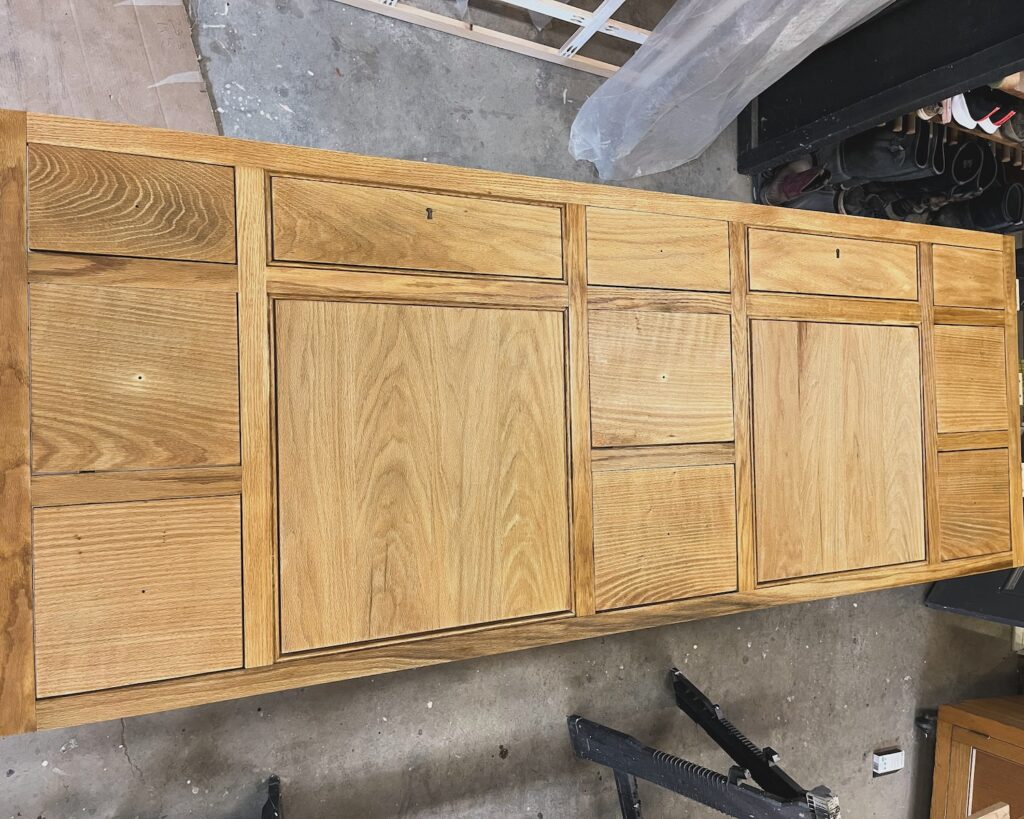
With the frame assembled, it was time to make drawer faces and the doors. Because we have the inset bead detail, I decided to go with a very plain slab door. I’ve always done shaker style frame doors in the past and really loved how fast these came together.

The drawer faces were also slabs so it was very straight forward. I did my best to have at least a consistent grain pattern, even though it’s not continuous.
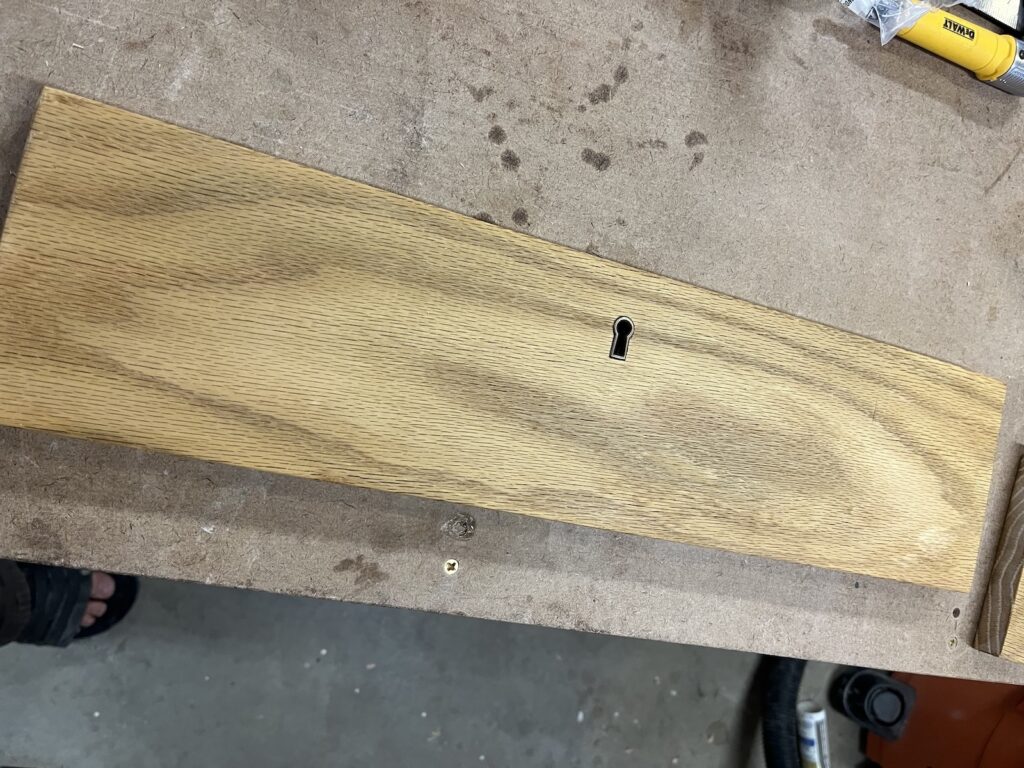
I also wanted to add a little key hole to the sink panels even though it’s completely non-functioning and borderline non-sensical. Technically it could lock the door below? I don’t know, it’s a reach but let me have it.

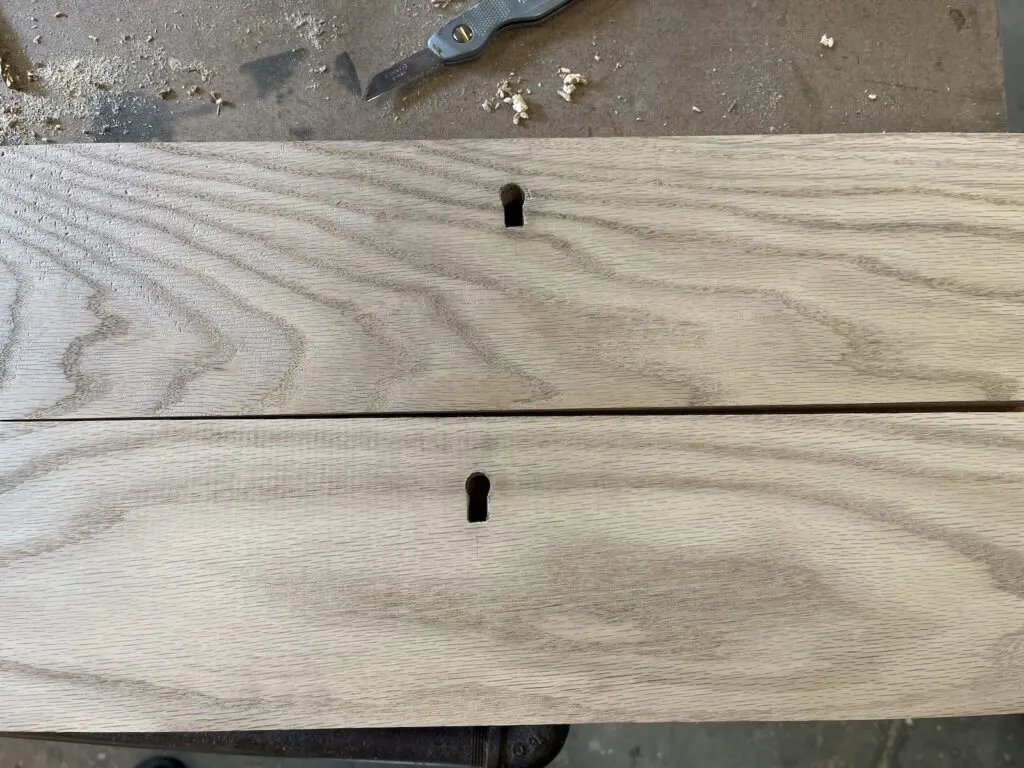
The holes were drilled and then cut with a jig saw to attempt to get as close to the escutcheon as possible. Thankfully it covers them up pretty well because they are pretty rough.
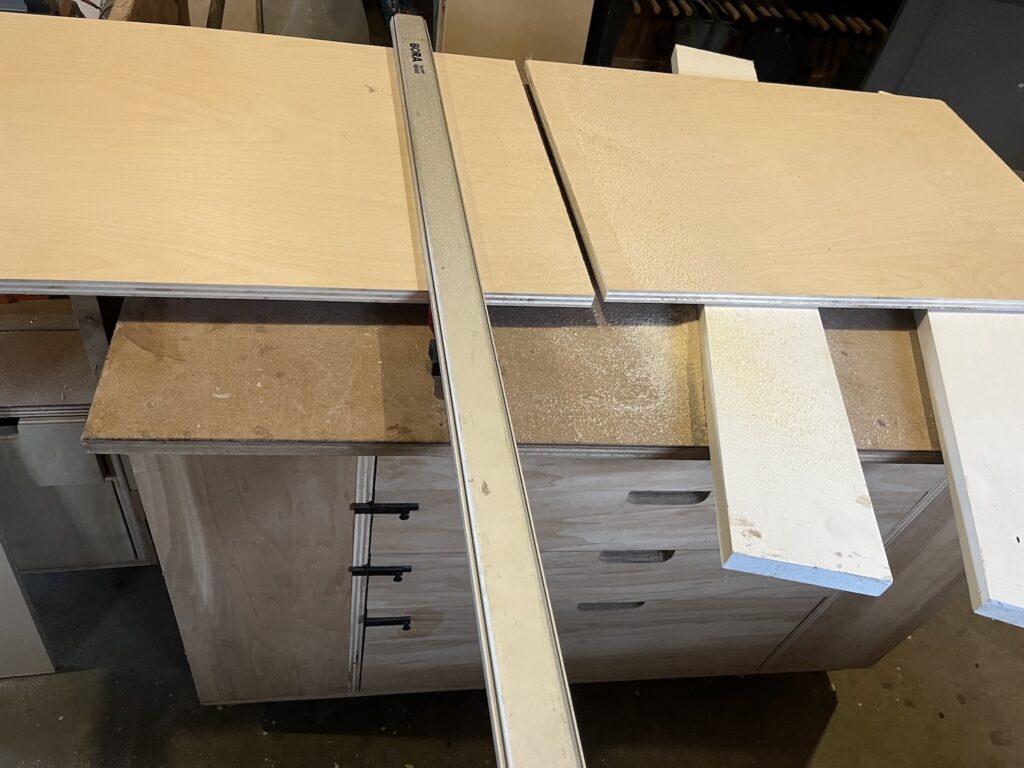
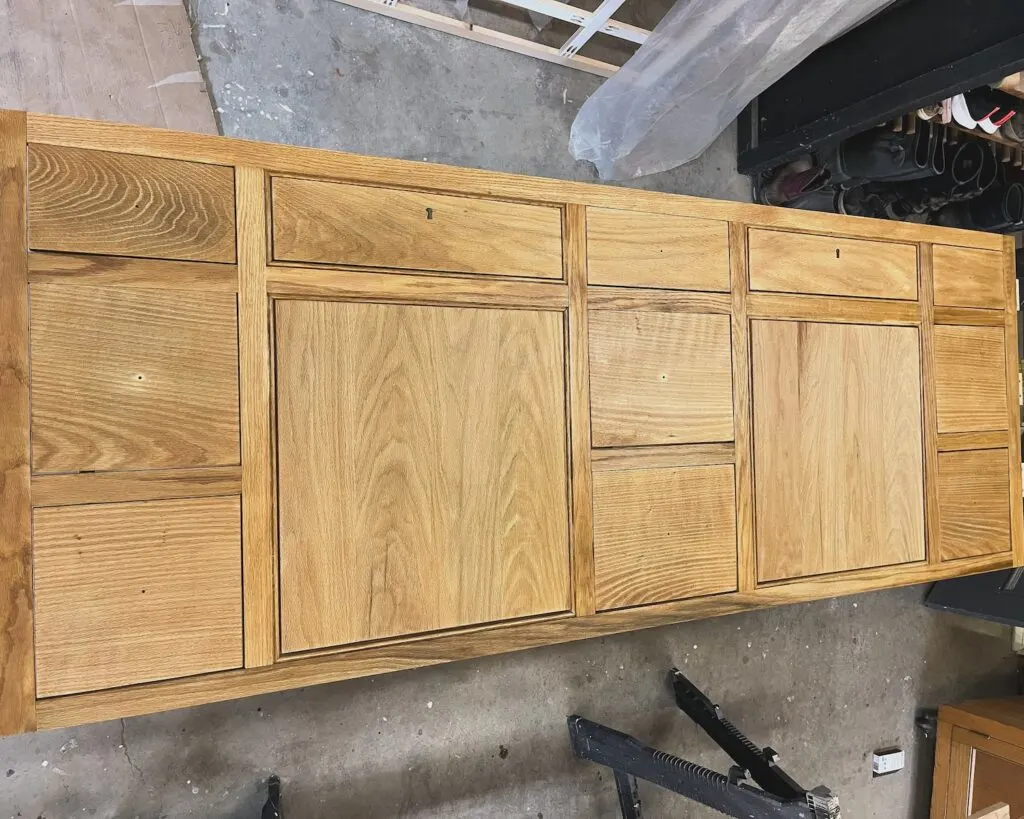
There is a little bit of skipping ahead happening as you can tell from the variety of finishes in these photos.

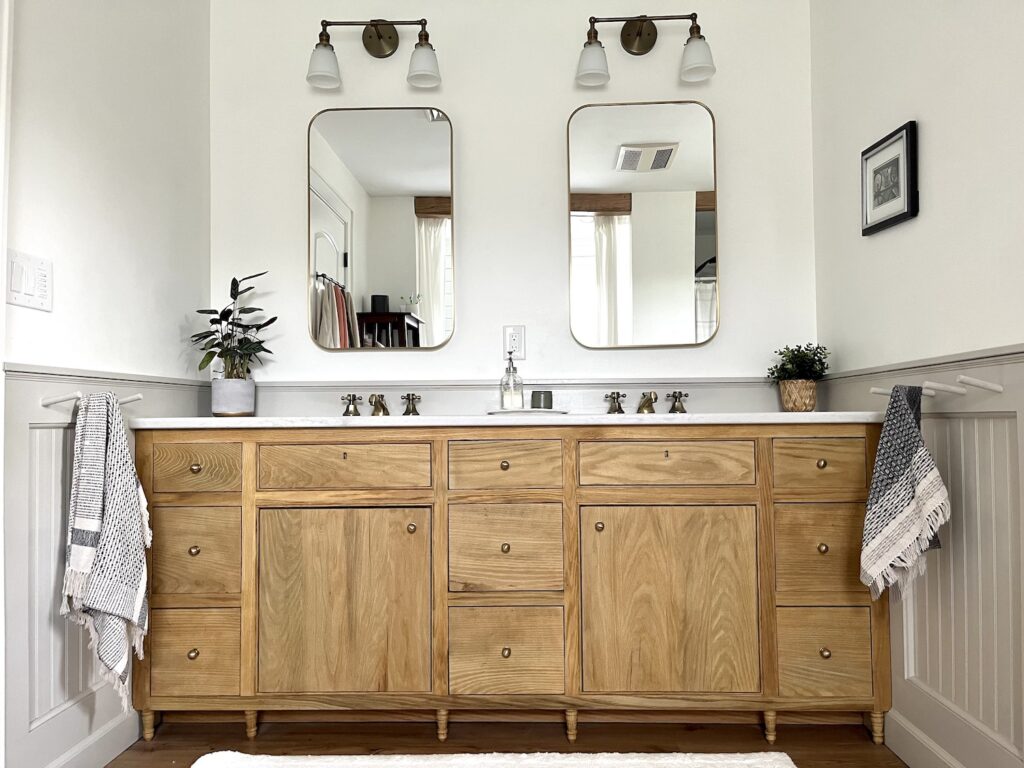
After a whole ordeal with bleaching the fronts not once but twice, and then applying a Walrus Oil furniture butter, here is where the faces ended up. We wanted a bleach look, but nothing too gray or lifeless. I’m very happy with it and especially so once we added the top and hardware.
Putting some back into it
While that definitely applies to getting his beast up the stairs from the basement to the second floor, what I need to mention first is the back(s).
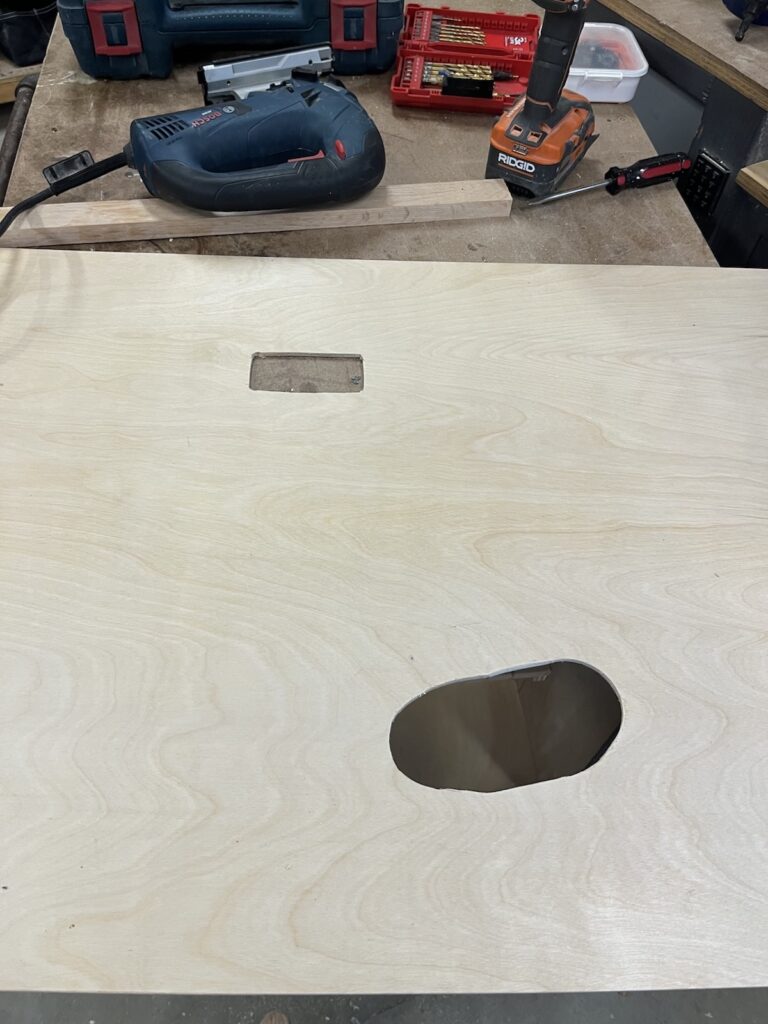
Our supply lines run up through the floor, and they already had the shut off valves on them. That meant I could either cut some beefy holes in the bottom, or I could get creative.
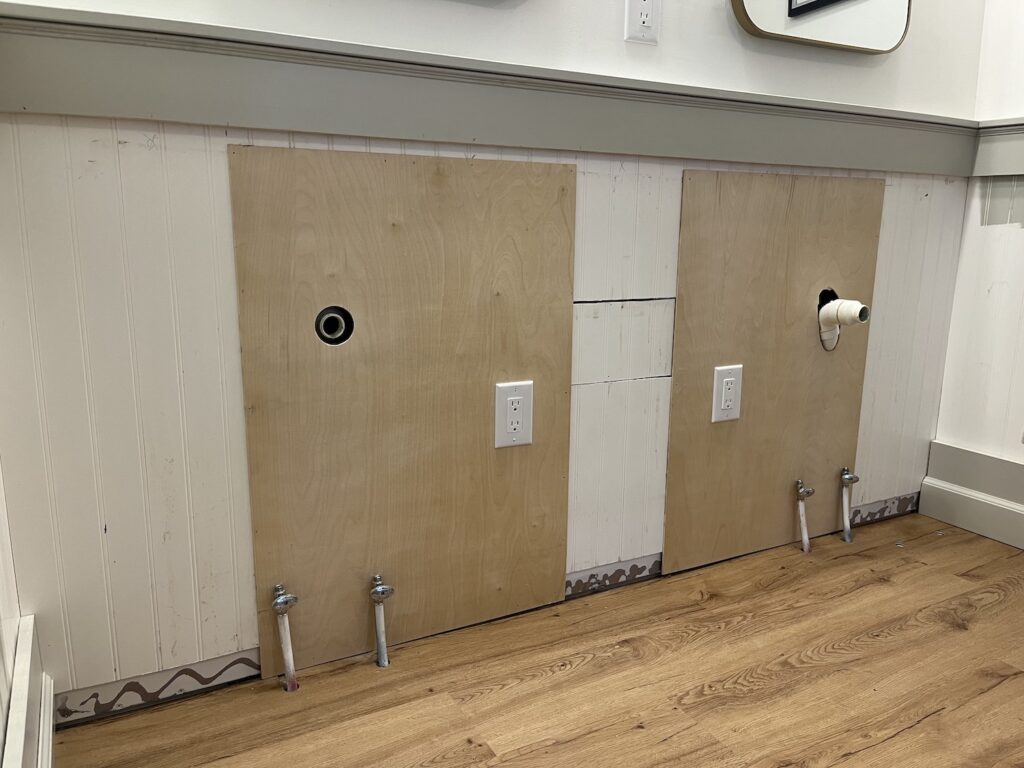
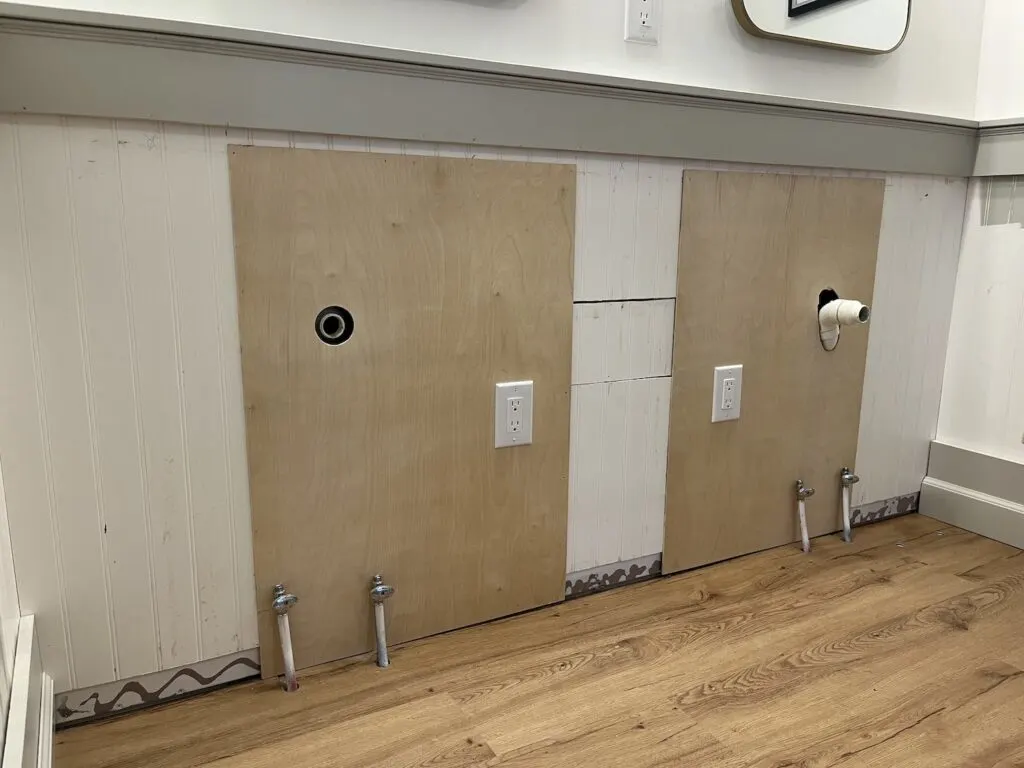
What I decided to do was to attach the ‘backs’ of the cabinet to the wall and then slide the cabinet up against them. This let me get the outlets flush, pre-cut for my drains and only cut some very small half-circles for the supply lines.
In order to mark the pipes, I used the toothpaste trick. I’ve used the same thing with paint for marking the lights on the sliding wall in the basement.
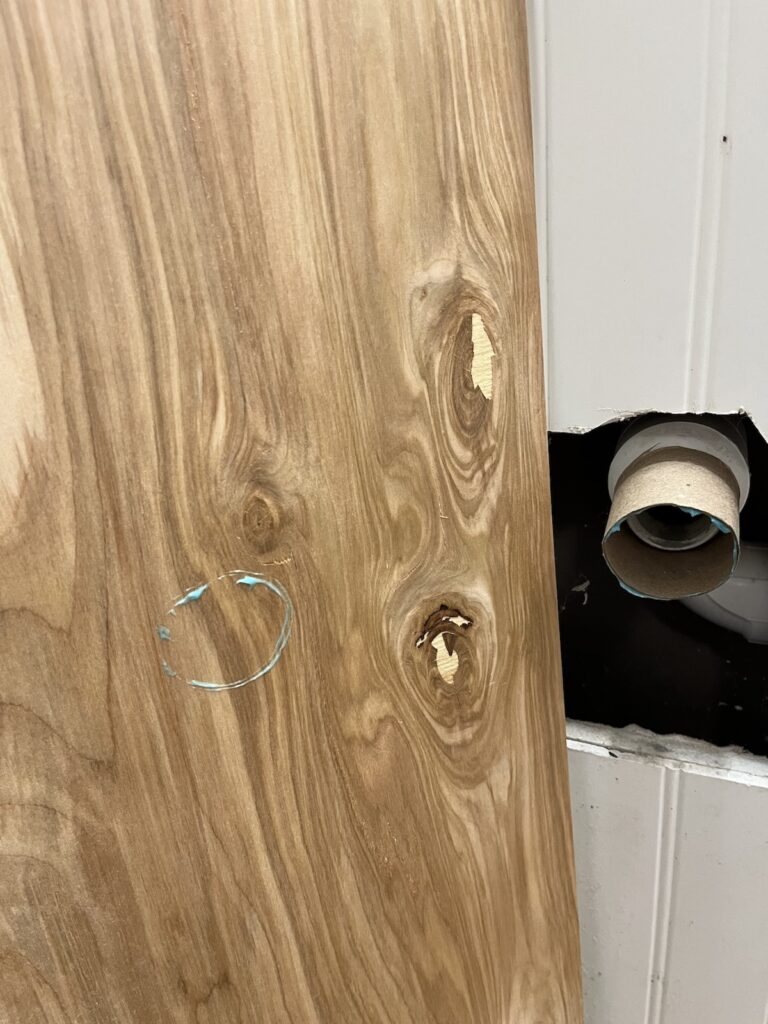


It’s probably hard to visualize, so here’s what that looks like.
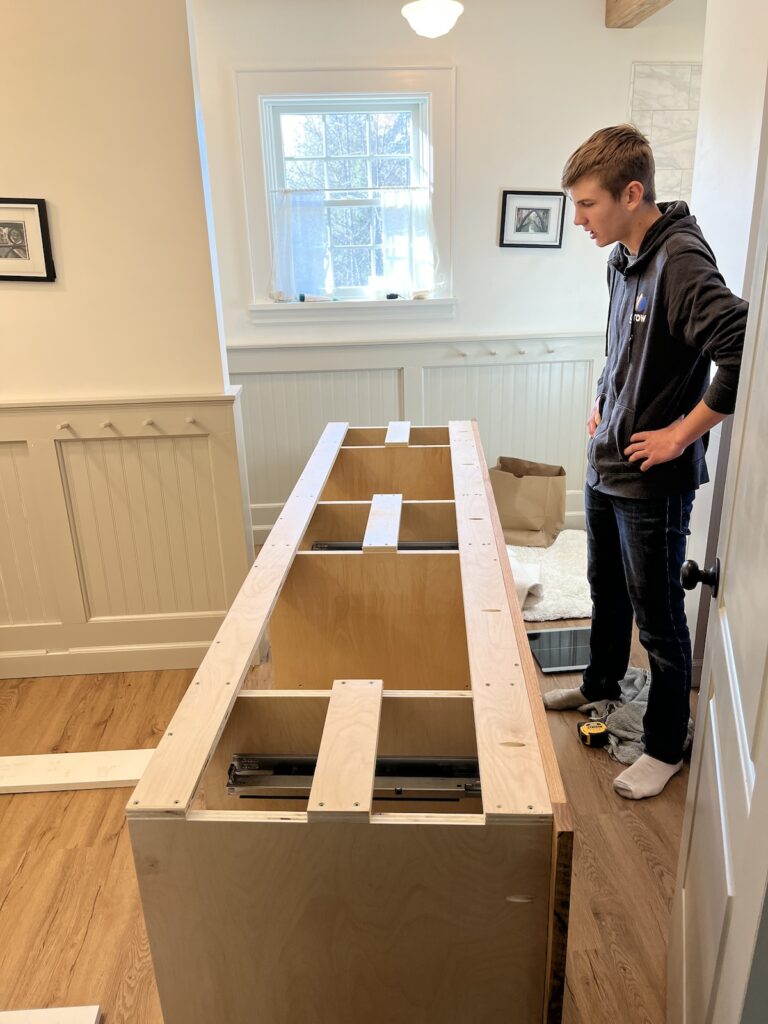
Installing this beast of a DIY bathroom vanity
Getting the nearly 7′ cabinet up two flights of stairs was as difficult as we thought. So much so that I think we took a good twenty minute break once we finally got it up there.

We did hit a minor snag with having to remove the door frame because of the new design where the casing has a wrap that sticks out. It was maybe 1/4″ proud, but it meant pulling off all the trim. sigh.
Once the vanity was in place, I added the little feet detail that I absolutely love. That sweat is mostly from carrying this massive thing up two flights of stairs. …mostly.


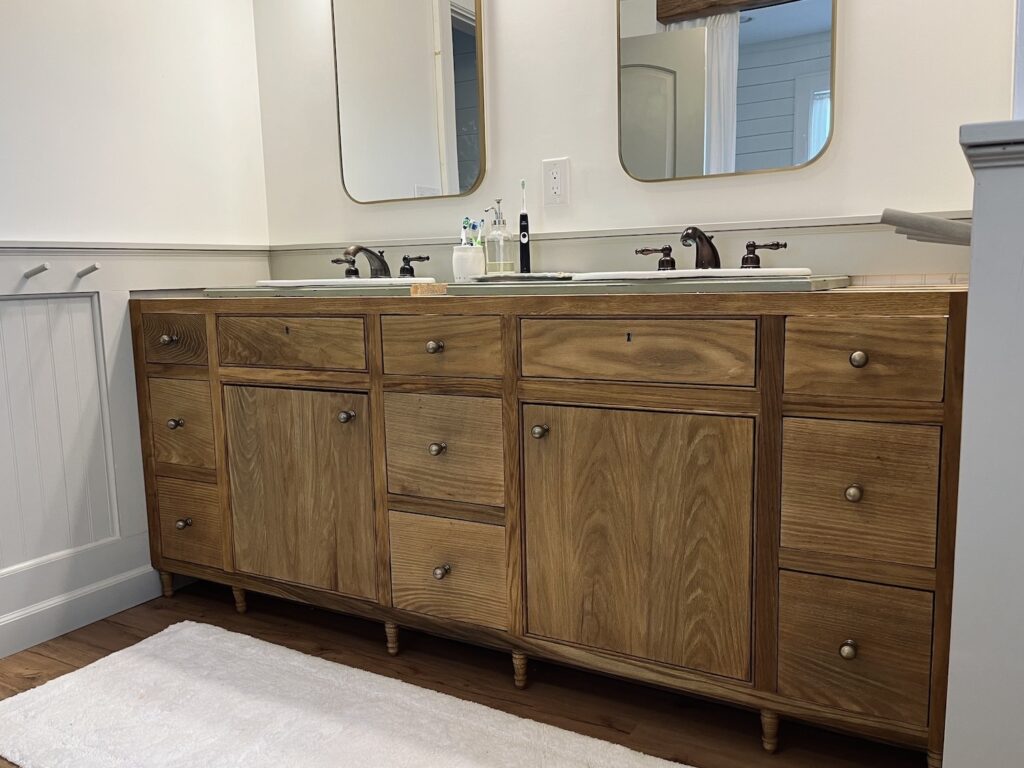
Once that was done though we finally had our first look at the vanity in place and that was a fantastic feeling.
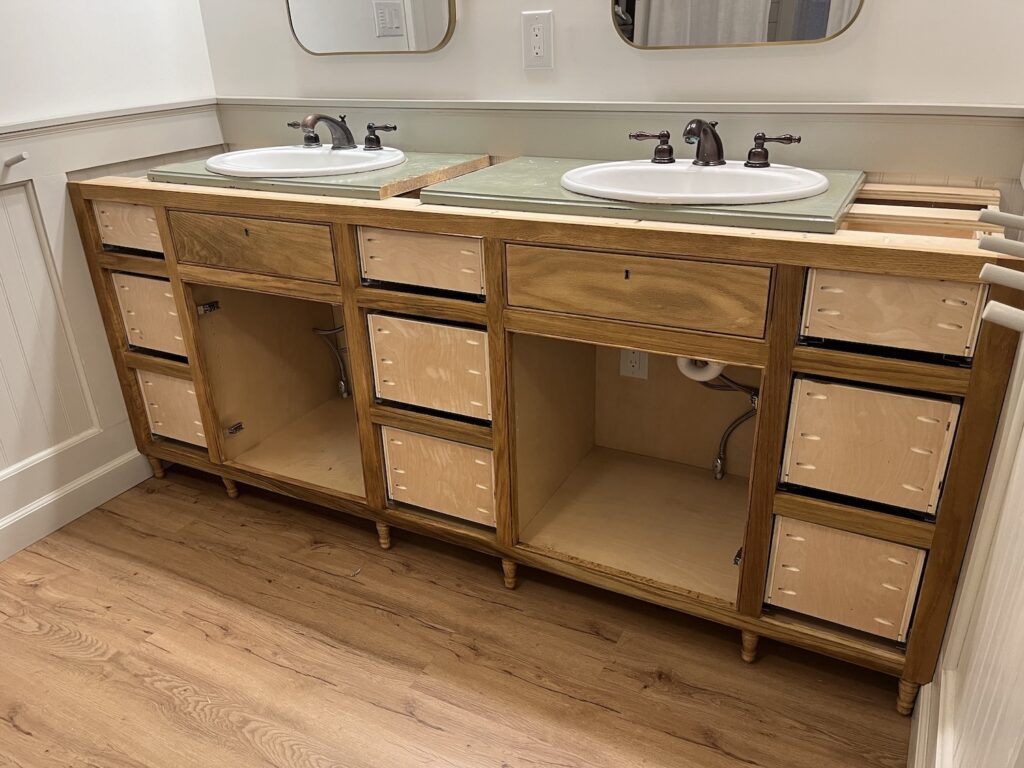
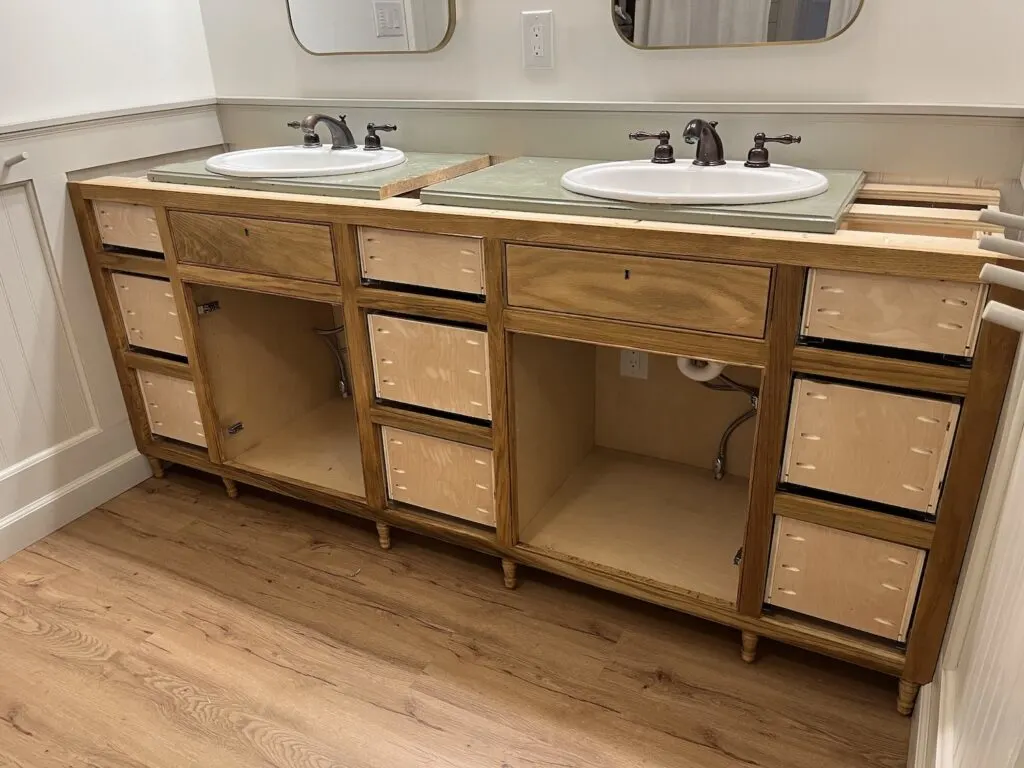
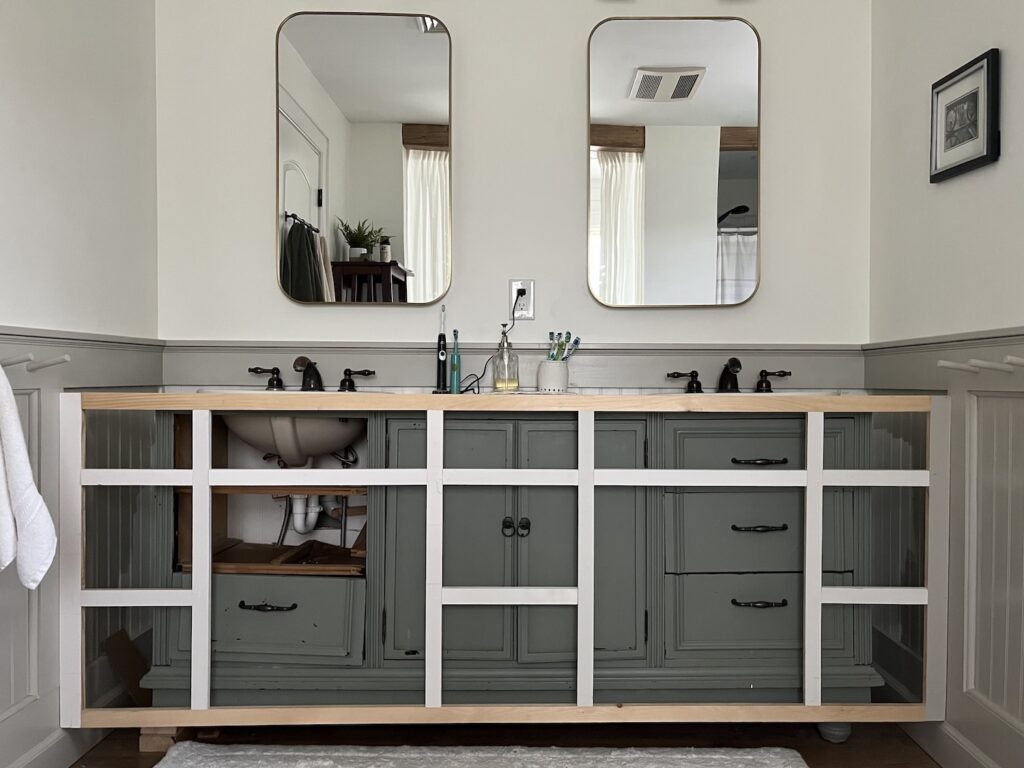
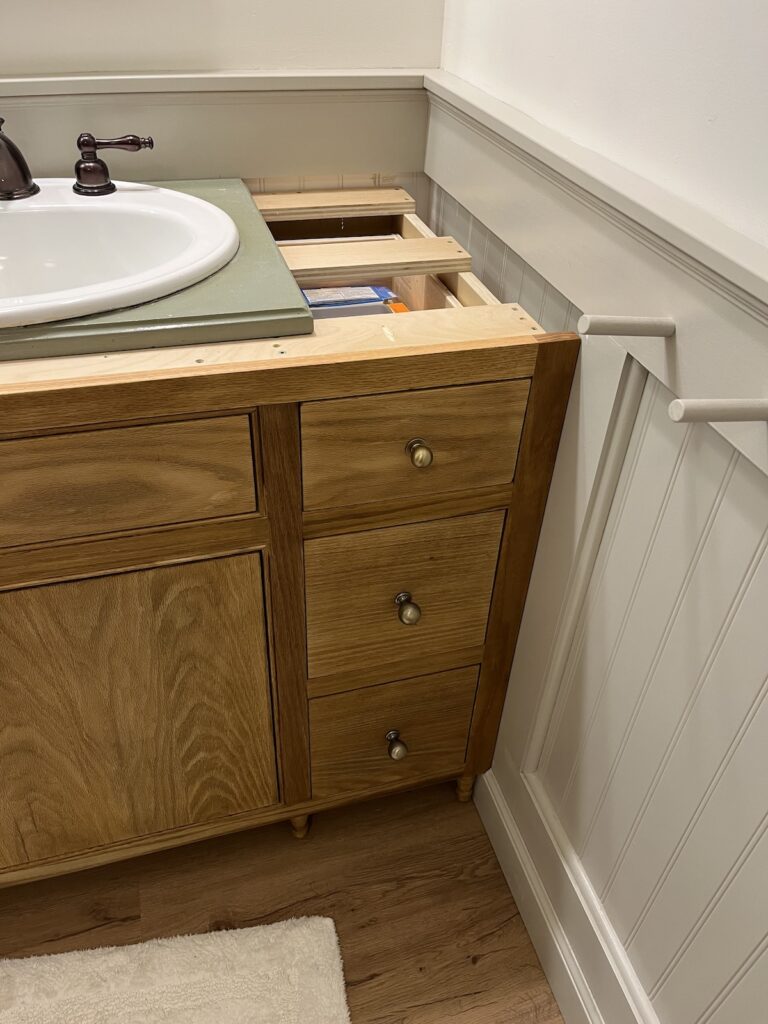
Since the countertop needed to be templated and ordered, it was going to be a while before we had functioning sinks. A little chop-chop of the old vanity and we were able to temporarily repurpose the old sinks.
This state lasted a lot longer than I would have liked, but it meant we had functioning sinks so it was better than using the tub to brush our teeth at night.


Installing the fronts was relatively smooth. I didn’t have as good of reveals on the doors as I would have liked and a few drawer faces are a bit wonky.
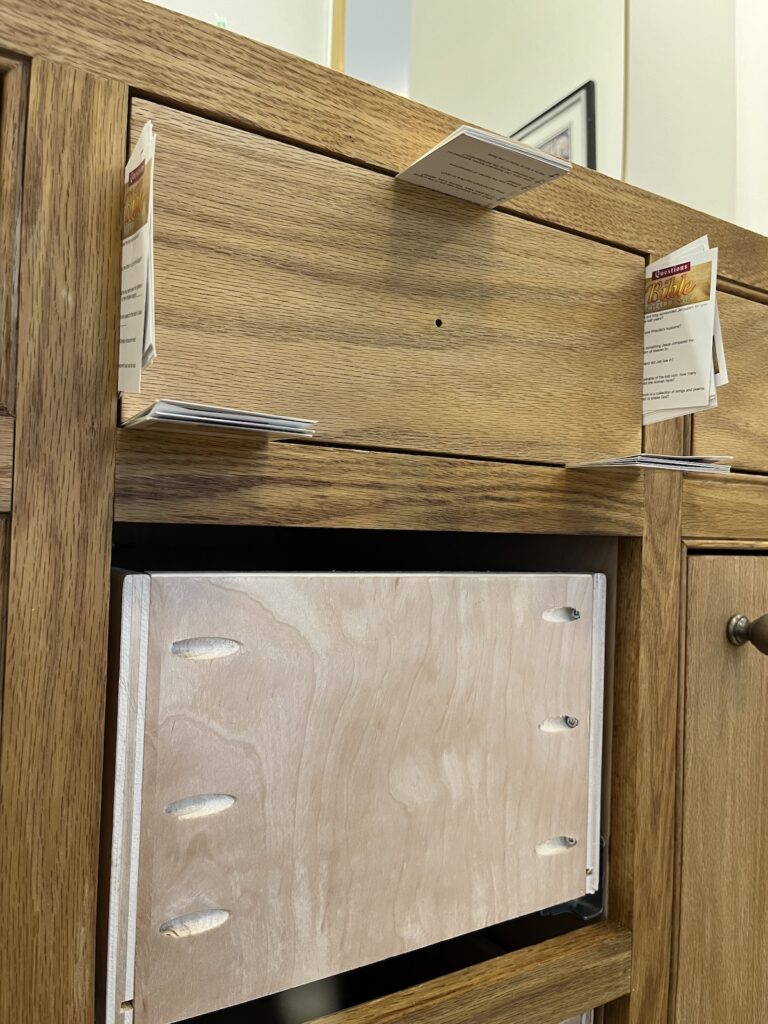

But overall, I was so relieved to get to this point where it felt like all the work paid off.


I spent a good amount of time worrying about if I needed to scribe the face frame and if I could do that in a way that would actually improve the outcome. In the end, I chose not to, and because of the wainscoting detail you can barely tell.
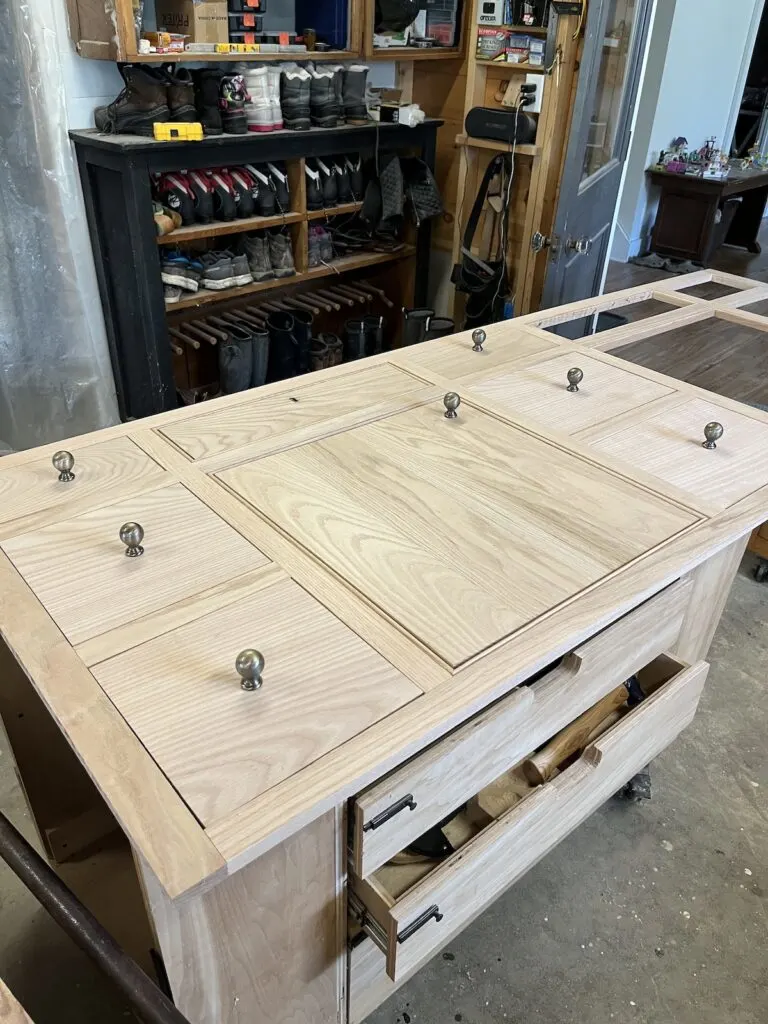
There was also a point where I spend way more on the hardward buying these beautiful knobs that were something like $9-10 a pop. Unfortunately they were also massive. It looked like rows of metallic clown noses. Not exactly our vibe.

Topping it all off
We shopped around quite a bit for countertops and didn’t find anything we really both loved at multiple stone yards. In the end, we found some really great options at Home Depot. We chose Stonemark Quartz in Arktos.
It looks painfully unimpressive and muddy online, but in the store the sample was so clean, interesting and organic looking.
We did end up with a small seam, which is not great but overall love the choice.


The finish on the oak is very hard to capture, and these last photos are probably the closest I’ve come to really capturing what it looks like in natural light.
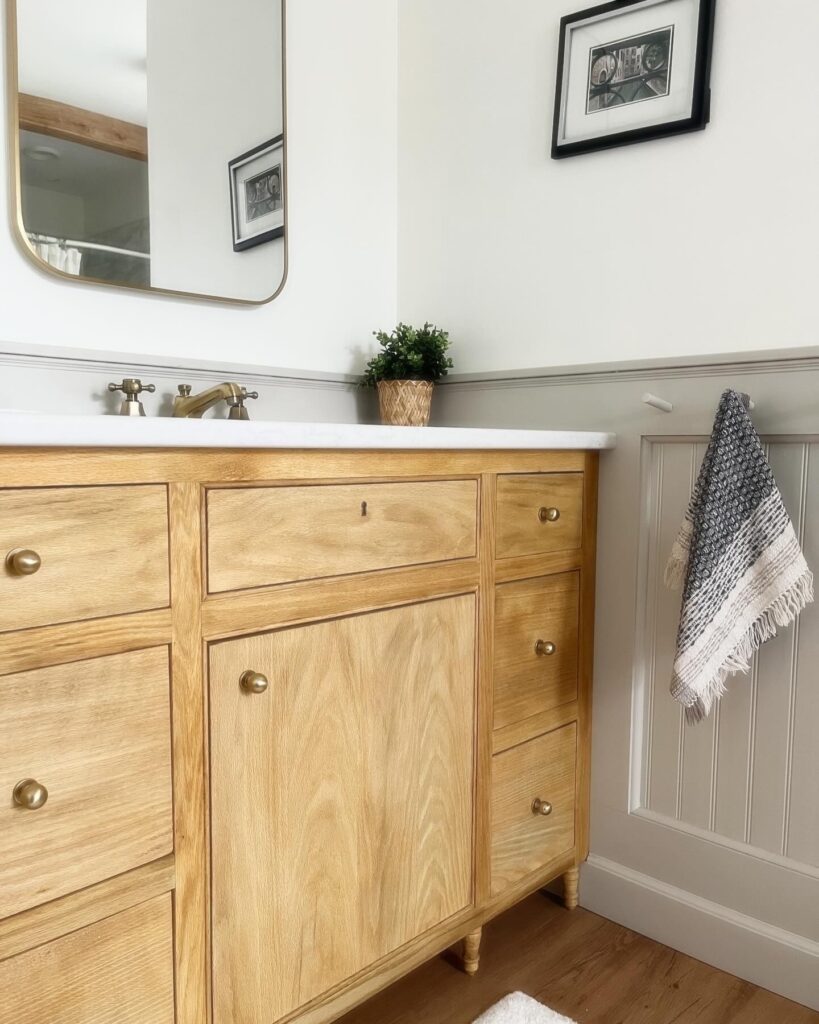

The towels here are a beautiful handwoven creations from Fiber + Phlox (aka my lovely wife Shannon). Slowly replacing our normal kitchen and bath towels with these feels very luxurious and adds to the organic, natural feel of the more spa like bathroom.
Jess
Wednesday 15th of May 2024
You did a great job! The feet especially turned out to be one of our favorite details too! ;)
- Jess & Matt (TheBrainAndTheBrawn.com)
ben
Saturday 25th of May 2024
Thanks so much for both the comment and the inspiration!