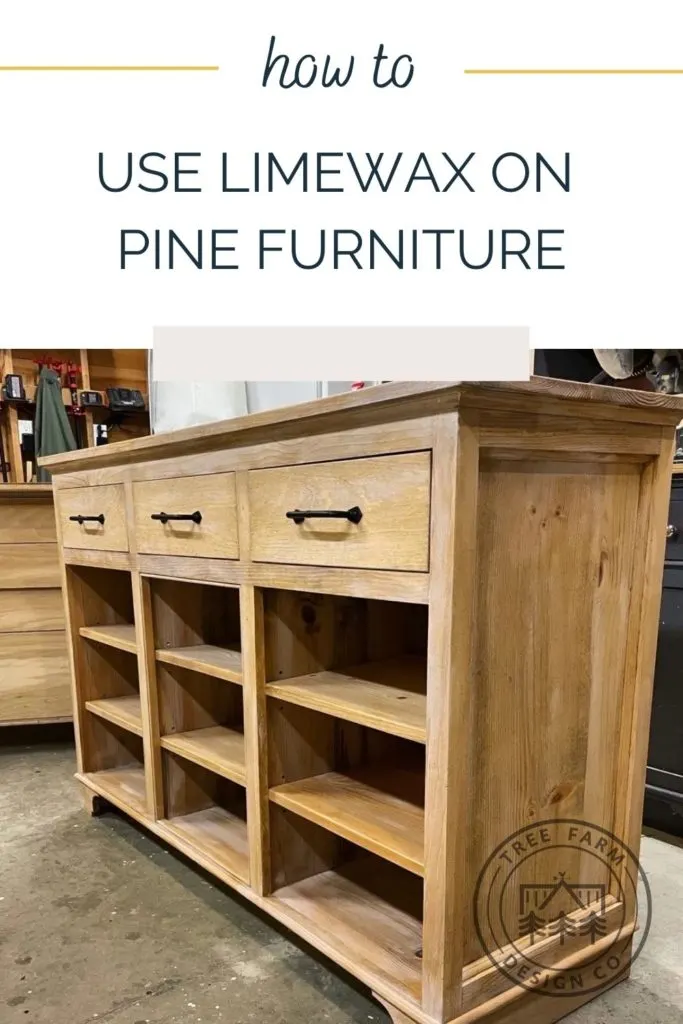
Liming wax can give pine furniture a wonderful antique finish that adds virtual years, interest and character to a piece of furniture. The look of imperfect white caught in the grain, creases, nooks and crannies of a piece is a distinct finish that really sets it apart from simpler, less dynamic finishes. Basically if you are looking at a super old piece of furniture that has white highlights and you are wondering if you should take out a second mortgage to buy this French antique piece or try to recreate it yourself, the answer is liming wax, that and no do not take out a second mortgage to buy French antiques. 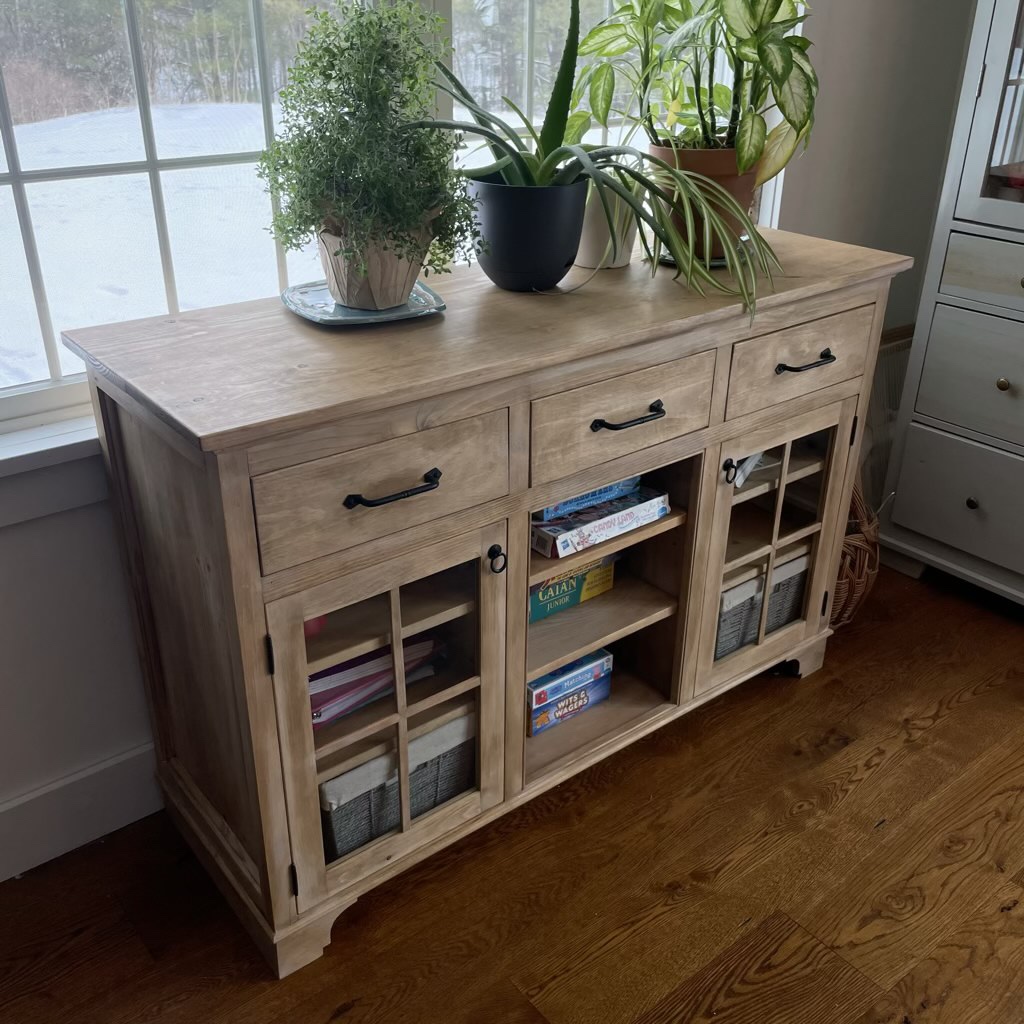
For the buffet project I was tackling I knew I wanted a stained pine finish with liming wax overtop. The stain would help age the pine to the point where it looked like it came out of an old farmhouse and not off the shelf of a big box store. The liming wax would further add character, like we made the buffet stack firewood or plant trees in the freezing rain, the good kind of character.
What is liming wax?
Liming wax is, according to Bob Villa, a mix of liming paste and a wax made of either carnauba, beeswax, petroleum or shellac. A liming finish has been popular for outdoor barns and outbuildings for centuries and has provided a measure of sanitizing, and also results in the classic pastoral white barn look. Liming finishes for indoor furniture has been used as a replacement for earlier lead based whitening finishes. Liming wax should be used if you want to accentuate the grain of the wood or the architectural details of a piece.
So it’s whitewash?
Hot take but I’m coming out firmly and saying no. Some people use whitewash and liming wax interchangeably but to me there is a pretty big difference. A whitewash finish in furniture is achieved by watering down a white paint and results in a more milky wash finish, it’s much more white overall versus the liming wax finish should highlight the natural color or stain of a piece and leave only the wax in the crevices or grain.
How do you apply liming wax?
What you need for this finish is:
- Wood stain or dye
- Liming wax – I used Briwax Liming Wax
- Wax brush or clean rags
- Paper towels or even more clean rags
- Did I mention clean rags?
- Clear wax
- Brown wax or dark wax
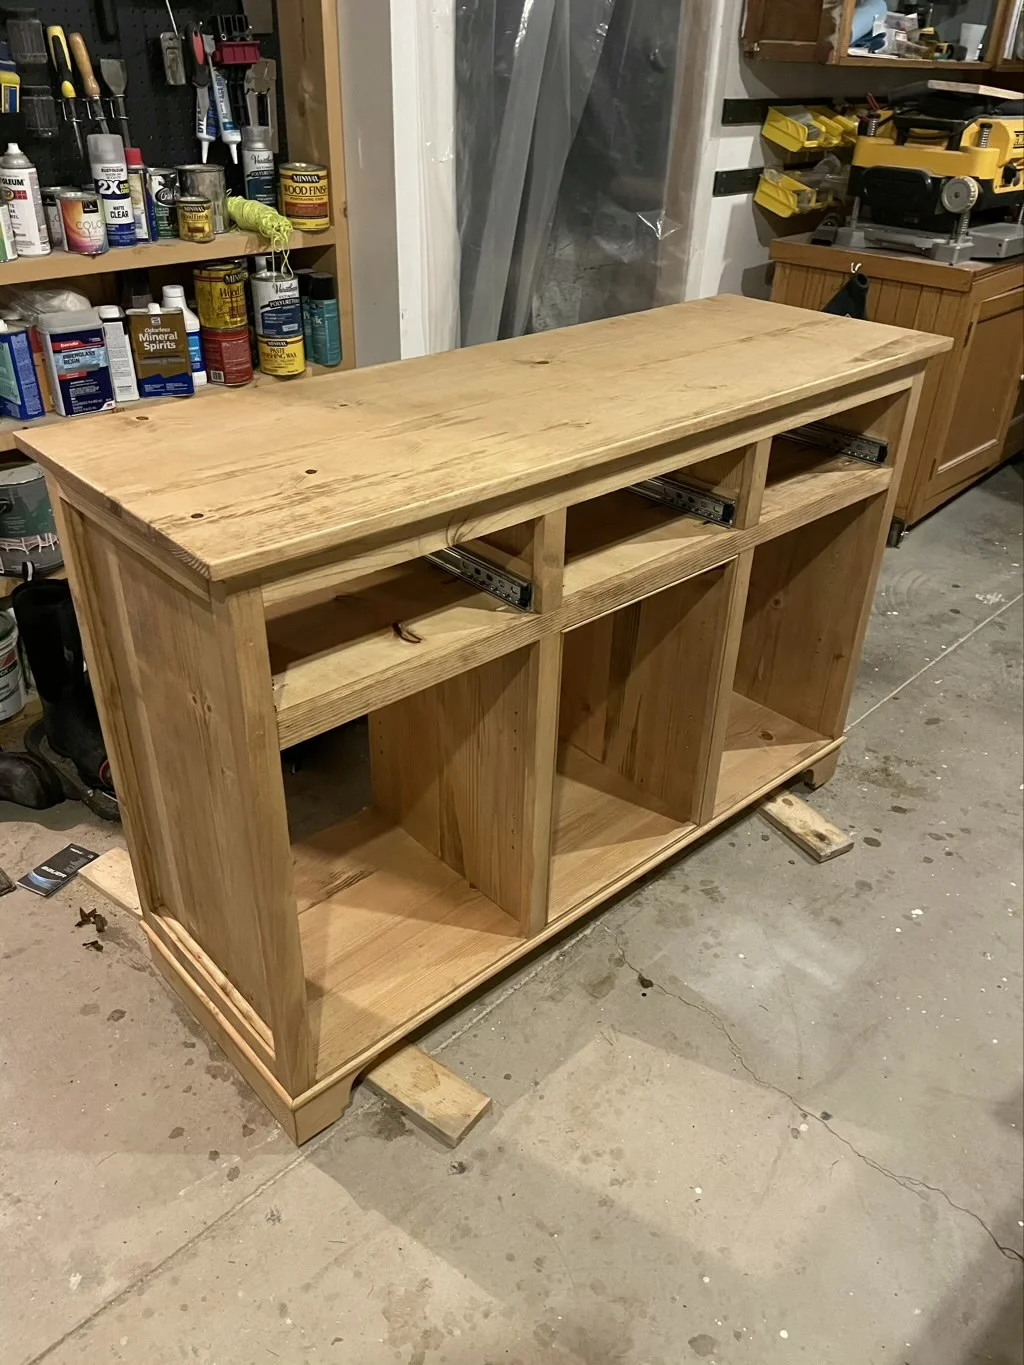
So the very first thing you need to know for the project is what the base color you are looking for. I was going for an aged pine look with the liming wax adding even further age to the overall appearance. Starting off with raw pine, it looked anything but aged. 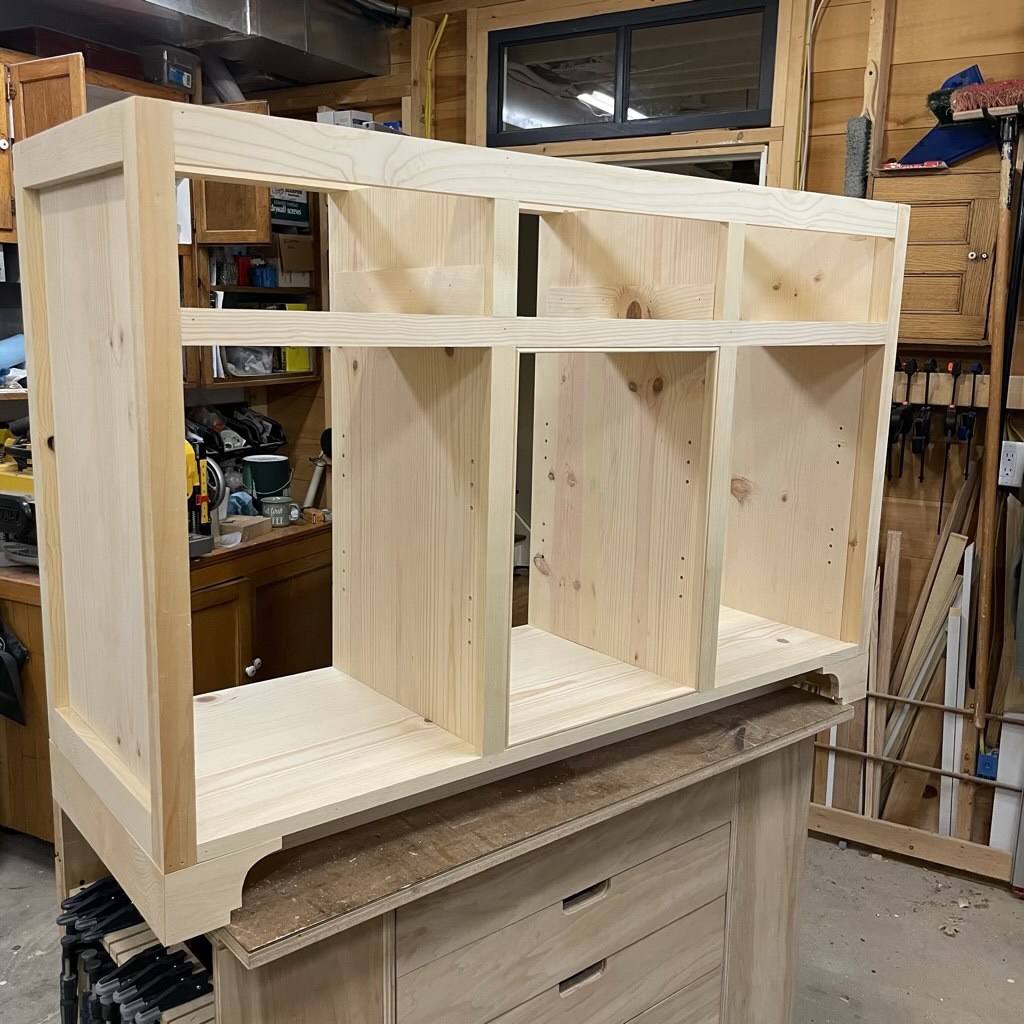

For a few projects now I’ve used a mix of Minwax stains to get a rough approximation of aged pine that isn’t too red or orange but a nice medium toned down brown. The formula is roughly 2:3 Provinicial and Ipswich Pine stains mixed together. It’s not as interesting as DIY home chemistry like melting steel wool in vinegar overnight or melting down your kids toys and mixing it with their tears, but it’s the most effective mix I’ve found.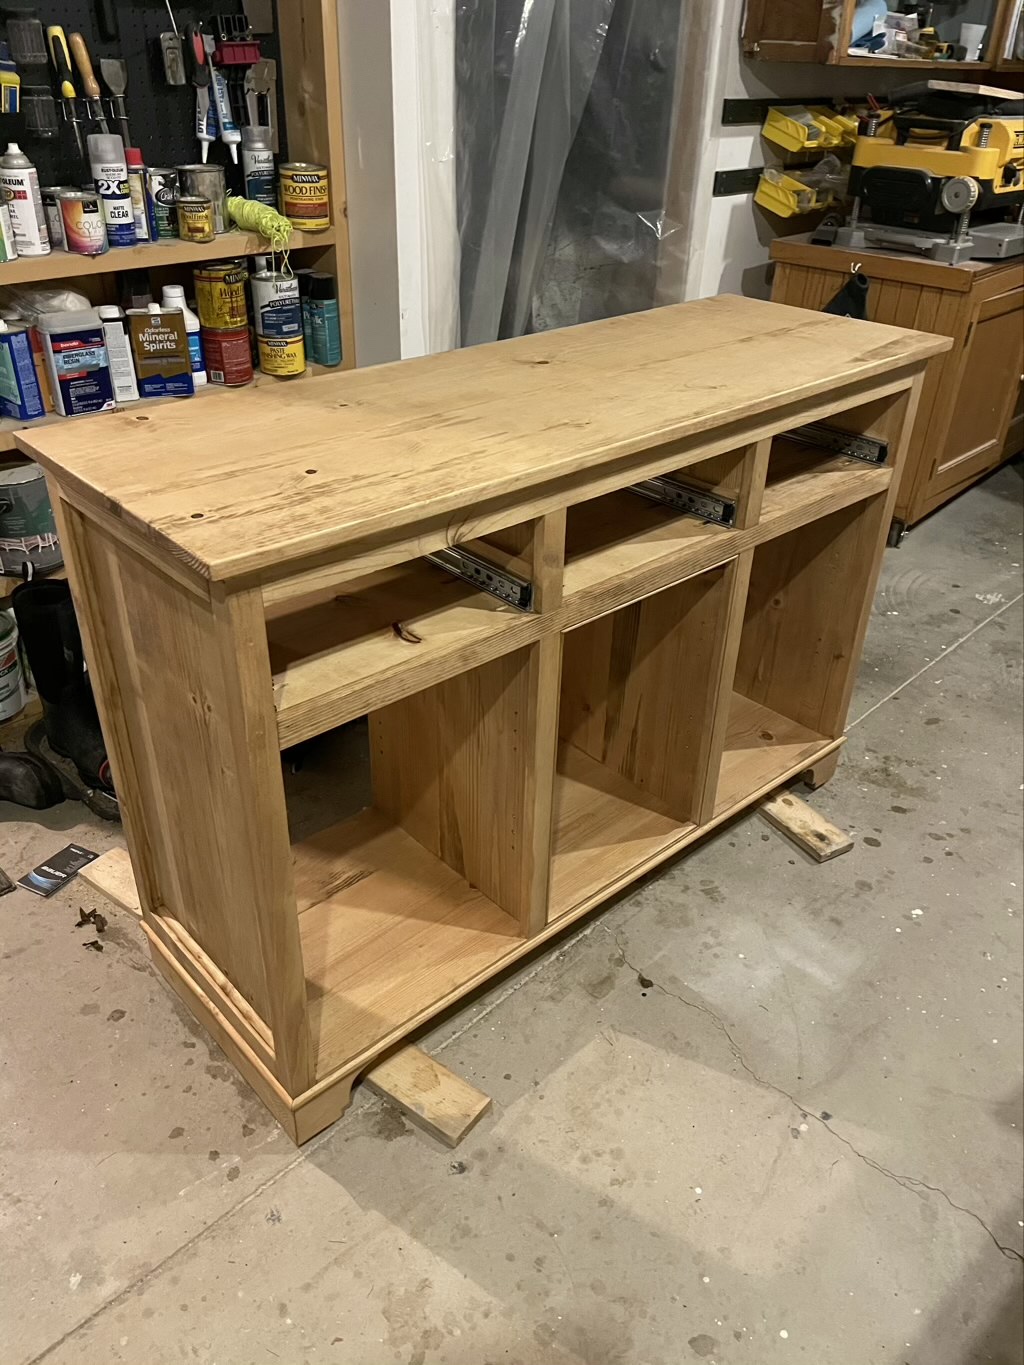
I actually made the mistake of going lighter with the stain here, probably using a 1:3 mix of Provincial vs Ipswitch Pine but that’s because I fundamentally misunderstood something about the liming wax. Lime is a bleaching agent. I’ll get there in a bit, but I should have gone with my tried and true formula here. 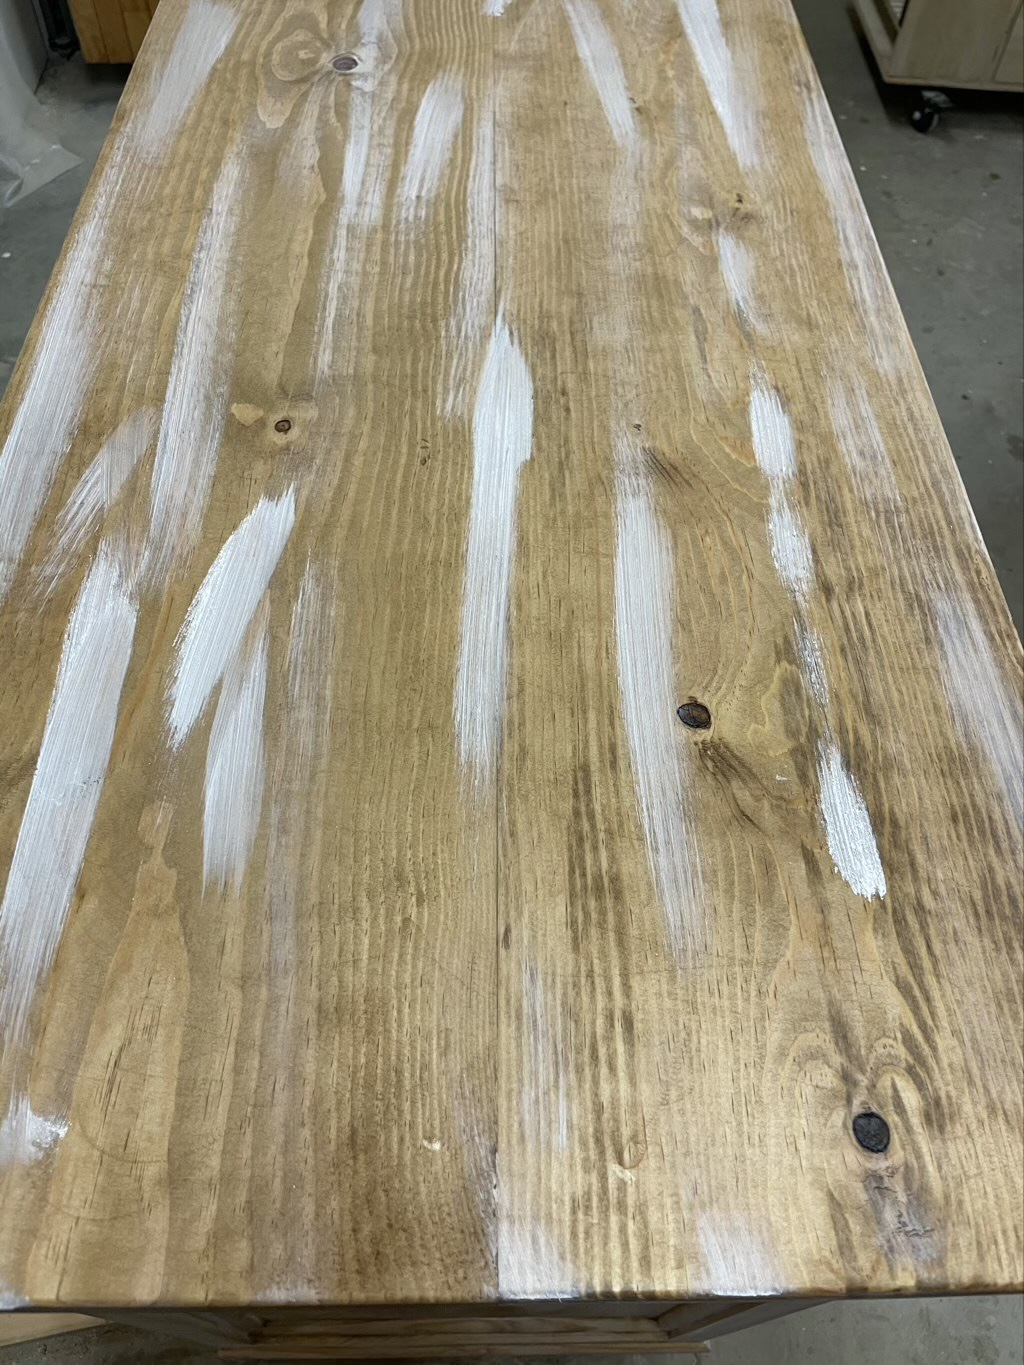
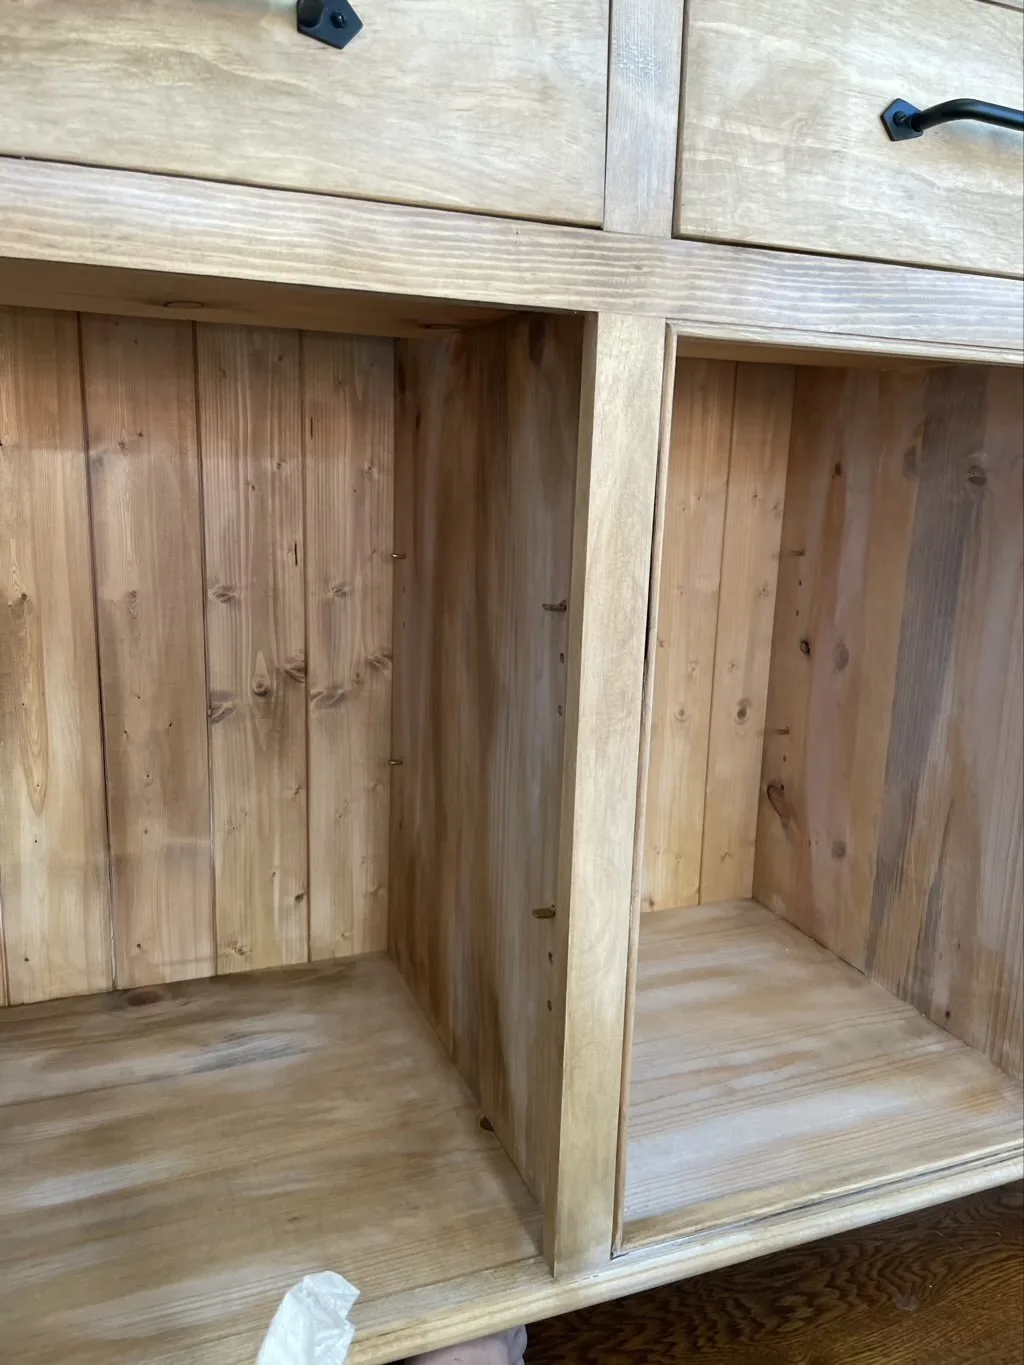
Applying the liming wax with the round brush or clean rag, you start by dabbing it on in random patterns. This is easier on places with cracks and crevices that you want to highlight versus flat surfaces where you just want to add some interest without making it look crazy. I should have targeted the knots and grain more. 
The next step is to wipe this clean. What I should have done, is wipe off the excess and then use clear wax to remove the liming wax from the flats and from the areas that didn’t need to be highlighted. Sadly what I did was rub in the liming wax and dry wipe away the excess. The results looked pretty great at first. 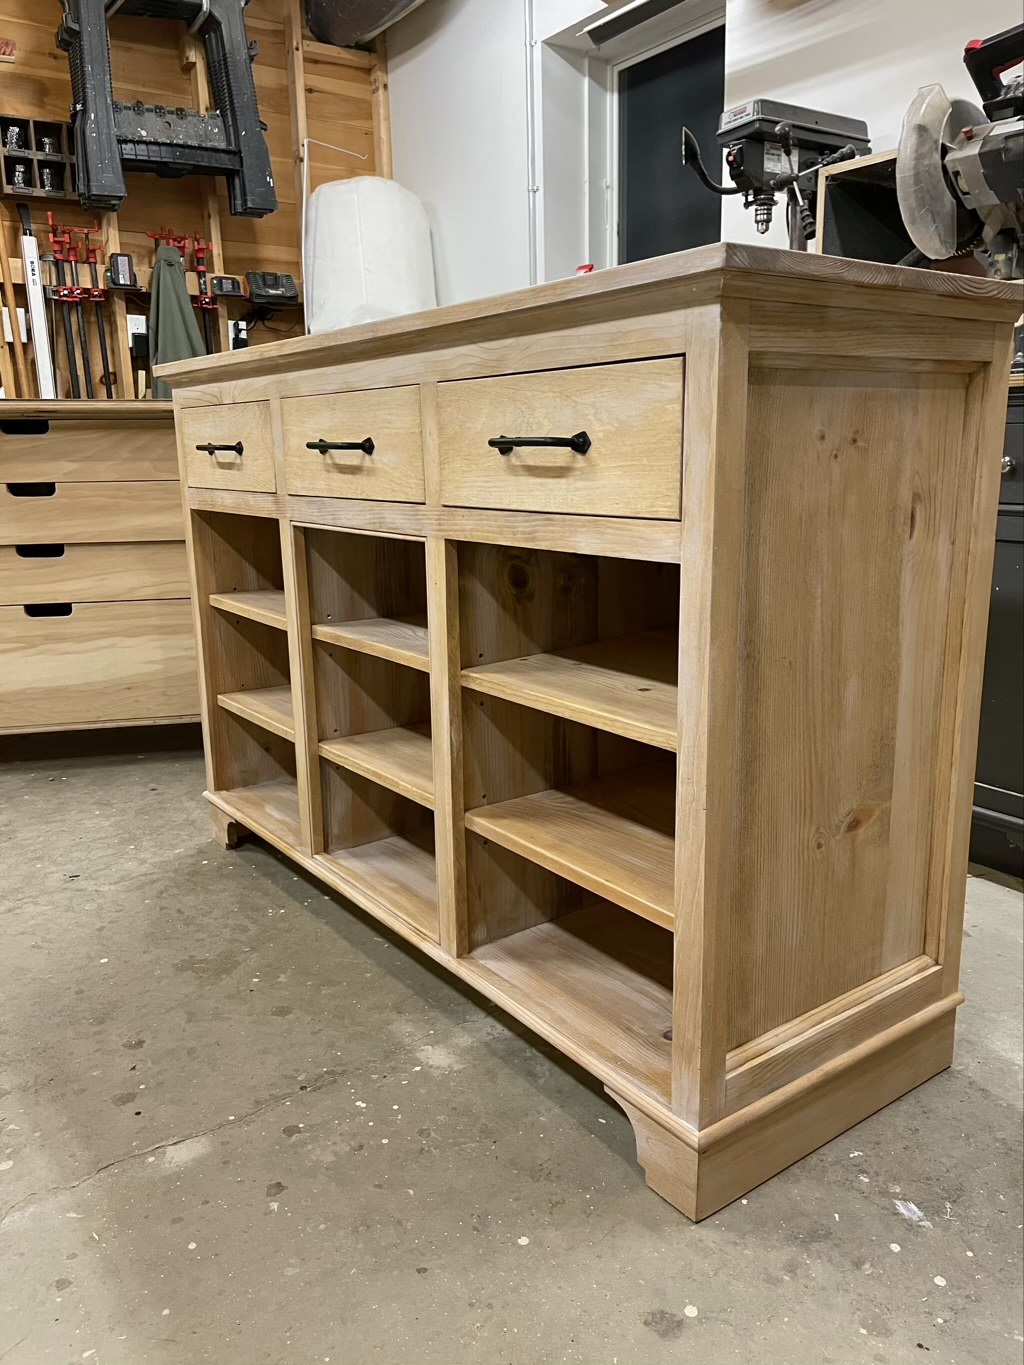

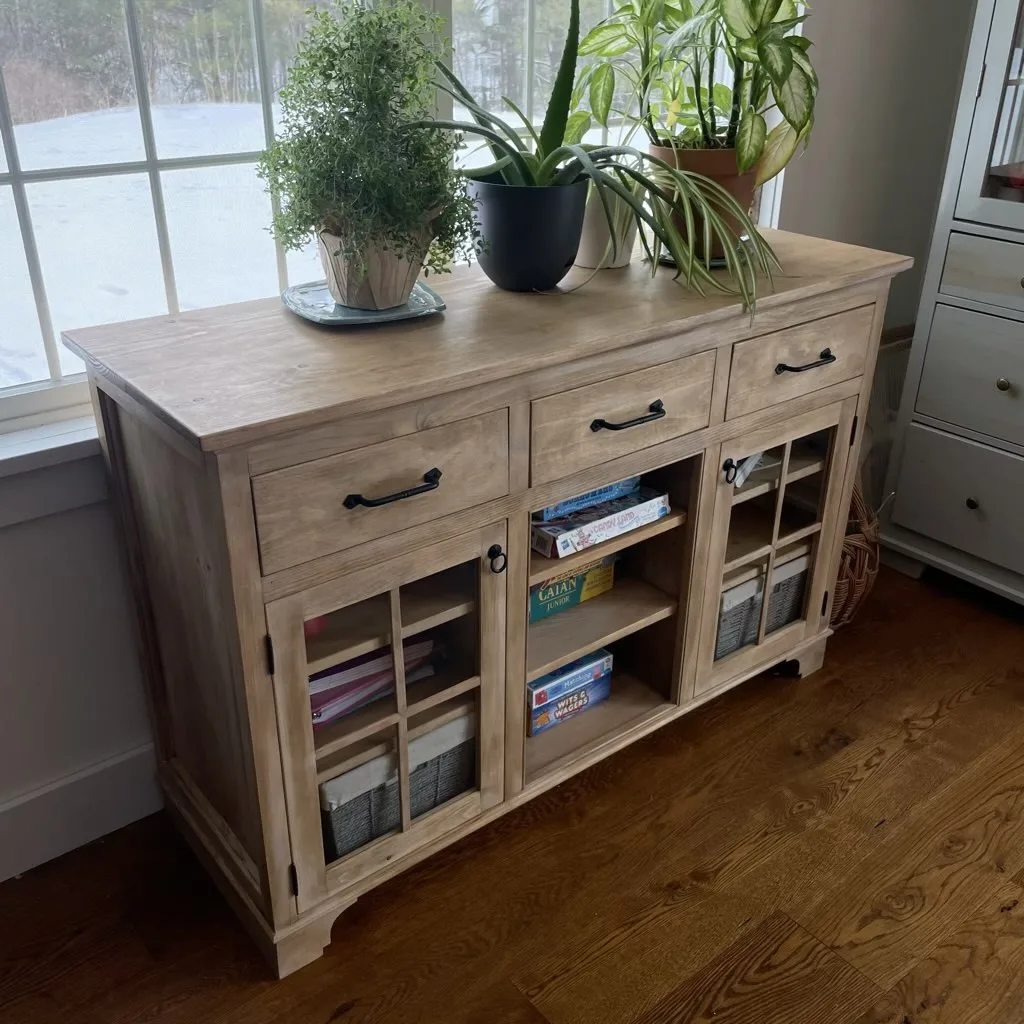
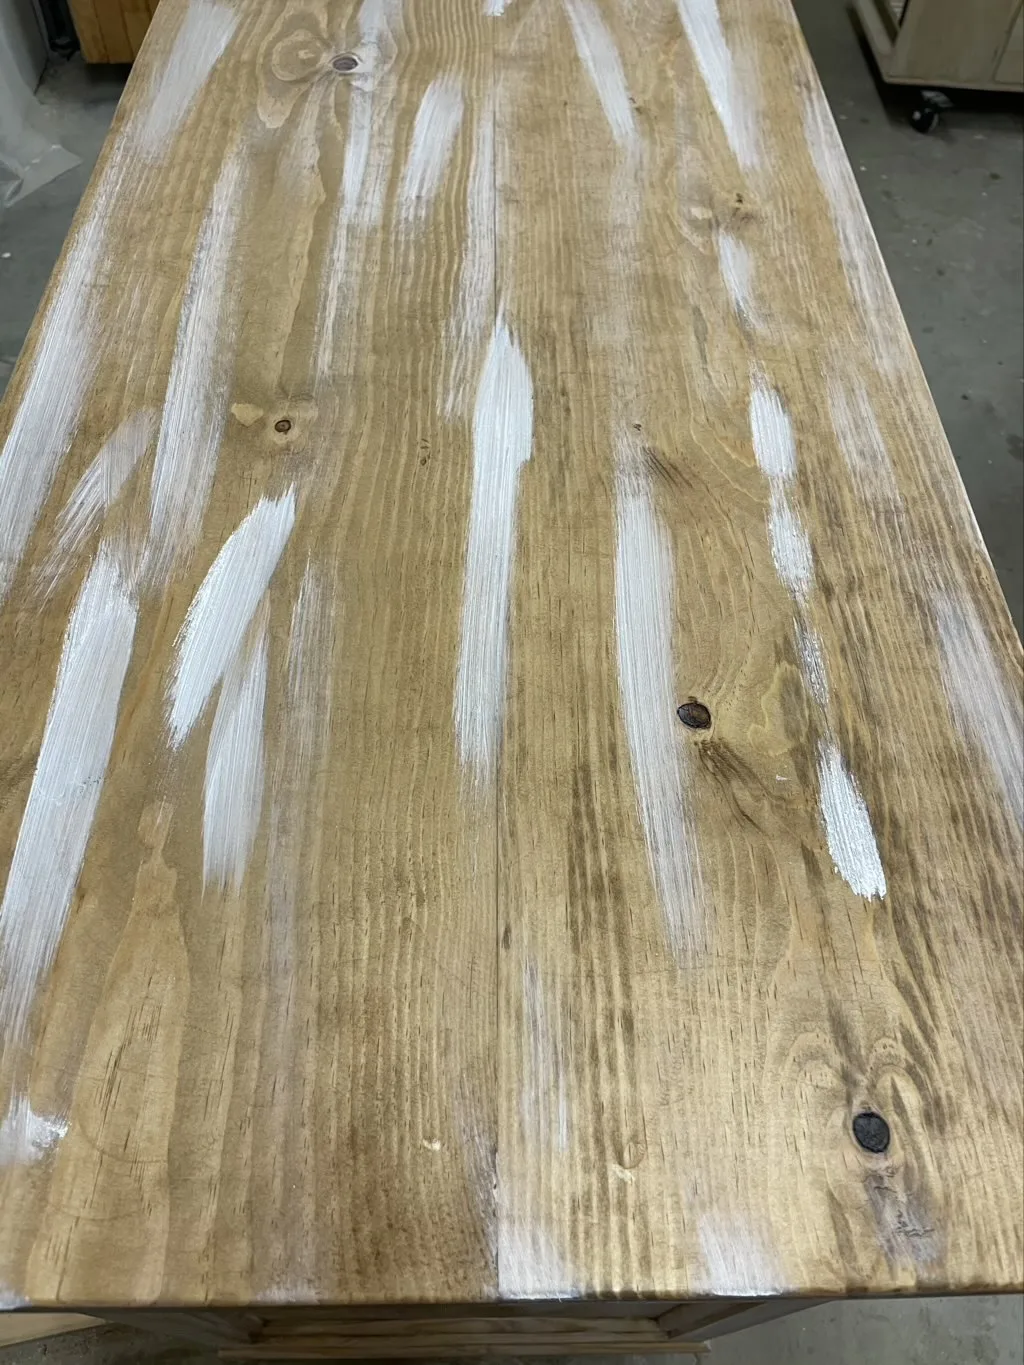
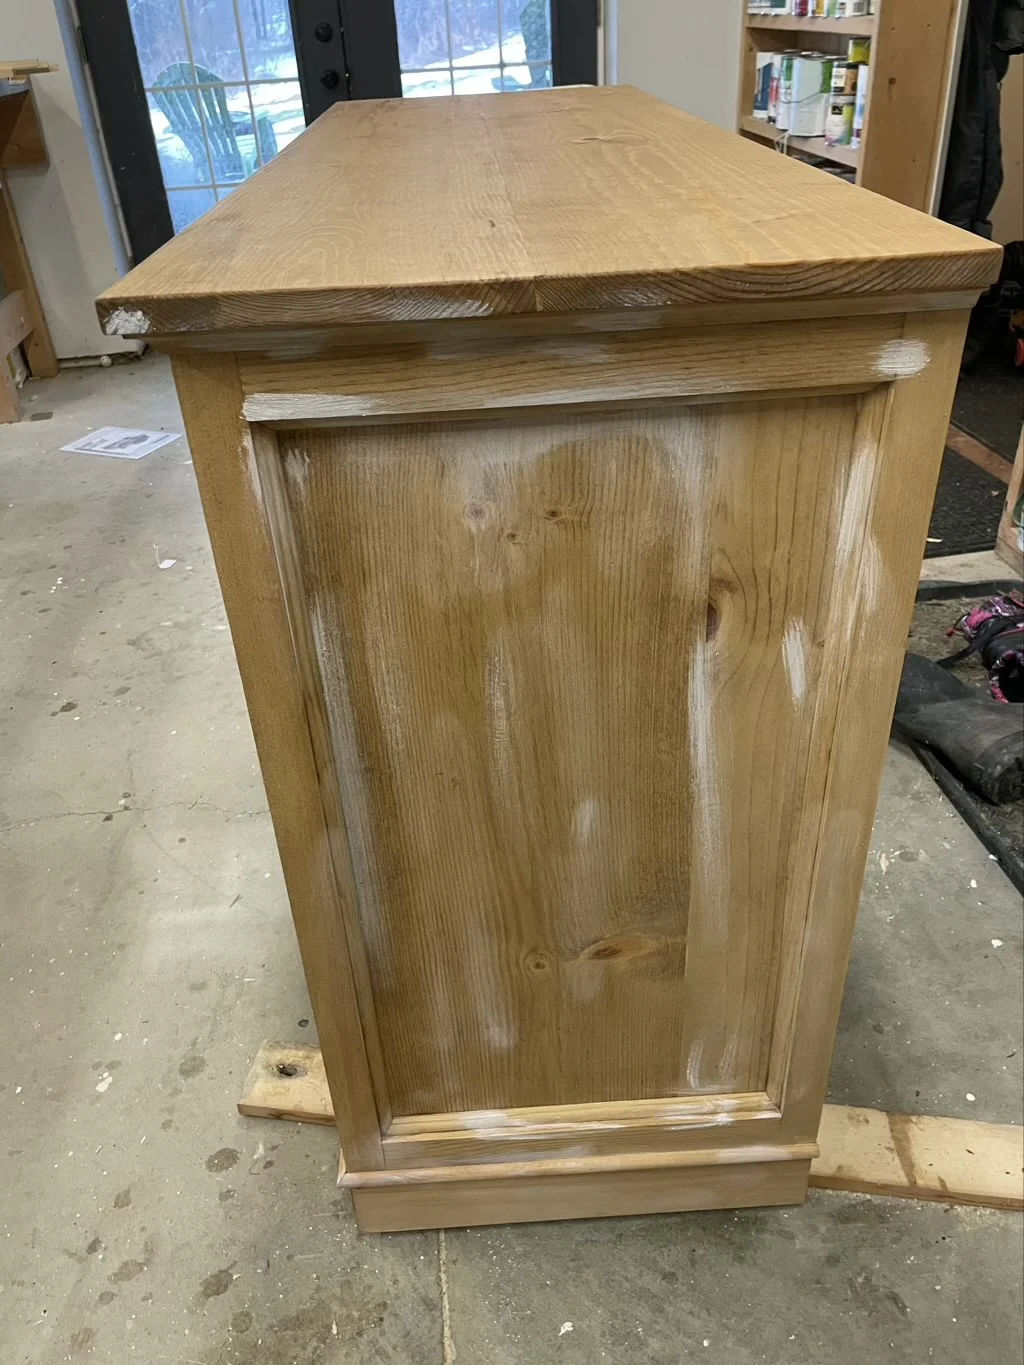
This is almost exactly the finish I was hoping for. There is white liming wax highlighting the creases and the moldings along the pieces and overall the main stain color shines through. Unfortunately a few days later I came back down to my shop and it looked a little more like this.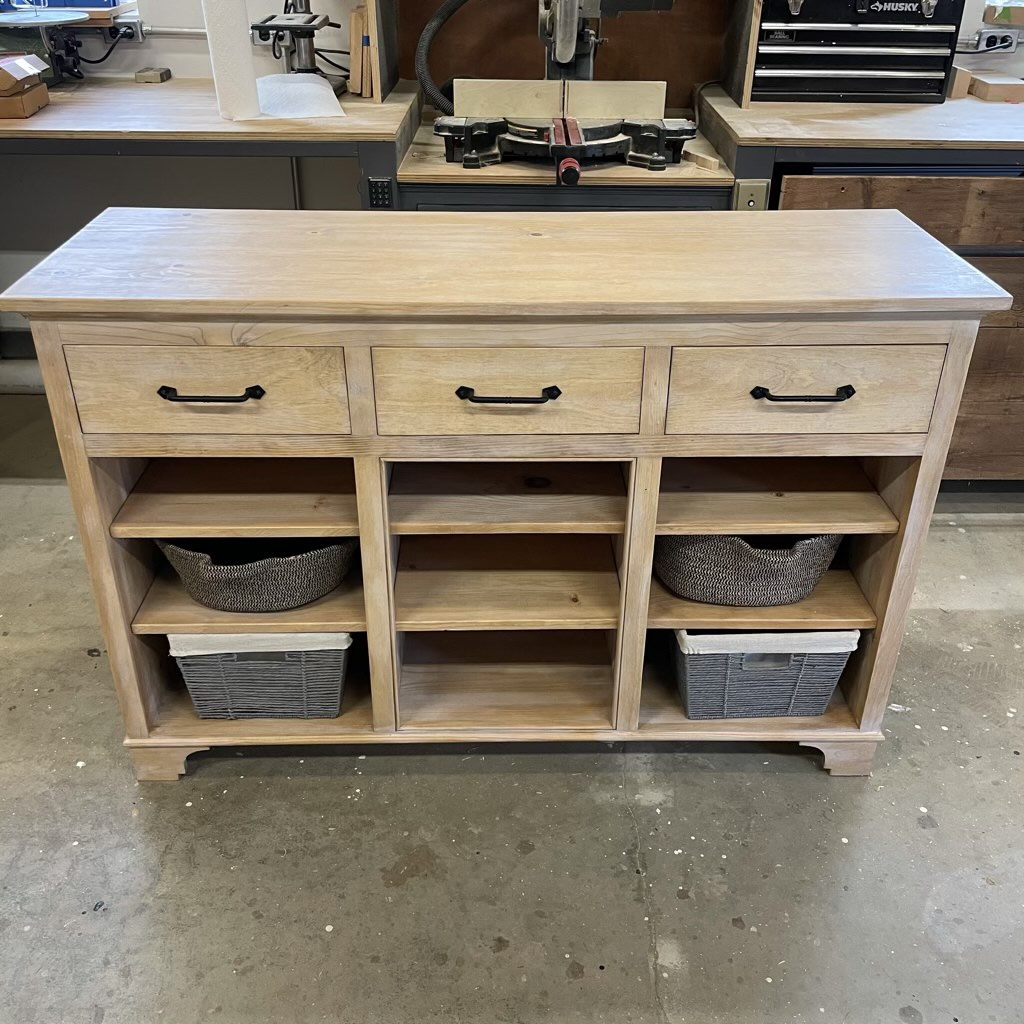

It’s not a huge difference but over those few days the liming wax had bleached away most of the interest in the piece. There was very little difference or variation, it was all kind of a flat hazy white that was far more beachy than what we were looking for. At this point I was not really excited. I had spent a lot of time designing and building this piece, got the exact finish I wanted only for it to slip through my fingers like the time I lost three legged race right at the end at Field Day in third grade. Pretty much the same amount of crying. I was frantically googling how to strip off wax and start over at this point, and really not looking forward to that.
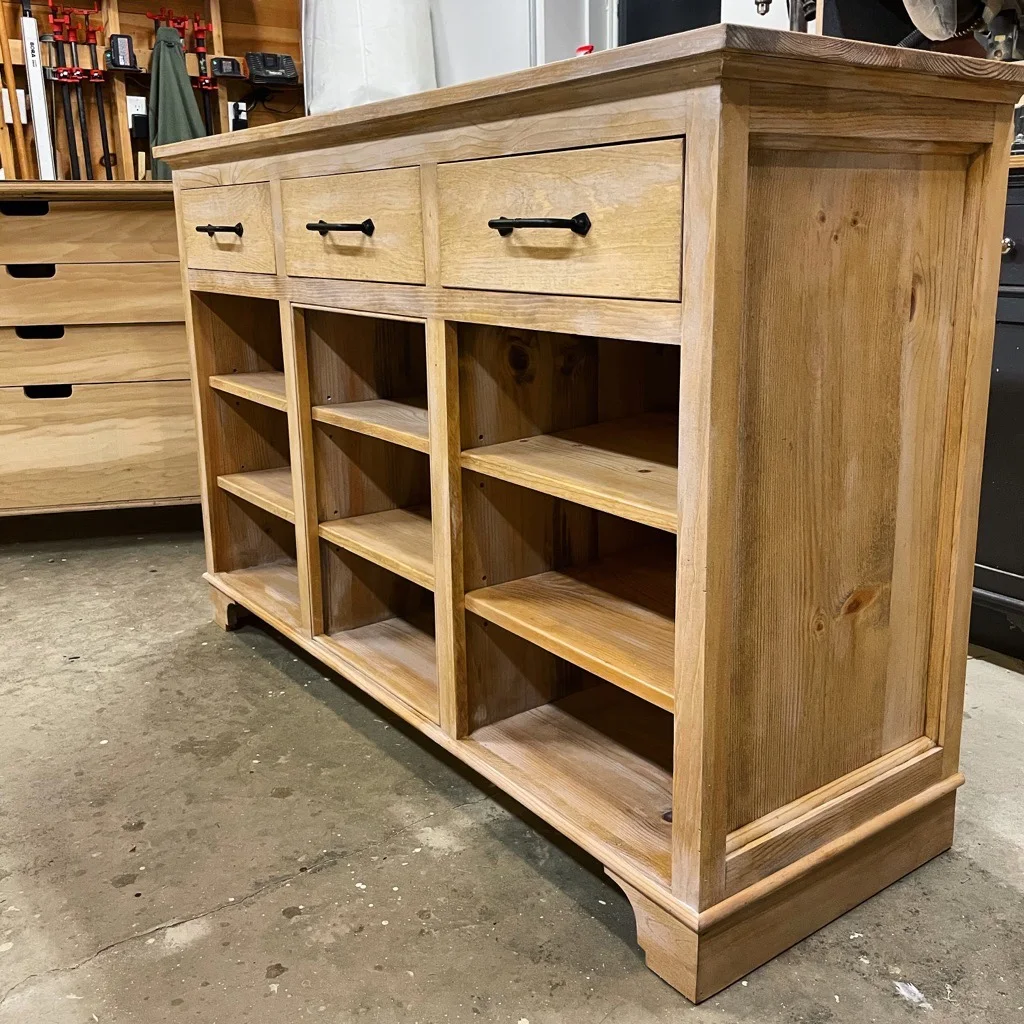
And then I found another option. Instead of taking away from the finish, I could add to it. So I bought some brown wax often used over chalk paint to age or distress finishes and applied that in areas to get back to the medium brown I was hoping for. 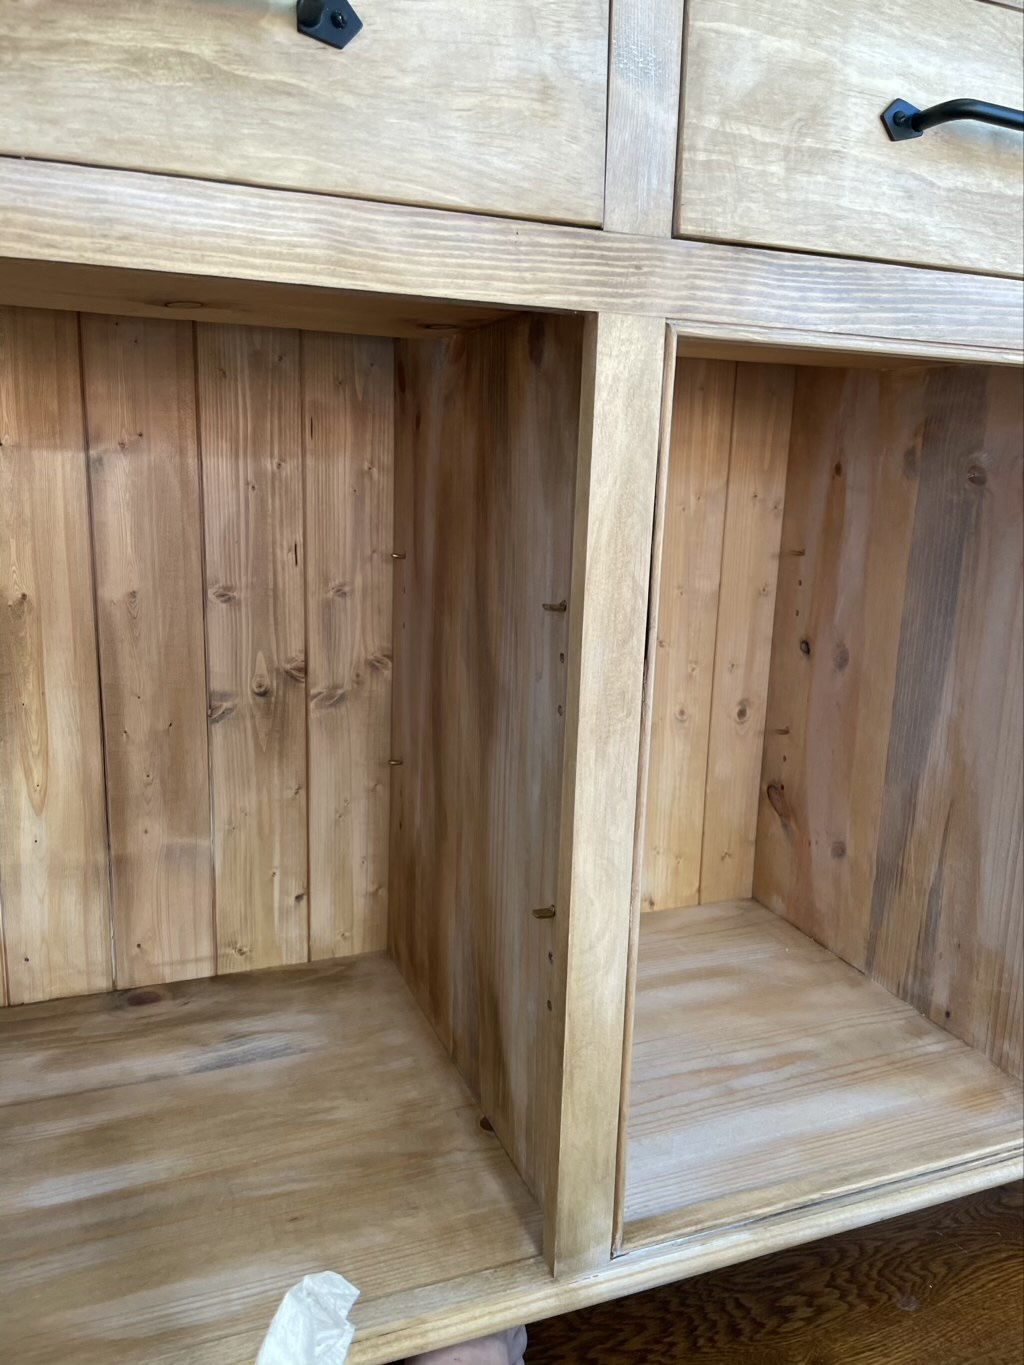
My process here was mostly just trying to knock down some of the more bleached out areas and leave the real white liming wax areas as highlights. This helped get back to a more interesting variated finish. It took a few tries to get the entire piece to a consistent look, and make sure to get more to an antique cottage or farmhouse look versus bleached out beachy look, but in the end I got there. 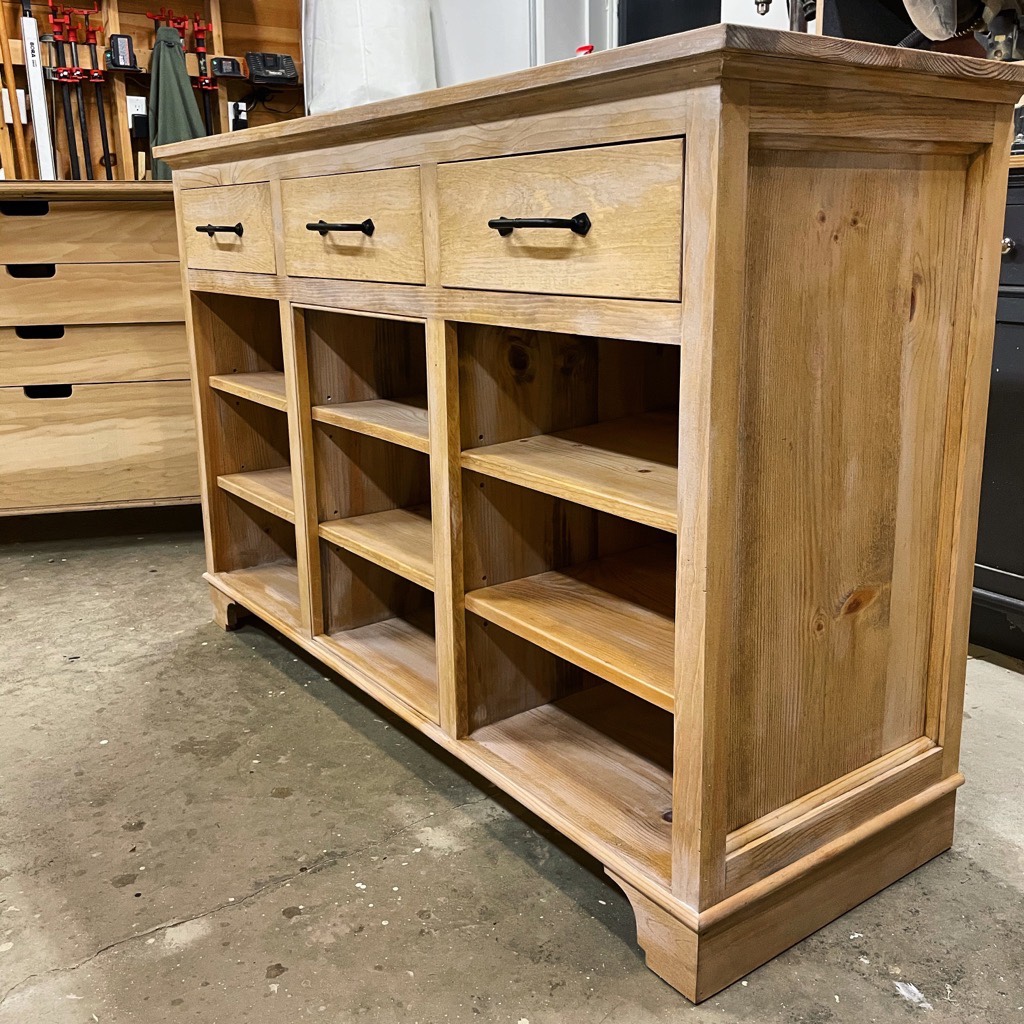
Final Verdict
I would definitely use liming wax again but there were two clear takeaways for me.
- Don’t be afraid to start with a bit darker stain.
- Use clear wax when removing excess liming wax so that I don’t rub a bleaching agent in across the entire piece.
Liming wax is also meant to evoke an older piece of furniture. An imperfect finish should be embraced, especially when you are in the middle of finishing it and panicking if you just wasted weeks of effort building this thing.
Post Final Thoughts
After I completed this project I later tried again with making a reproduction antique door and finishing that with liming wax over stain. I took a lot of the learning from this project and feel like I got an even better result on that one.