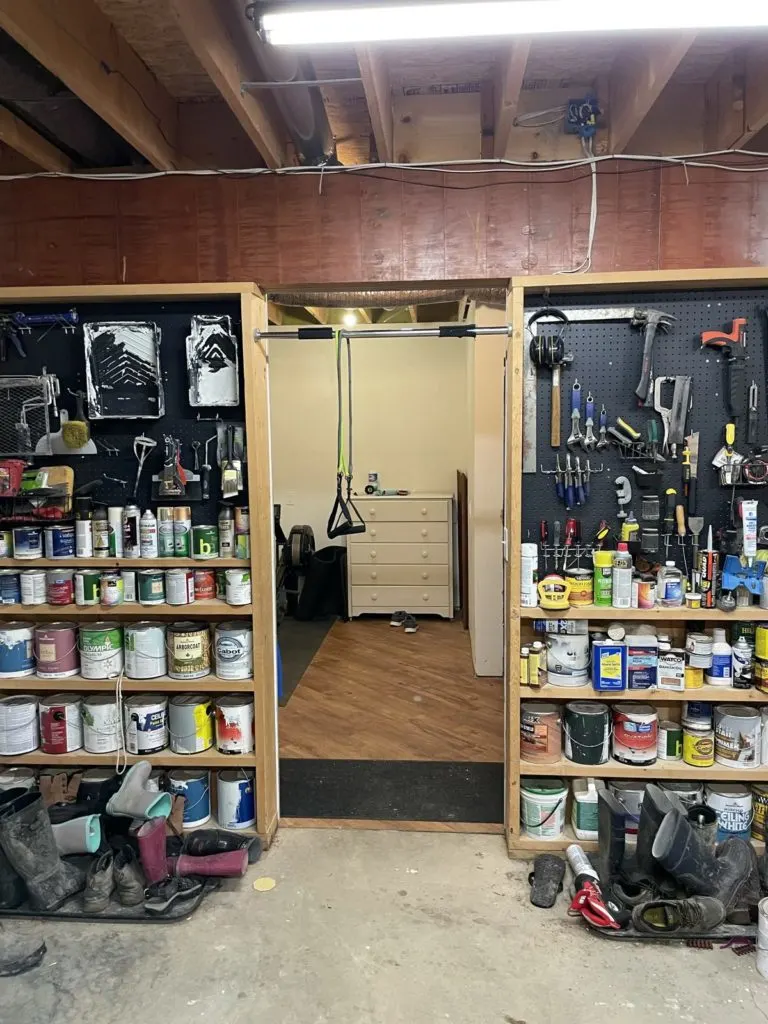
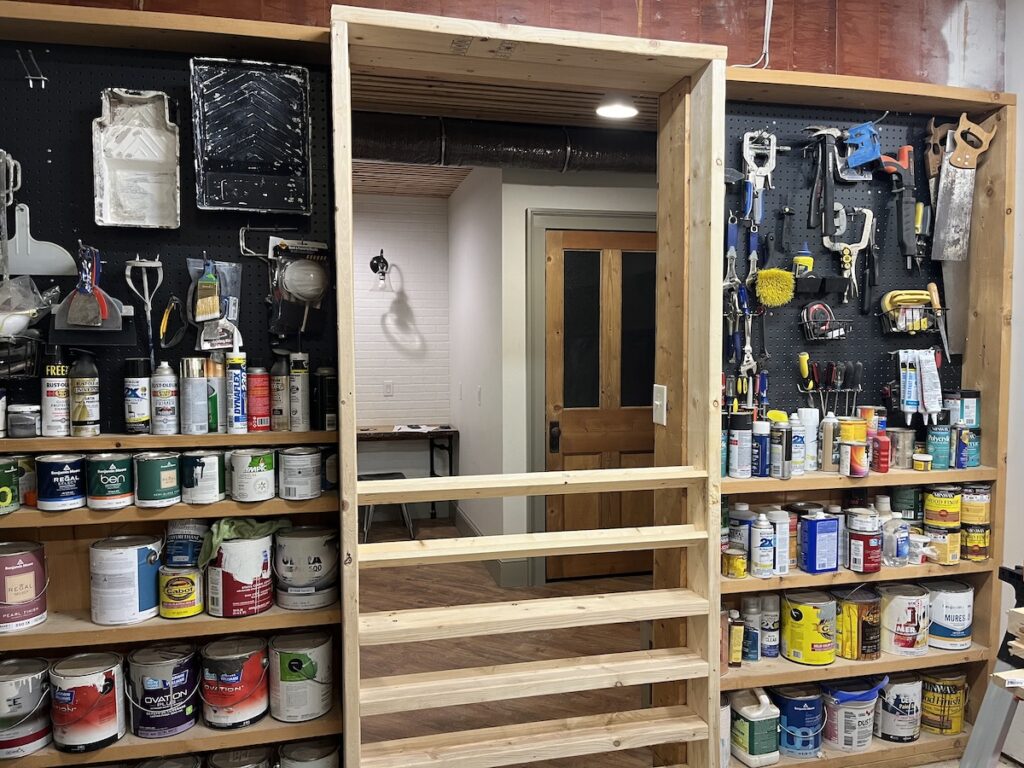
We’ve had paint shelves in the basement separating my workshop from the other room for years, but no door between the spaces. In order to fully separate them and add more shelving it was finally time to build some rolling workshop storage.
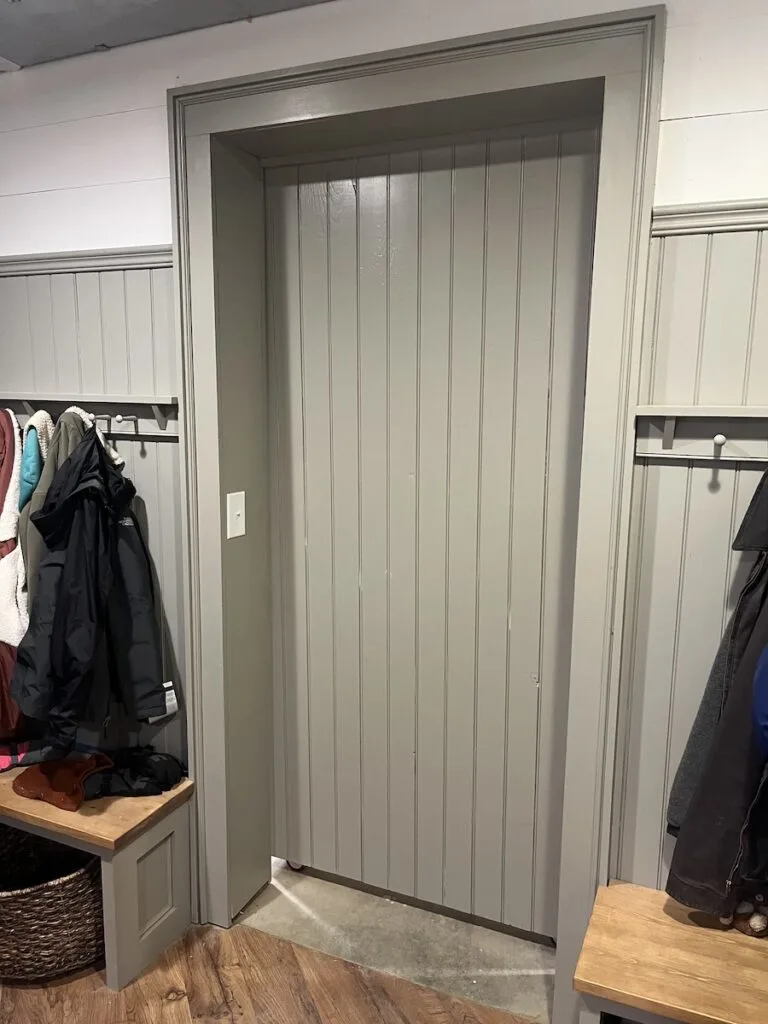
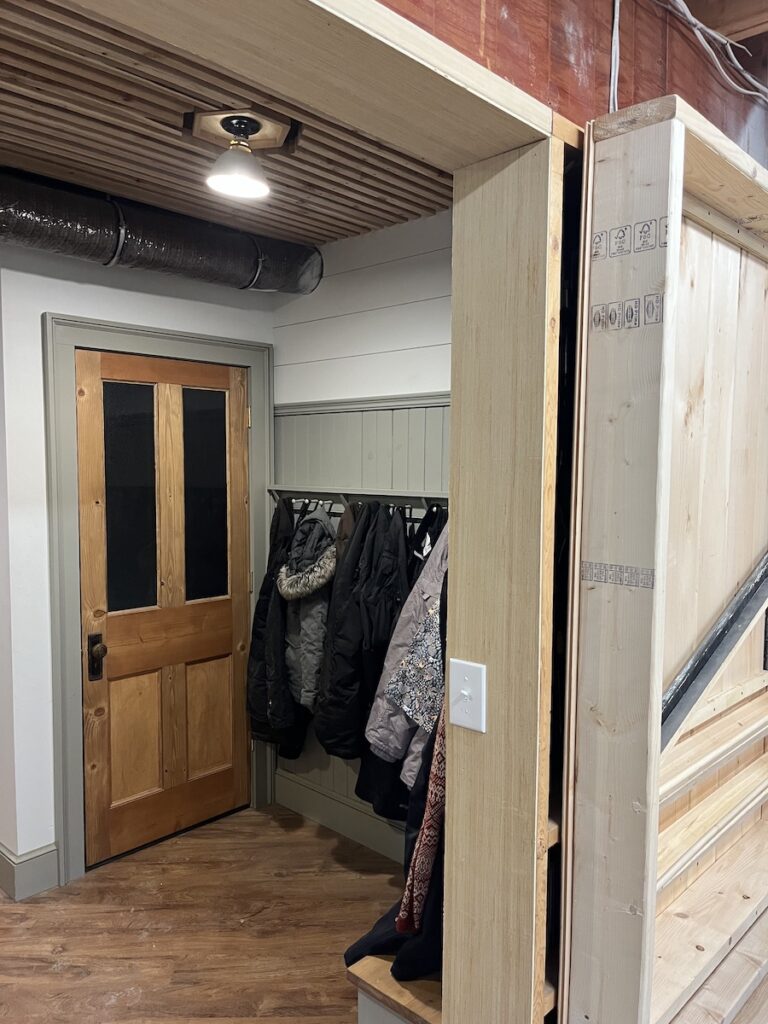
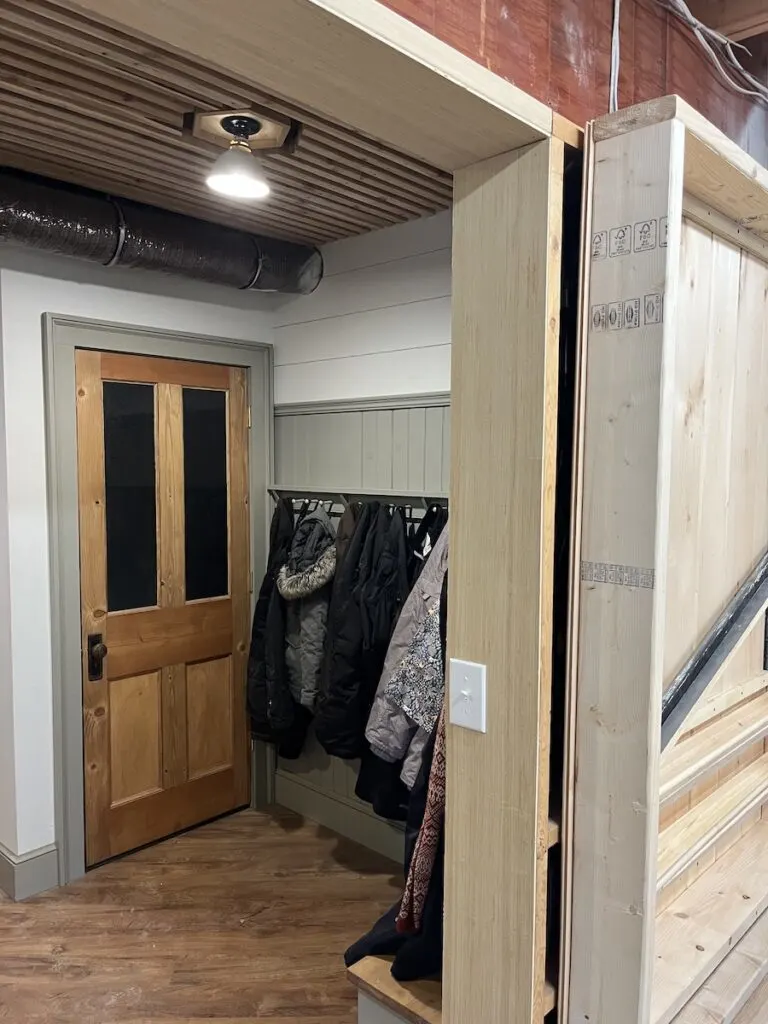
Here’s a reminder of the space before we wrangled all the shoes and boots into the boot rack.

I really wanted a hidden door here.
I had played with the idea of doing a swinging door or just locker-like doors over top that looked like there were three even spaced cabinets. The sad fact though was that I had outgrown my paint storage shelves already and could use more pegboard hanging space too.
I didn’t end up with a very well hidden door, but overall, I did get a much more usable space.

Tools and materials for rolling workshop storage
- 2 x 6 framing lumber for frame
- 1/4″ plywood for wrapping the sides
- 1 x 3 painted finger jointed pine for frame
- 4″ casters from Harbor Freight
- 1 x 3 boards for spray paint shelves
- 1/2″ dowel for spray paint shelves
- 1 x 8 pattern boards for backing
- 3/4″ L shaped aluminum track
- Sliding closet door adjustable rollers
Frame up the rolling workshop storage
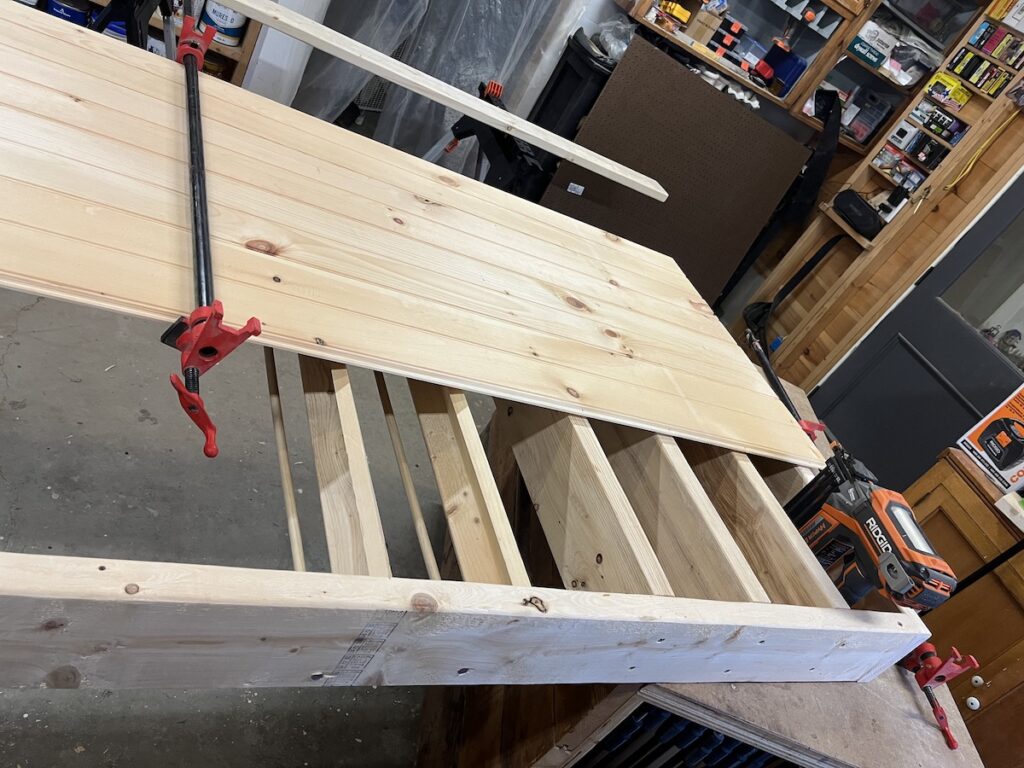
The existing shelves are build from 2 x 8 framing lumber with a treated 2 x 8 baseplate in contact with the concrete floor. The existing shelves work great for fitting gallon sized paint cans. In order to keep the rolling shelf lighter, I used 2 x 6s that work perfectly for holding quart sized cans.
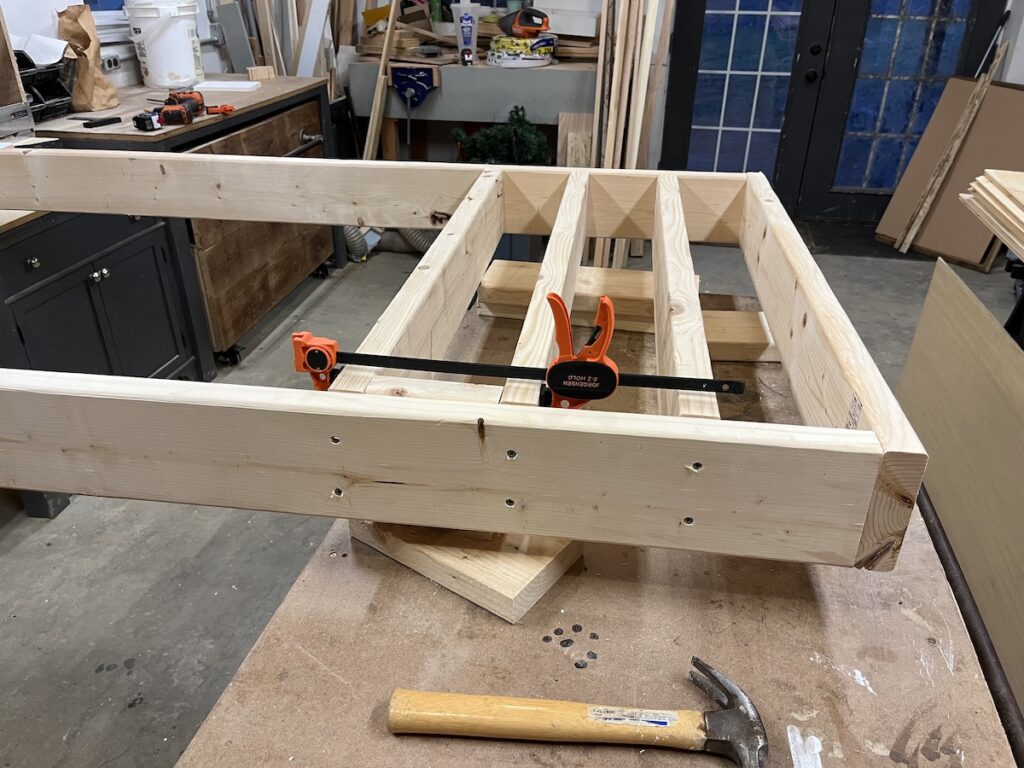

Since I was going to be hiding the sides anyway with some quarter inch plywood I didn’t worry about the screw holes. The only real measurements needed here were to try to get the top of these shelves to line up with the top of the existing shelves after casters were added.
Spray paint and other spray things (adhesives, finishes, etc.) take up a ridiculous amount of shelf space so I decided to make those tip out shelves. After lots of careful testing and mockups (read: I winged it) I settled on 30 degrees for the right angle.
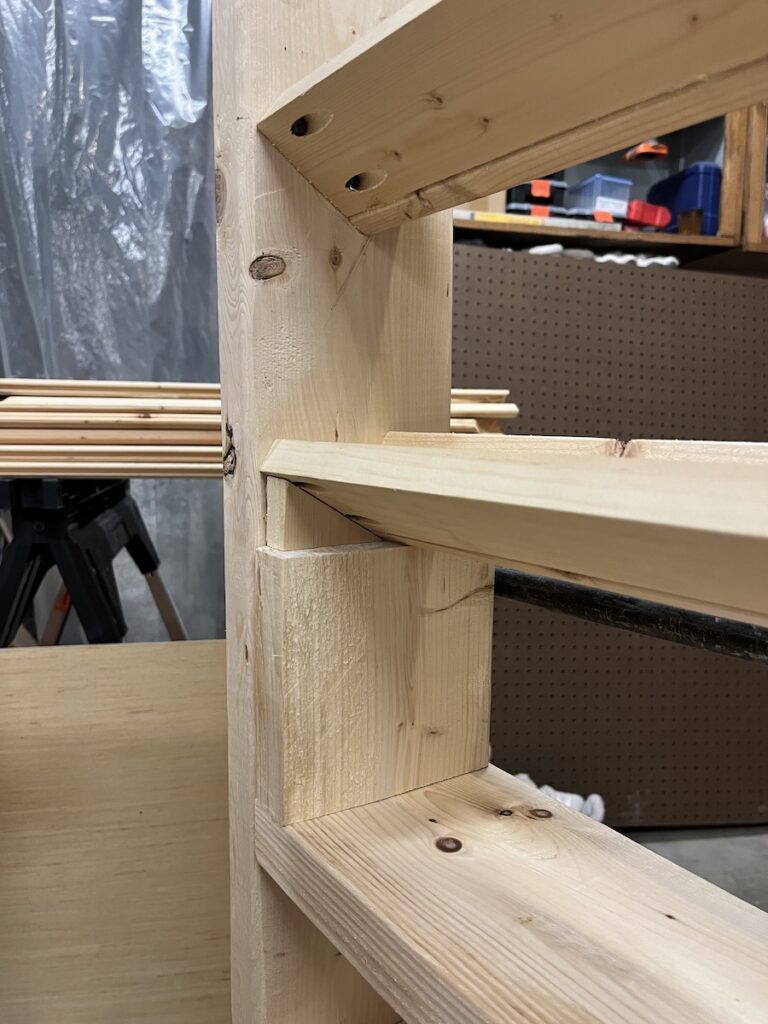
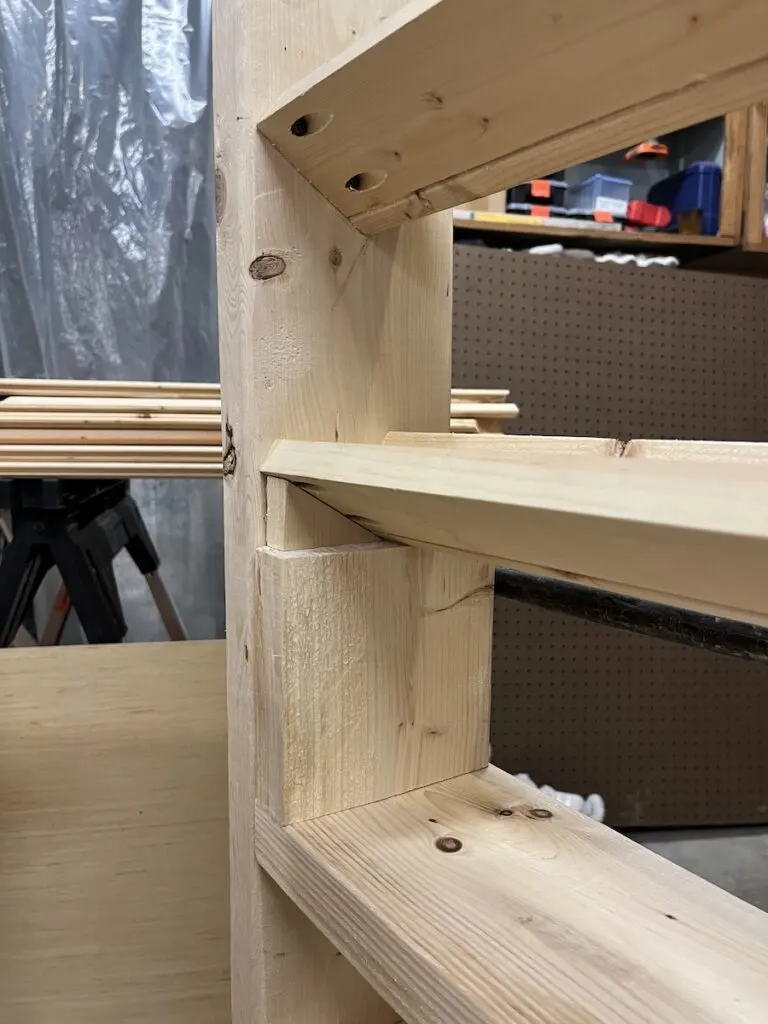
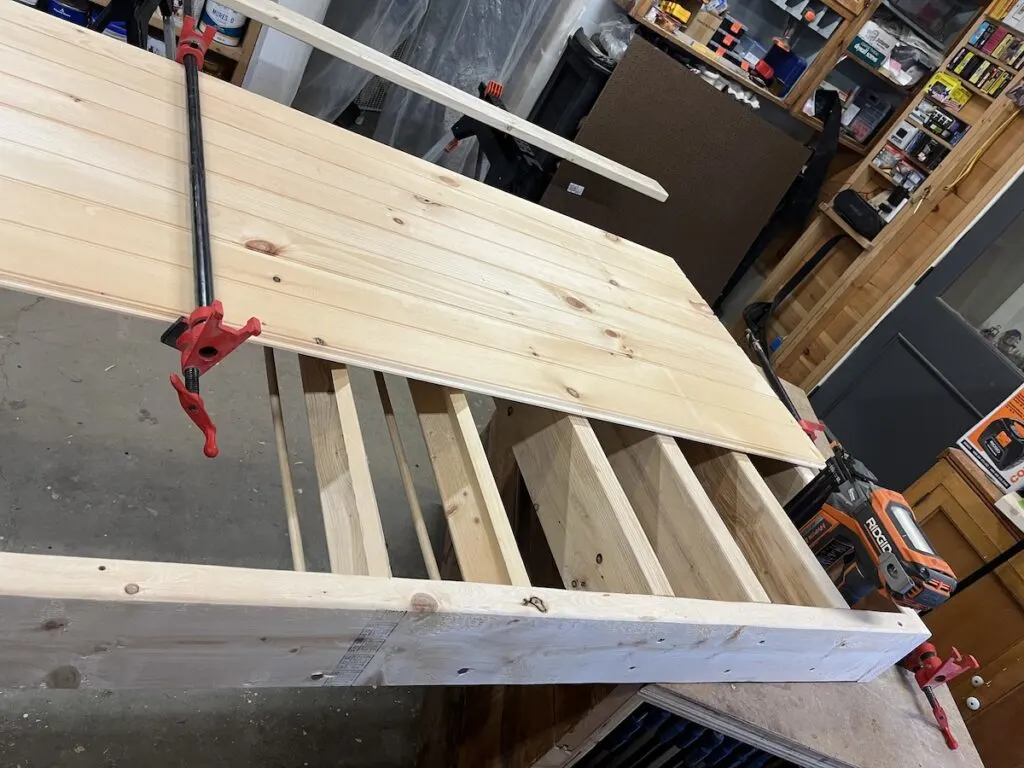
I think I then lost track of which side was facing out versus up and ended up with shelves that couldn’t quite keep cans on them. The smaller cans were fine but the taller ones, particularly if they were full tended to tip right out, especially when it rolled.
Thankfully I had some left over dowels sitting in my shop from a project that I planned to do two years ago, decided against and forgot about. I call that planning ahead.


The last step with the base framing was to add the casters to the bottom, trying to place them as far out to the sides as possible for stability. I originally inset them thinking I wanted them to be more hidden.
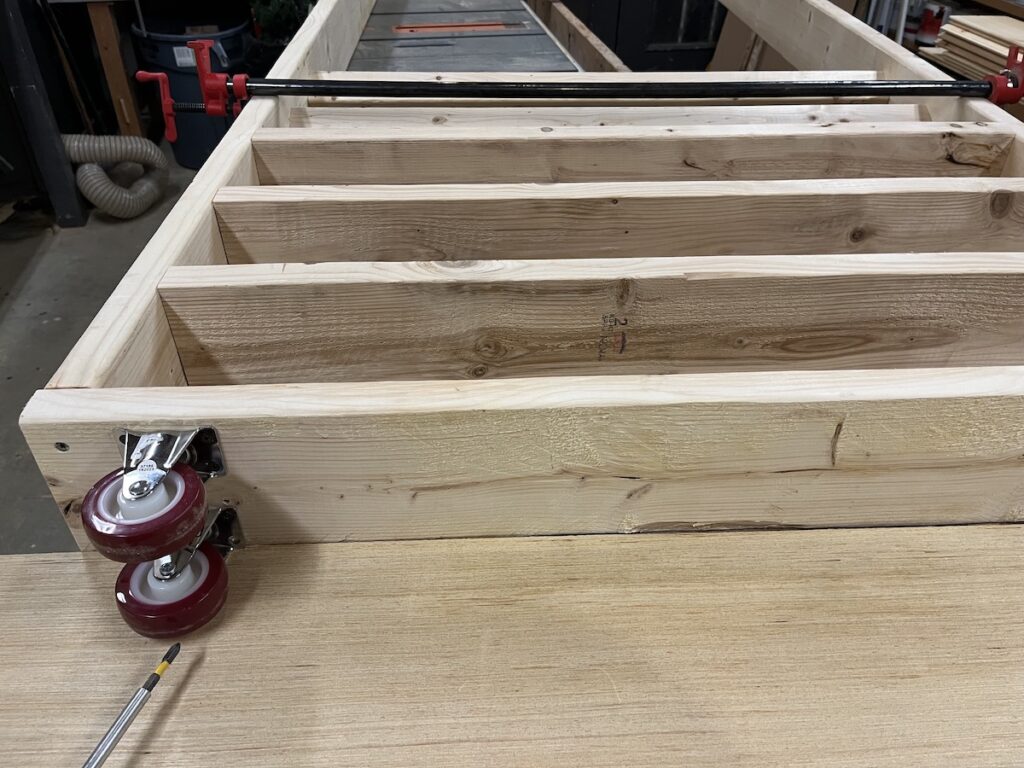
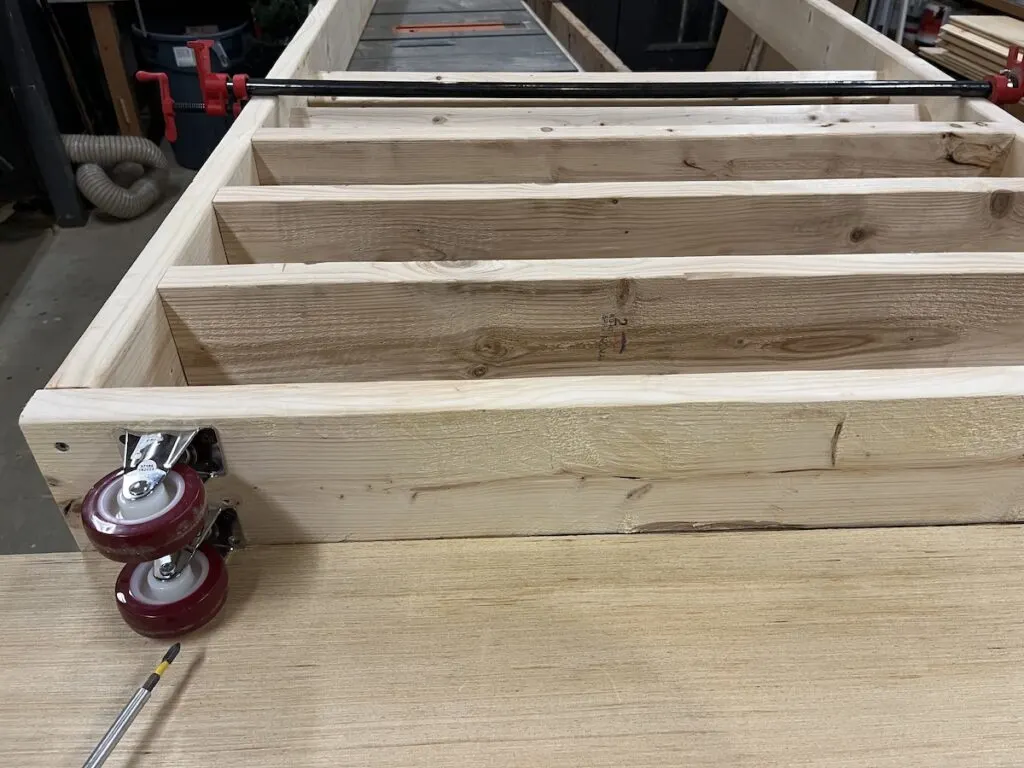
That was a mistake and made it all far too tipsy. Thankfully, it was easily corrected.

Make the rolling workshop storage shelves into a hidden door
Now that I had some functioning rolling paint shelves, it was time to make it into a door. Of sorts. I started by adding the same paneling boards that I used in the mudroom / office / workout room. I really need a better name for that space.
We’re going with the Danger Room. At least until my wife reads this and stages an intervention that no, we absolutely are not calling it that.
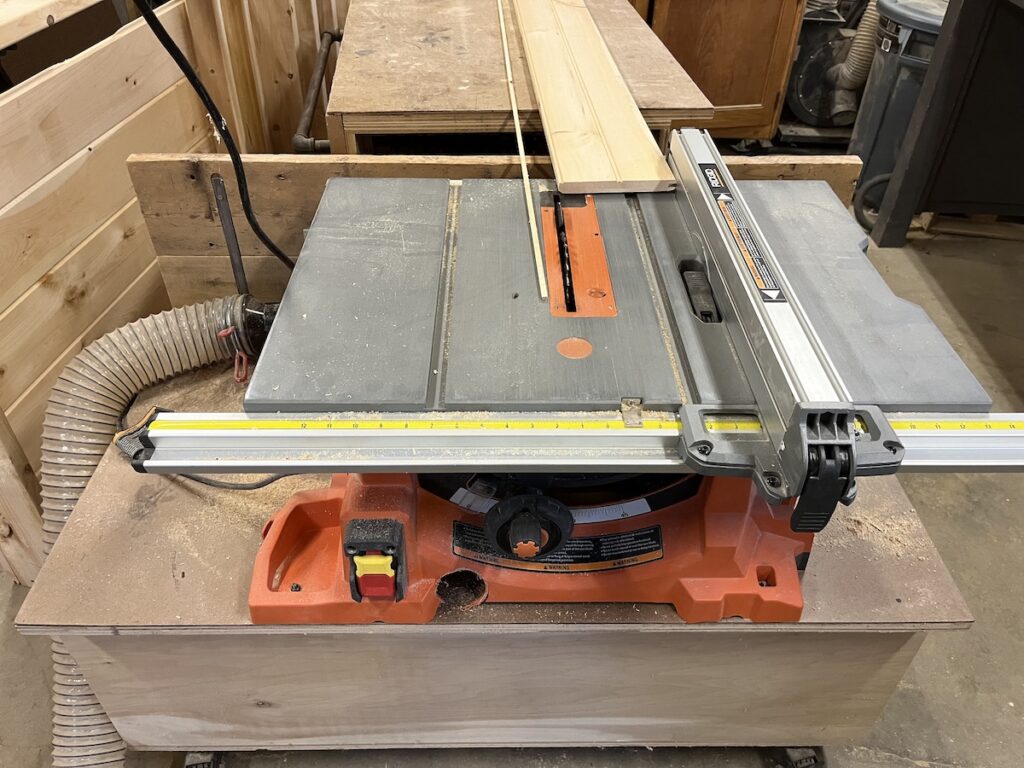
Thankfully the only ripping I needed to do was to take the tongue off the last board. I can’t honestly claim any credit for that as I only knew I needed at least 7 boards to cover the space. But it’s still unreasonably satisfying to have so little waste in a project.

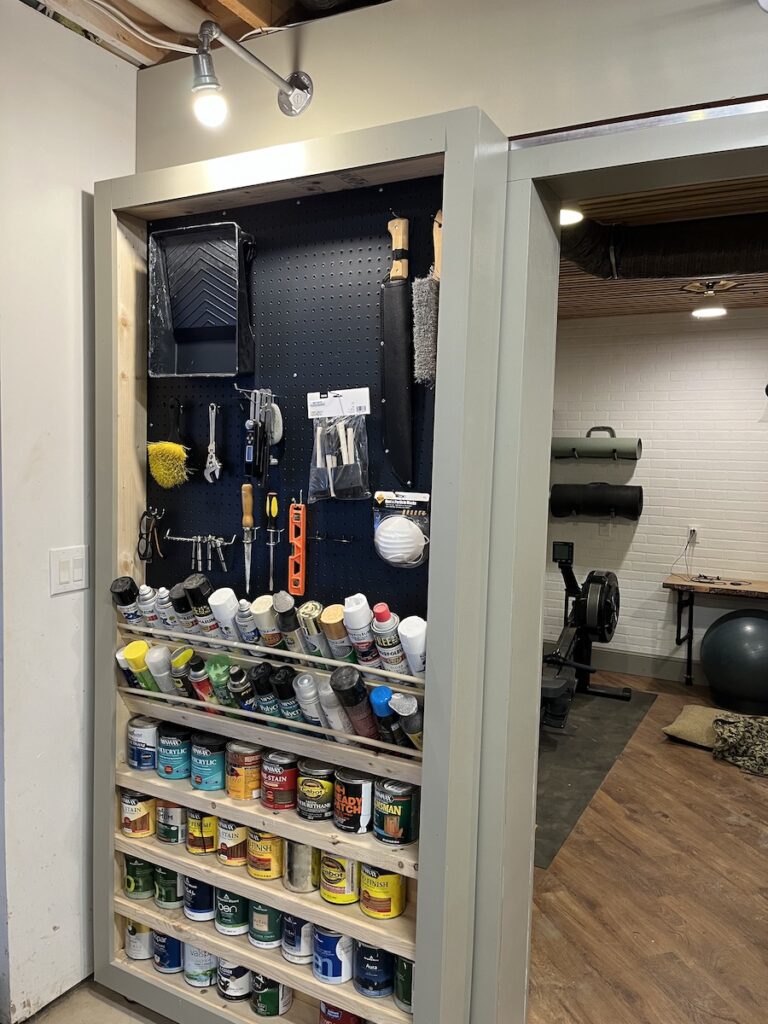
With a solid back on the piece I moved on to adding some more pegboard. I still like the look of the dark inky blue Soot color that I did originally so I stuck with that. First I added some 3/4″ spacers to give room for the hooks to attach into the pegboard.
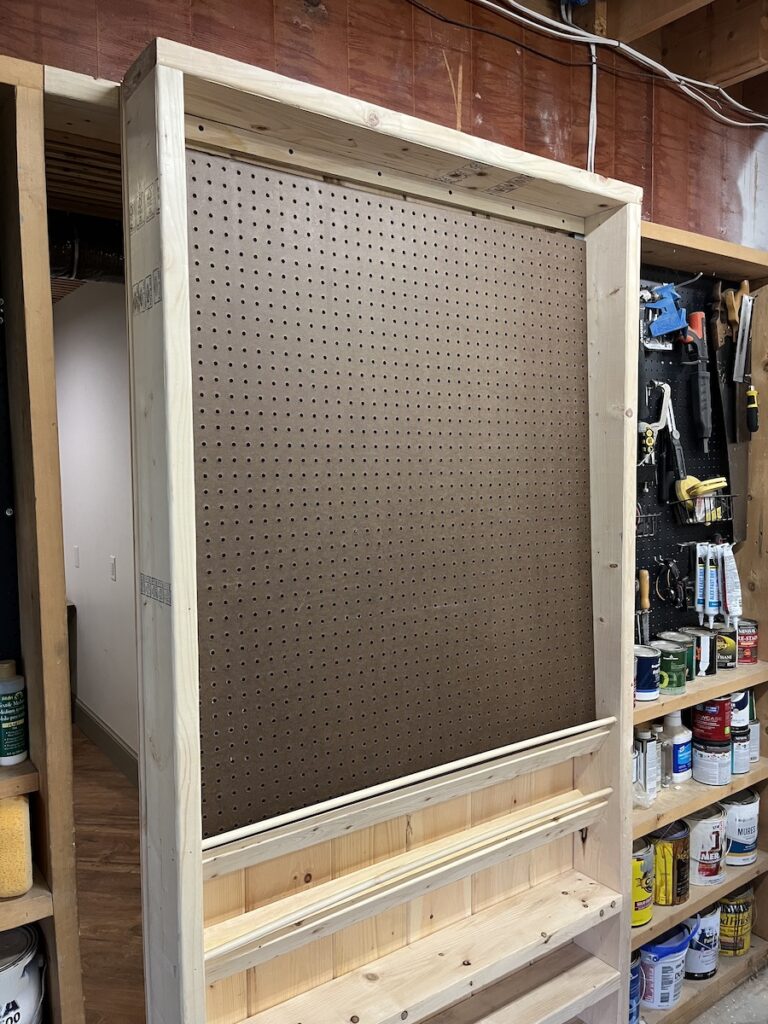
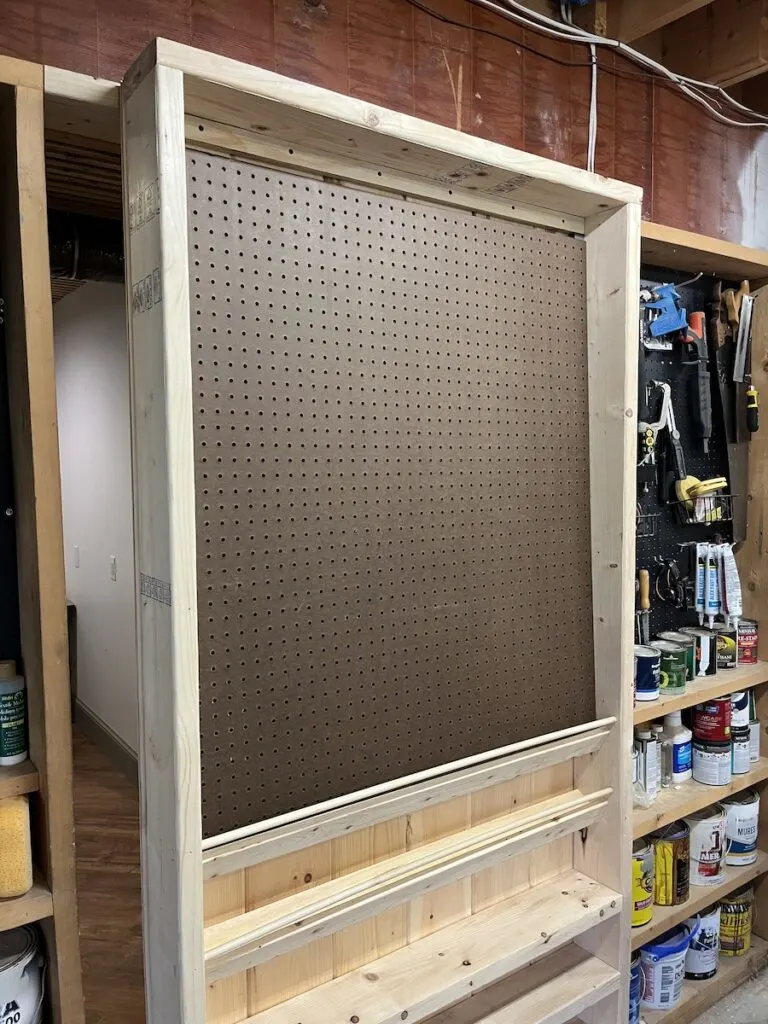
Before I installed the pegboard I painted it and the spacers behind. I didn’t have to paint the entire back of the top. Anywhere that the pegboard was right up against the spacers the wood would have been visible.
Keeping on track
In order to keep the rolling workshop storage from wandering out into the shop or more likely slamming into the fixed ones, I needed a track. Ironically the barn door craze that is still going strong could have helped me here. I considered using one of the thousand barn door hardware options, included actual barn door track from the feed store. In the end, it was all a little too spendy for this shop project.
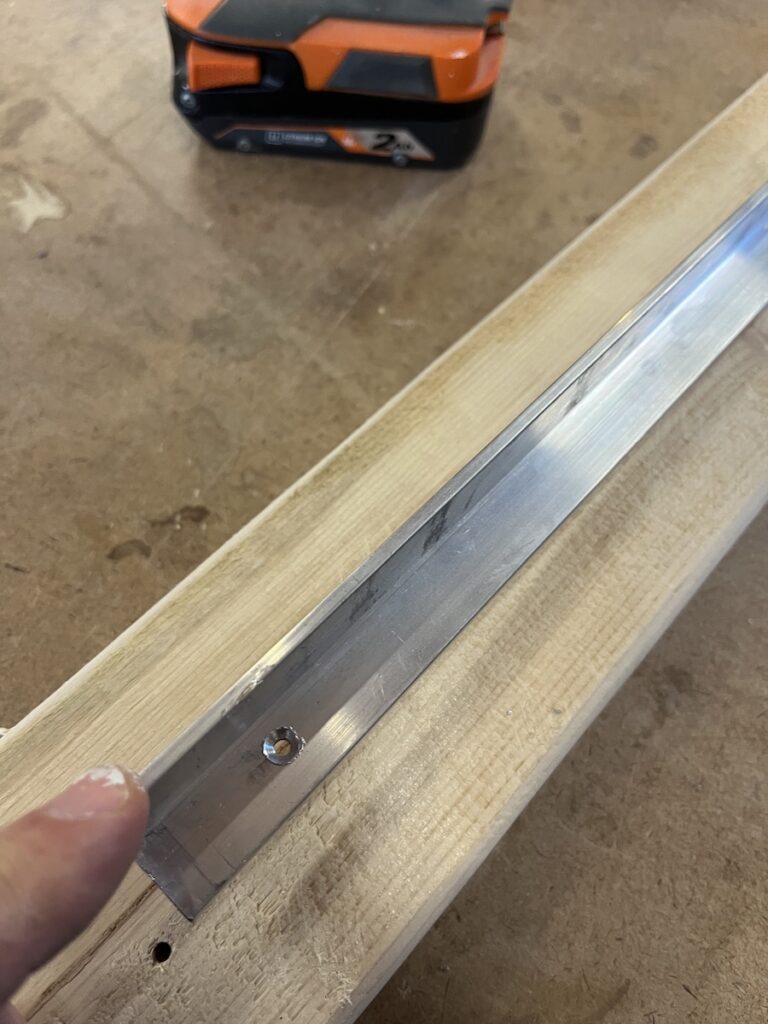
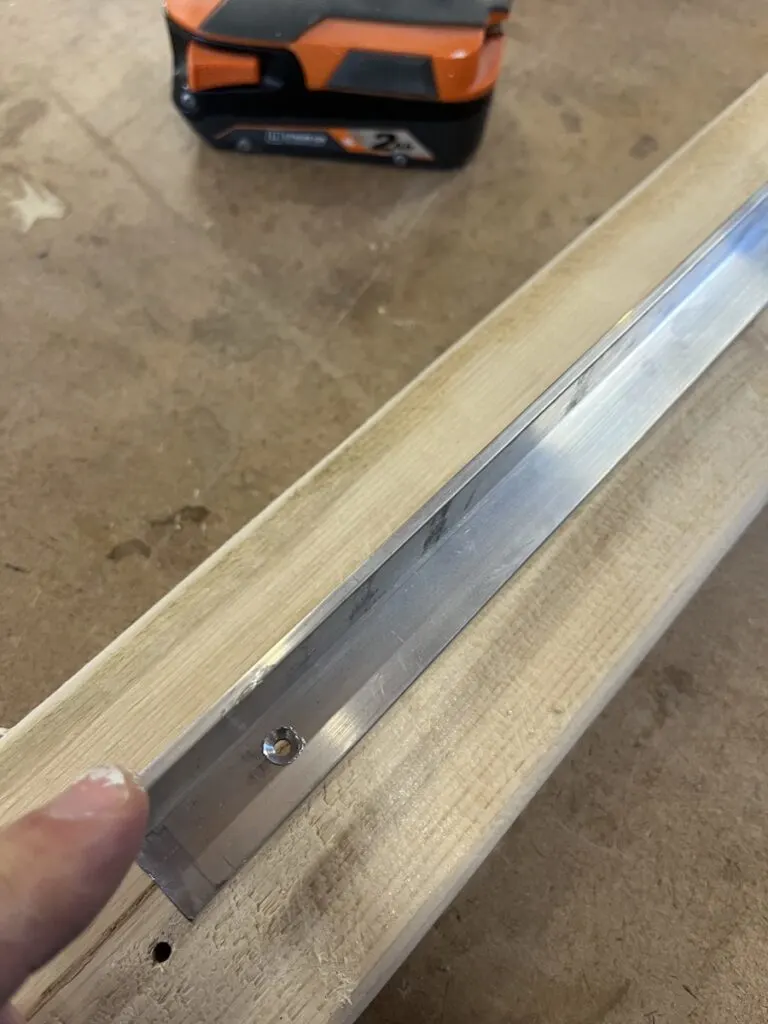
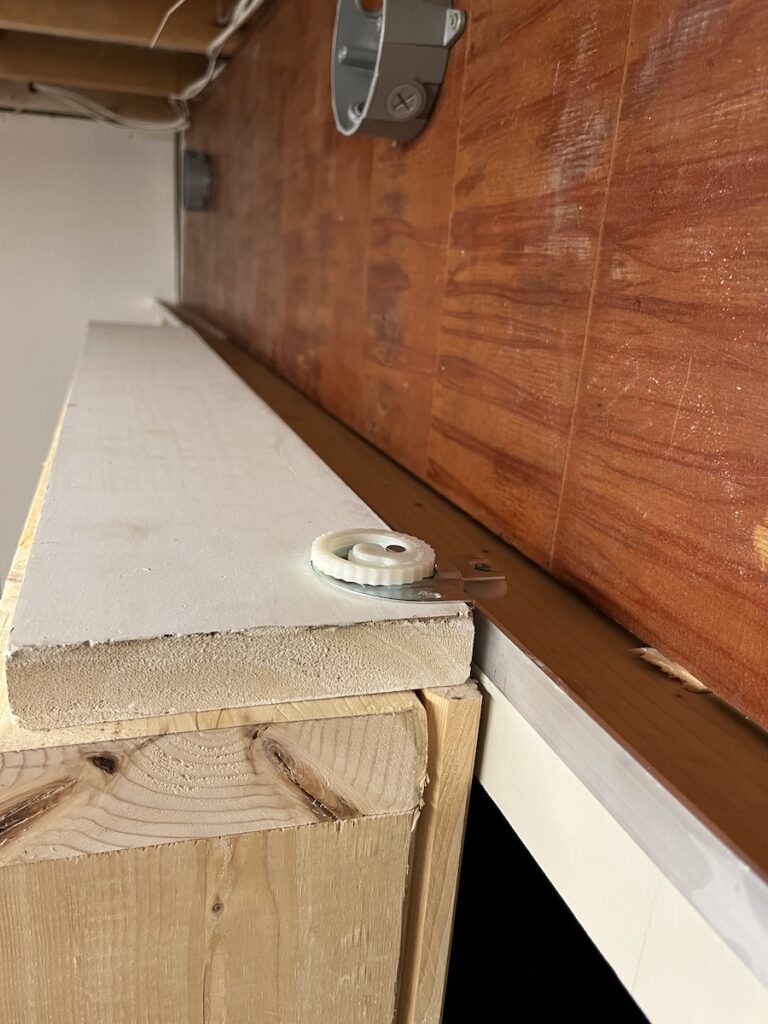
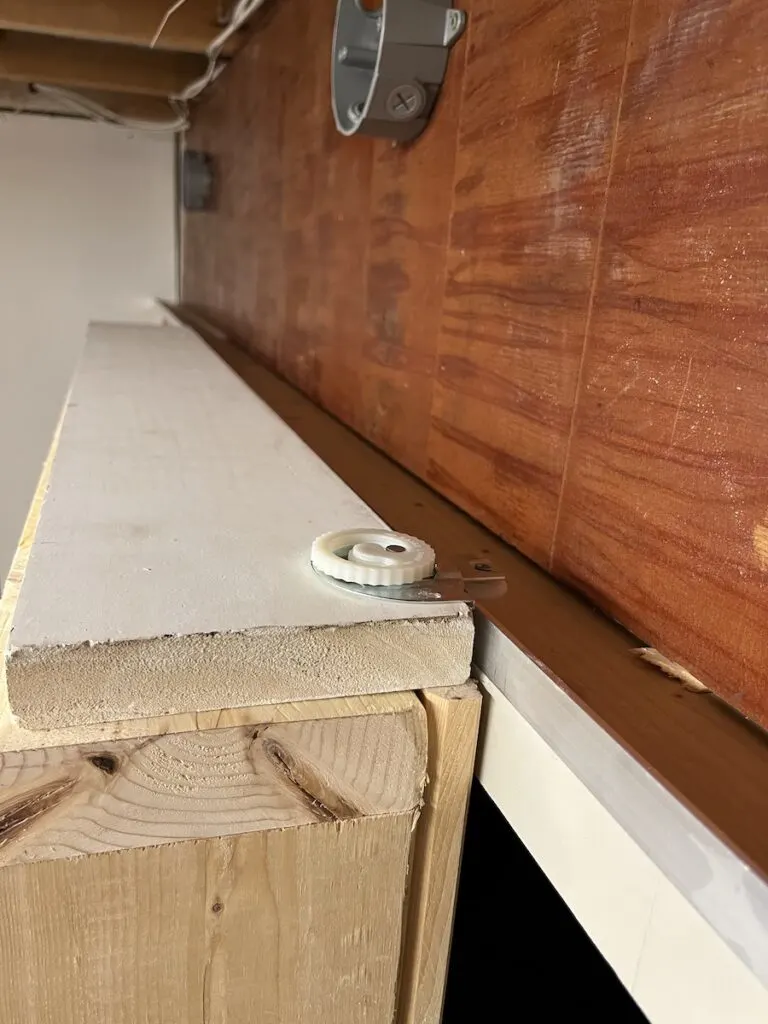
Instead I bought some 3/4″ angle aluminum from the hardware store and a pack of closet door rollers. The rollers are meant to hang vertically on doors normally but I put them horizontal here. I needed to make sure that all of the clearances made sense and it would be able to roll unimpeded.

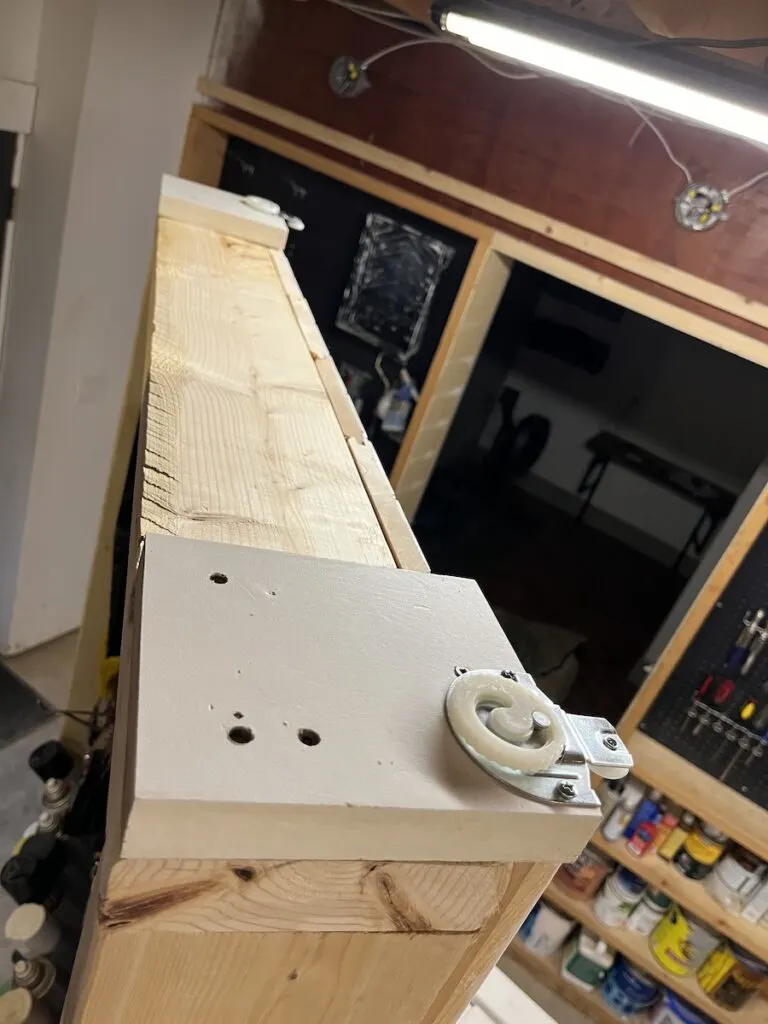
After a bit of dry fitting, I started getting everything fixed into place.
Trimming out the rolling storage shelves and hidden door
Ironically the first step in adding trim was removing trim. I had to lower the doorway height so that I could run the trim across the front and not see it through the doorway if that makes sense.
I had placed the original trim up in the Danger Room (TM fight pending with Marvel still) back when we added all the wainscoting and benches. Popping it off was relatively easy and then I cut it down.
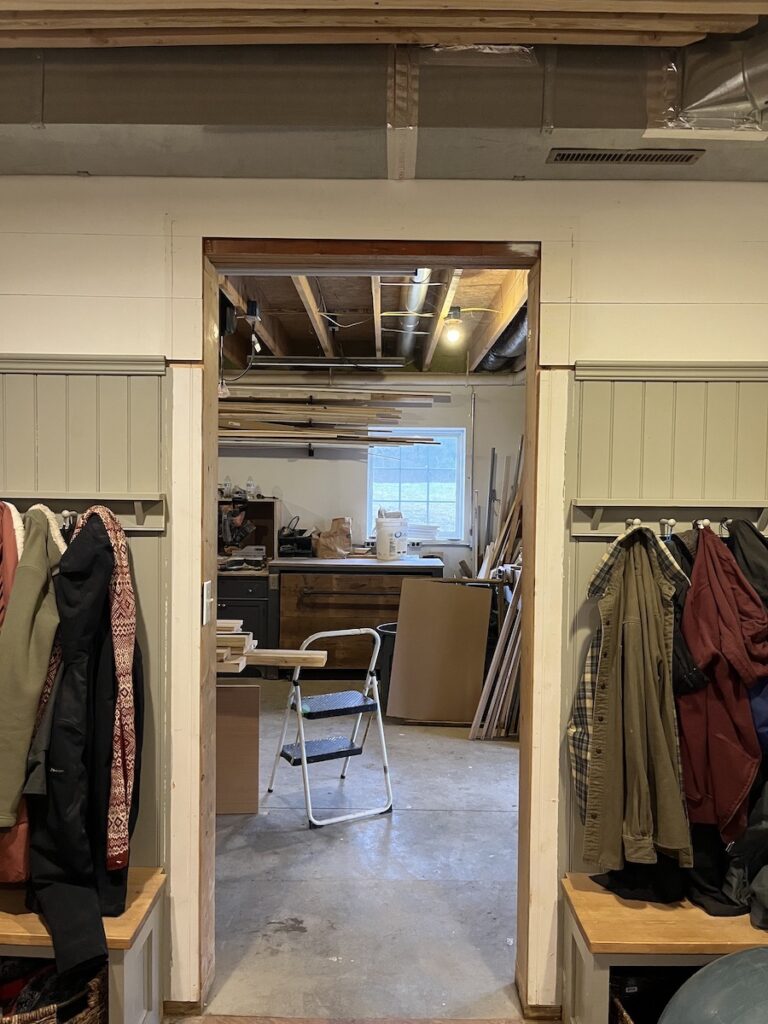
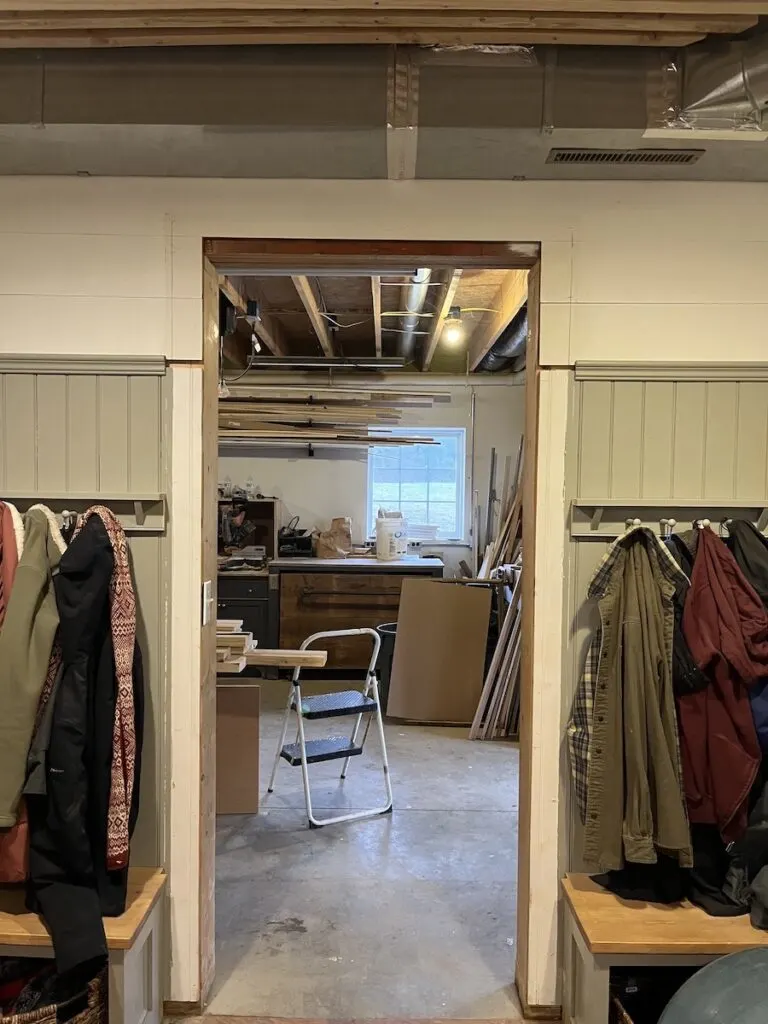

Maybe someday I will be able to get decent consistent photos in this room, but for now I’m still swinging wildly between that awful yellow tint and the slight more accurate one on the right. Granted the shiny corners of the trim aren’t my favorite either, but oh well. You get the point.
I didn’t take a photo but do want to note that I used a shellac primer to seal the knots on the back of the rolling workshop storage shelves.
I also added quarter inch plywood (technically subfloor) to cover the beam and side of the existing fixed shelves. This has been on my list for sadly years and it’s both gratifying and frustrating how much better it looks for such little effort. Insert something about the best day to plant a tree being when you read this blog or something.
Matching the old fixed shelves, I also added quart inch plywood to the sides of the new shelves. This covered the board on top for the rollers and the transition between the framing lumber and wainscoting on the sides.
I also added plywood onto the beam above the shelves to give it a cohesive look and cover the wires. The only tricky part was that I wanted to have three library sconce like lights above the shelves. In order to mark the boxes, I rubbed a little bit of paint on the edges and pressed the plywood pieces up against them.


Cutting the holes out with a 4″ hole saw worked perfectly. I’m honestly a little surprised at how easily this worked out for getting this up.
I added 1 x 3 trim, pained in the same color as the wainscoting in the Danger Room. I can feel my wife texting friends to organize a meeting about that name each time I type it. The track for the door runs along the top of the trim on the two fixed cabinets.
Light it up
I had planned to use some galvanized outdoor sconces from Home Depot for the lights over the cabinets. I liked the look but when I put one up in the space it was clearly the wrong fit. It was too wide, too shallow and frankly too “farmhouse” looking. It’s a great light but it doesn’t belong indoors and definitely not in my shop.
So I improvised.
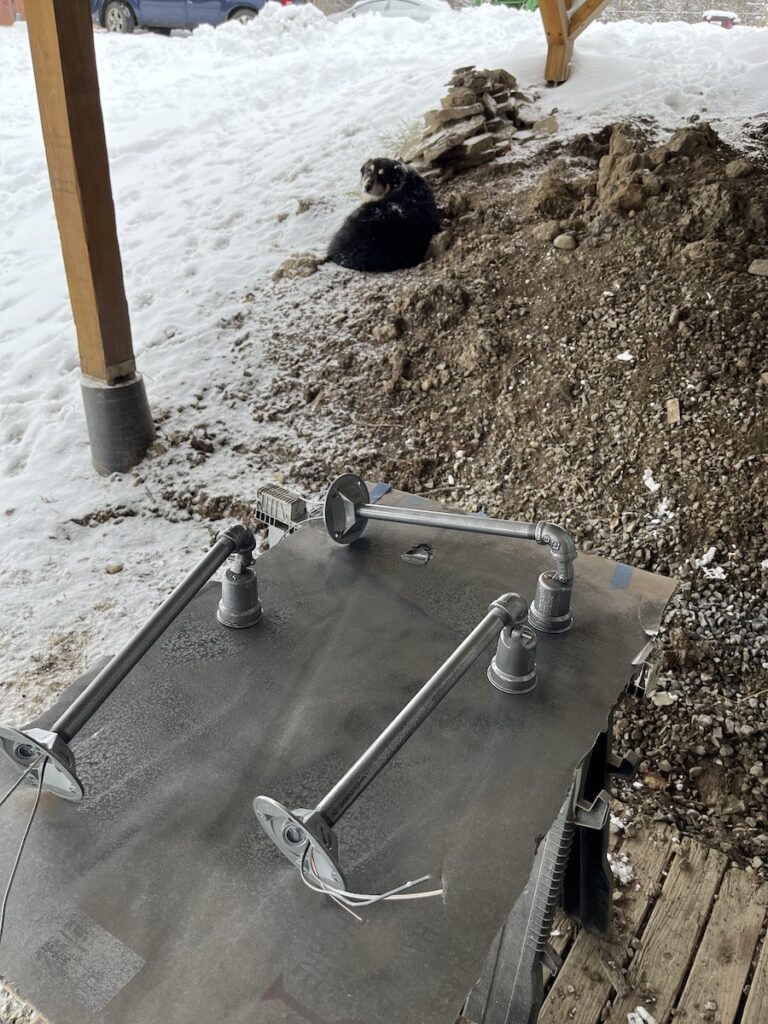

I’ve made pipe lights before for the pantry and since replaced them. But for something like $15 a light these were quick to throw together and look decent in the space. A little hammered spray paint helped make the disparate components blend together.
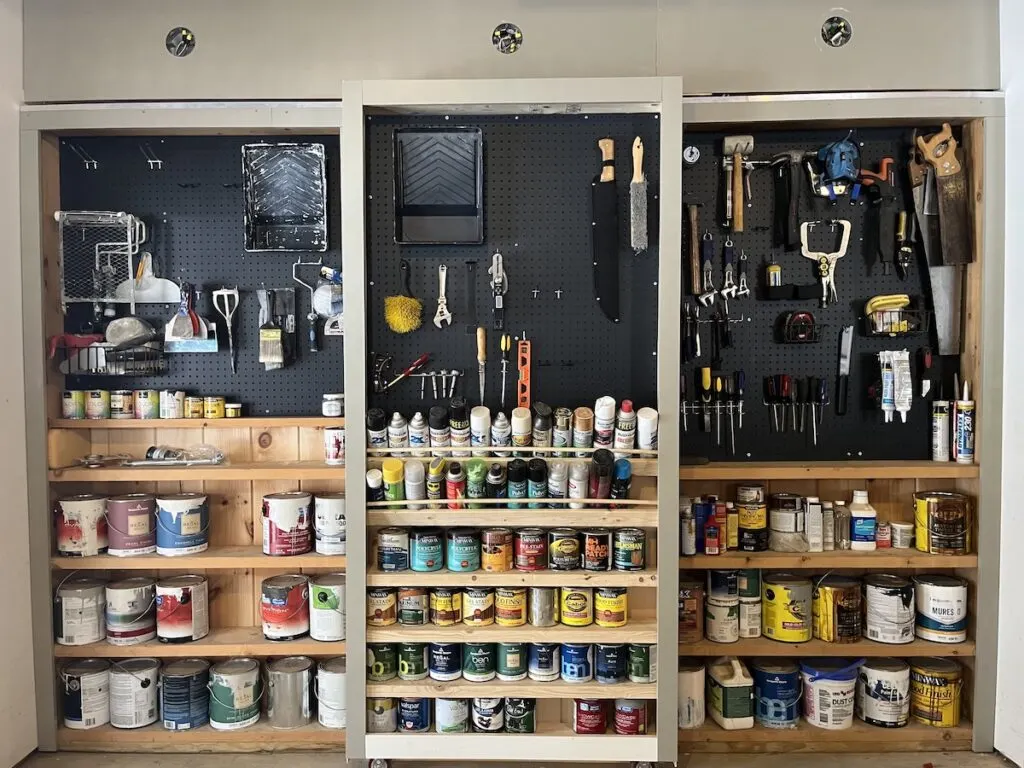
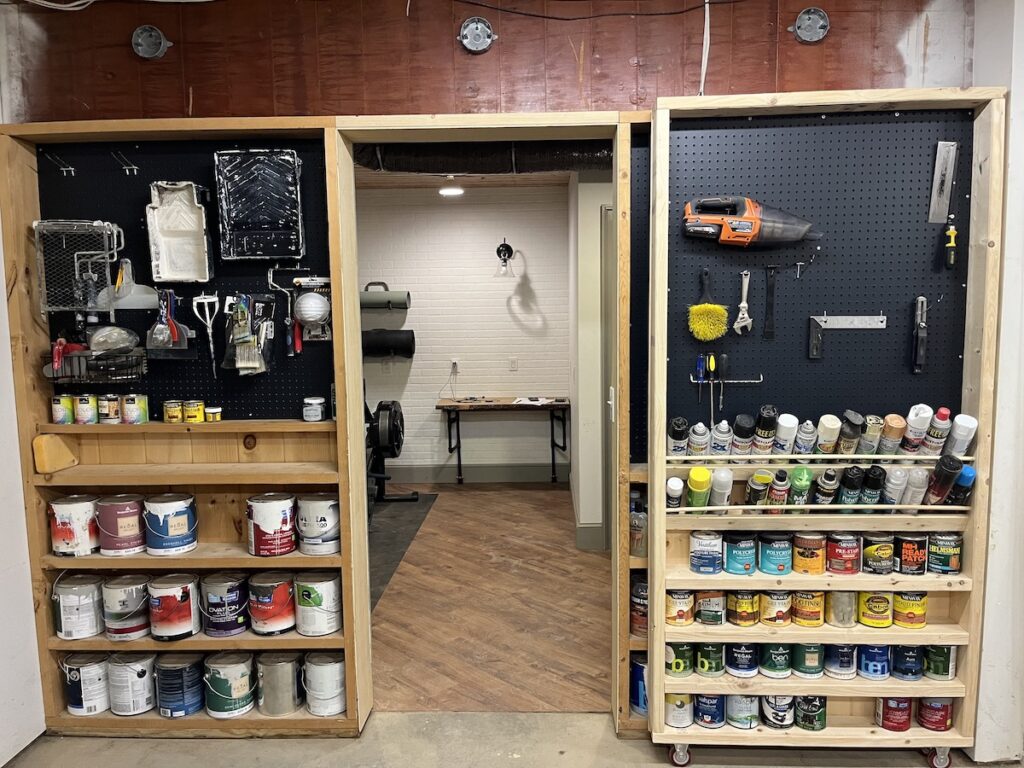
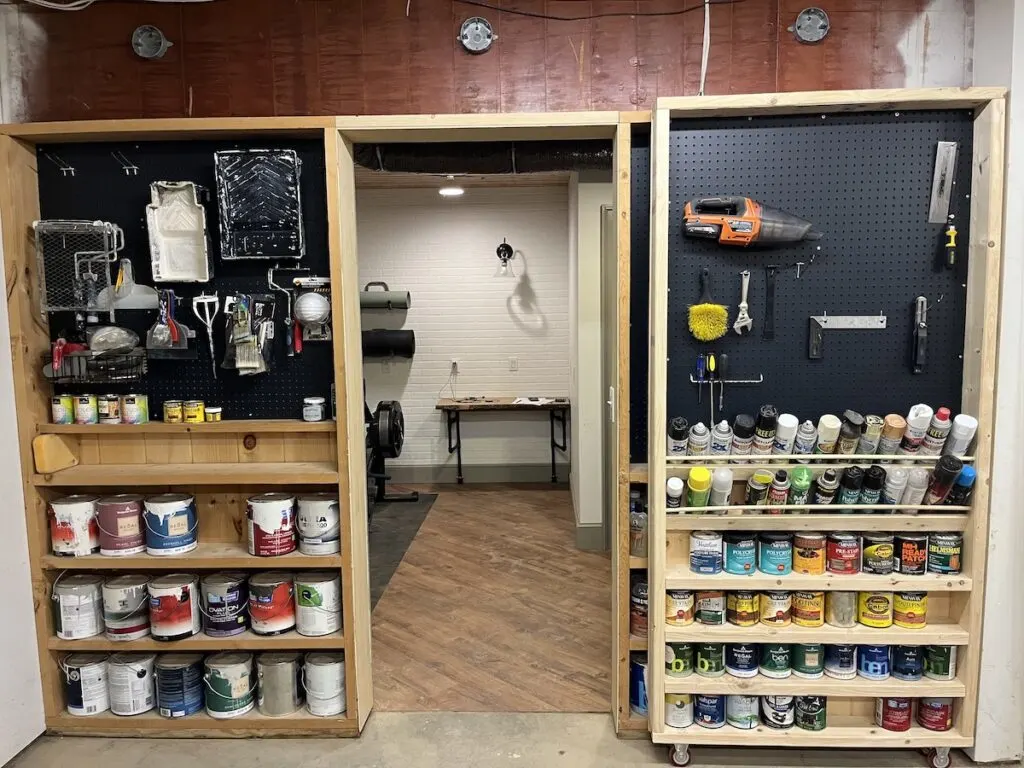
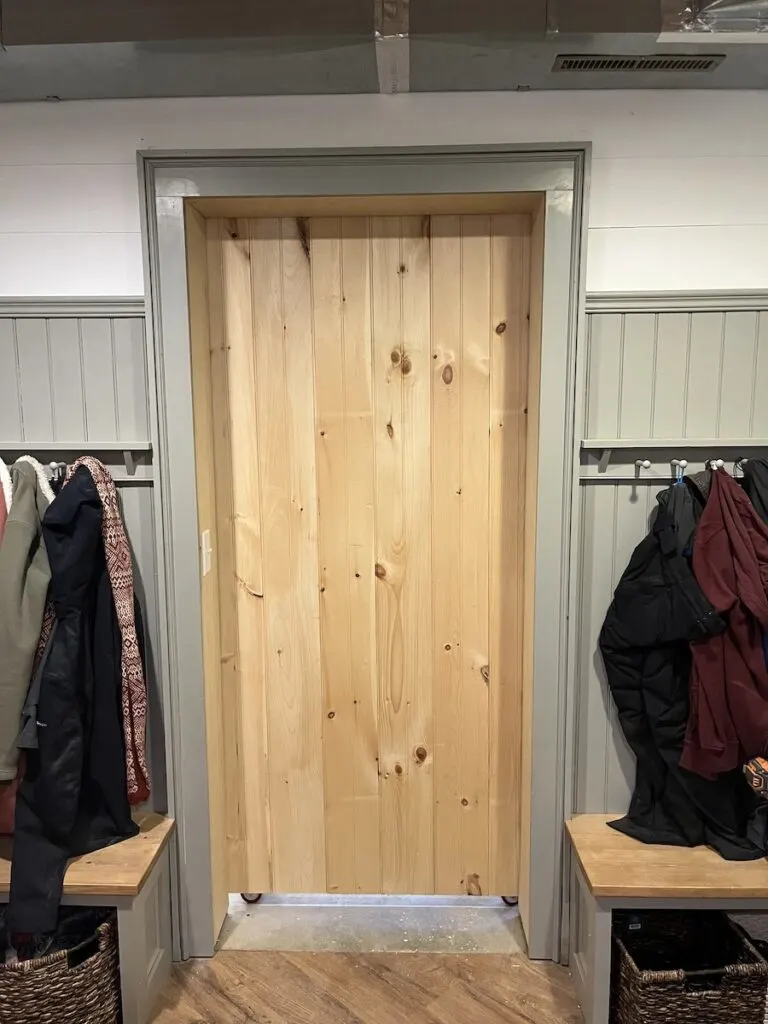
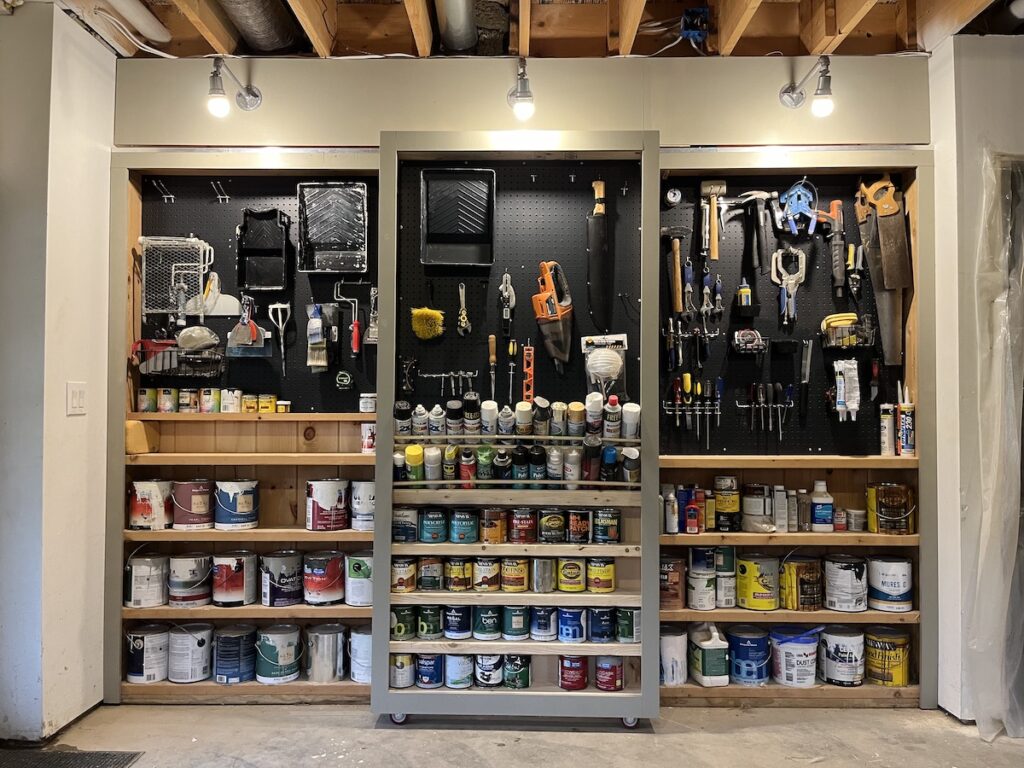
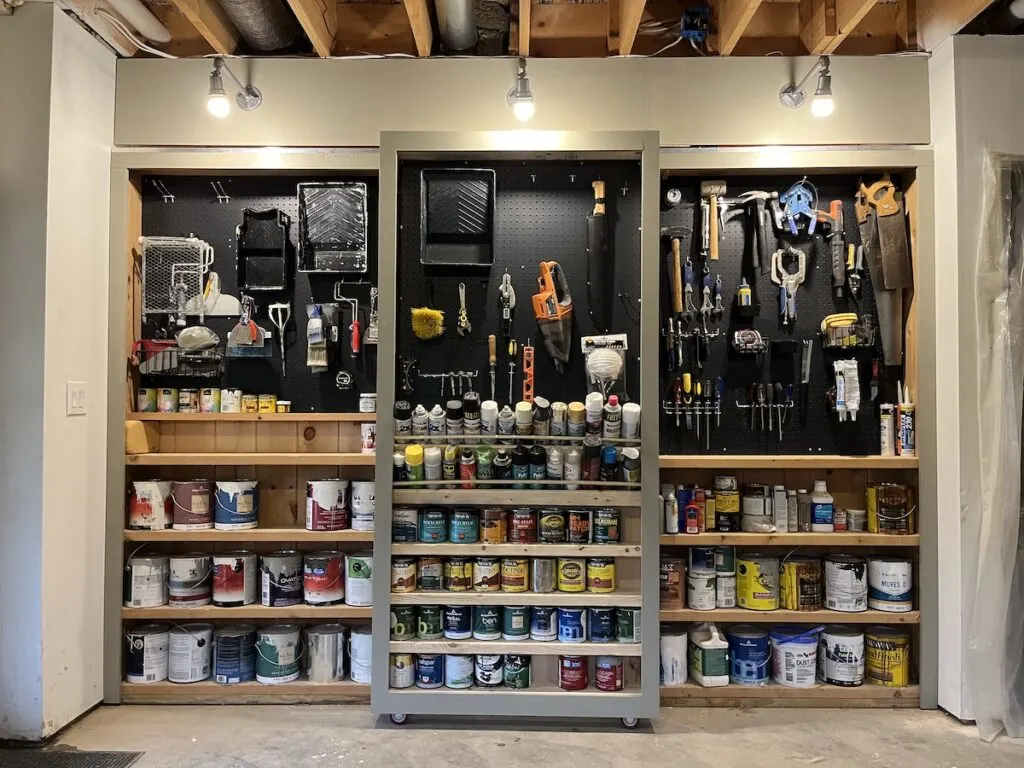
So with the lights up, I finally had some finished rolling storage shelves that act as a hidden door.
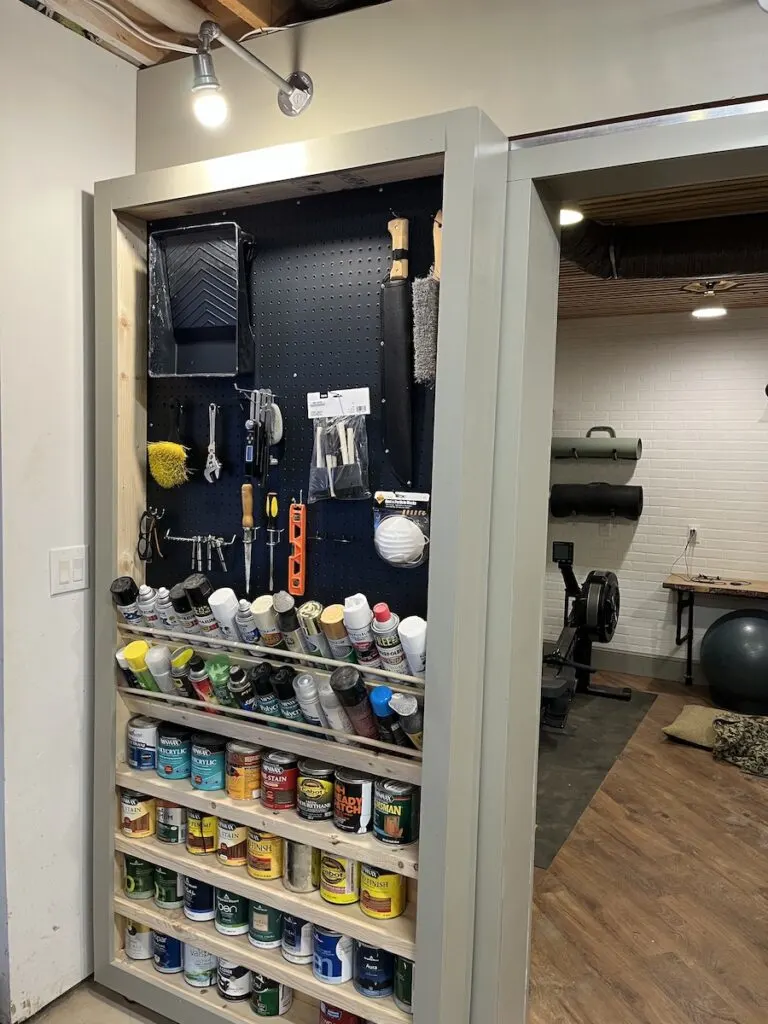
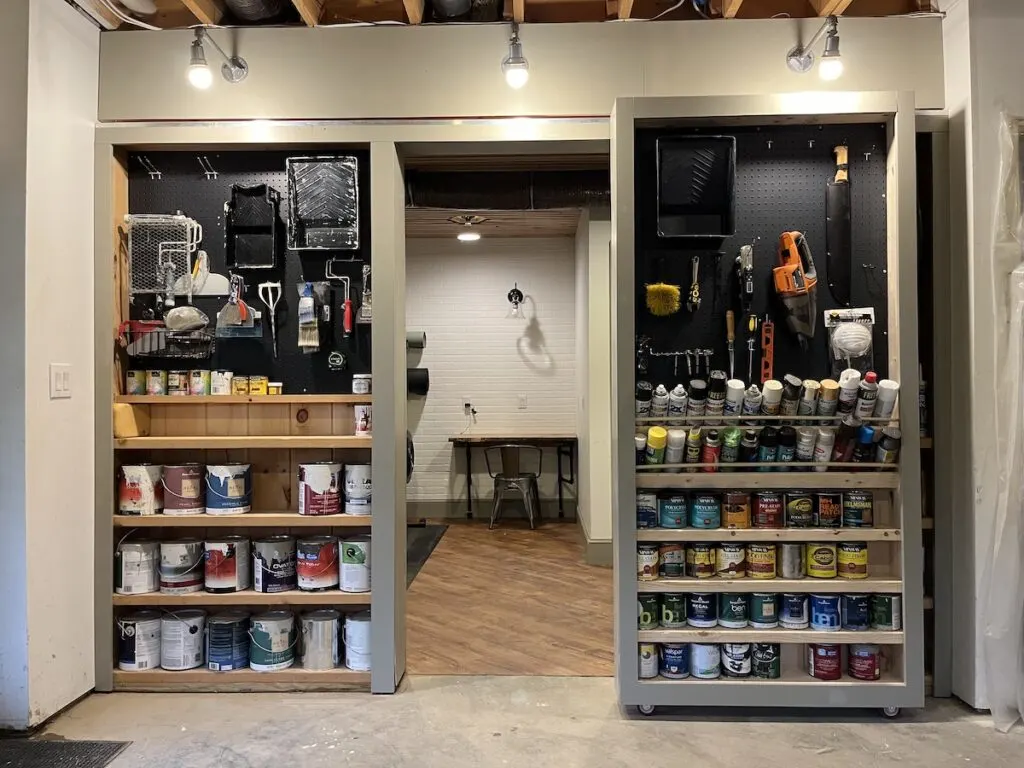
And a little proof that the rolling workshop storage actually does work like a hidden door.


And here’s the view from inside the Office Space (already moved on to trying out Danger Room alternatives) behind the rolling workshop storage cabinet.