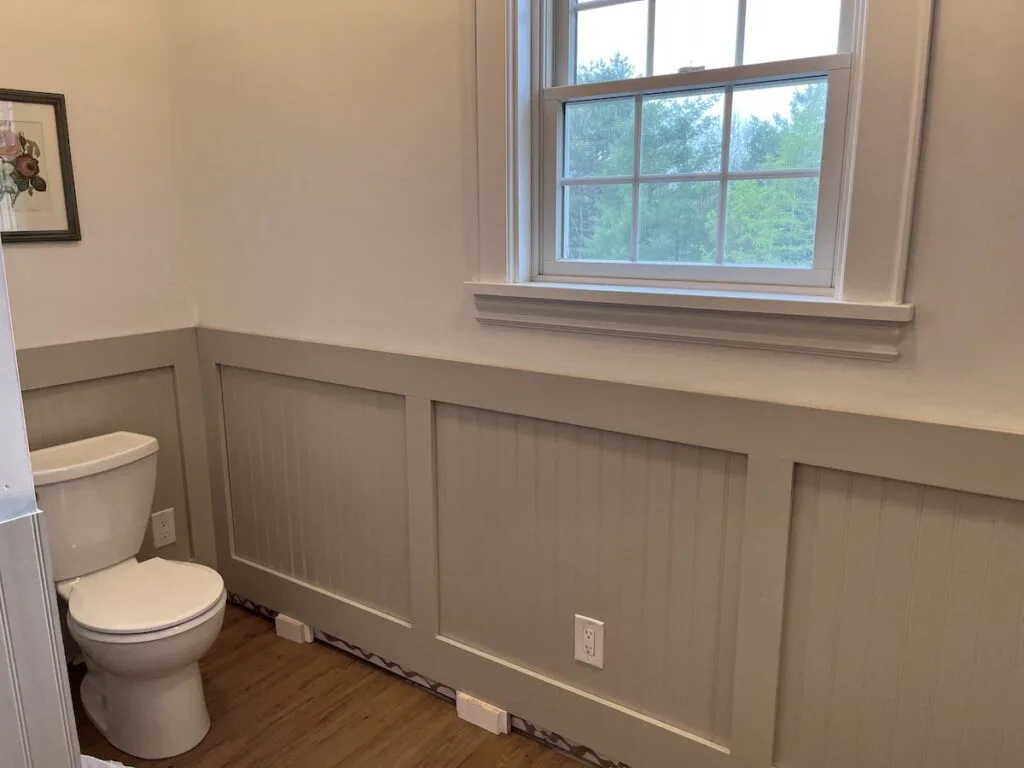
Our upstairs bathroom was originally very cottage-y. One of the main things needed to bring it more in line with the rest of the house was to modernize our bathroom wainscoting. We didn’t want to get rid of the beadboard altogether, just make it less bland.
Ironically just as we started to renovate the upstairs bathroom we were also in the process of fixing the hot water in the downstairs shower which had been broken for years. We had been getting by with one and a half bathrooms for seven people for so long it felt normal.

Steps we took before to modernize the bathroom wainscoting
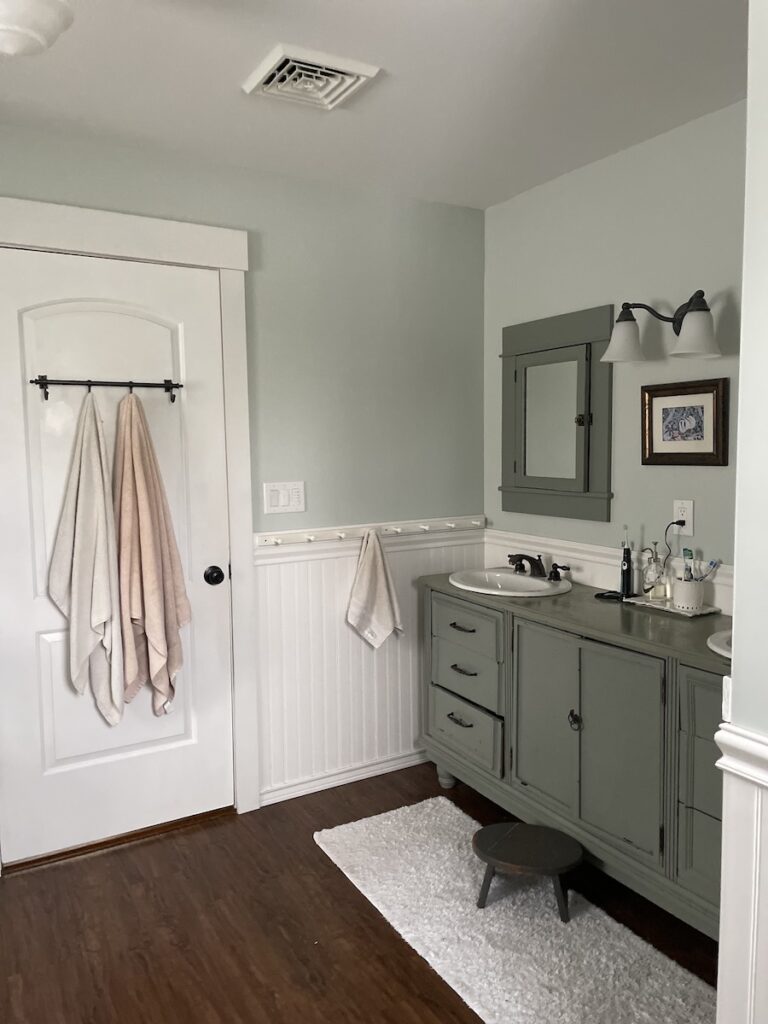
- Replaced medicine cabinets and lights on sink wall
- Redid floors
- Redid the tub alcove
- Pulled off all the existing boring beadboard trim
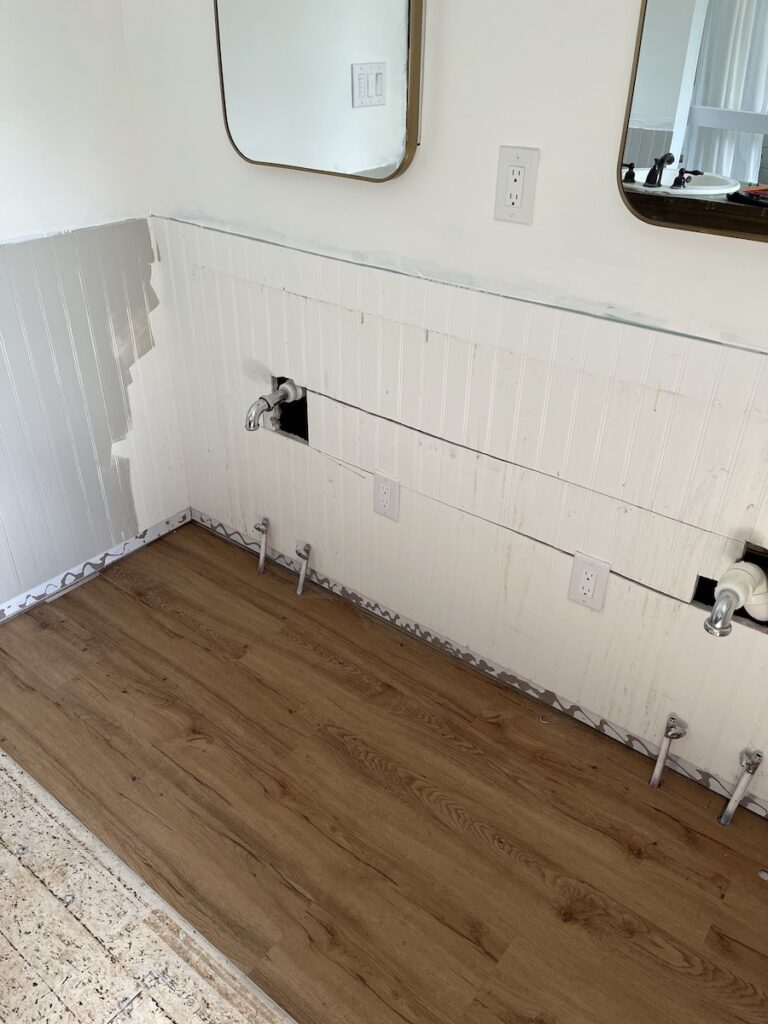
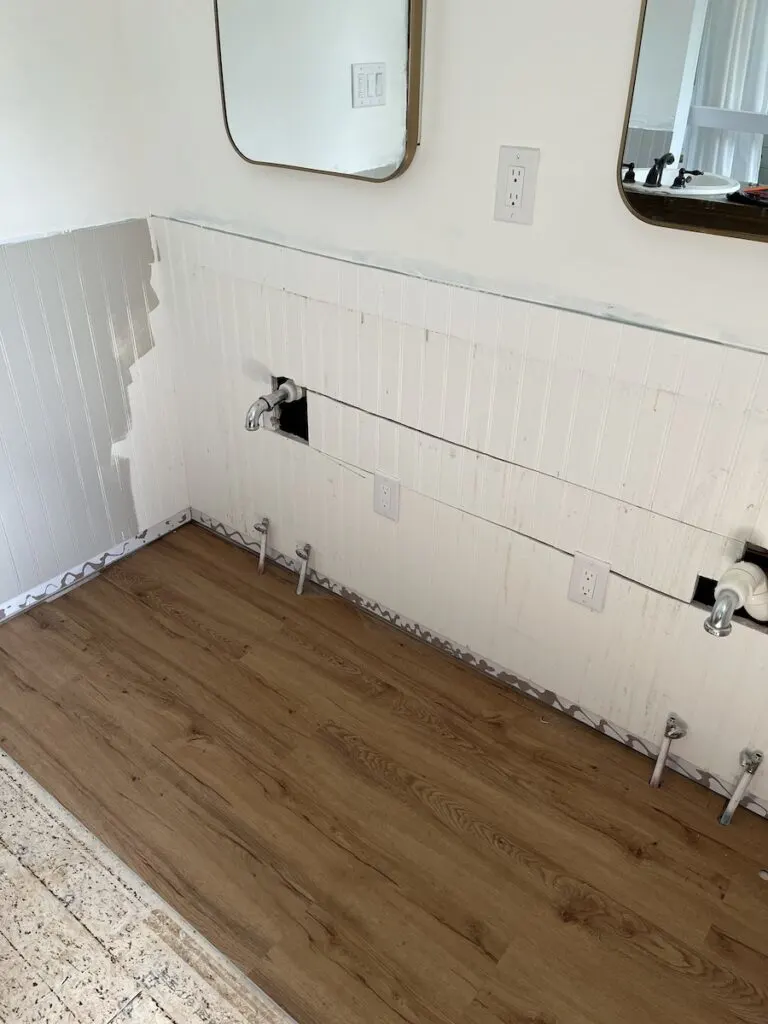
The first order of business before we tackled the wainscoting was to replace the floors with something lighter and less red.
Technically we also replaced the lights and medicine cabinets and added some outlets for when we install a new vanity as well. Basically what I’m saying is there were a lot of ‘before’ steps and I may have forgotten to photograph or blog about them.
We also redid the tub alcove, but that thankfully was a stand alone project that could be done before all this.
Anyway.
The plan was to take the basic beadboard and add paneling and layered trim on top in order to modernize the look. We also wanted to get away from red floor / blue-gray wall combo which was rather bland and dark.

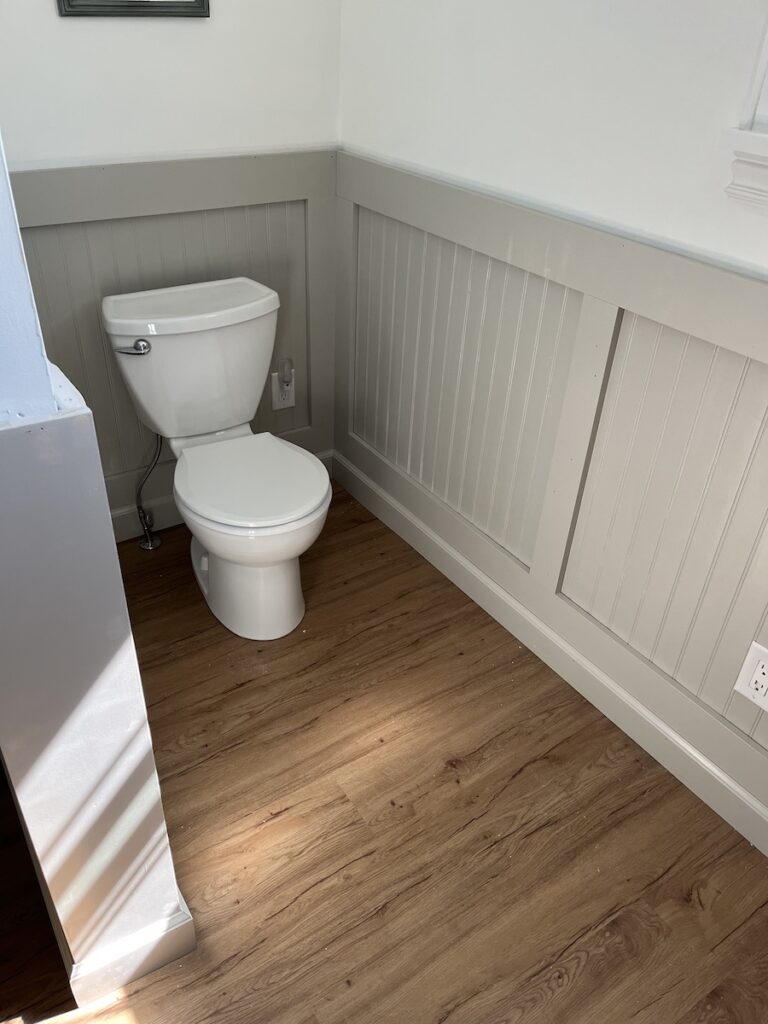
The flooring we used was Lifeproof Fresh Oak click and lock vinyl flooring from Home Depot. I’m super happy with how easy it was to install and how it’s held up through the rest of the process.
We took off all the trim before we installed the floor, thankfully we were not planning to keep it so we didn’t have to be particularly careful.
Steps we took to modernize the bathroom beadboard wainscoting
- Add panels over top painted the same color
- Add baseboard over panels
- Add quarter round inside panels (caulk the bottom)
- Add top rail
- Add trim under top rail
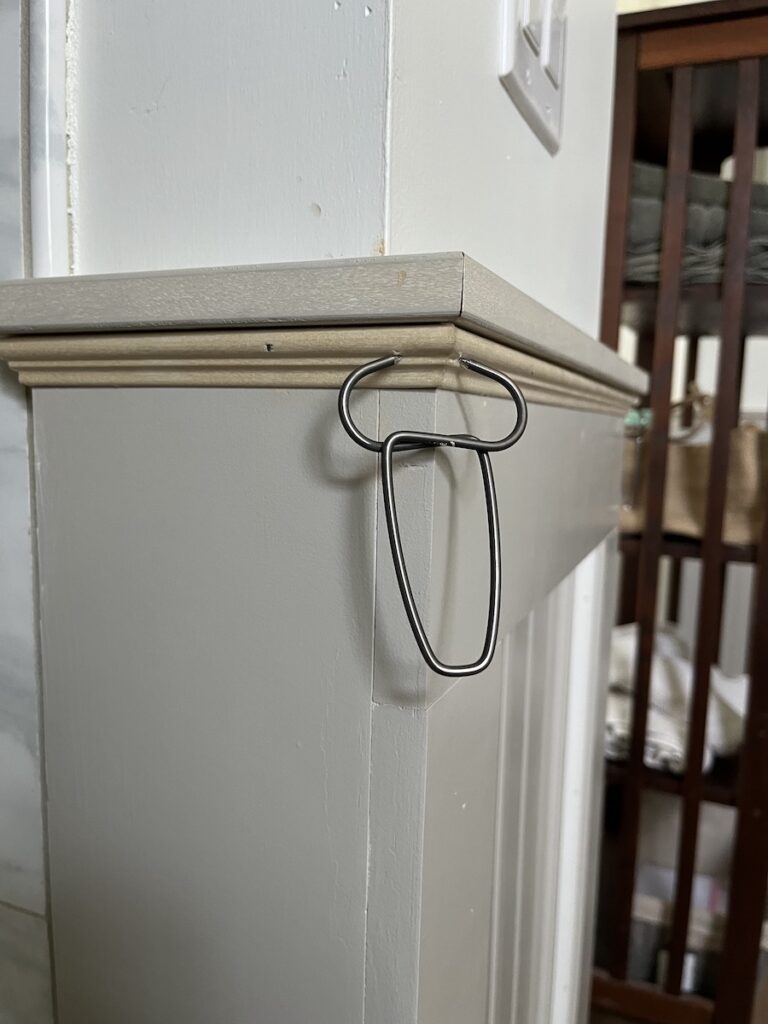
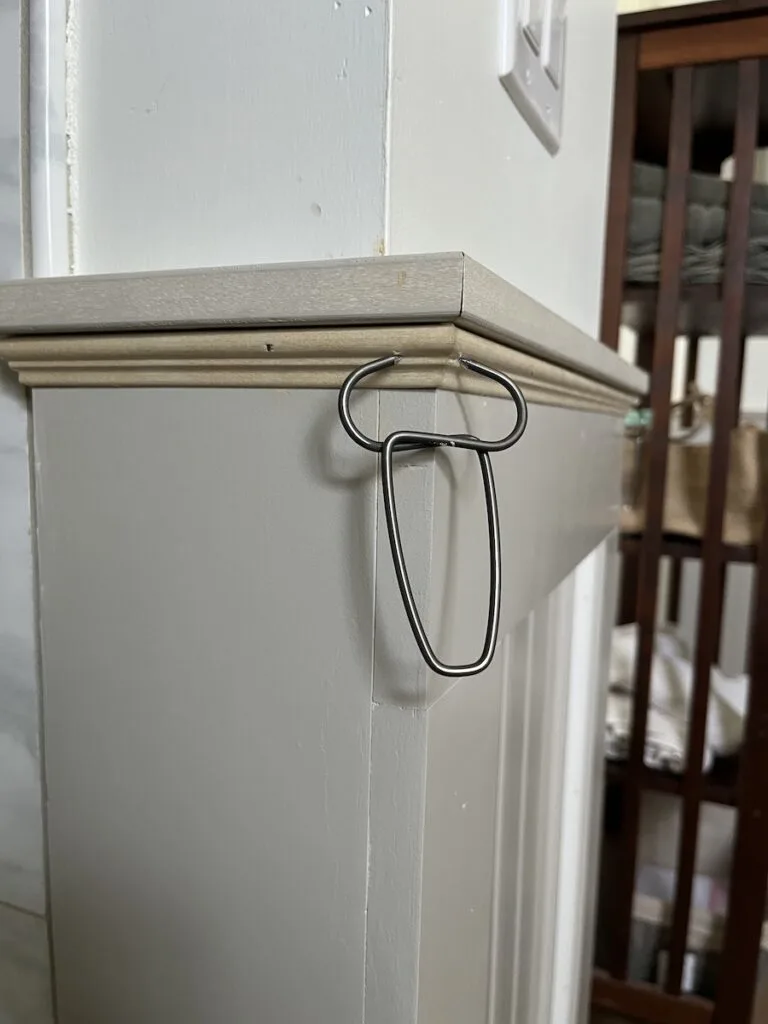
- Add pegs for towel hooks
- Screw up peg spacing, change the plan and redo them (optional)
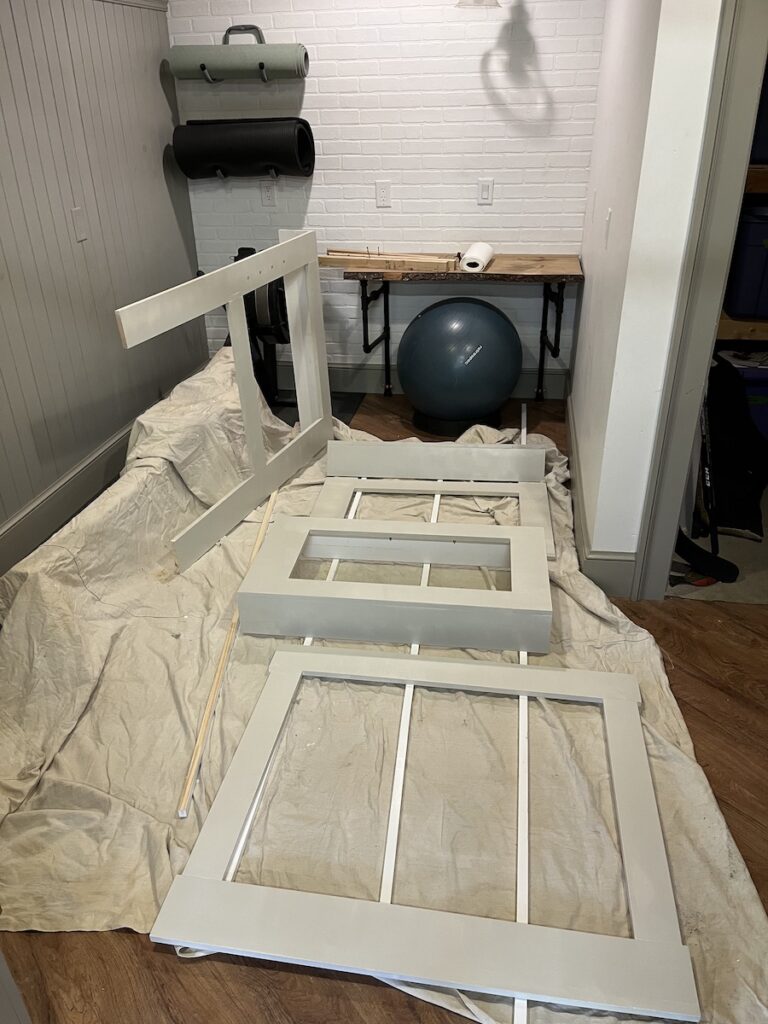
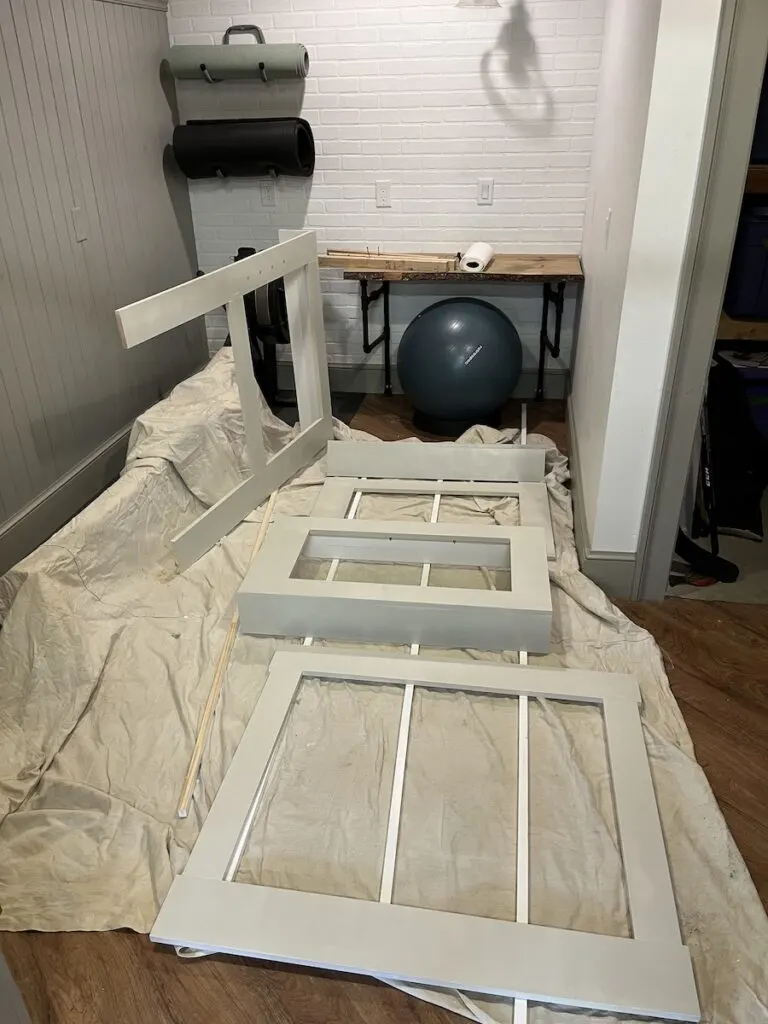
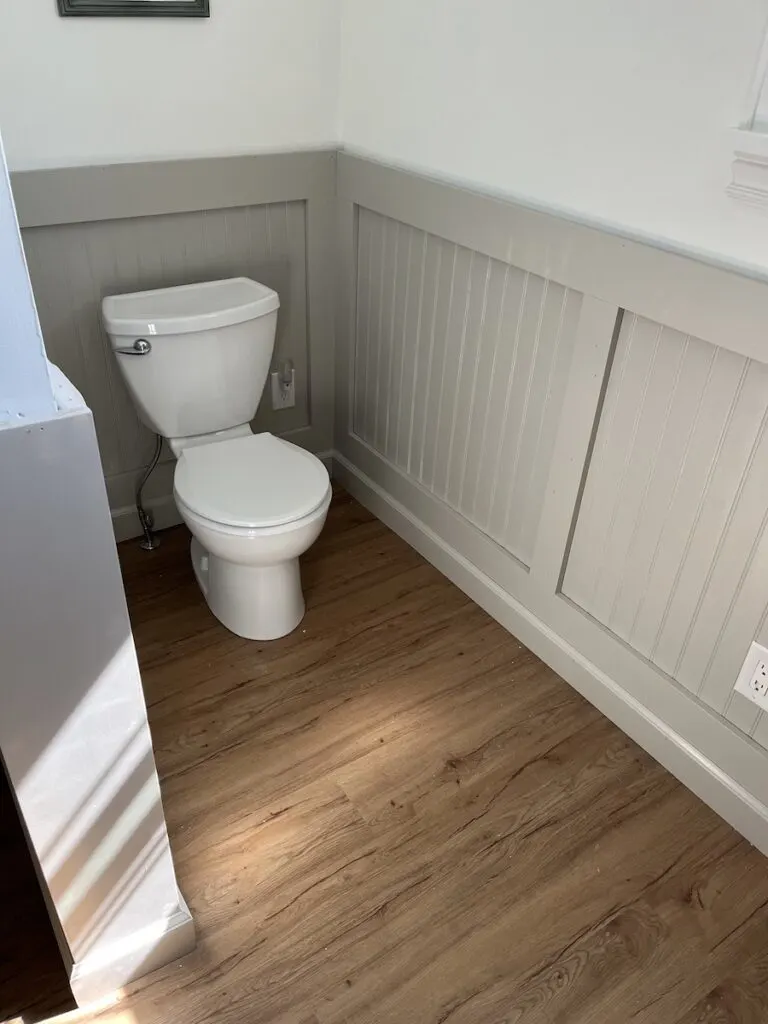
With the walls and beadboard repainted we were ready to start adding paneling. Rather than put up a top rail and bottom rail and stiles directly on the wall, I wanted to build the panels as whole units. The goal was to get tighter joints with pocket hole screws.

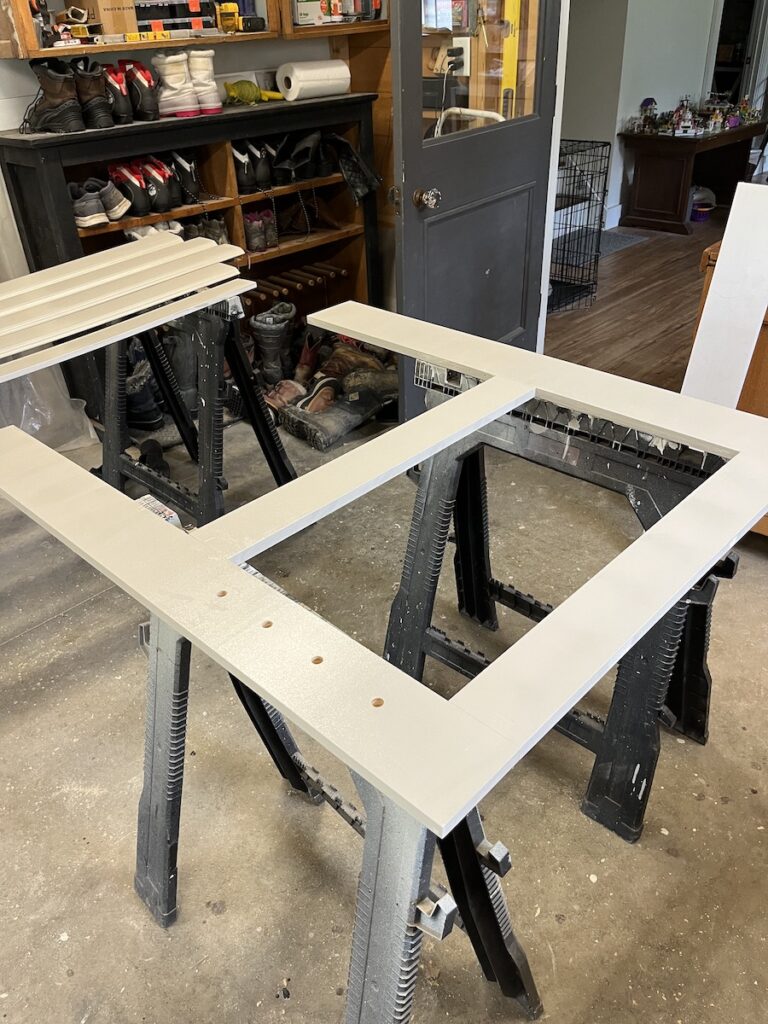

For the dimensions I specifically chose 1x6s for the bottom rail, some of which would be covered with the baseboards. For the top rail I ripped down a 1×6 to account for the trim I would add later so that the exposed amount on top would match the bottom.
The proportions look a bit odd in these photos and the overhangs on the top and bottom don’t make much sense. The overhangs are to account for the corners so that you end up with equal rails on each wall and don’t cover up 3/4″ of one making it look skinnier.
I wouldn’t mind if something could make me look skinnier but it’d be awkward for the rails.

I used a set of blocks to place the frames at the same height and pinned them in place with finish nails. There was a lot of math involved to make sure that the top rail would cover where the old trim stopped. As well as making sure the eventually vanity top would be above the panel.

The blocks helped make sure that the tops of the frames lined up. Having the one long wall go up in one piece was great as it made it feel like instant progress. Especially if you ignore the parts later where I had to take it down, re-drill the holes for pegs and do it all over. Ope.


Making this partial wall cover in one piece and sliding it over helped to make sure I could get a tight fit on the face panel. I’m not a finish carpenter but it came out better than if I had tried to assemble it in place.
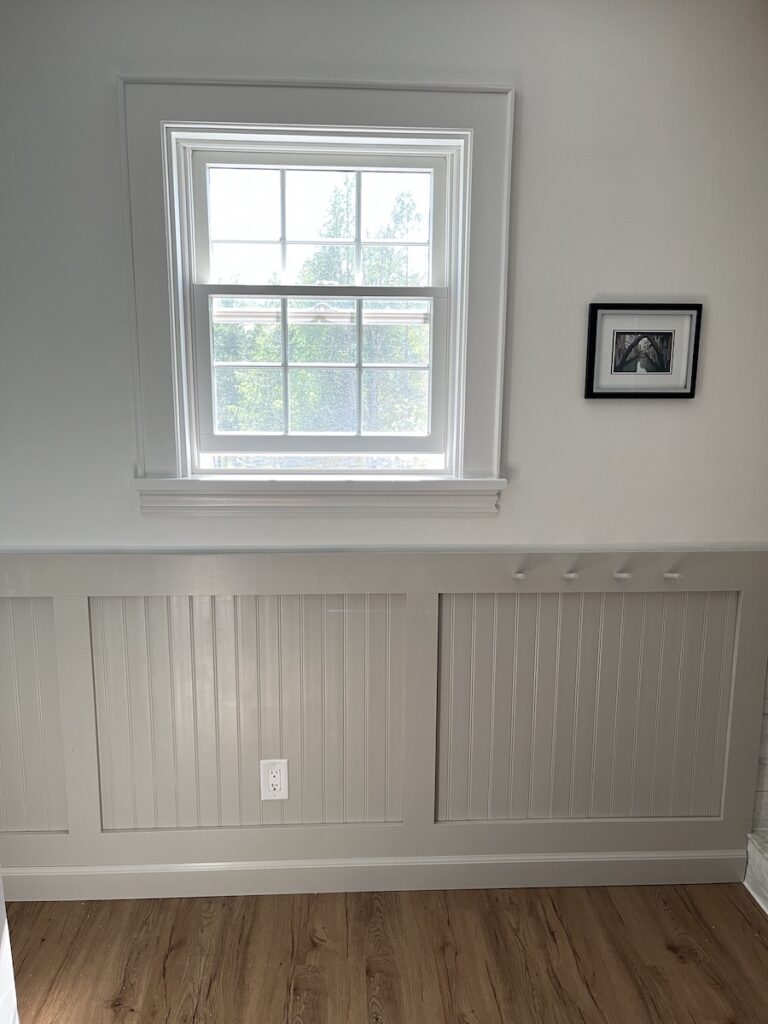
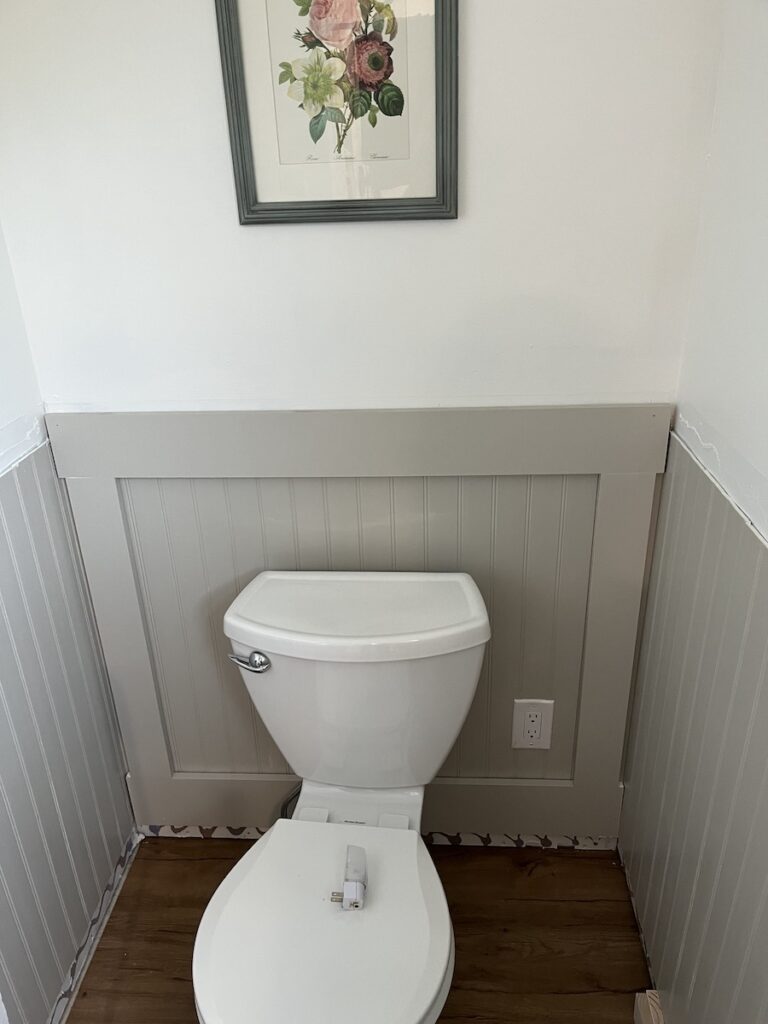
Adding the baseboard along the bottom immediately helped to feel it more finished even though there were many layers of trim still to go.
Along the top I added 1×2 boards with some colonial panel trim underneath. To make the corners as tight as possible I used some Collins miter clamps. A lot of the seams and holes got filled later, though this photo really makes me think I need to skim coat my walls.
Inside the panels I also added 1/2″ quarter round to cover the gaps and help reduce the amount of dust that will collect on the bottom ledge. I caulked all around that trim, especially on the bottom to cover the gaps in the vertical grooves of the beadboard.
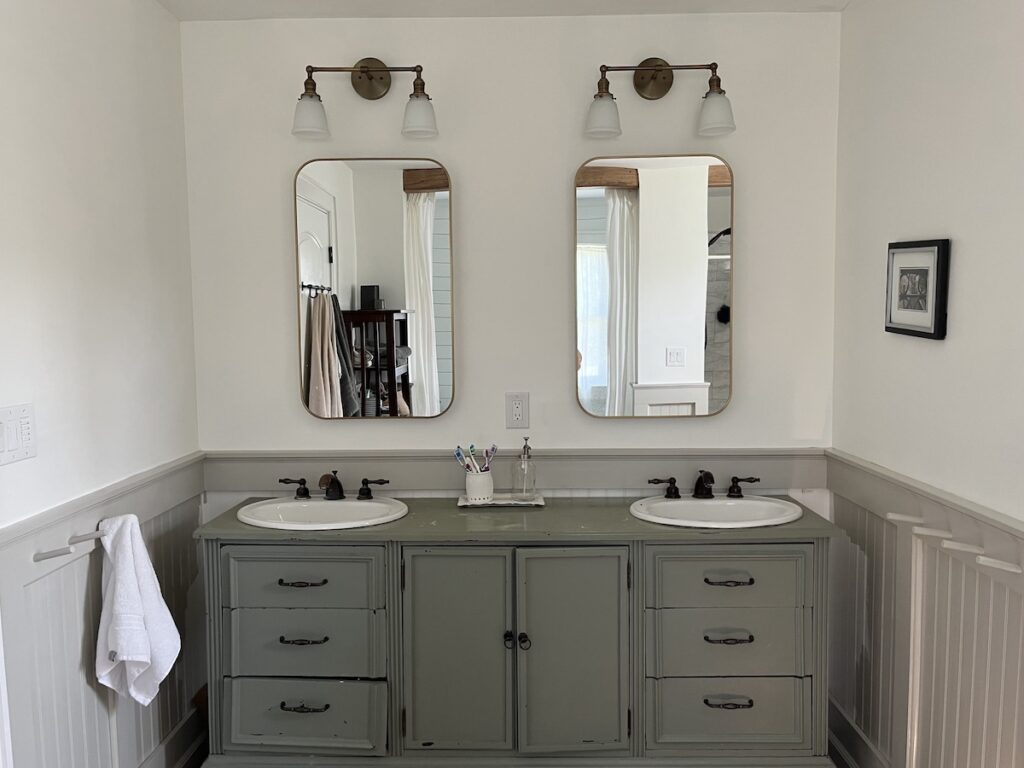
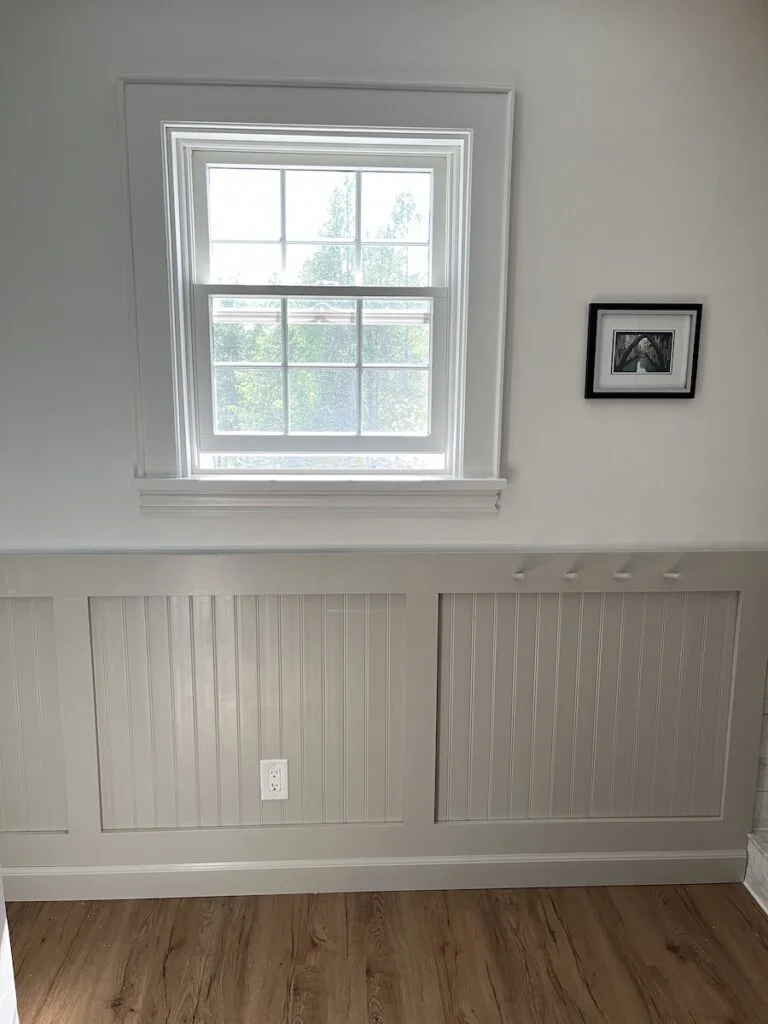
And here is where we ended up.

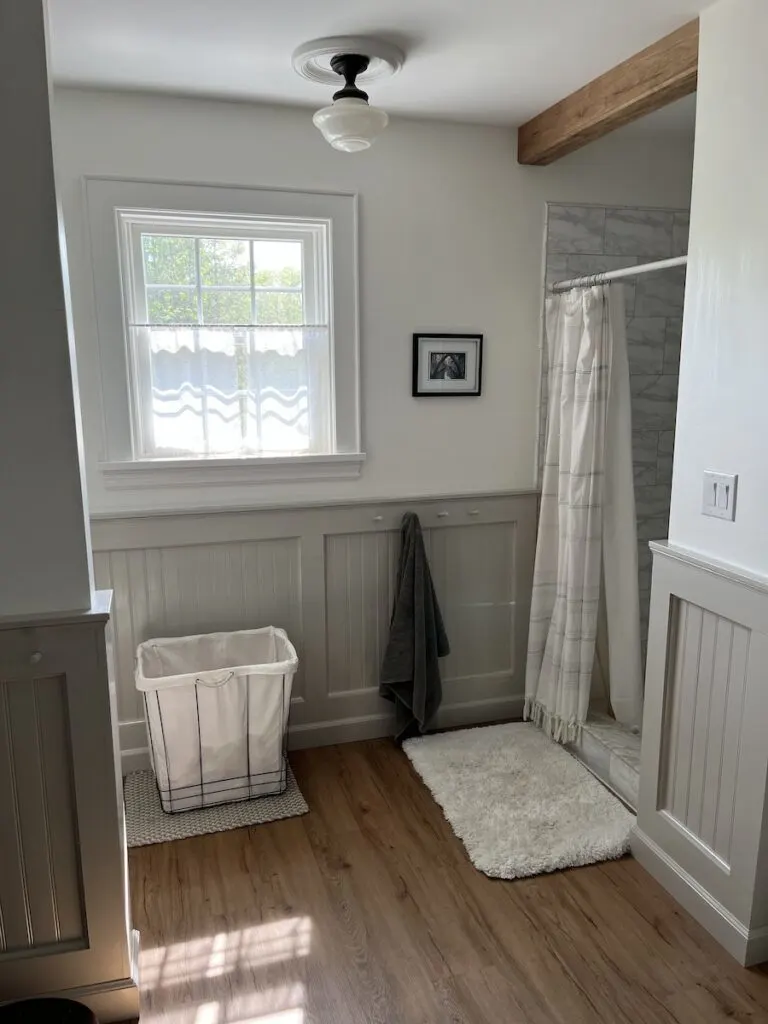
The window trim and door trim also got a makeover. I had tried a very simple thicker header over straight 1×4 boards originally and very quickly came to regret it. I’m slowly redoing all of the window and door trim through-out the house with some variation of this style.
I think because I grew up in a house with wildly varying styles between rooms and trim the thought of having variations makes more sense to me anyway.
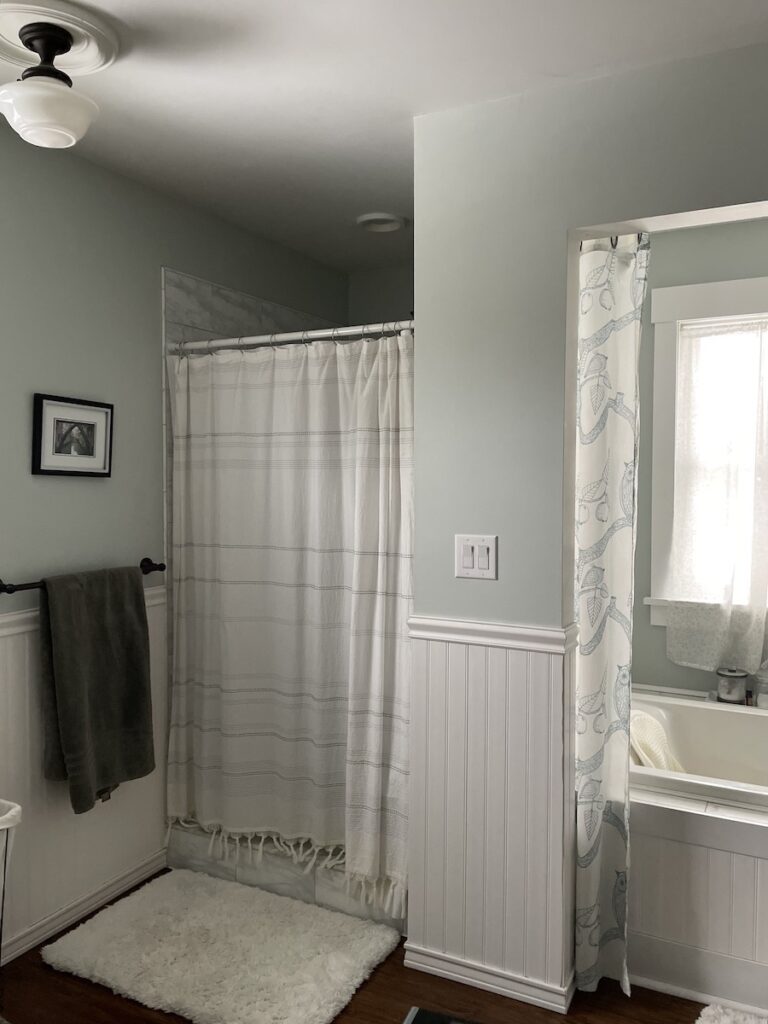
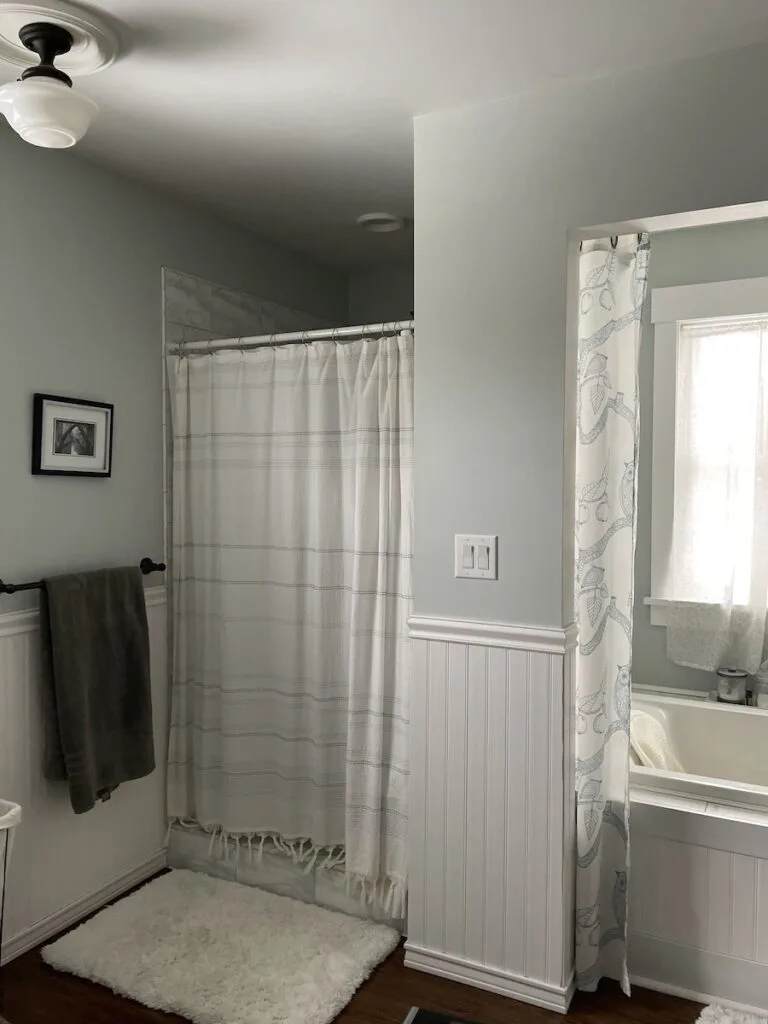
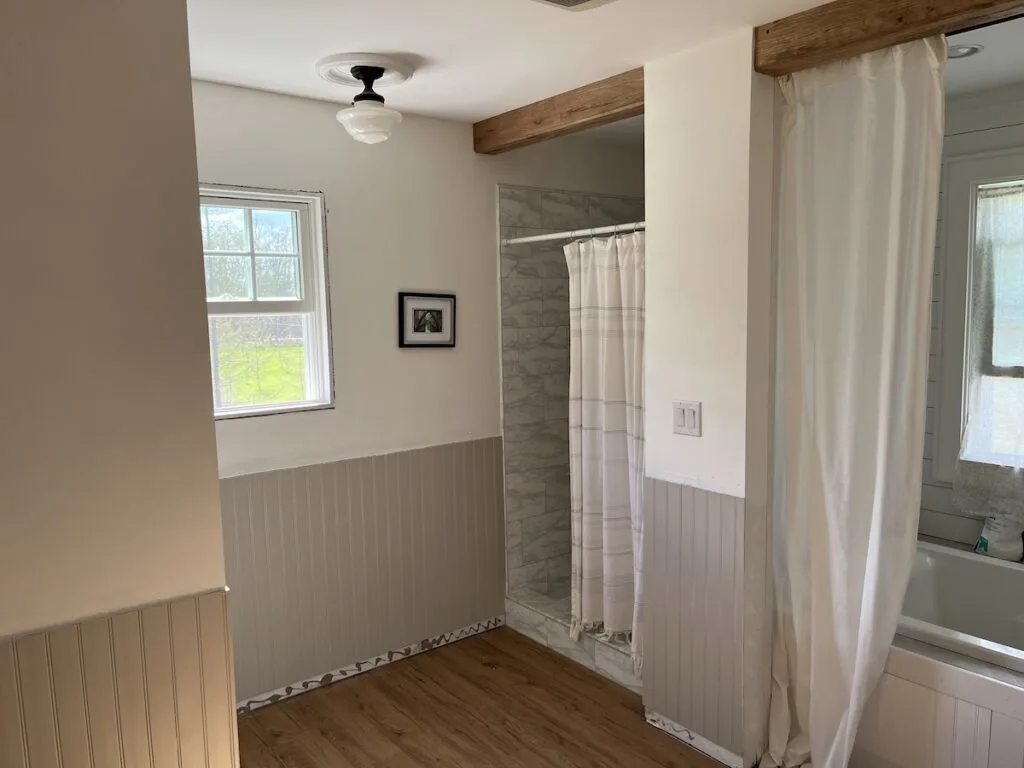
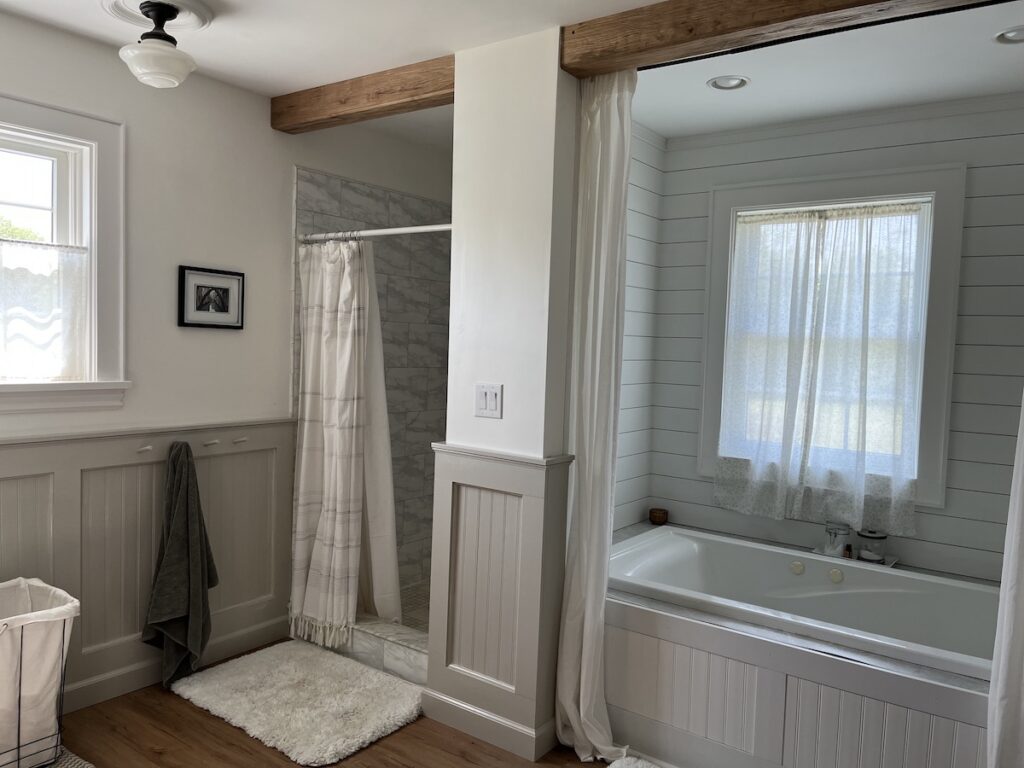
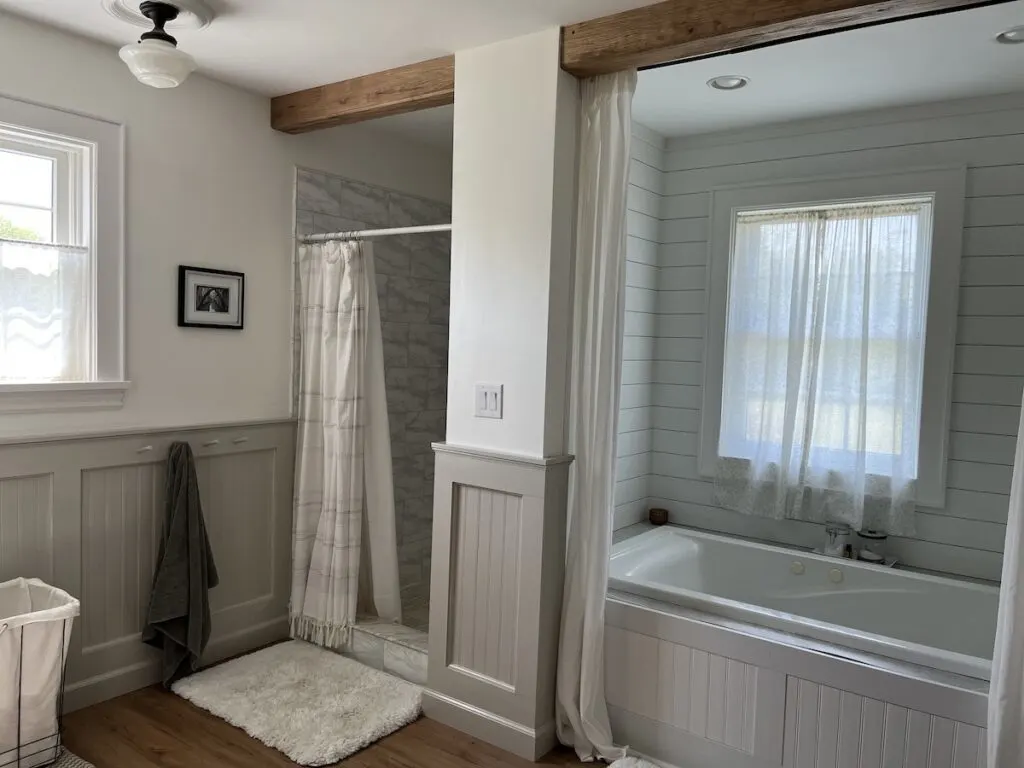
Here you can see the finished tub area that I’ve already blogged a bit about.
I didn’t actually think about trying to make the floor and beam match, I just wanted them to coordinate. It turns out we ended up with a near exact match and I’m not mad about it.
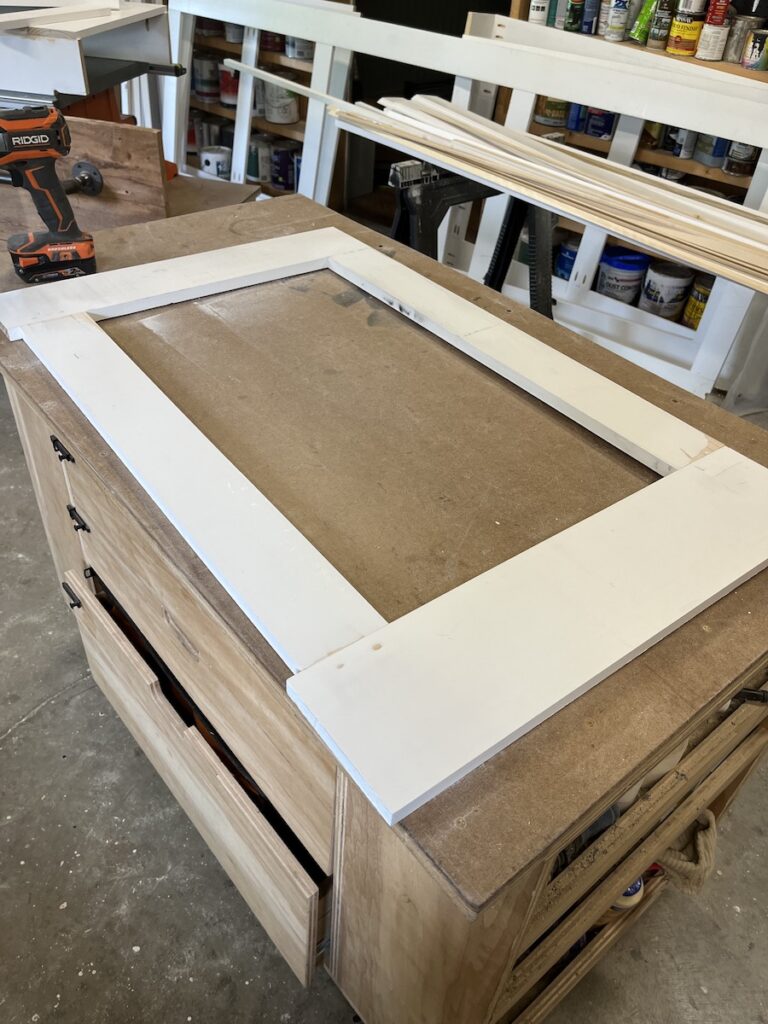
There is one big piece of work left and that is replacing the vanity with a custom built in one. I made this original one from a $100 craigslist find. It’s been chipping and falling apart nearly from the start but for that price I’m okay with that. It is now time for something a little better though.