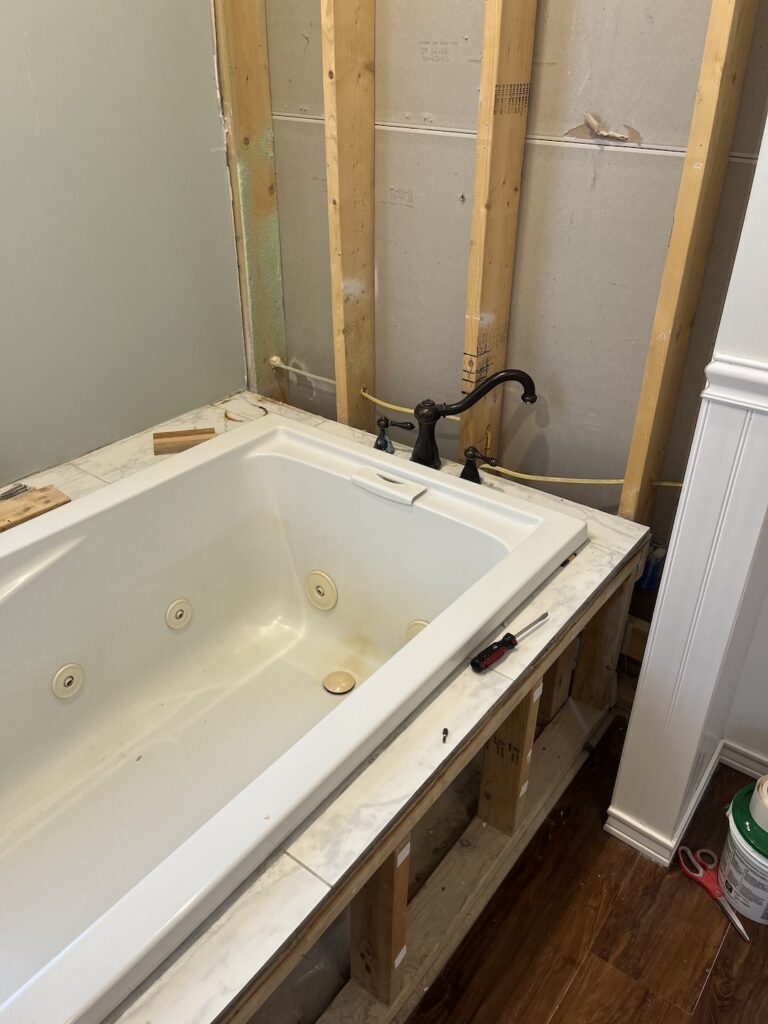
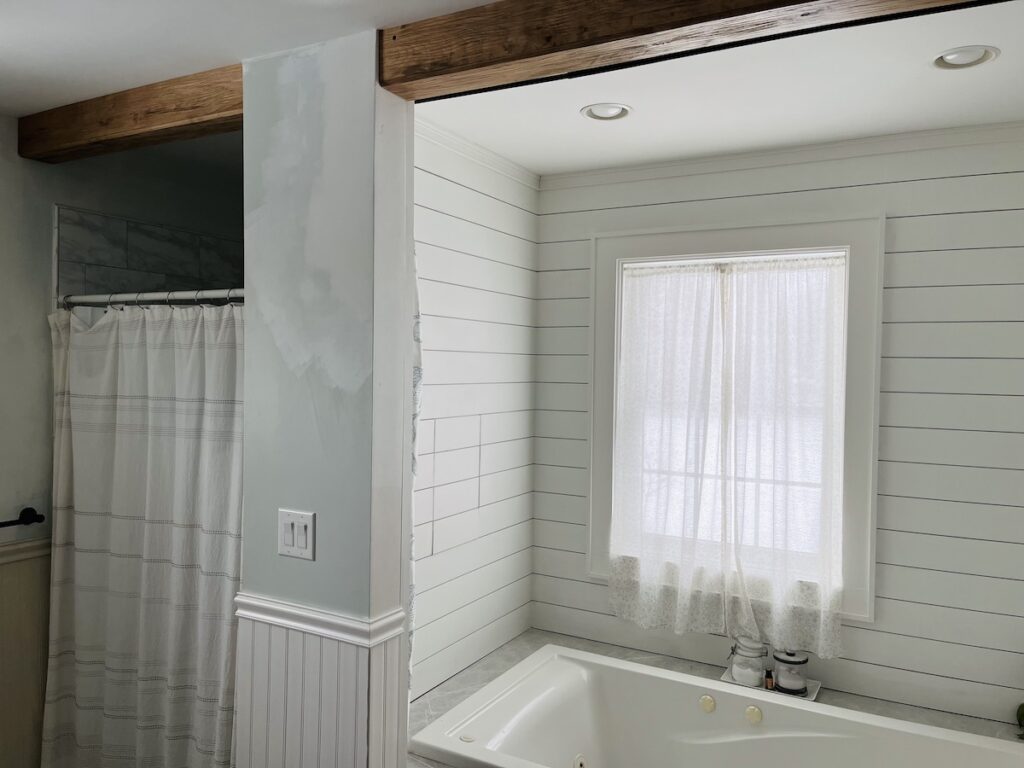
Our tub alcove in the main bathroom of the house was in need of some help. The faucet was old, leaking and ugly. The header made the rest of the room feel dark. The sheetrock had water damage from the leaks. The tile on the deck was uneven and there was a lack of storage.
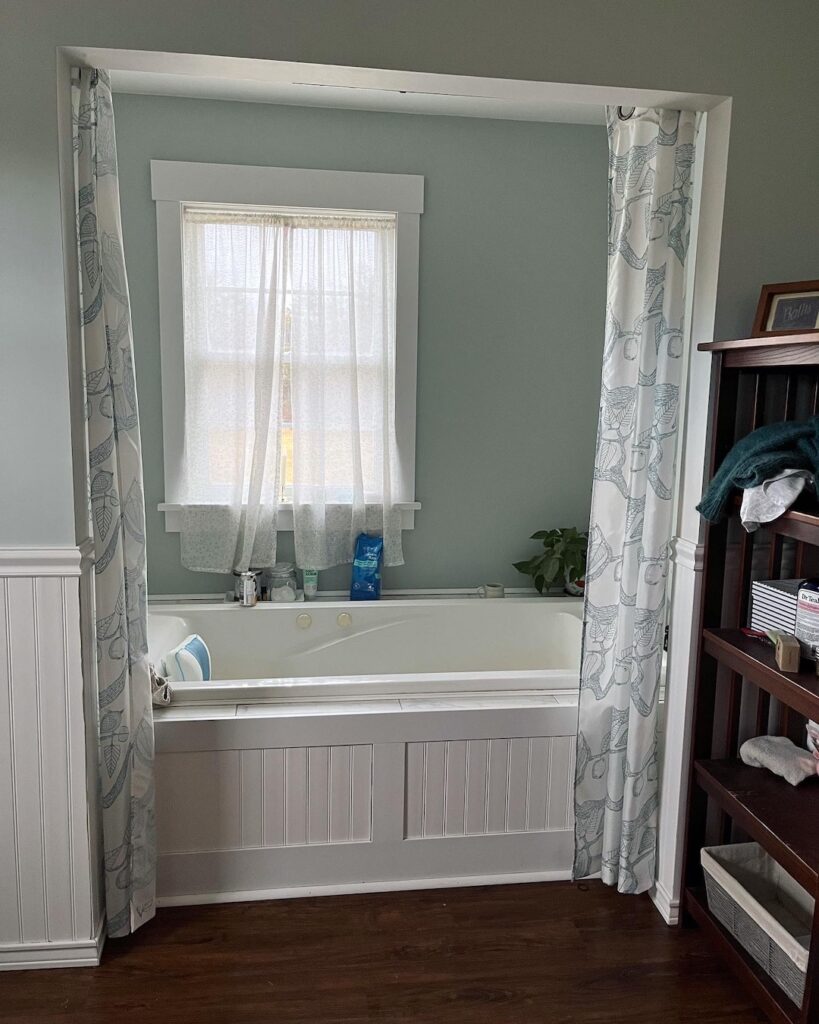
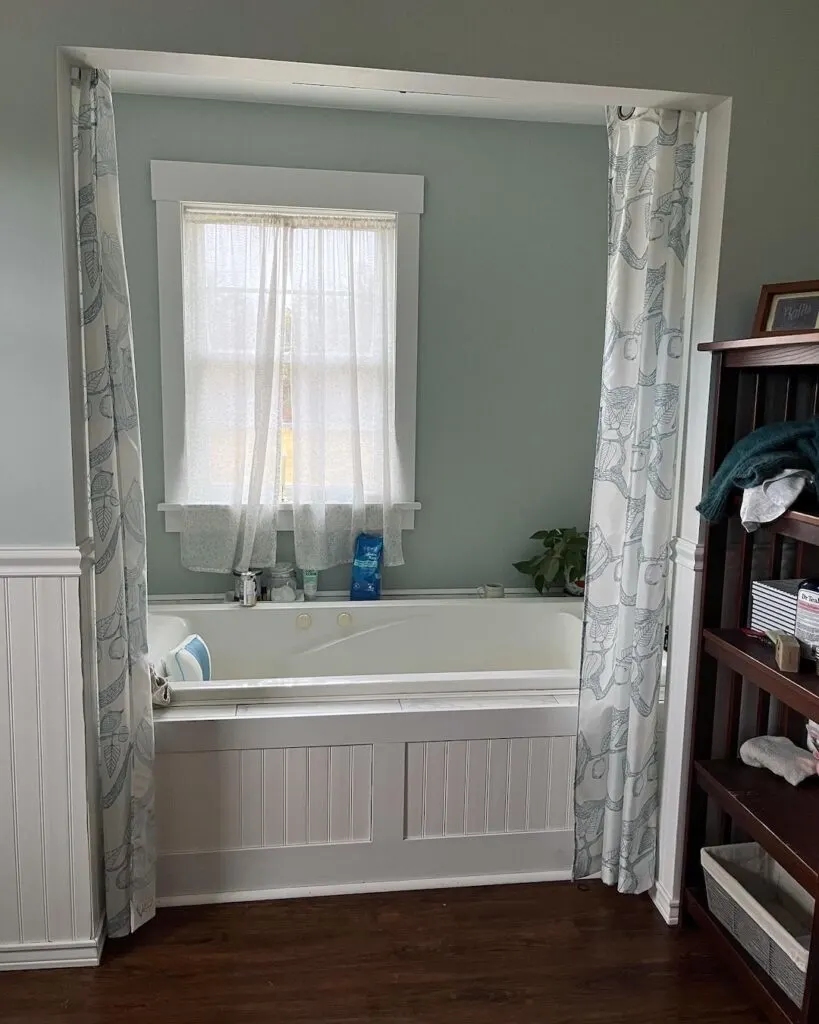
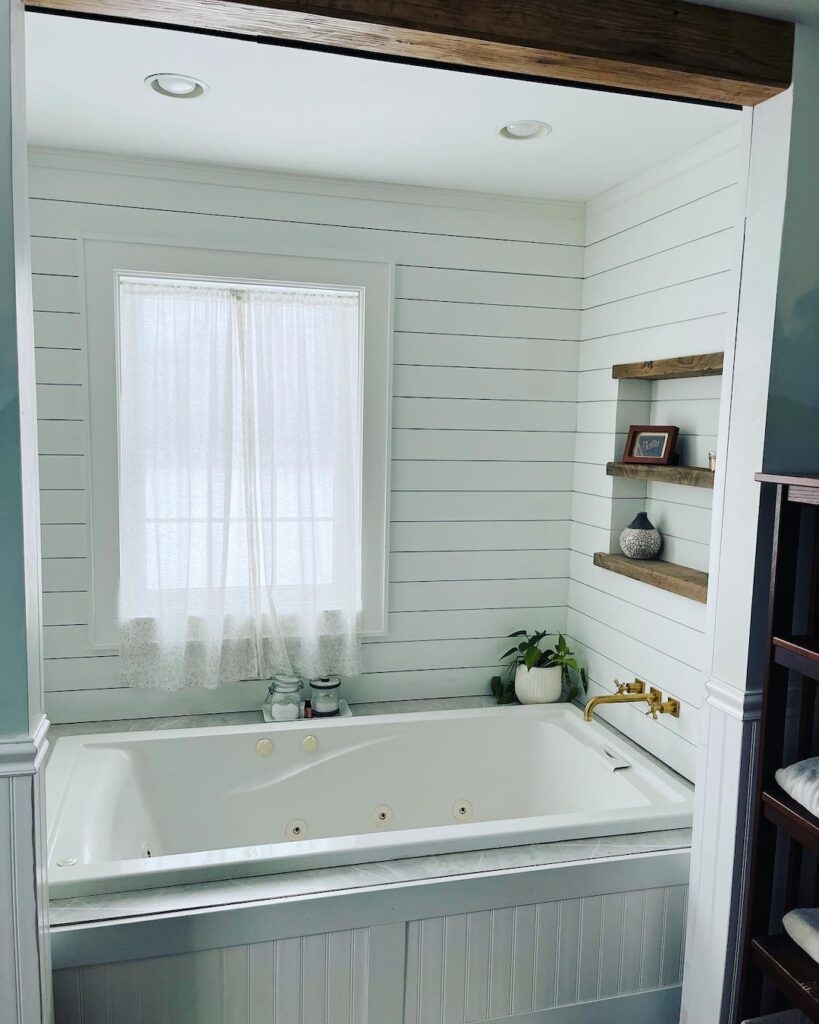
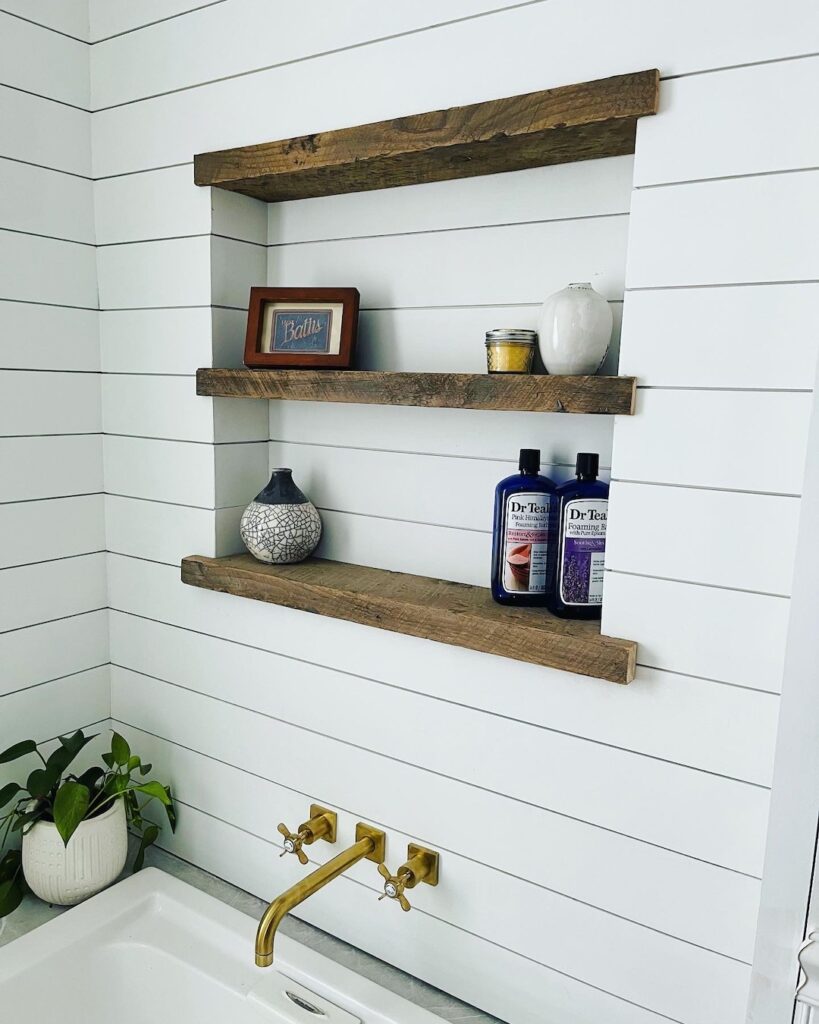
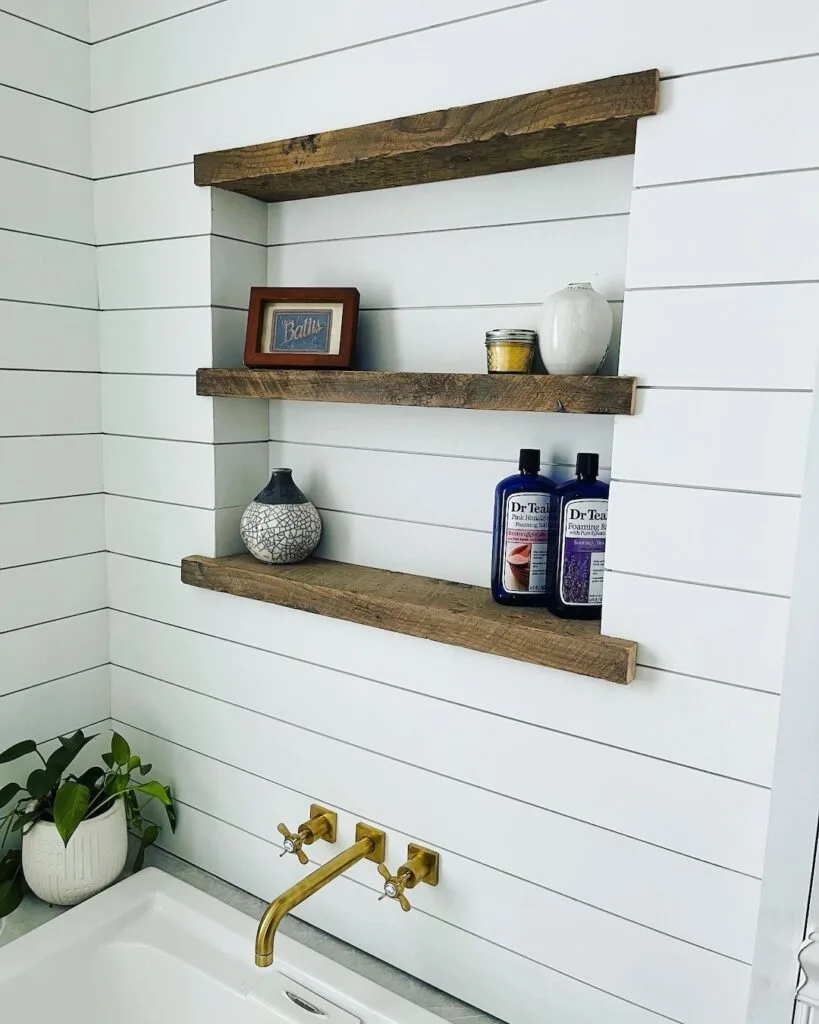
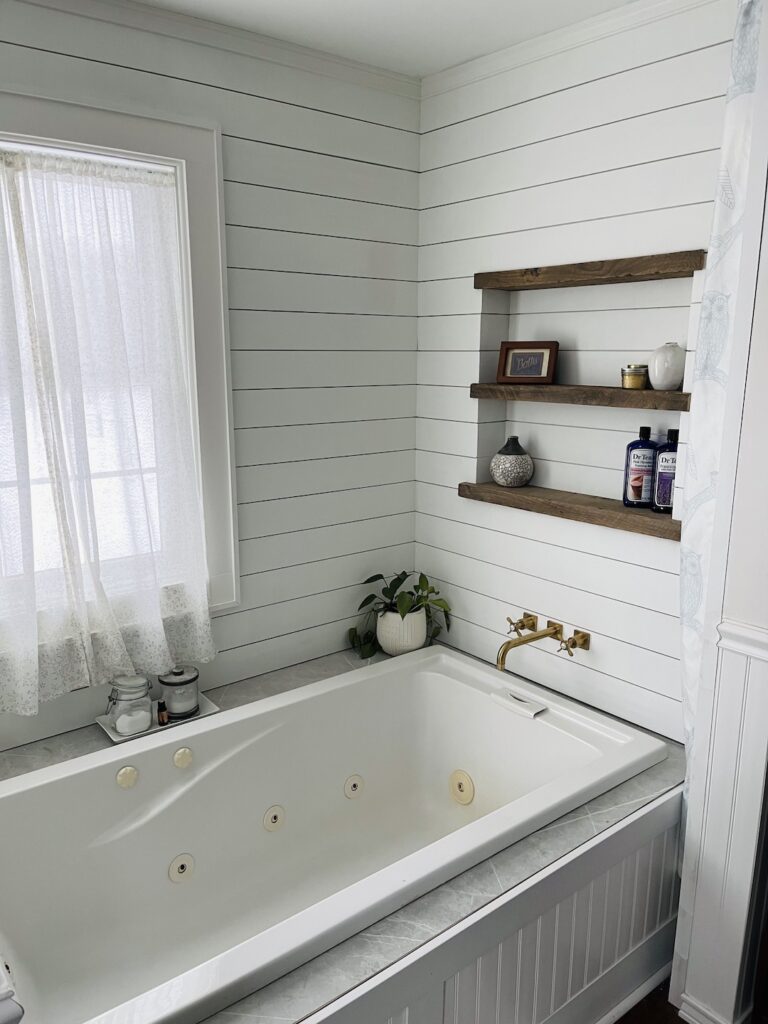
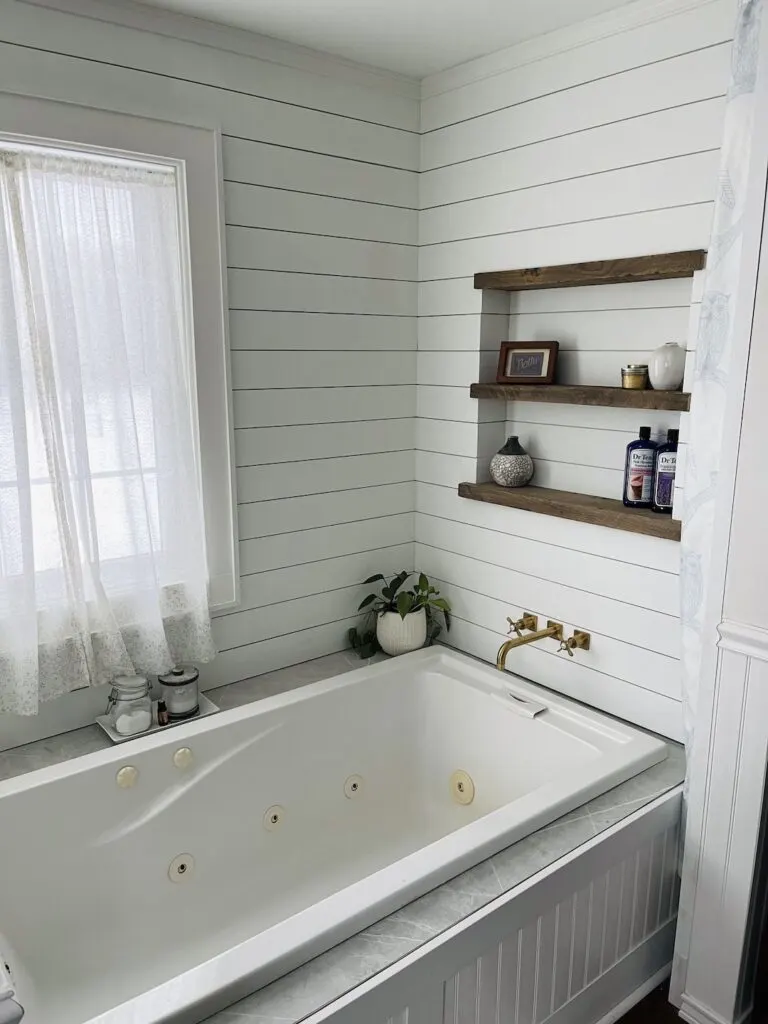
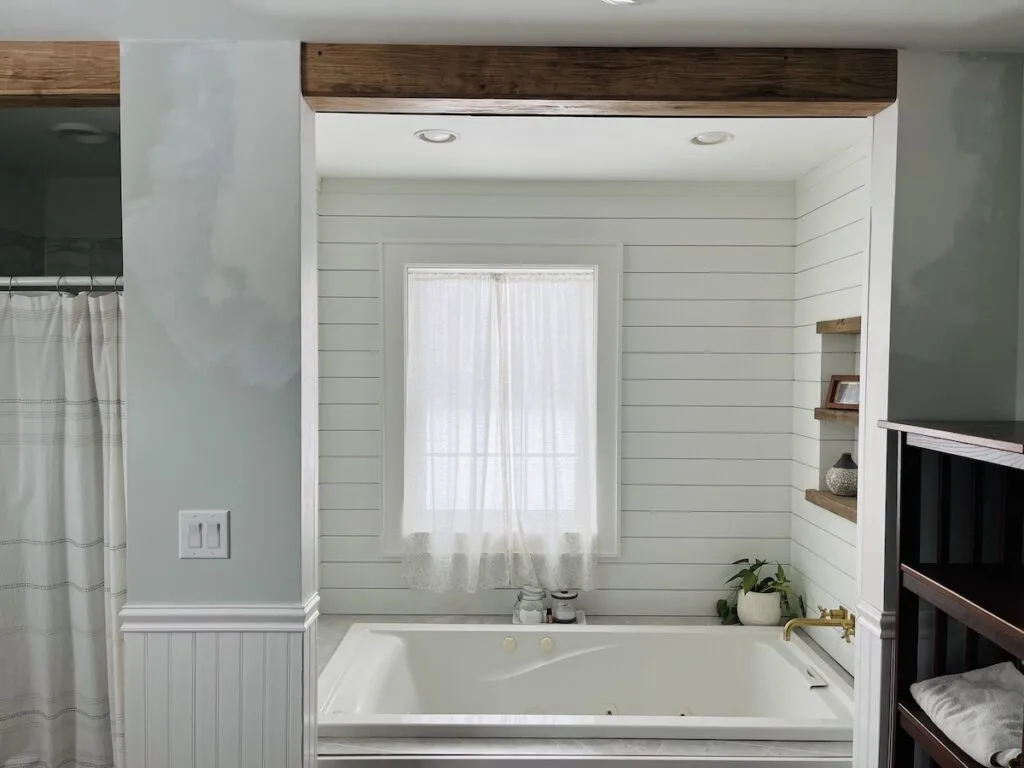
So we took that and made it into something a little brighter. The rest of the room isn’t done, but the tub alcove area now looks like this.

What projects made up the tub alcove refresh?
- replaced the walls with shiplap
- moved faucet from tub deck to wall
- replaced header with faux beam
- replaced window trim
- added a recessed wall shelf
- covered tile deck with laminate
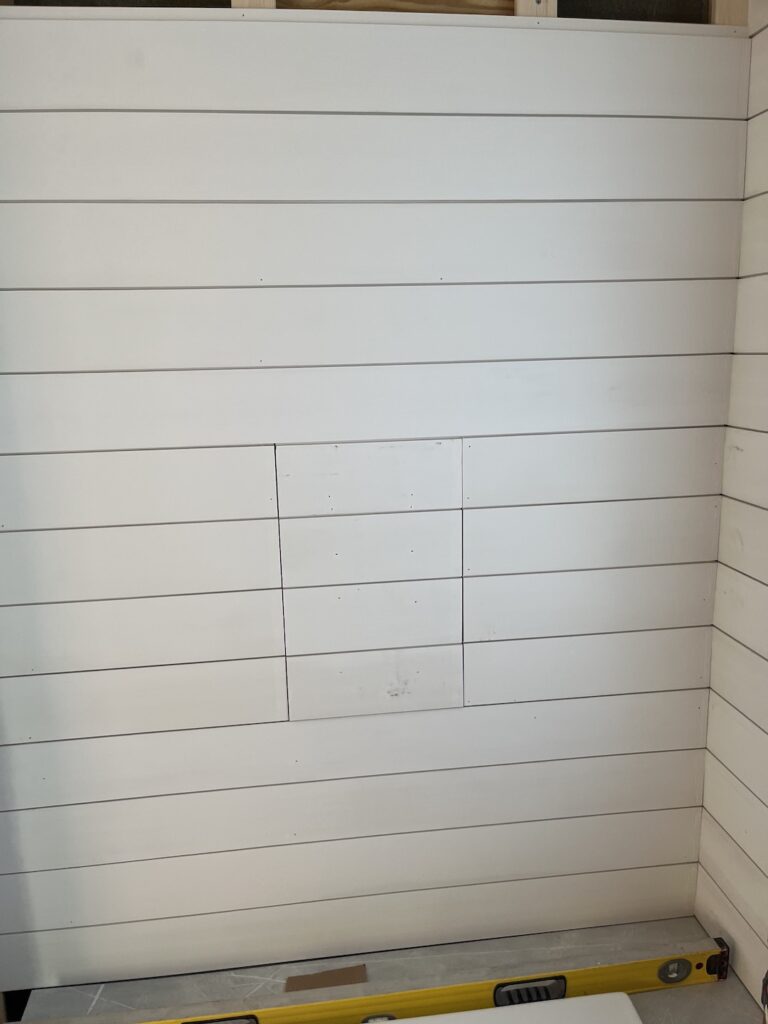
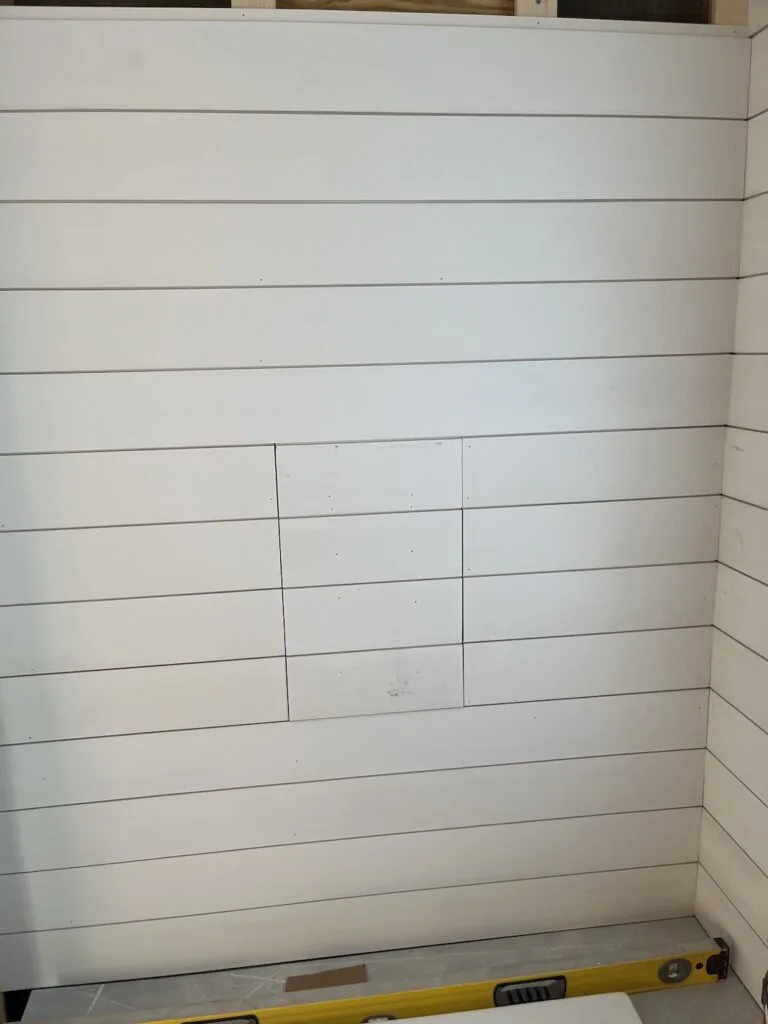
Replacing the sheetrock with shiplap in the tub alcove
The sheetock on the exterior wall was fine, and possibly needed for code, so we left that alone. The wall on the faucet side was badly water damaged. On the opposite side we wanted to add a panel to access the shower valve.

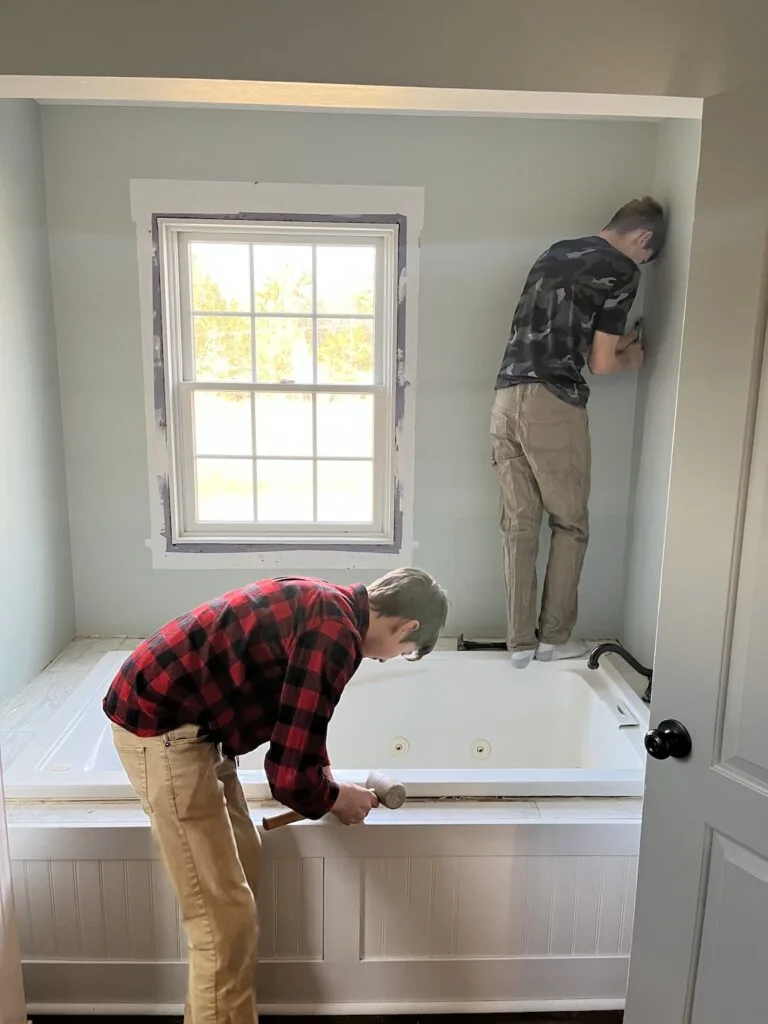
There was also some awkward trim around the edge of the tub that needed to be removed. It was installed to cover the uneven gap between the tile deck and the lip of the tub. Thankfully that awkward gap is also what allowed us to slide in the new laminate top.
Because of the reach of the faucet we had to shim out the faucet wall so that it could reach the tub more comfortably. Adding some depth here also meant we could make deeper recessed shelves so it worked out really well.
We started on the backwall and then moved to each of the side walls. We then capped off the sheetrock wall with a little chair rail trim because I frankly didn’t feel like adding crown molding in this little space. I think it would have felt a little too finished for what I was hoping would be a more rustic space.
Moving the faucet from the tub deck to the wall
Adding the wall mounted faucet turned into a bit of an adventure for us. The first faucet that I triple checked the measurements on was short. By a lot.
It turns out that the length of the faucet was calculated from the rough-in, which sounds fine. But the issue is that the handles finish didn’t extend in as far to the valve. Long story short, we couldn’t use the faucet I bought without adding like 4″ to the wall. That would have made the space between the tub and the wall feel really claustrophobic.

After panic shopping for a faucet that would fit and fit our style we finally managed to find one we liked okay. At one point we were seriously considering going like 10x higher in price and waiting for 9 weeks before the panic wore off and we took a step back. We found one we liked, but didn’t love, that was in the right finish and would fit with only an extra inch or so of padding.

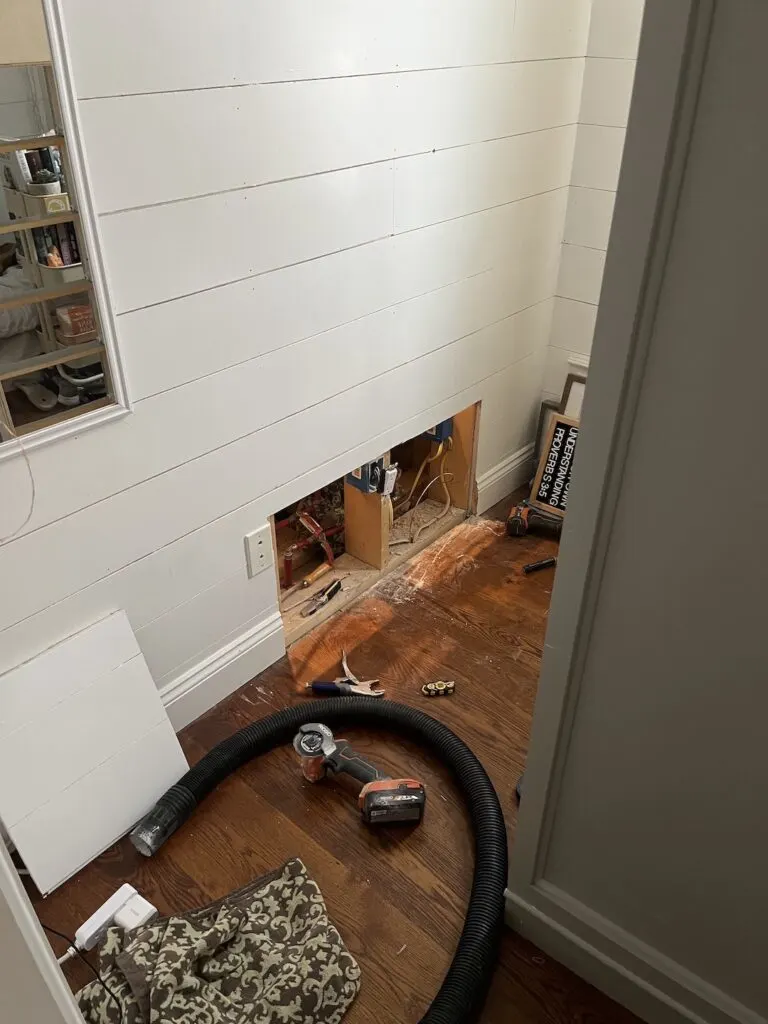
We already had access to the faucet plumbing from the adjacent nook. I did make the access panel a little bigger to make it easier.
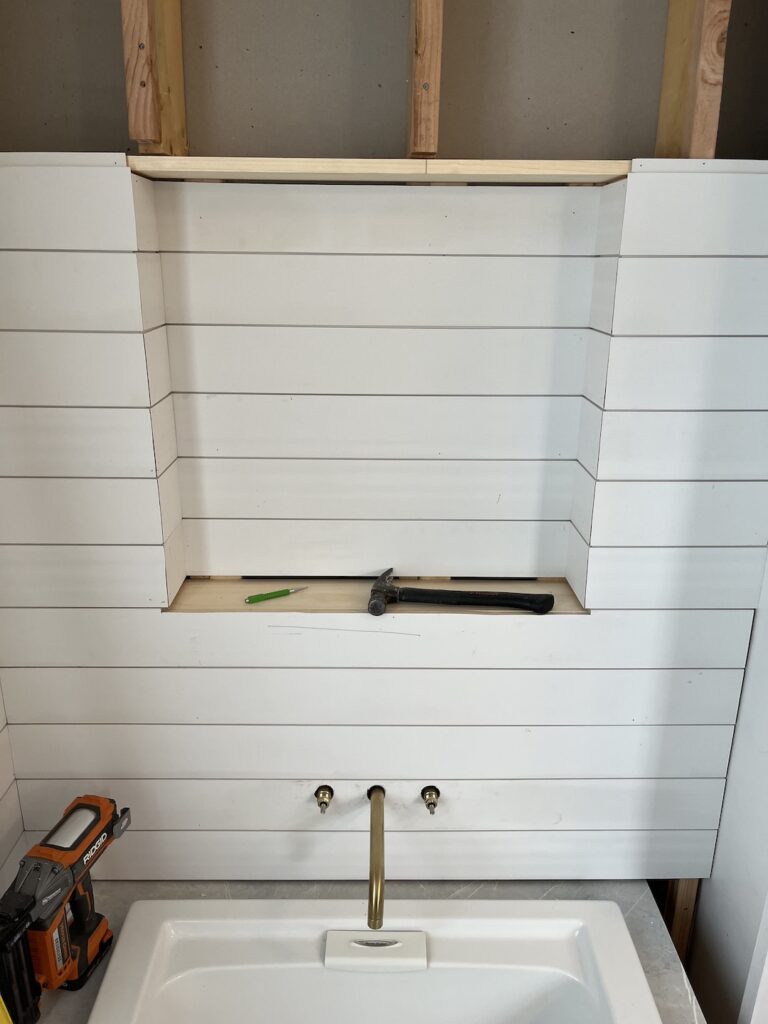
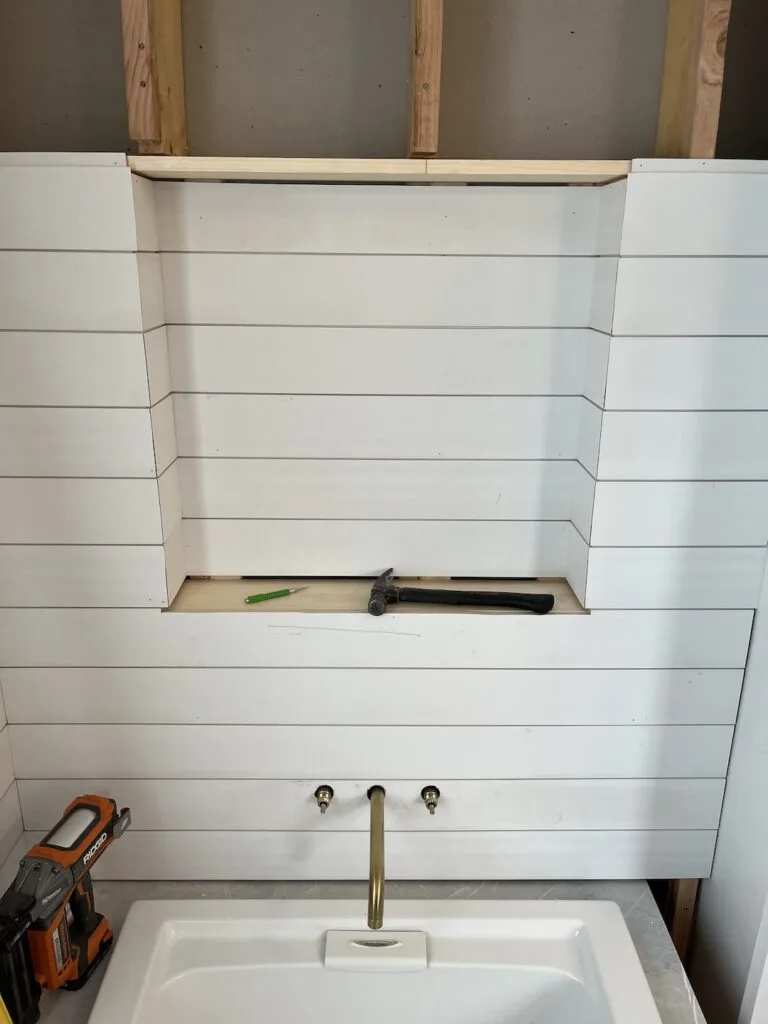
Getting the faucet to this point was a big win. We used the ‘toothpaste trick’ to find where to drill our holes on the shiplap board. It worked okay. I could use a little more practice at it.
After all the panic with having to buy a different faucet and make a decision on the fly, I’m really happy with how it came out. And I’m not just saying that because it’s done and I don’t have to stress about it anymore.
Okay maybe, it’s a little bit of that, but I’m also happy with how it looks.
Replacing the window trim in the tub alcove
I have a trim confession.
I might be the only person to have one of those. Or at least one of the few people. I feel like most confessions are more interesting than ones regarding molding.
But my big confession is that I hate our farmhouse style trim. I saw it on a blog years ago when we were building and it looked so clean and simple and easy to put up that I was sold. After living with it for a few years, I’ve been slowly replacing it in every room we touch.
What I’ve found that I love instead is a complicated multi-piece trim that involves a flat 1×4 bordered outside by a ripped in half 1×3 sideways and then shoe molding on the inside. Confused? Well have some photos that may or may not help.
I’m calling it modern farmhouse trim.
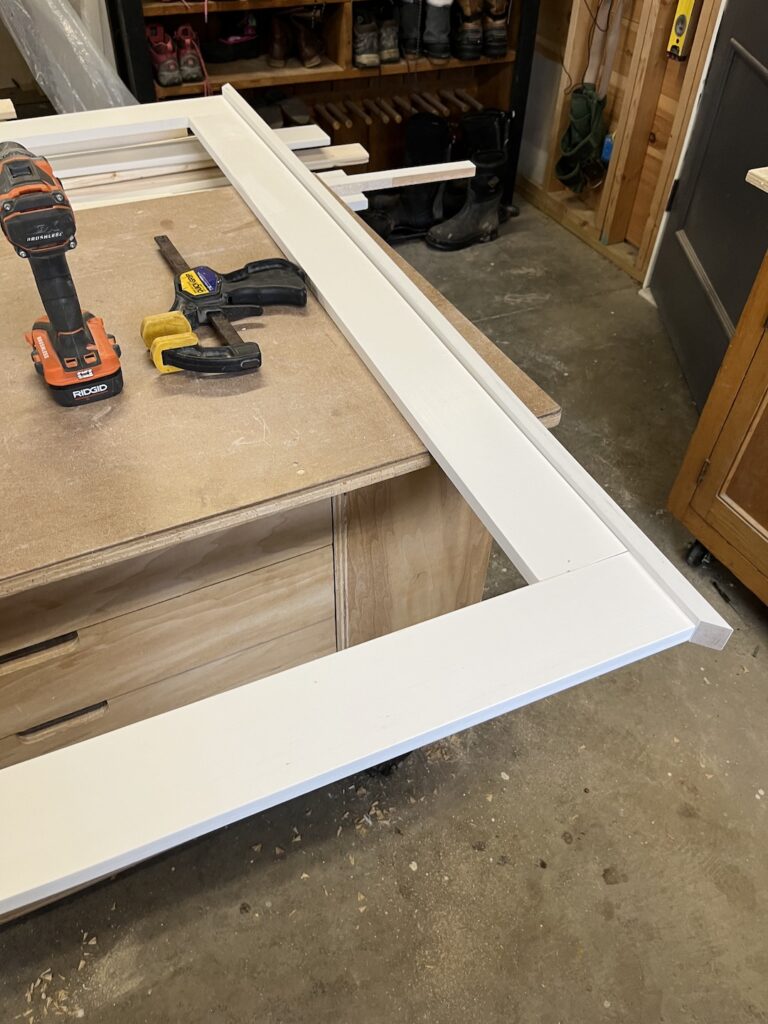

I start by getting the frame pocket holed and assembled which gives me the basic frame. From there I use that frame to mark out my outside trim, versus measuring. Usually it’s more accurate. Usually.
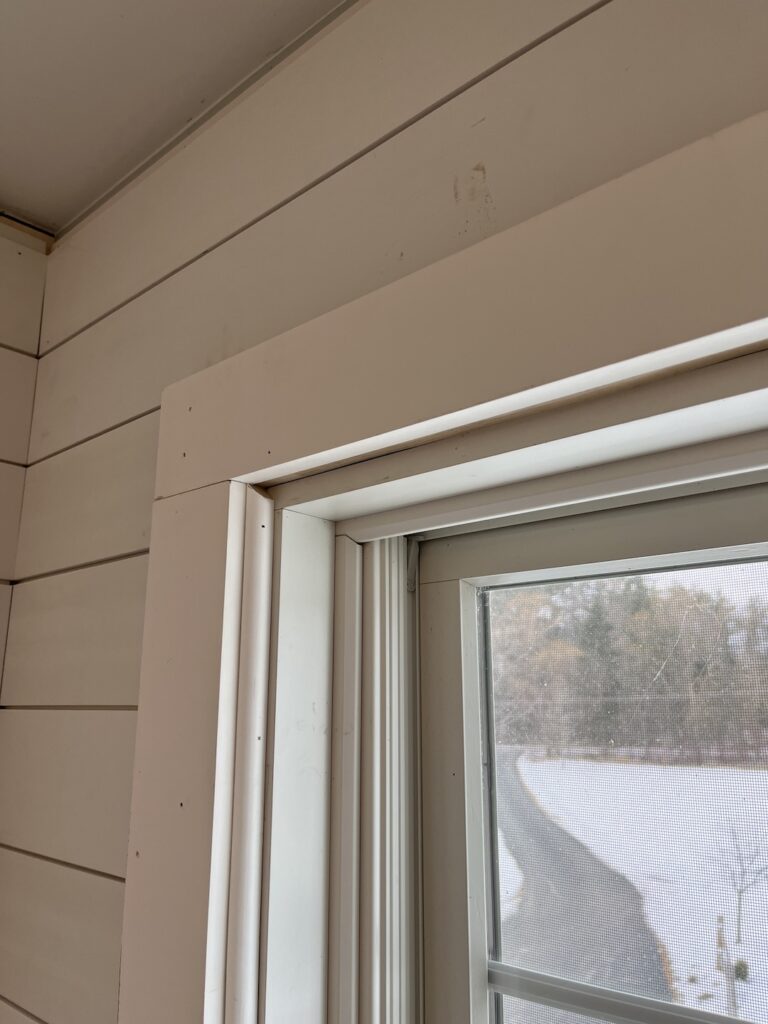
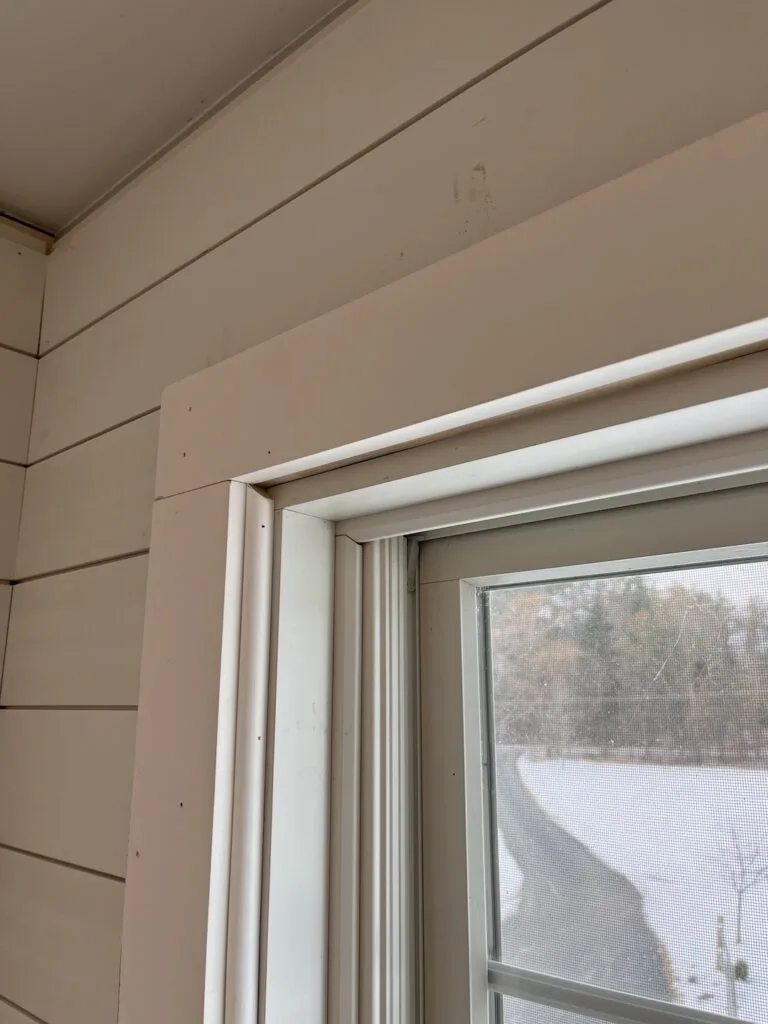
Here is where the shoe molding comes in. In thise case it does more than add a decorative element because it’s covering the thickness of the shiplap. For other windows and doors it’s not stricly needed but it adds a lot of depth and character to simple one-by trim.
We might still replace the curtain in this window with something a little more fitted but for now this works just fine.
Replacing the header with a faux beam
One of the bigger parts of the renovation was demoing the header that had closed off the tub alcove and replacing it with a faux beam. I had been kind of pushing for an arched opening. Maybe arches are trendy now? I don’t know, I feel like I’m seeing more of them than usual.
Maybe I’m just experience Baader–Meinhof (frequency bias) with arches.
Anyway, I should stop talking about arches because Shannon wasn’t into it, so we nixed it and moved on to the second option which was a faux beam.
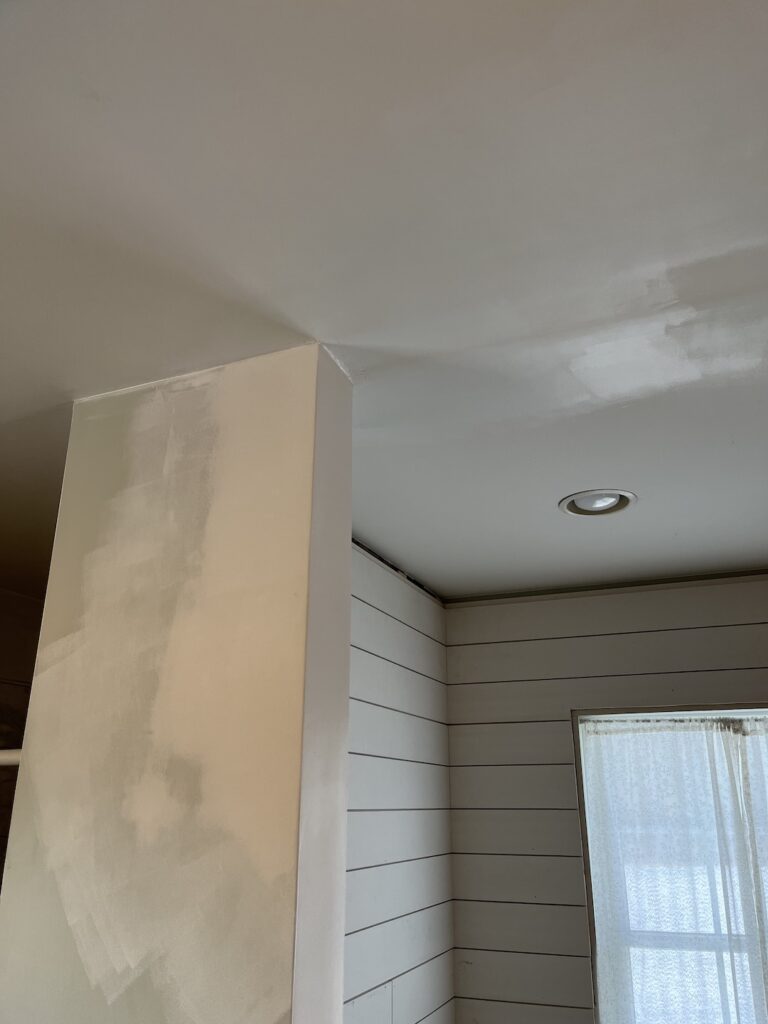
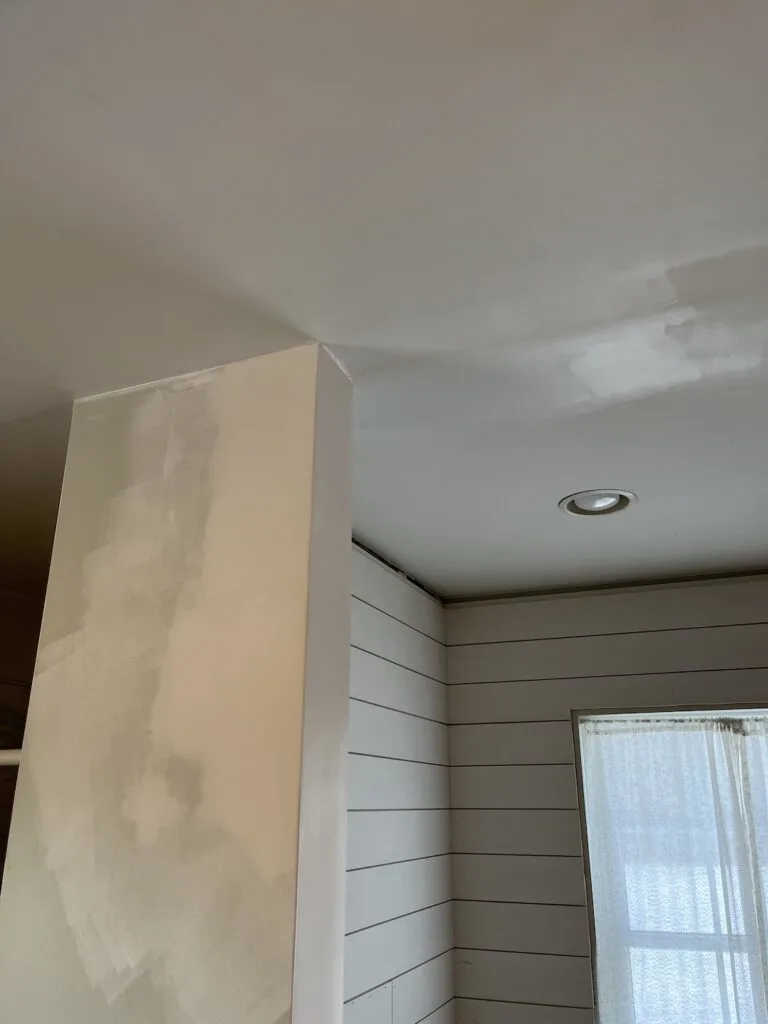
Getting rid of the header was pretty easy. A sawzall, a knife and a hammer it came out without much fuss. Getting the ceiling and walls patched back up was a lot more effort.
I’m not great with it and I didn’t really get the new patch as flush as I should have so there’s a lot more joint compound happening on those walls than I’d like to openly admit to. Thankfully the beam is covering up a lot of it.
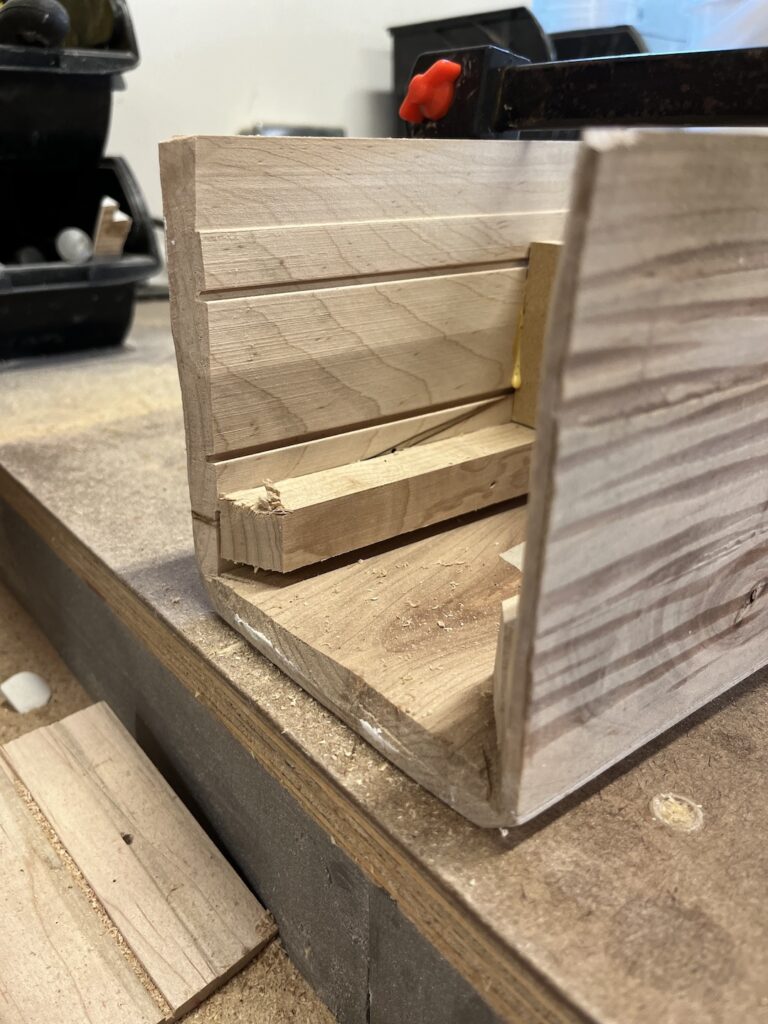
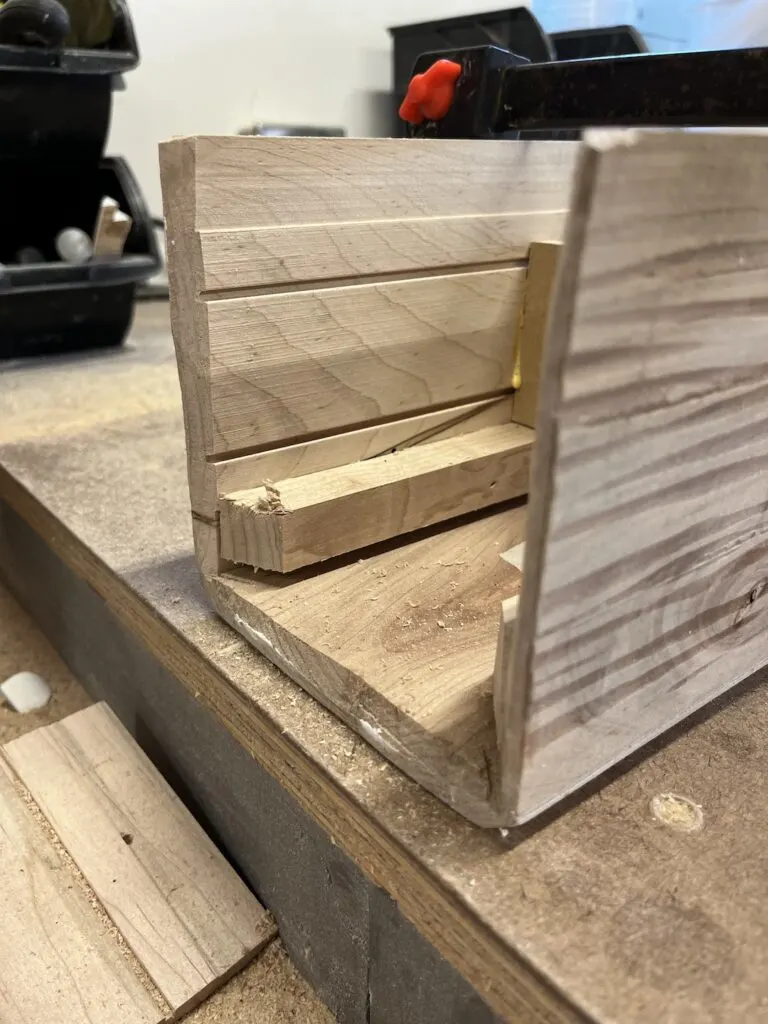
When it came time to mark up the ends of the beam I experimented with making basically beam patterns. I took the scraps, scribed them on the proper wall and then cut those and transfered to the actual beams.

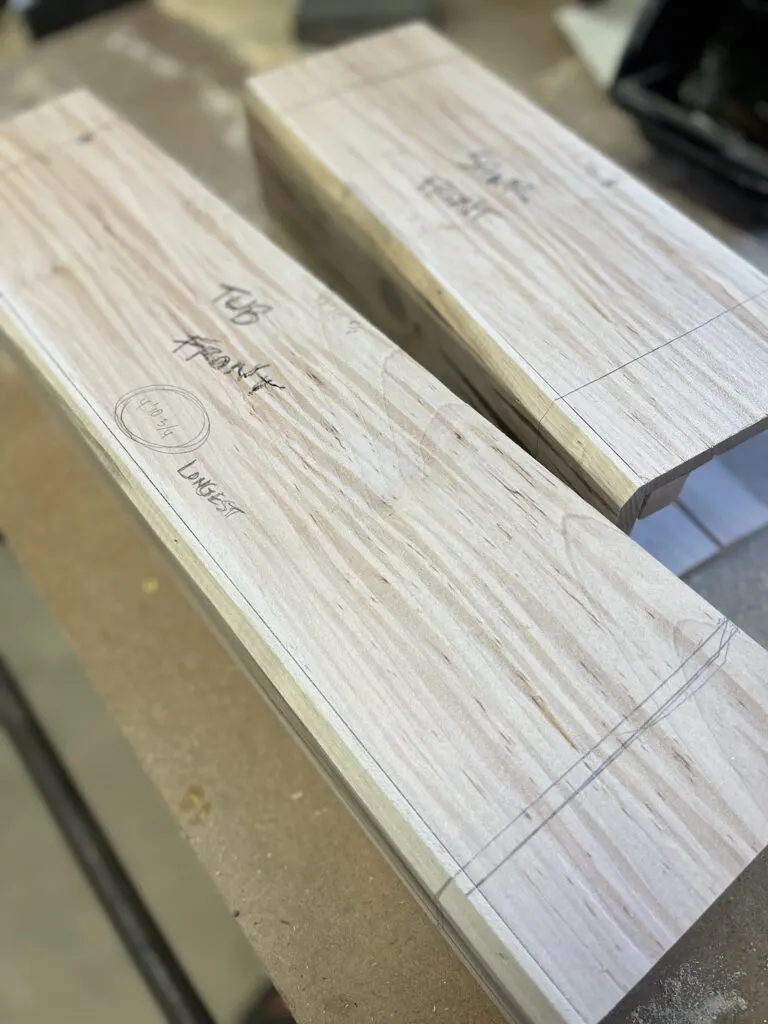
One of the tricks I wish I thought of earlier was to back-cut the ends of the beams. Because you have to slide in the beam over the finished sheet rock, having the least amount of material make contact is the way to go.
You can see in the photo on the left I was pretty aggressive in cutting back the sides here. This was after I gouged up all my hard work of taping and sanding the walls.
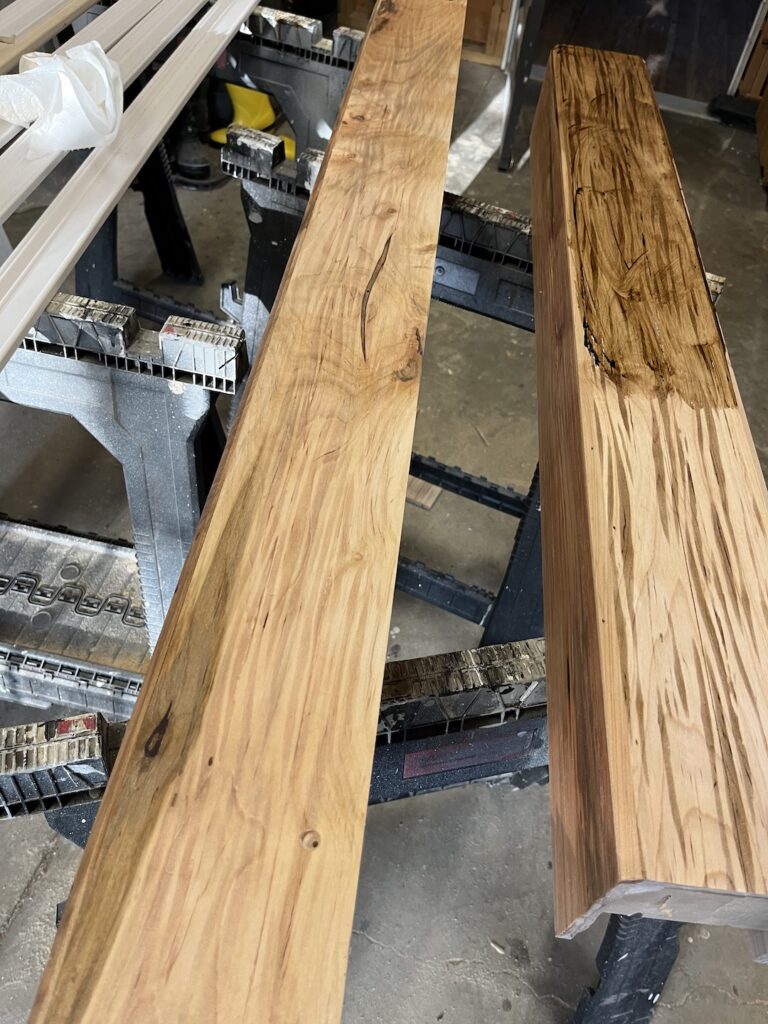

For the stain and actually the beam choice, I just followed exactly what Henry at Plank and Pillow did with their faux beams. That’s in general very good DIY advice, his work is amazing and their projects are major sources of inspiration for me.
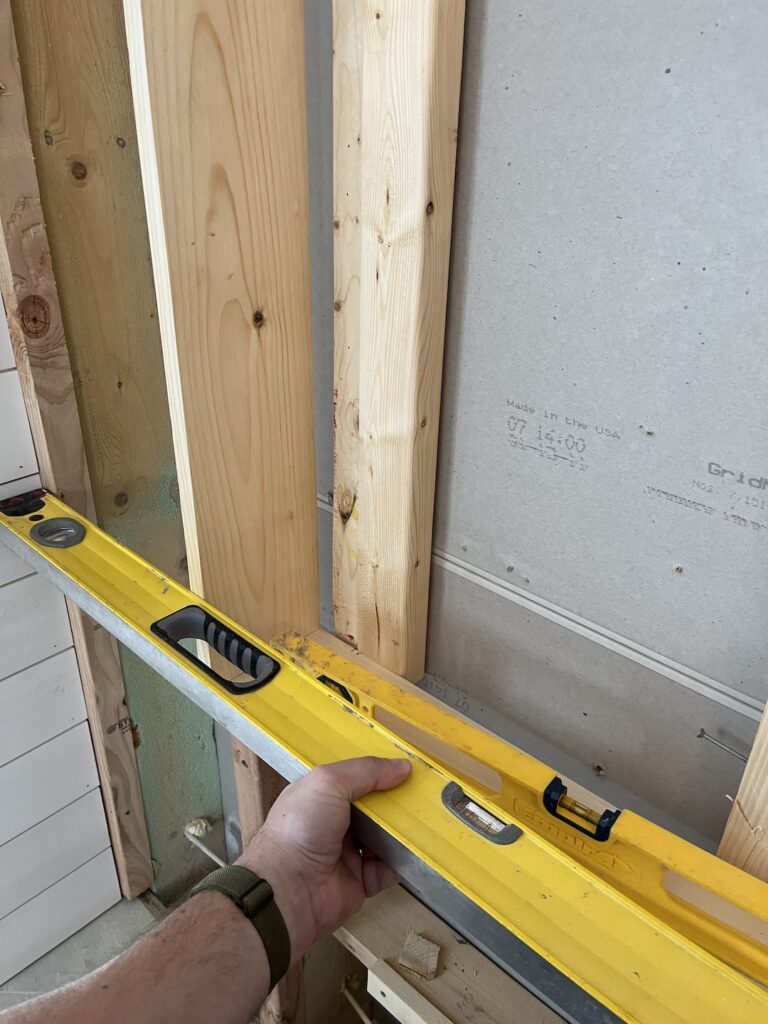
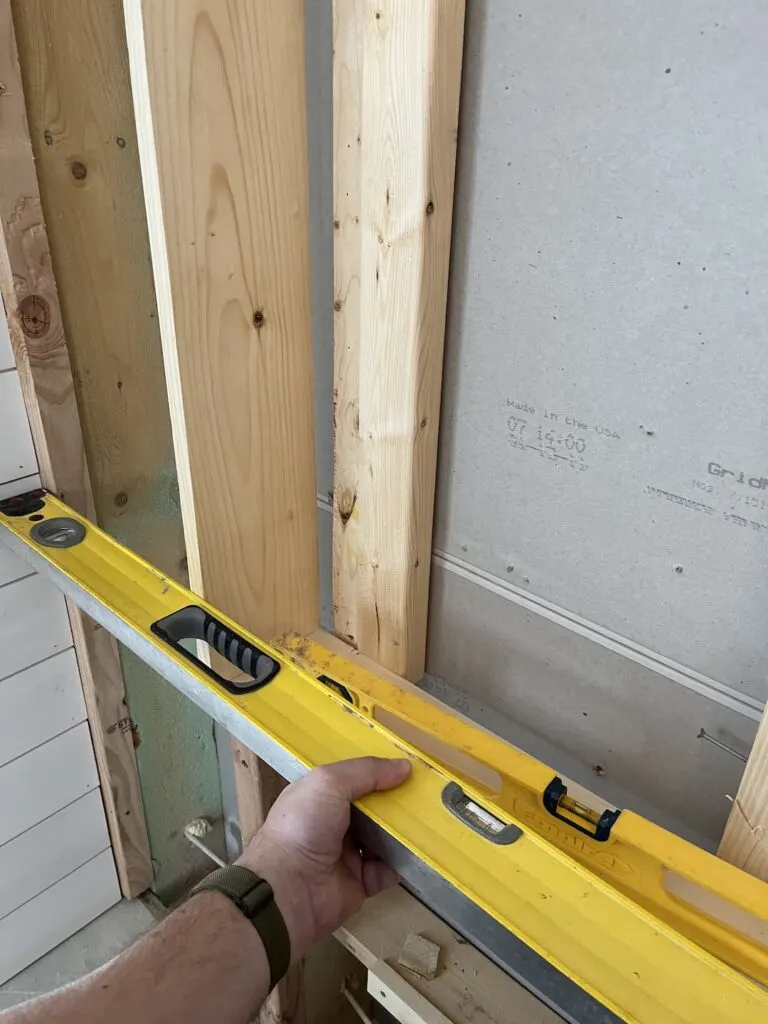
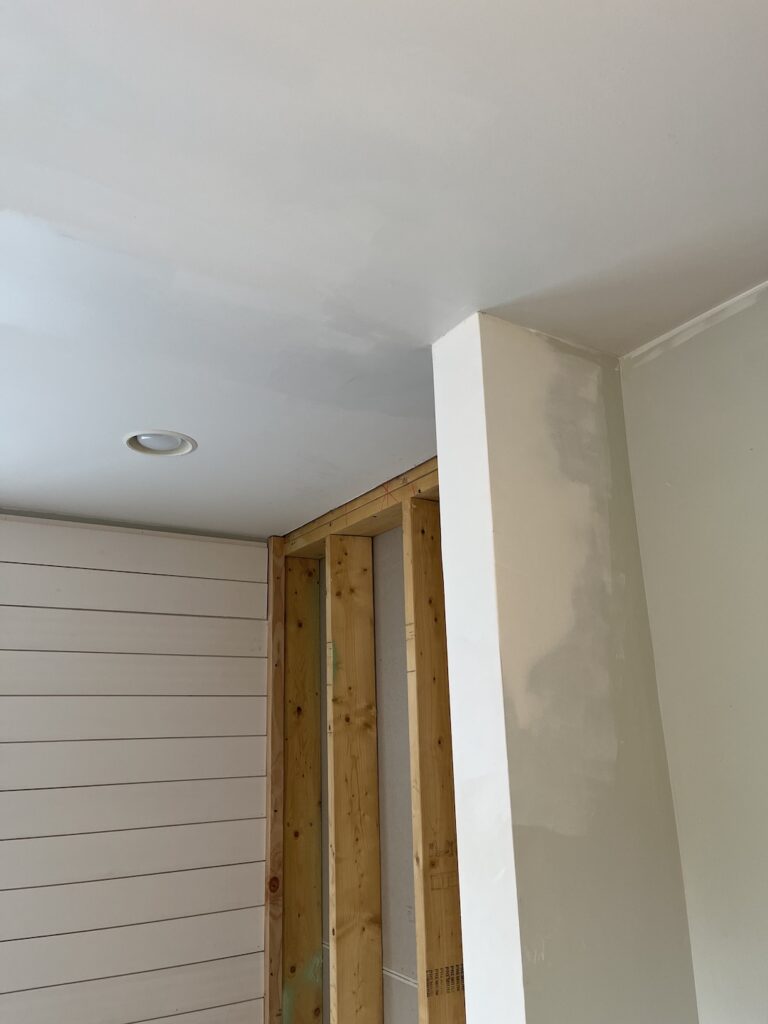
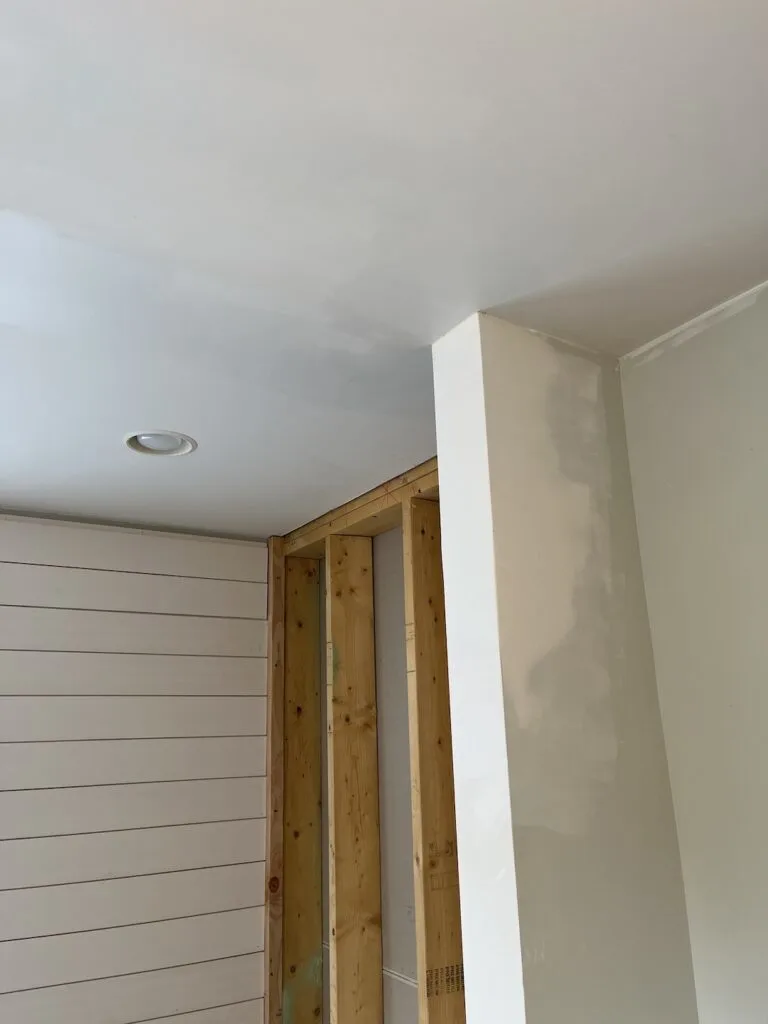
For the mounting plate I wanted to be sure that I got it nice and square to the wall over the shower area. The tub area was easy because it was between two walls, here it was a lot easier to get off track.
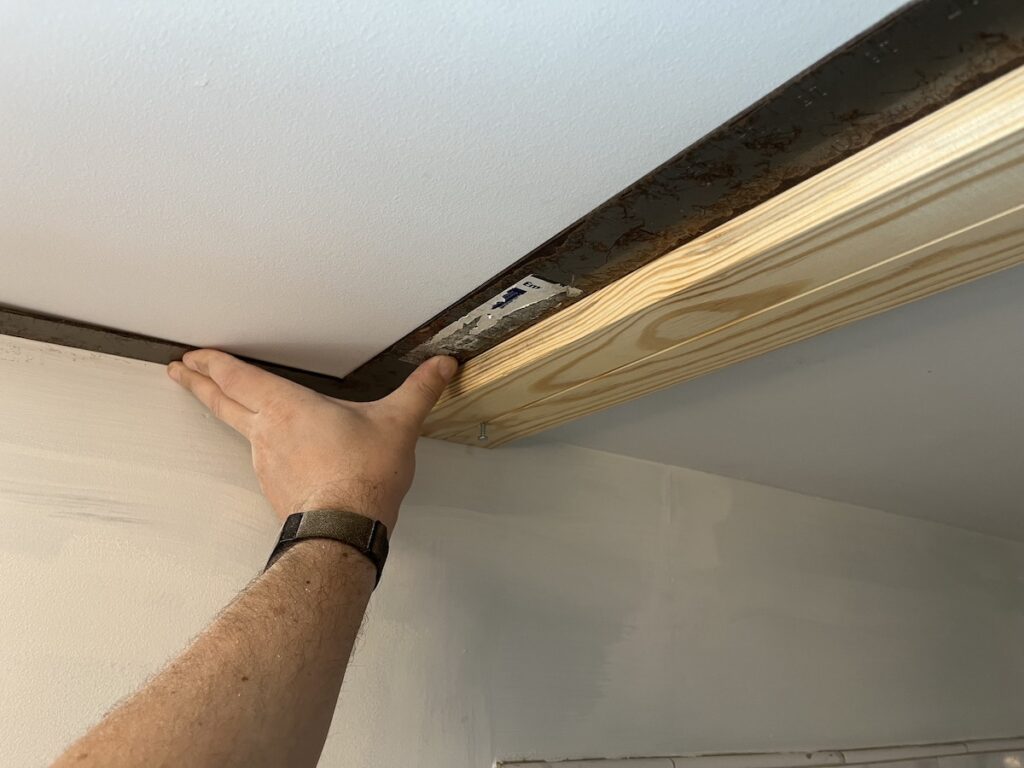


The illusion of a single beam that runs through both spaces came out as well as I hoped. It also add a lot more light to have the header removed. We had thought about adding a wood plank ceiling in the alcove but decided to leave it white and seeing it here, I’m happy with that call too.
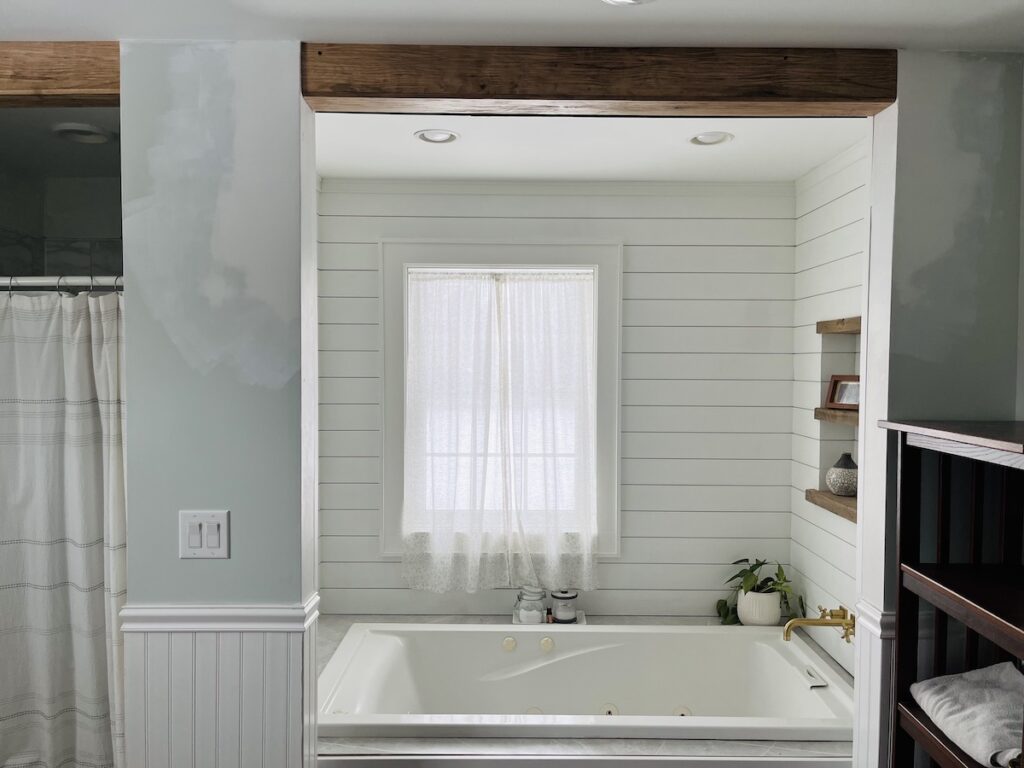
Overall this was only a pretty small aread of the bathroom and there are many, many projects left. For now though I get to at least enjoy this light, airy, restful, spa-like tub alcove.