When building our custom double vanity we wanted a lighter white oak look, but due to material constraints we instead decided to bleach red oak. There were a couple good articles around on how to do that, like this post from Plank and Pillow. Unfortunately we couldn’t find anything specific to furniture with finished photos.
Having first hand information about the process and the mistakes made (so, so many mistakes) is one of the reason people seem to appreciate this post on the liming wax finish on our buffet.
But this post isn’t about pine and lime, it’s about how to bleach red oak.
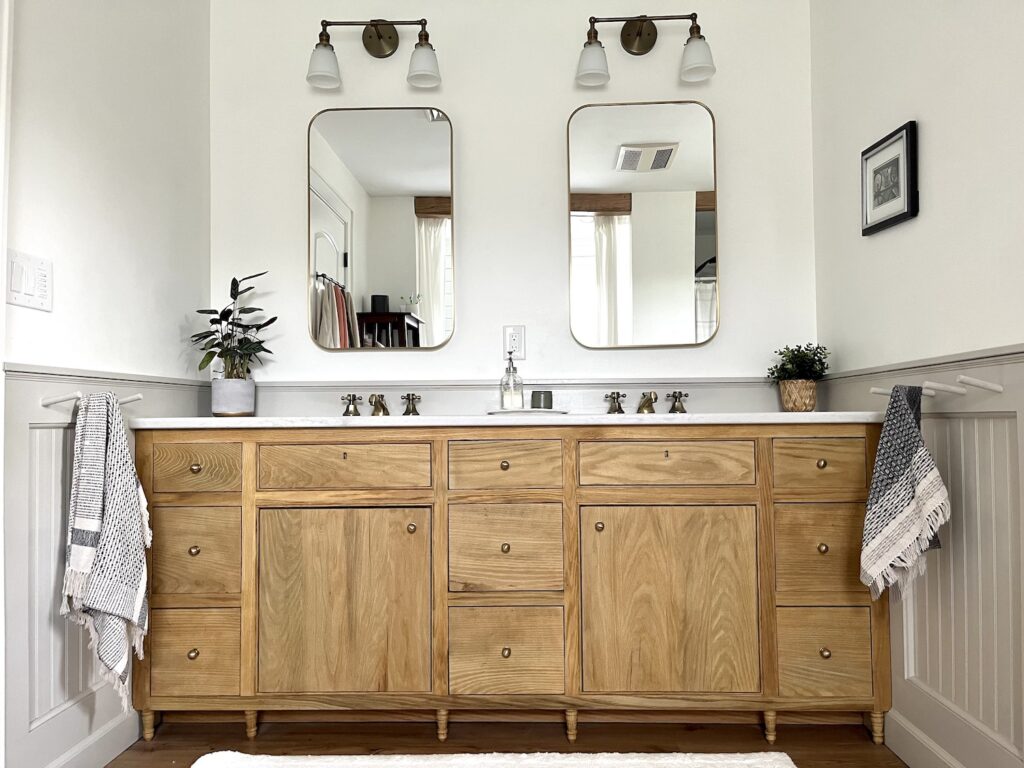
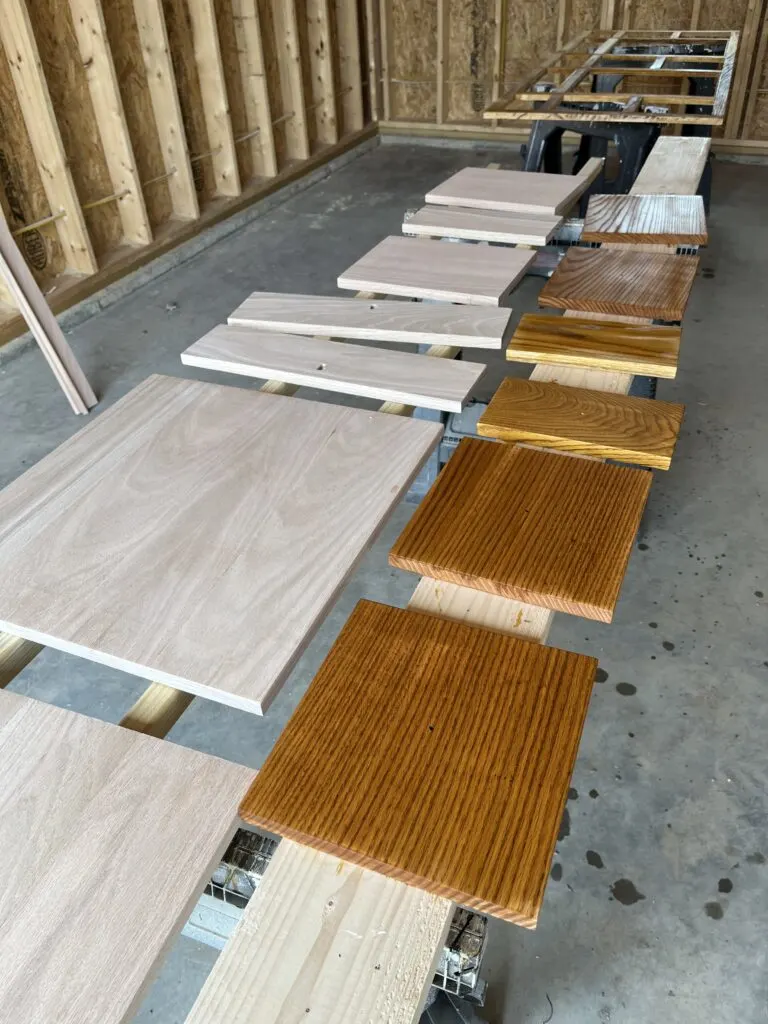
This is the piece we ended up with. We ended up going a little darker than some of our original inspiration, mostly to give more contrast between the vanity and the floor.

Material and tools needed to bleach red oak furniture
- food grade lye
- hydrogen peroxide
- bleach
- foam brushes
- clean rags
- eye protection
- sandpaper
Using hydrogen peroxide and lye wash to bleach red oak
This is the method from Plank and Pillow that we started with. It was very effective at getting the pink / red out of the wood. The overall grain of the wood looked great but we really didn’t want a pink vanity.

The first step in the process was to completely soak the wood with hydrogen peroxide. Well…
The actual first step should have been to water pop the grain and sand it down again. I had dry sanded down to 220 grit and then after the first round of bleaching all the grain popped.
So, learn from my mistake and first water pop the grain. Do that by thoroughly wetting the sanded wood, waiting for it to dry and lightly sanding it again.
And back to step one, er two, or whatever. So now that we’ve grain popped and resanded we want to thoroughly wet the surface with hydrogen peroxide. I used a foam brush for this step and it worked well.


One of the issues that I ran into here was that I had pre-drilled all of the knob holes. I don’t remember why I thought this would be better. The issue is that the hydrogen peroxide and lyming wash both dripped through and created some staining.
So yeah, don’t pre-drill holes when doing this.
Once I had one side of one set of drawers covered with hydrogen peroxide, I moved on to using the lye wash with a different foam brush. Getting the edges even was difficult. I recommend starting with the finished face so that if it drips around it gives an uneven finish on the back.
I used the exact ratio recommended in the linked article. Please make sure to wear gloves and eye protection. Lye is very caustic. The heat that the bucket of lye water was giving off was a good reminder that I didn’t want to mess around with it.
Getting the lye wash evenly in the grooves of the beading was difficult. It was at this point that I realized that there were some very big variations in the grain of some of the pieces. You can see the darker section on the upper left of the frame.

Another mistake that I made was not letting the bleach solution fully dry on one side before flipping and doing the back. This was totally avoidable but I probably have not learned my lesson and will do something similar in the future.
Patience may be a virtue but it is not a strong suit.
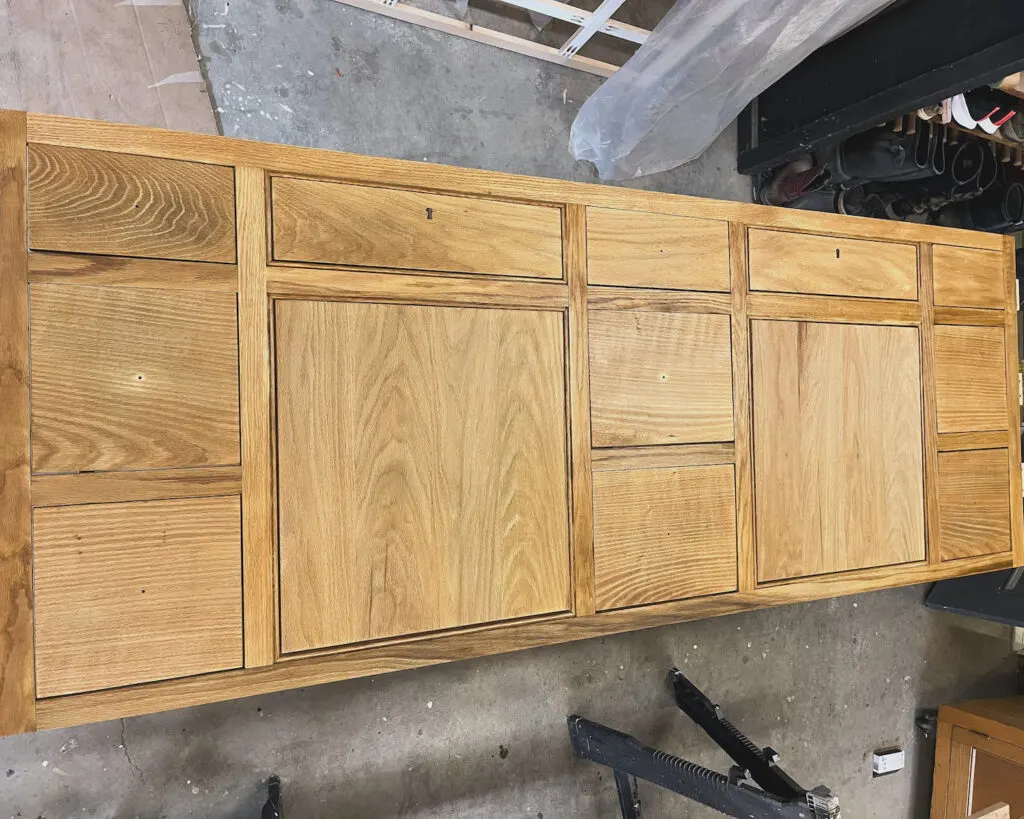
After that first pass, here is where we ended up. It was still drying a bit here, but as you can see it wasn’t exactly as even as we had hoped.

The lye solution when it was fully dried also left a bit of a film on the wood. So our actual next step was to wash that all off and then reassess.

Another method for bleaching red oak
Looking over the wood, I was tempted to try another pass with the hydrogen peroxide and lye wash. I was nervous though and decided to try something else first. Instead of using a mix of things, what if I just bleach red oak with bleach?
Well, spoiler, it worked.
The process was about as simple as it gets. I brushed on bleach, let it dry. And then I washed it off.

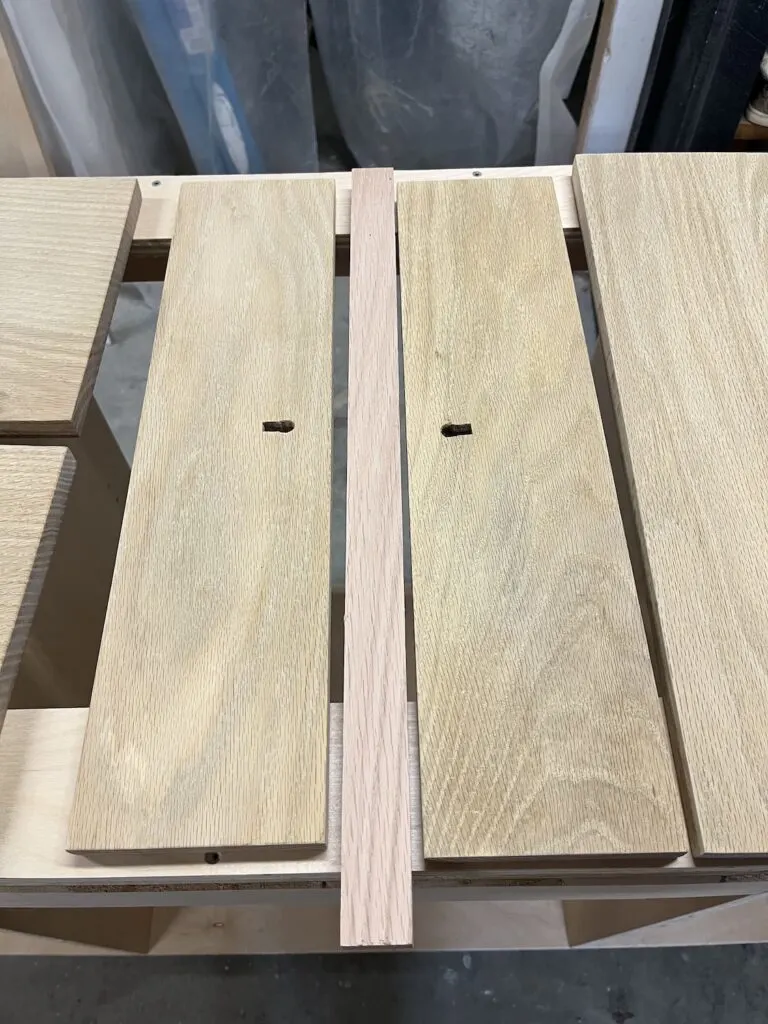
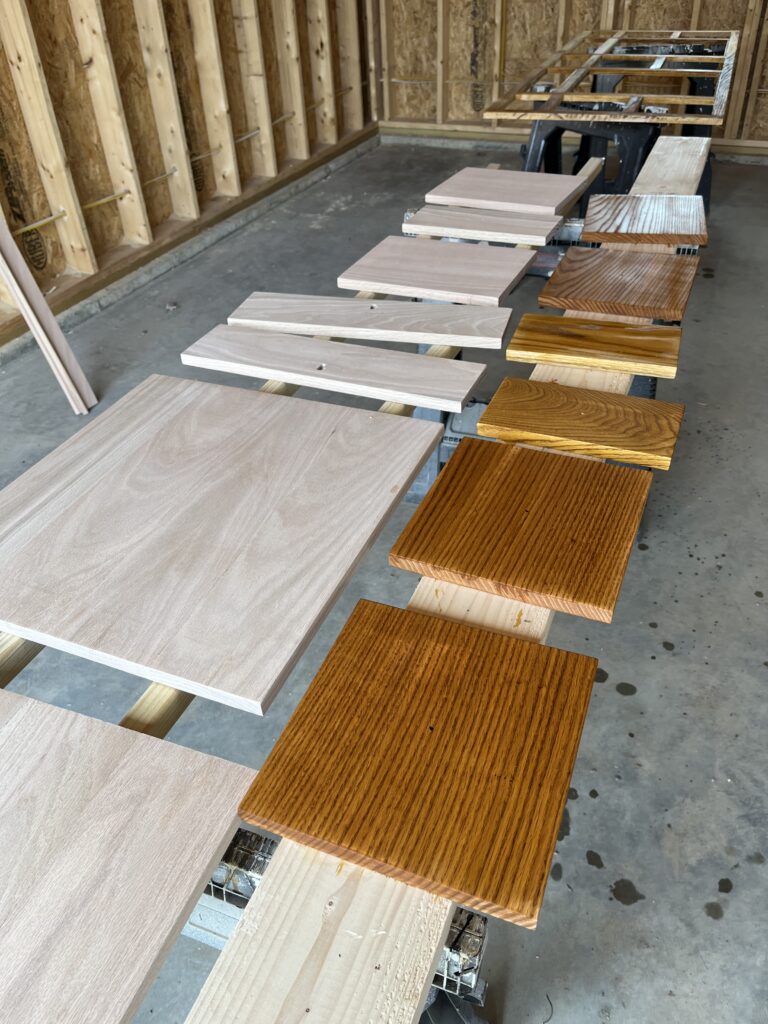
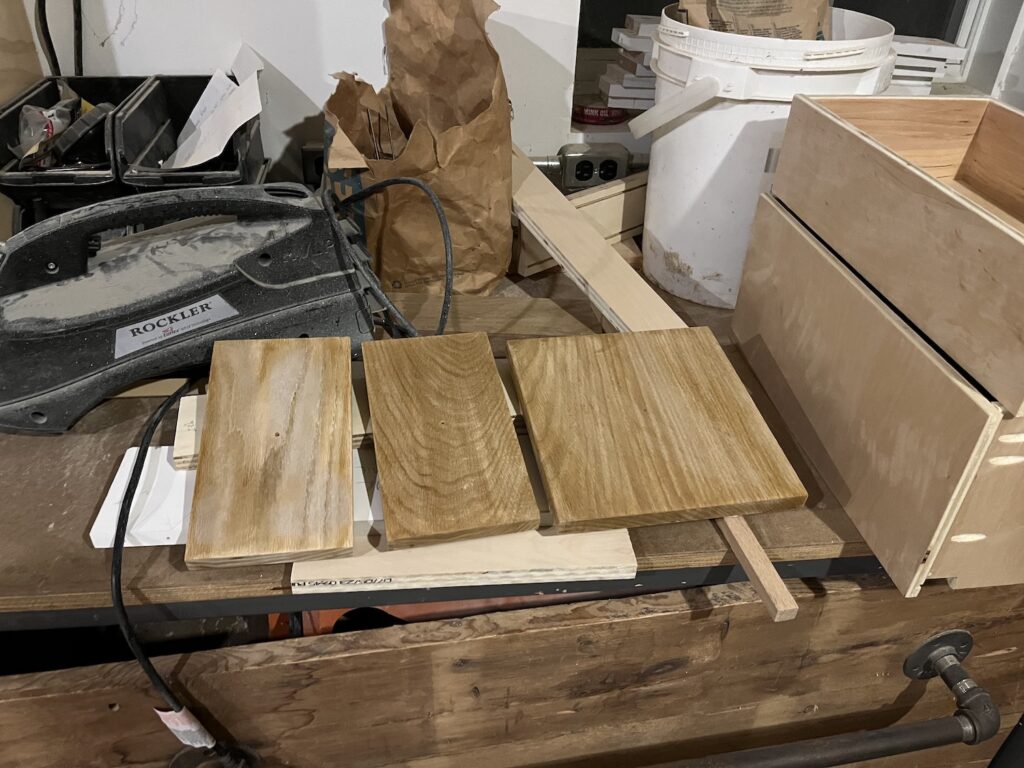
The piece in the center between the two faux drawer fronts is a original, untouched piece of red oak for comparison. The bleach definitely helped to drain more color out of the wood and get to a much lighter state.
There were still some inconsistencies but it’s wood and I’m not trying for a completely one tone finish. I like some natural variation.
This photo shows some of the screw up that pre-drilling the holes caused on a few of the drawer fronts. Thankfully the knobs we chose have a backplate that covers nearly all of these but it would have been a big bummer otherwise.
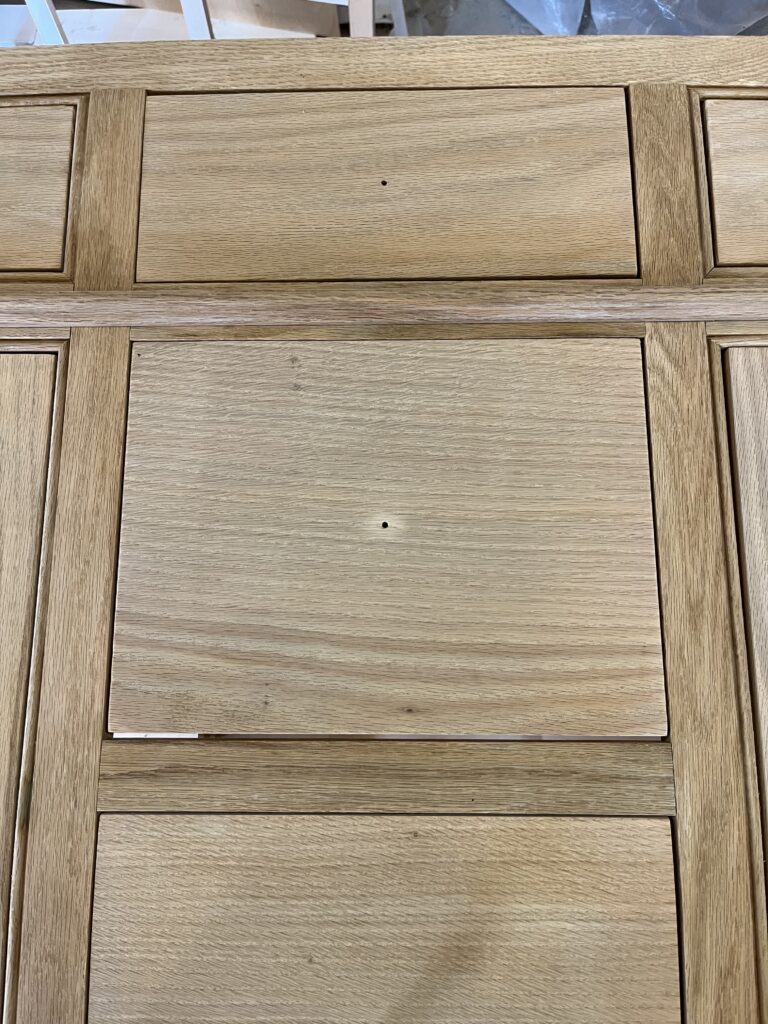
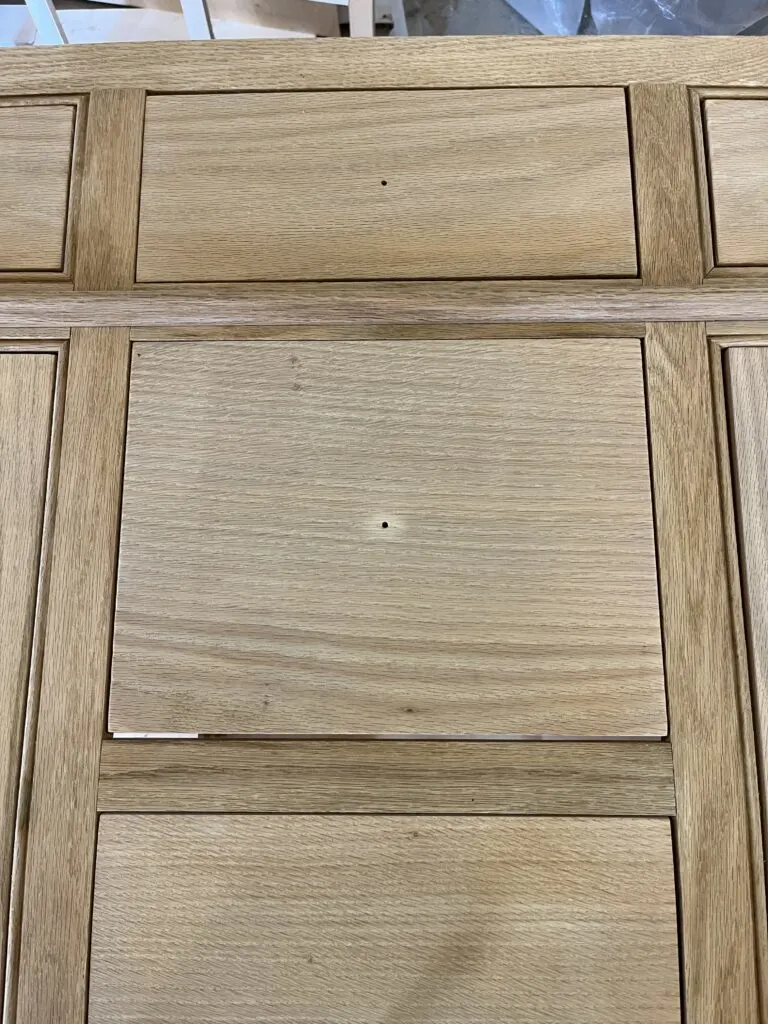
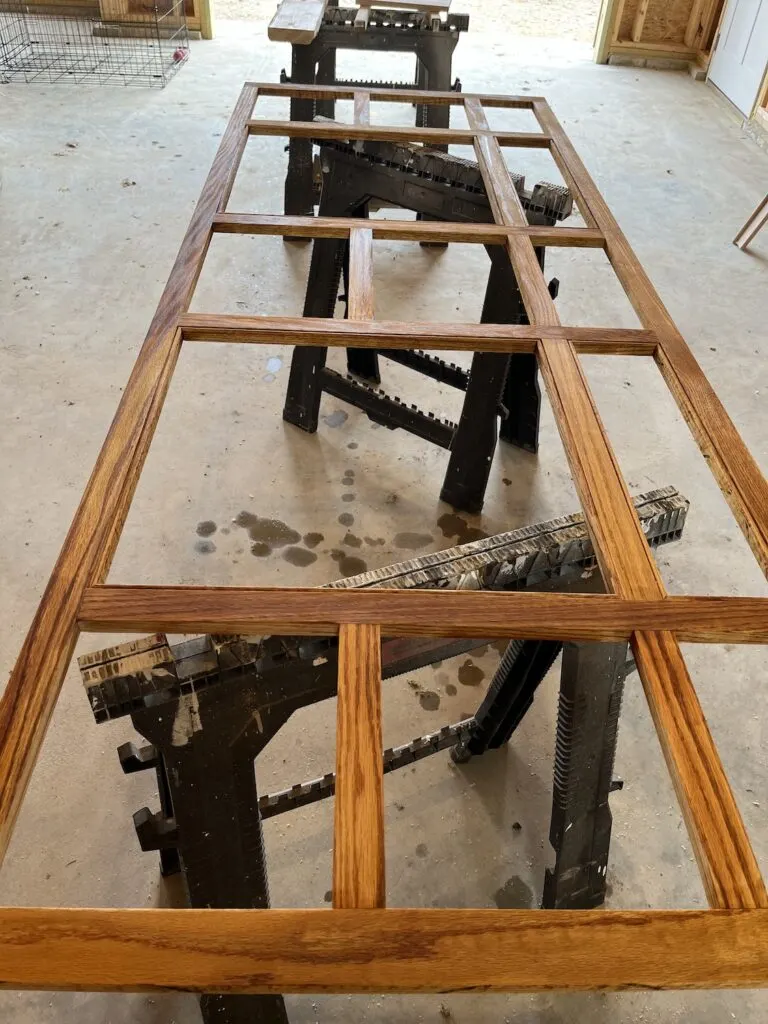
The mockup above shows the piece of trim that I originally planned to have running under the top row of drawers. More on that in a bit though.
How to match to bleached red oak
Okay so I didn’t talk about why we chose red oak that much. If we wanted the look of white oak, why not just use white oak? Why bleach red oak?
One of the reasons was availability. We could get red oak much easier.
Another was that I was nervous working with hardwood for the first time and wanted to use a cheaper material just in case.
And finally, I had these feet and some trim picked out that came in red oak that were perfect for the design. I thought. The trim was red oak. The feet turned out to not be red oak at all.
When I tried this bleach trick on the feet we had bought they turned yellow. It was bad. Think southern yellow pine yellow. I panicked, walked away and rethought this entire plan that was months in the making and nearly finished.
And then I picked up some gel stain and got to work fixing them.


So after our oak feet turned out to not be oak, that left the trim. Well, the funny thing is I designed the drawers very specifically to accommodate this trim but when it came time to apply it, we preferred it without it.
Yeah.
It turns out that it would have been just fine to go buy white oak in the first place. But then you wouldn’t have this post telling you all about what can go wrong when you try to bleach red oak and what fun is that?
How to finish bleached red oak
Ironically after all that work I didn’t really have a plan for how to finish this. I wasn’t wild about the thought of poly because I didn’t think it would be a durable enough finish. Some videos of people finishing with a product called Walrus Oil Furniture Butter piqued my interest.
I did a test of the two finished on the back of the toe kick and was torn. The poly kept the very light almost grayed out tone of the bleached wood very well. The furniture butter warmed it up quite a bit.
In the end I decided to go with the furniture butter because it provided a better contrast to the floors. If we had done the straight poly it would have been very close to the floor color. Ironically with the furniture butter we ended up with nearly a dead match to the maple beams we had stained with aged oak gel stain in the bathroom.
If you are looking for a flatter white oak look though, I would highly recommend using matte poly sprayed on with an air sprayer.