To make this basement room transform from a catch-all into an actually functioning basement mudroom the first step was to add paneling. We had a false start along the entrance wall so we took a step back and made a plan.
The basement mudroom plan that we came up was many steps
- Add paneling to make it look like a basement mudroom
- Move shoe and boot storage out into my shop
- Add more shaker pegs for coats, snowpants, etc.
- Add mudroom benches
- Finish the basement ceiling
- Add new vintage look lights to the ceiling
- Add a folding wall desk for a makeshift home office
- Add an antique look door to the storage room
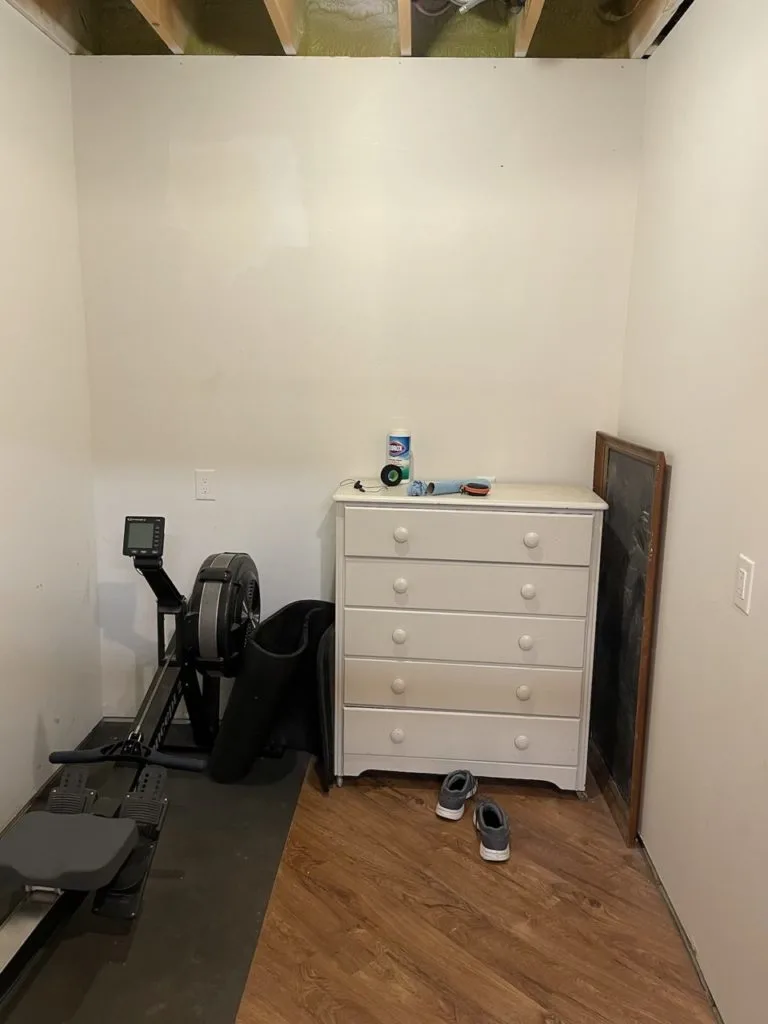
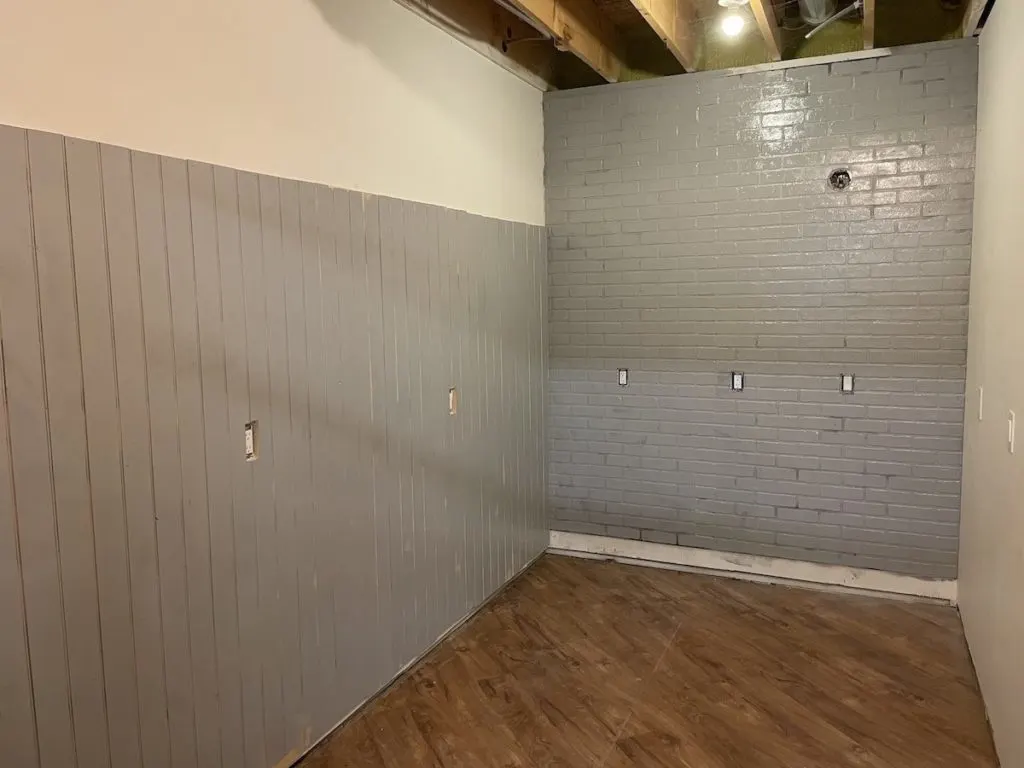
Here is about where we started, complete with patched sheetrock and holes from a busted drying rack.


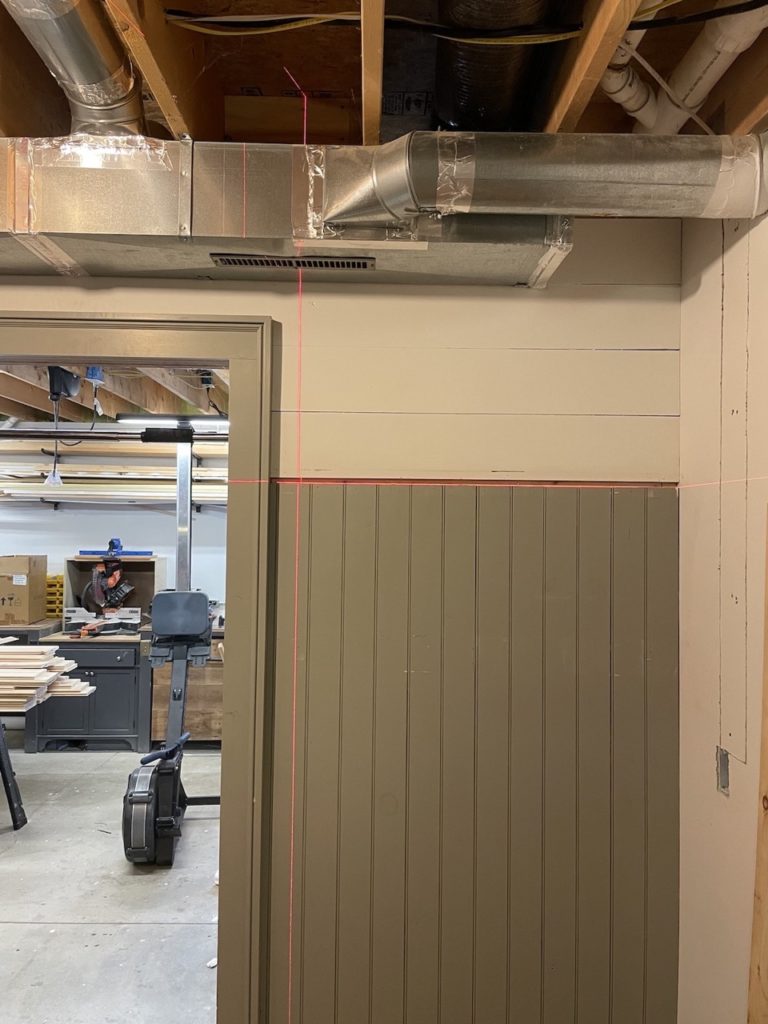


I got to make use of my new laser level to help keep a straight line when running the paneling across the two side walls.
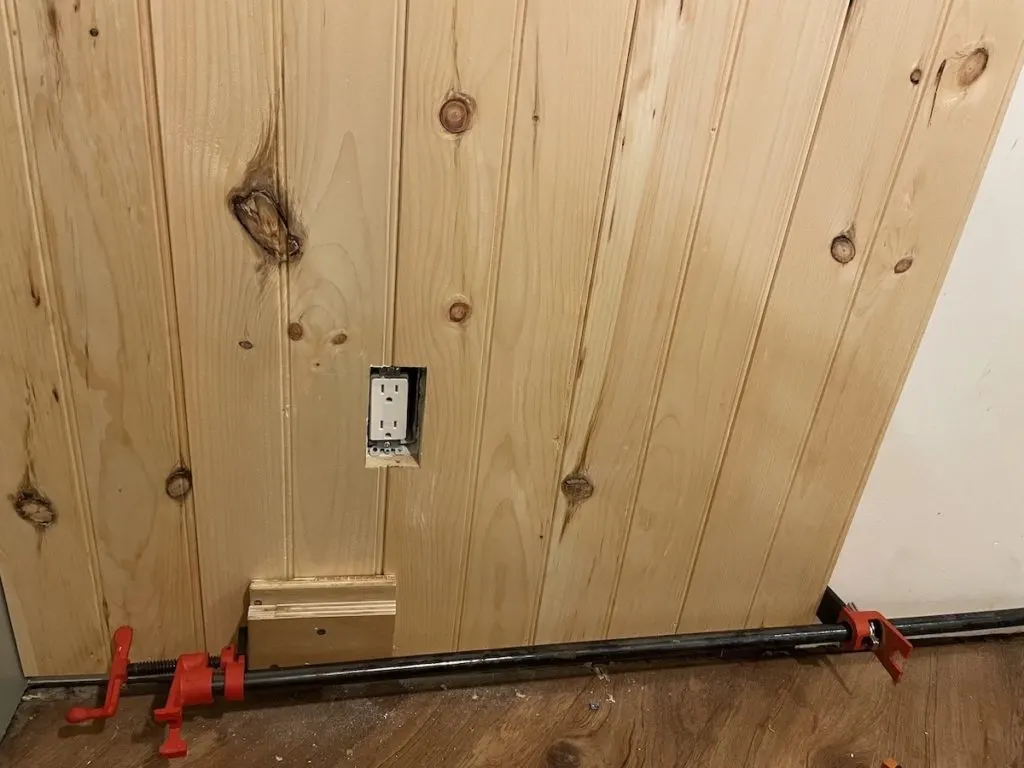
The only real trick I had with adding the paneling was to screw in blocks along the base or top where the future trim would hide it in order to be able to clamp the boards tight.
I do wish that I had taken the time to pre-prime and paint the boards like I had done in the pantry. It’s a lot easier to get consistent finish in all the grooves with pre-painting.

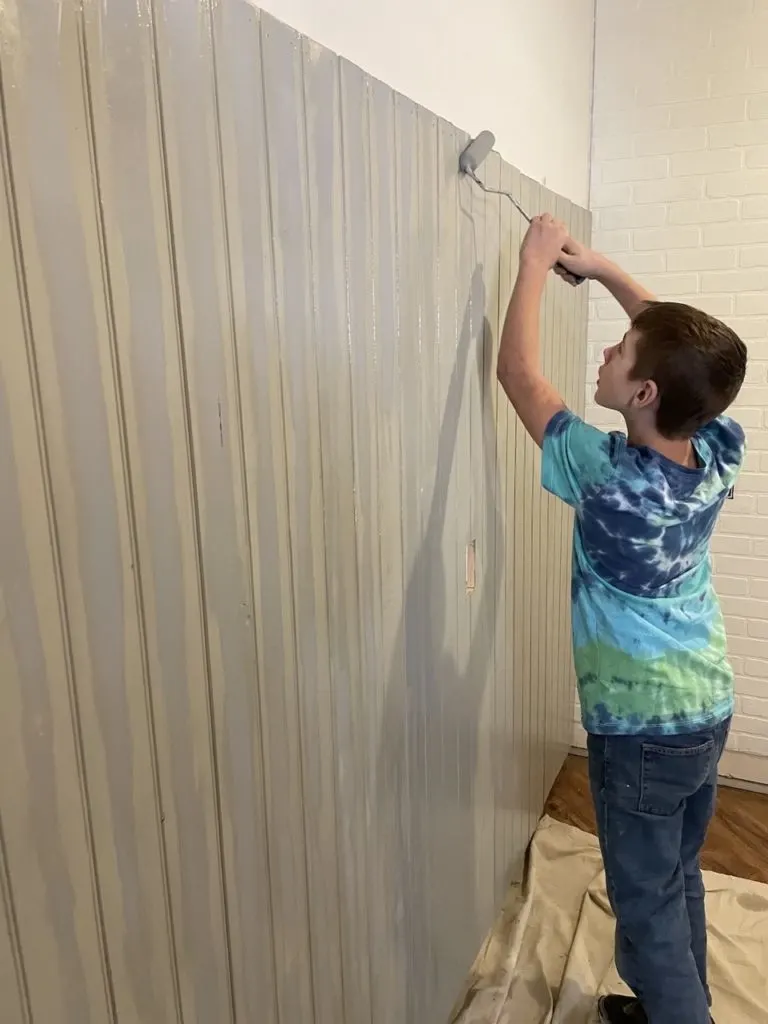
Granted we did have to prime the faux brick wall at the same time so it wasn’t too bad. I also had an extra pair of hands to roll the primer while I worked with a brush on the grooves.
As always with raw wood you want to pay extra attention to the knots and make sure you use a shellac base or something strong to stop the bleed through. When we added the original paneling in the basement mudroom we had signficant issues with knots so I tried to plan ahead for it here.
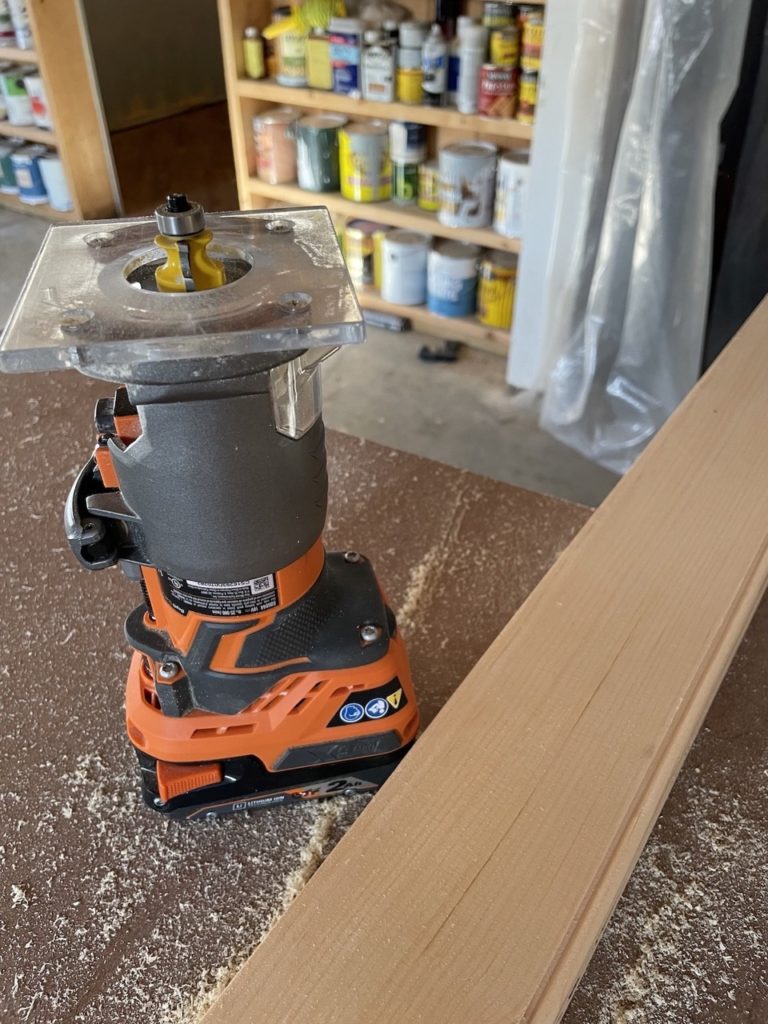


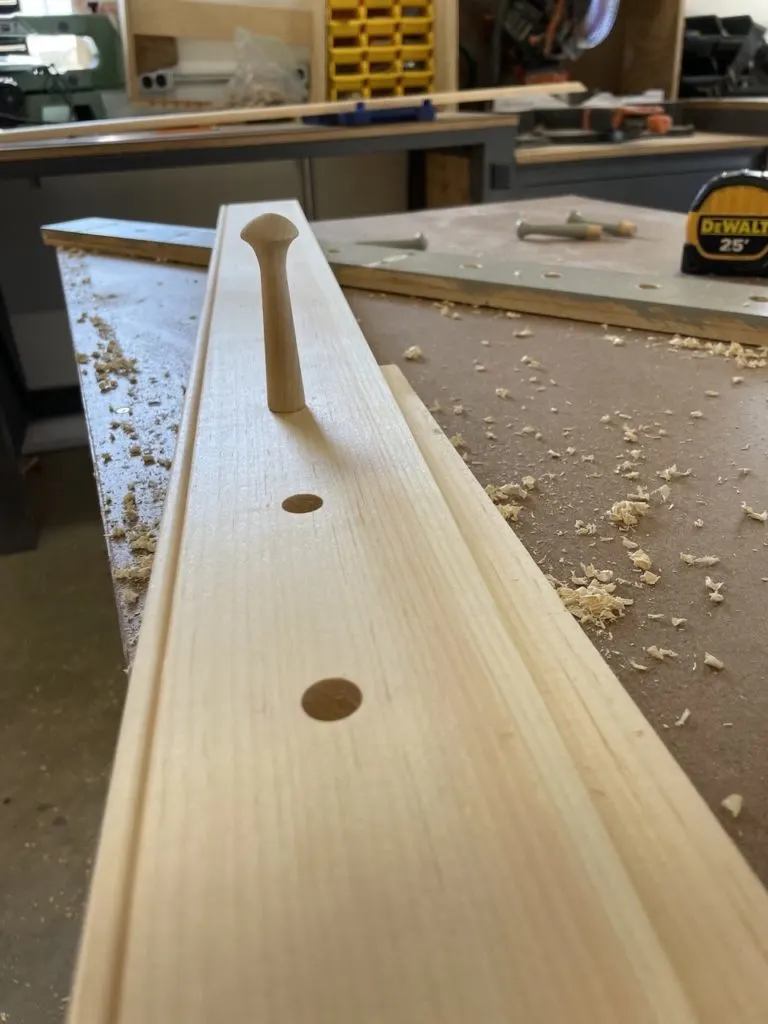
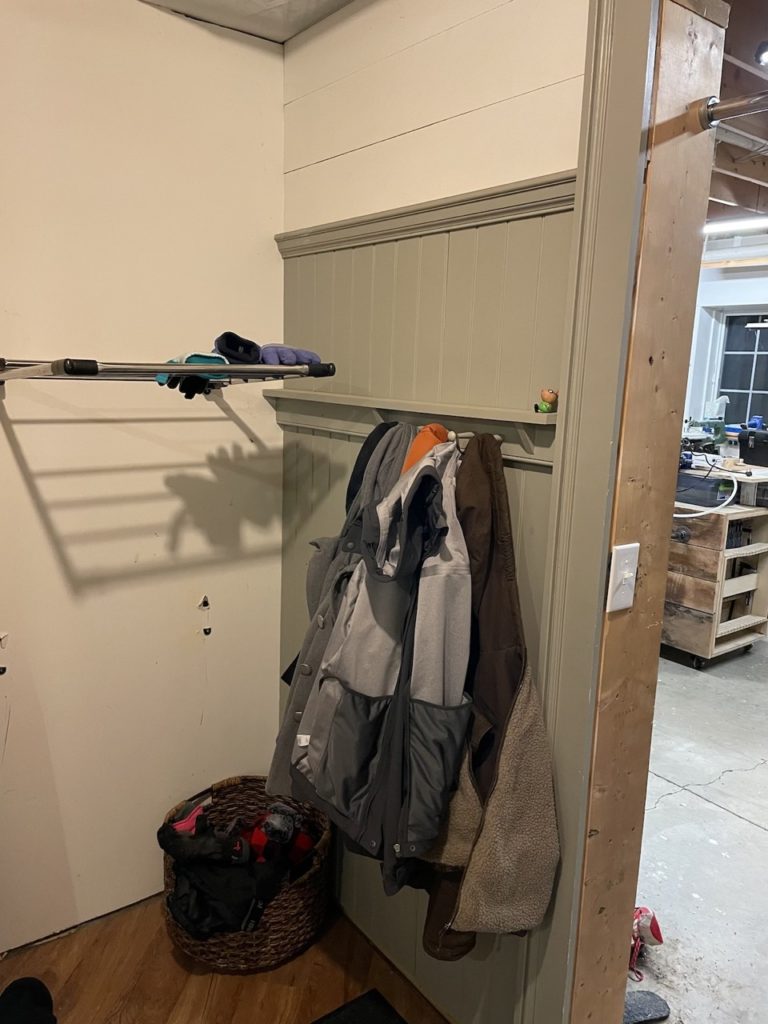
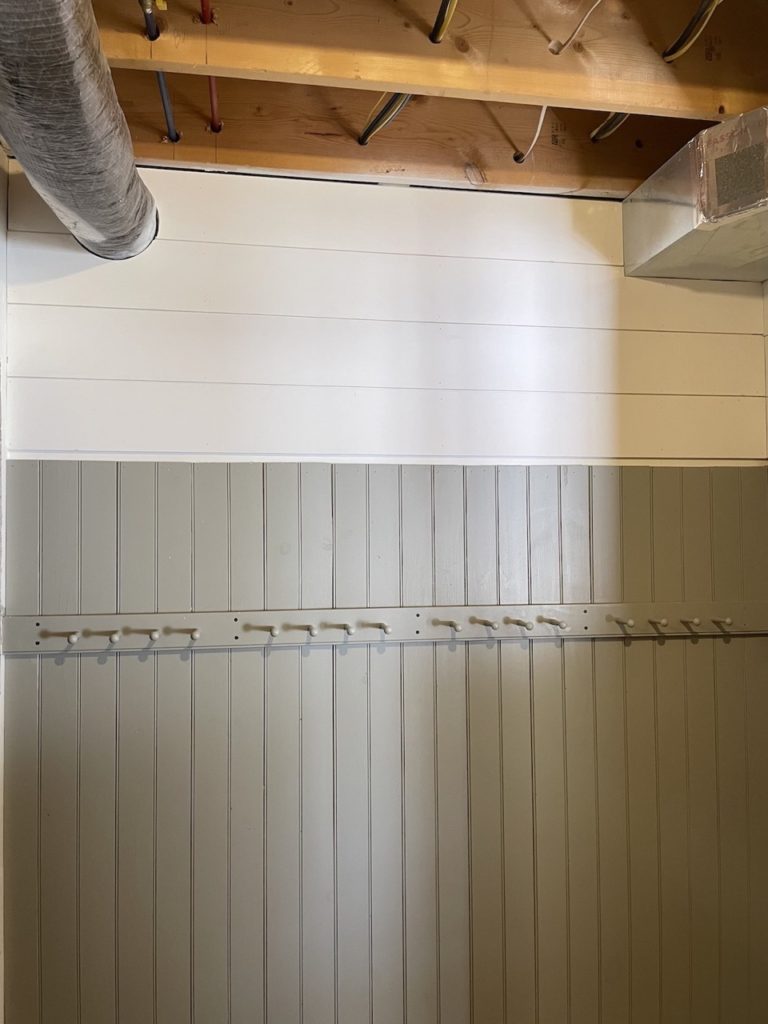
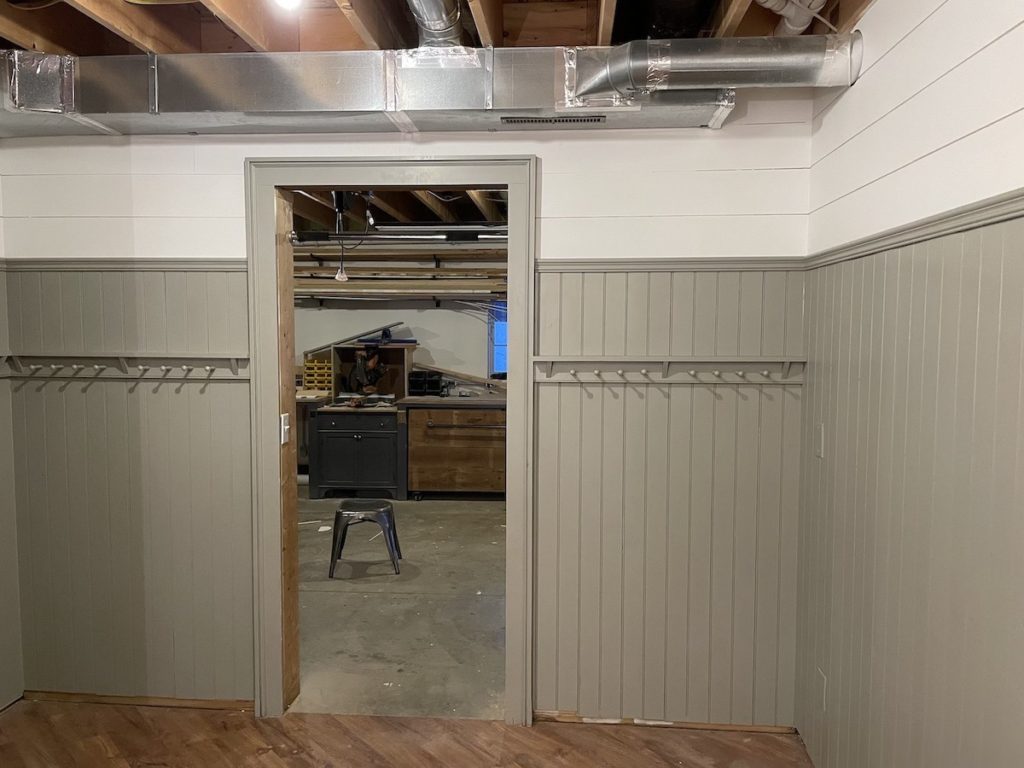
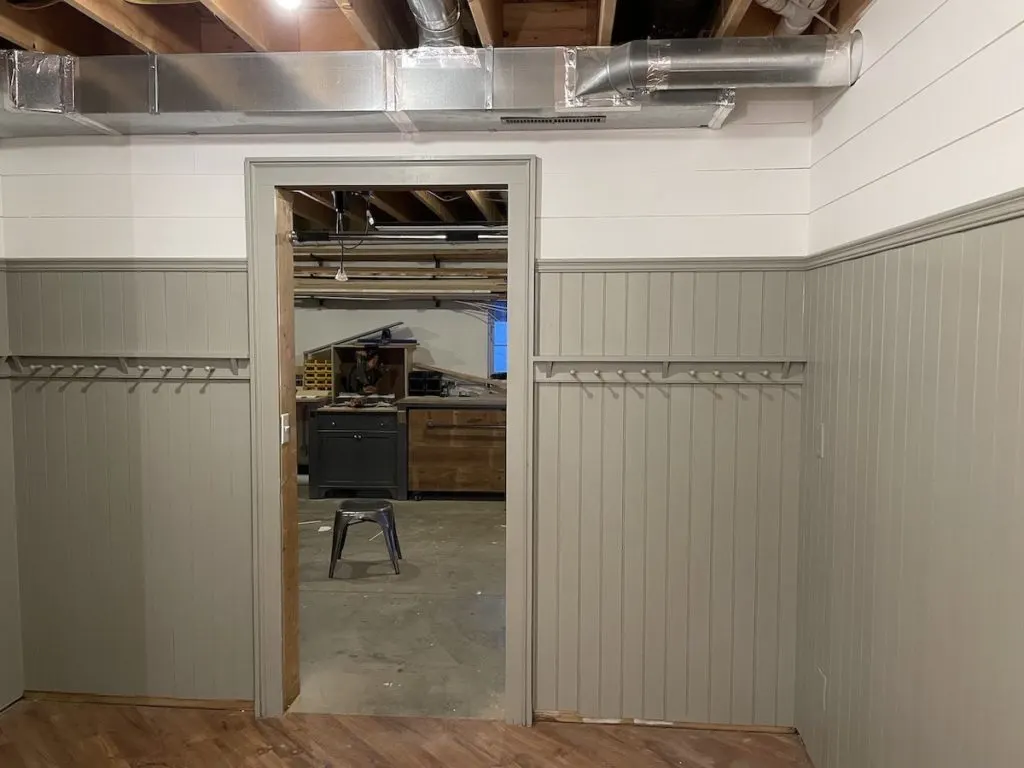
I ended up pulling the existing peg rail and recreating it altogether. I had originall spaced the pegs too close and it was cramped looking and uncomfortable to use. Because we were adding so many more pegs along the short wall I knew I could afford to space them out more. Adding a quick bead along the bottom edge with a trim router helped make it feel a little more custom.
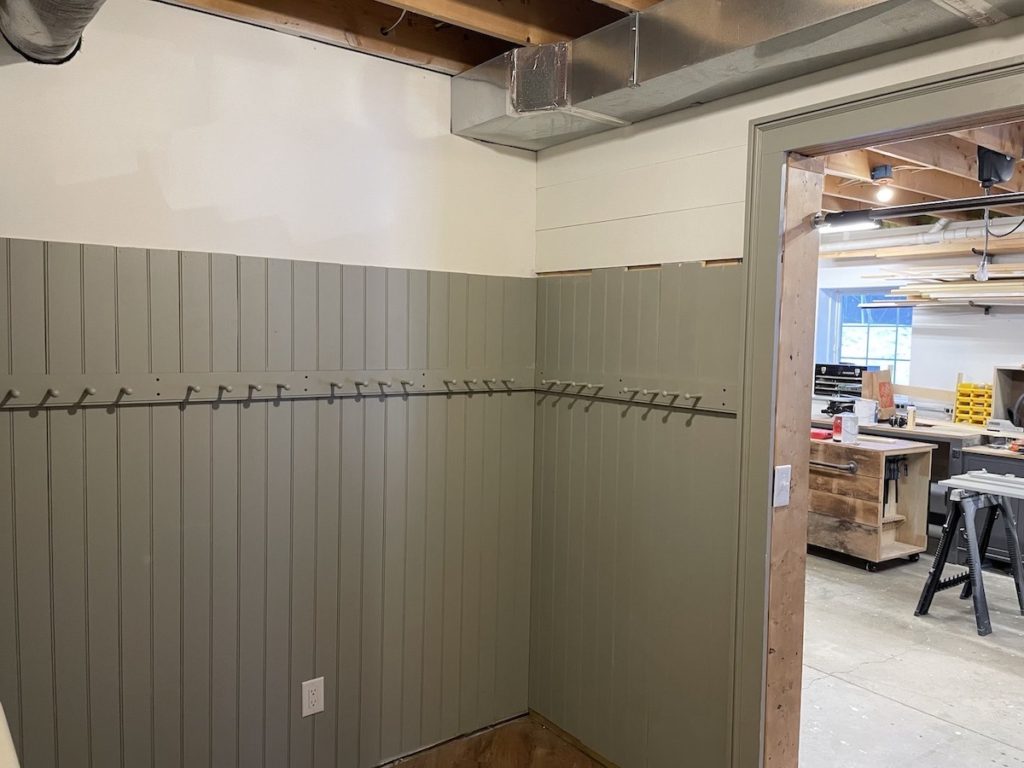
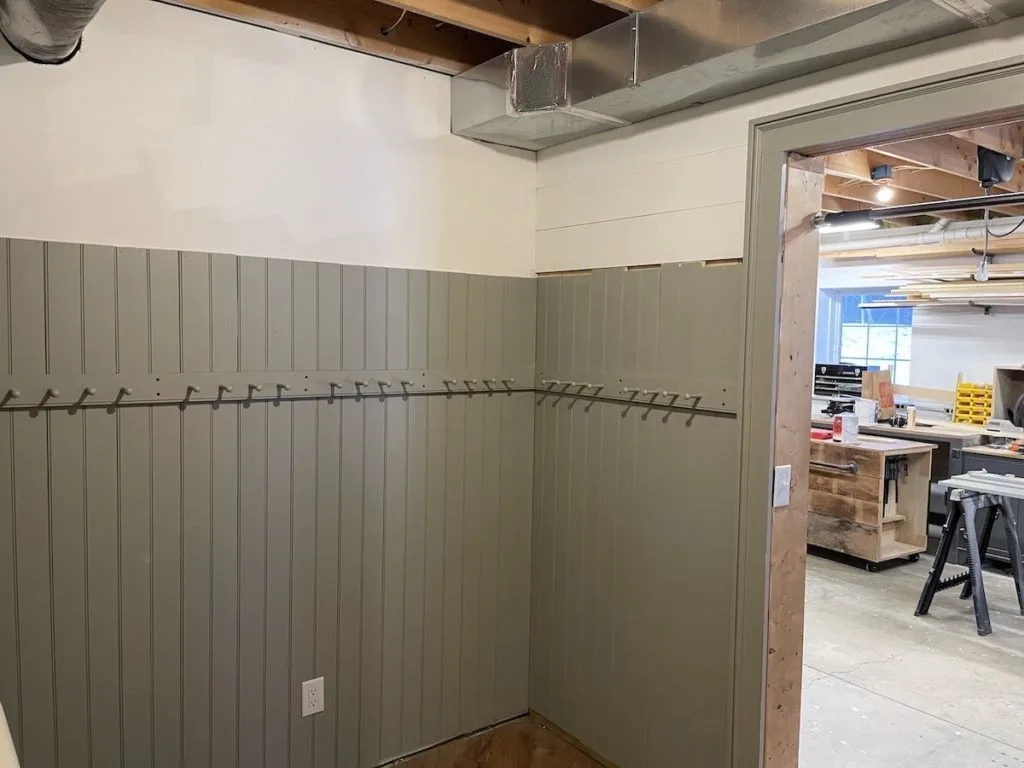
The screws for the peg rail will be hidden by the shelf supports in a later step. I also ended up painting the outlets because they stood out too much once the covers were back on. We don’t actually use these outlets that often so I’m not too worried about wear and tear on the paint.
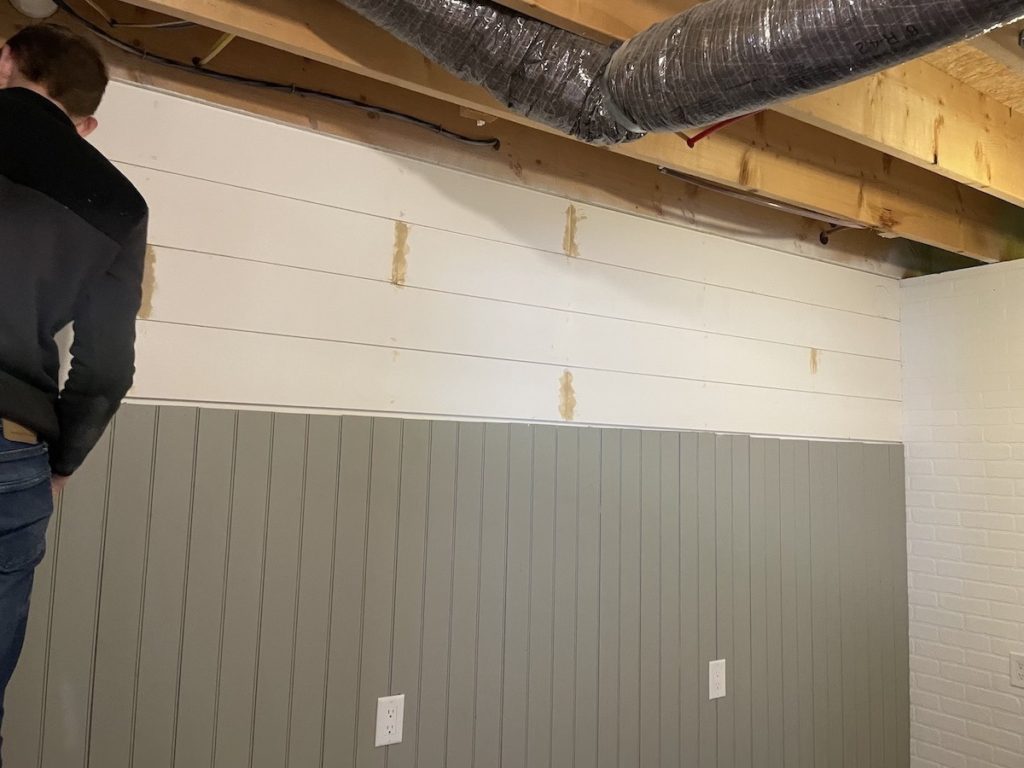

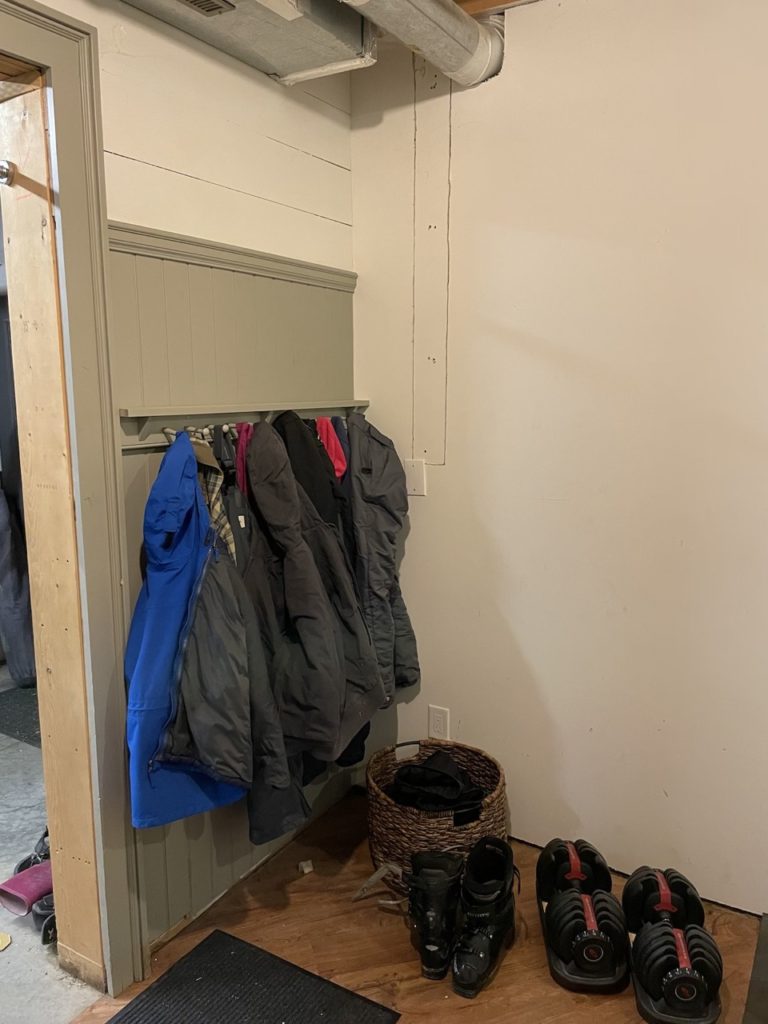
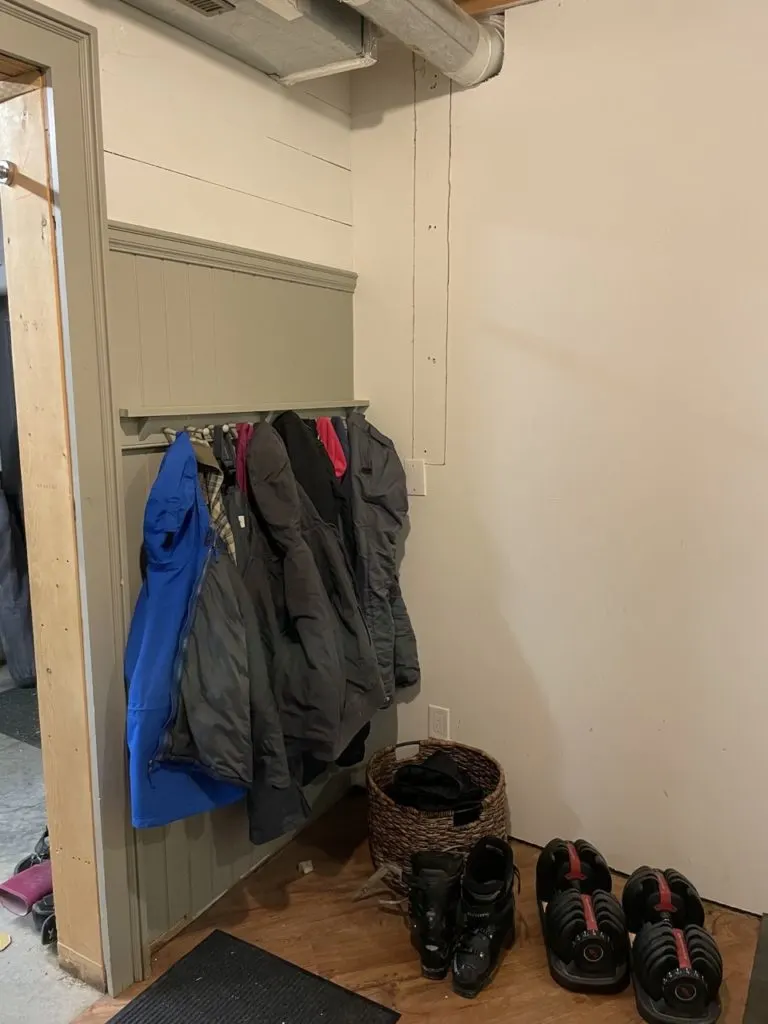
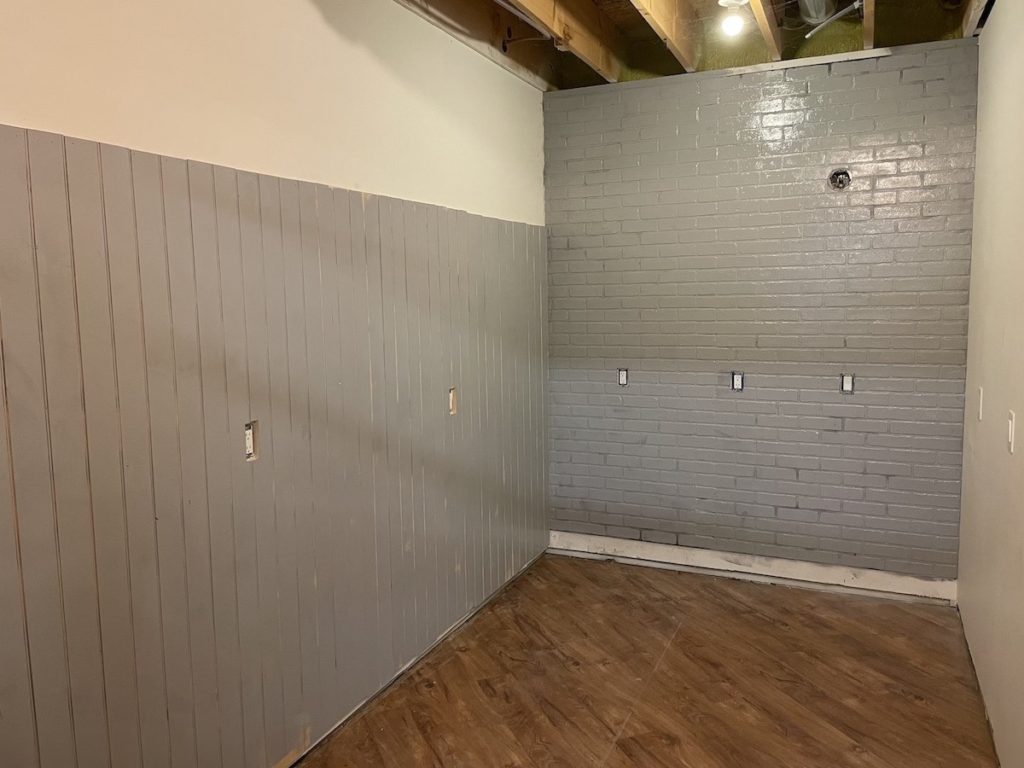
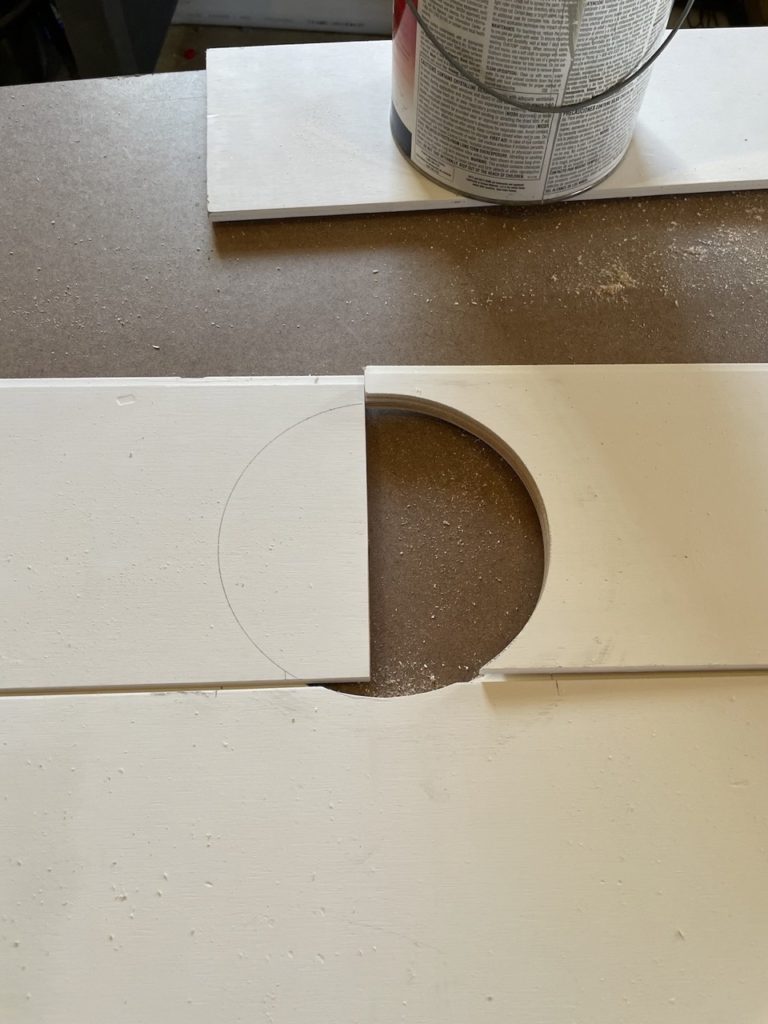
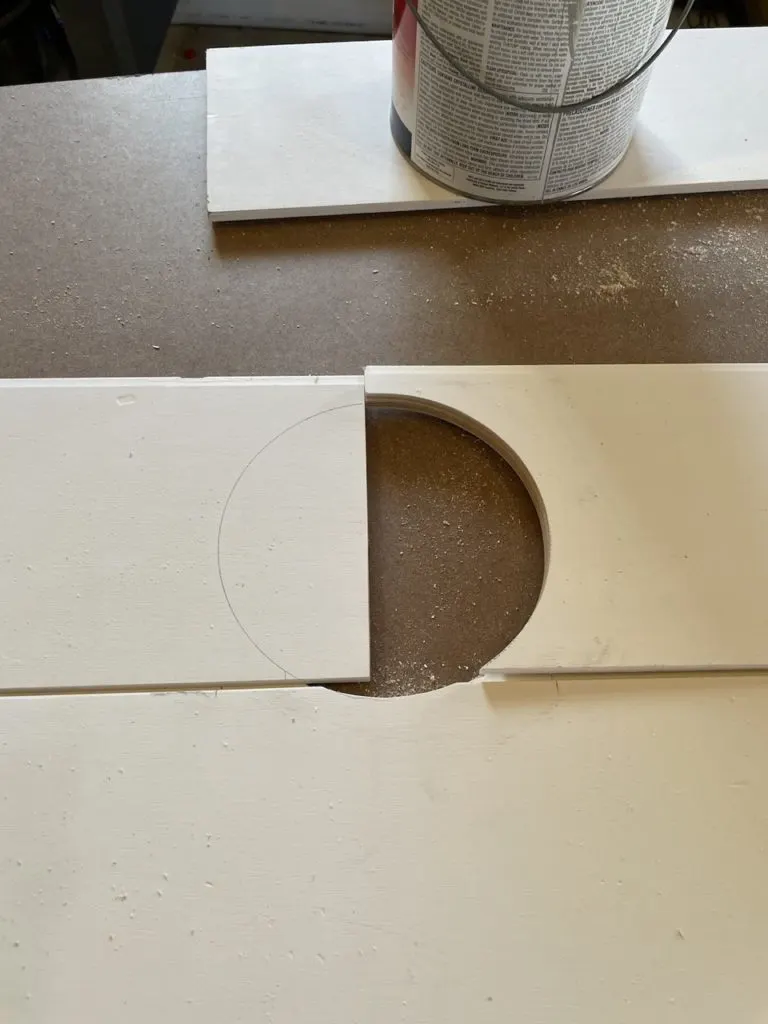
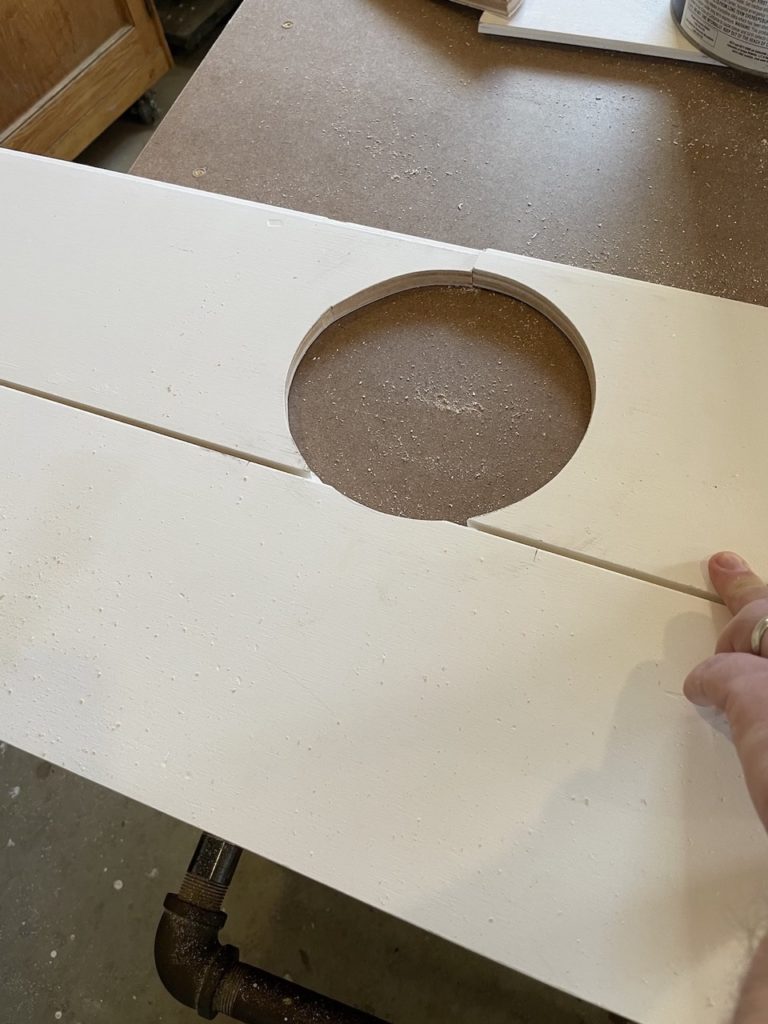
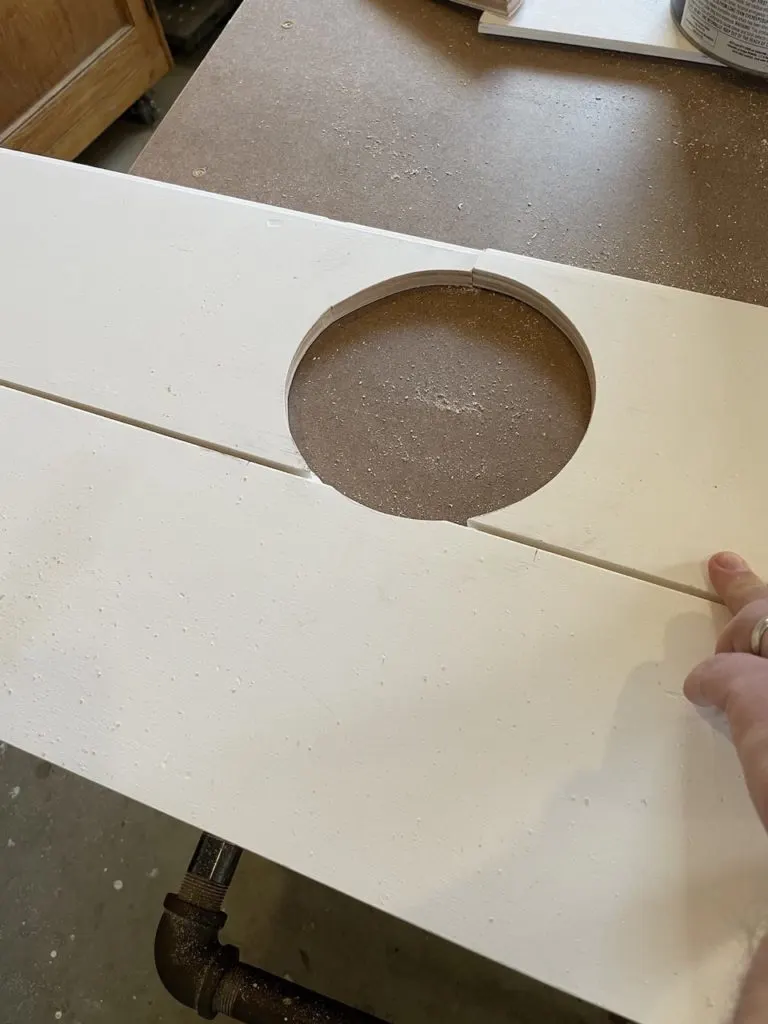
Above the wainscotting I added shiplap to match the initial wall. The first wall needed shiplap to cover the back of the shelves in the workshop, but for these walls it served to cover the drywall patch and make the upper part of the wall flush with the wainscotting below. I had some fun making the cutouts for the two HVAC pipes, turns out a paint can is pretty close in size to our pipes.

The shiplap is painted Oxford White by Benjamin Moore in pearl finish, just like the unclad walls. A little bit of a shinier finish makes it easier to clean up and more forgiving of blemishes.

Sadly I couldn’t find the exact trim that I had previously used for a top cap of sorts. The trim I did find is okay, but not quite exactly what I wanted.
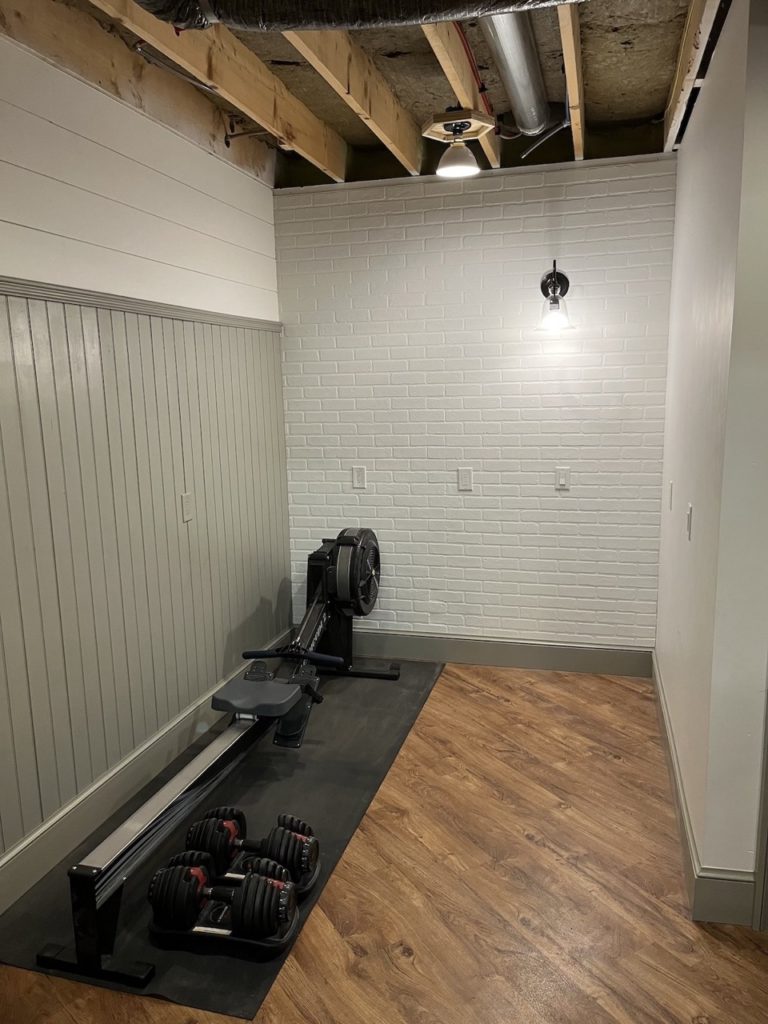
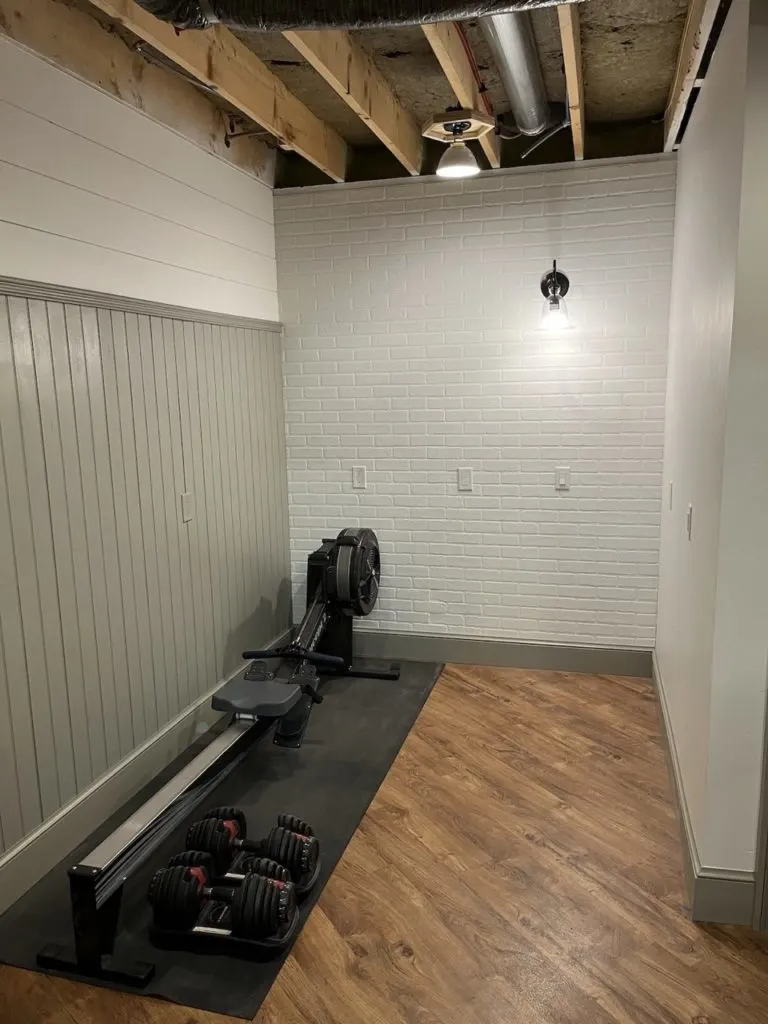
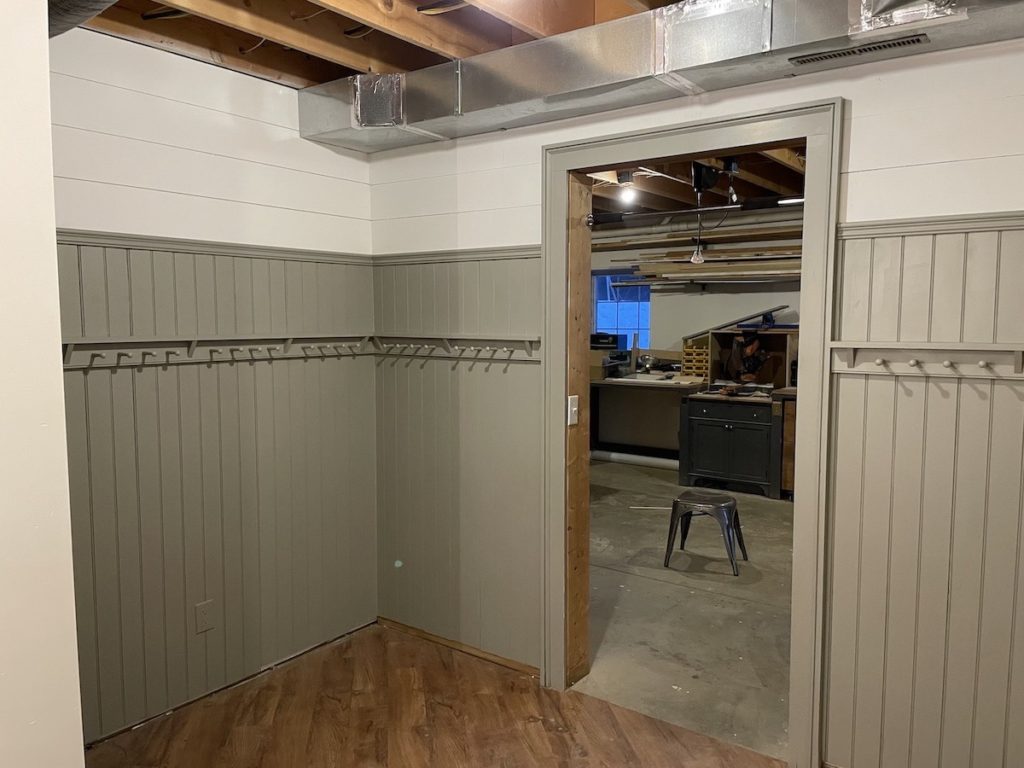
The basement mudroom also doubles as a workout room for me so I was very happy to have the paneling to make it look a little more finished in here.

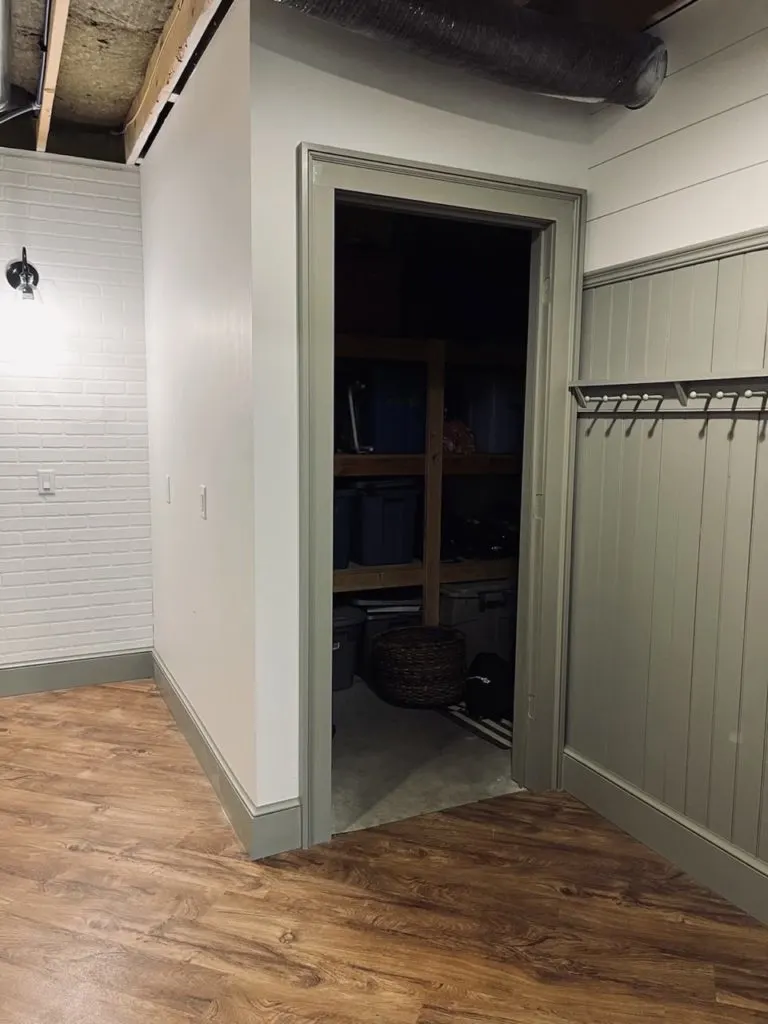
We planned to add a door to the storage room to help cover up some of the mess in there and the countless storage containers. The trim was made to match the existing doorway to the workshop with a one by three ripped in half and laid flat around the one by four trim. I then added a 3/4″ piece of poplar bookshelf trim around to build up to something more interesting and substantial.

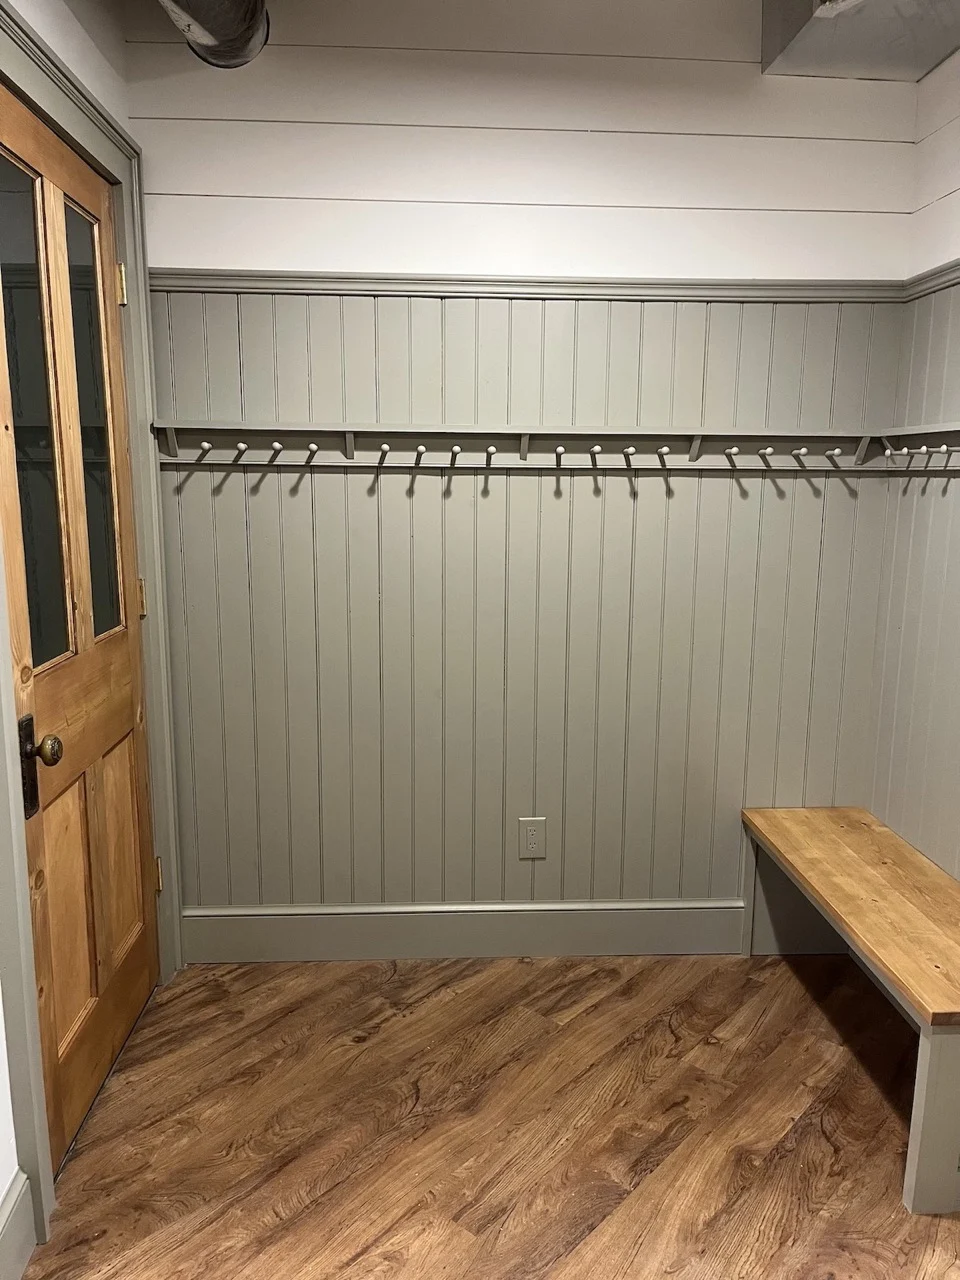
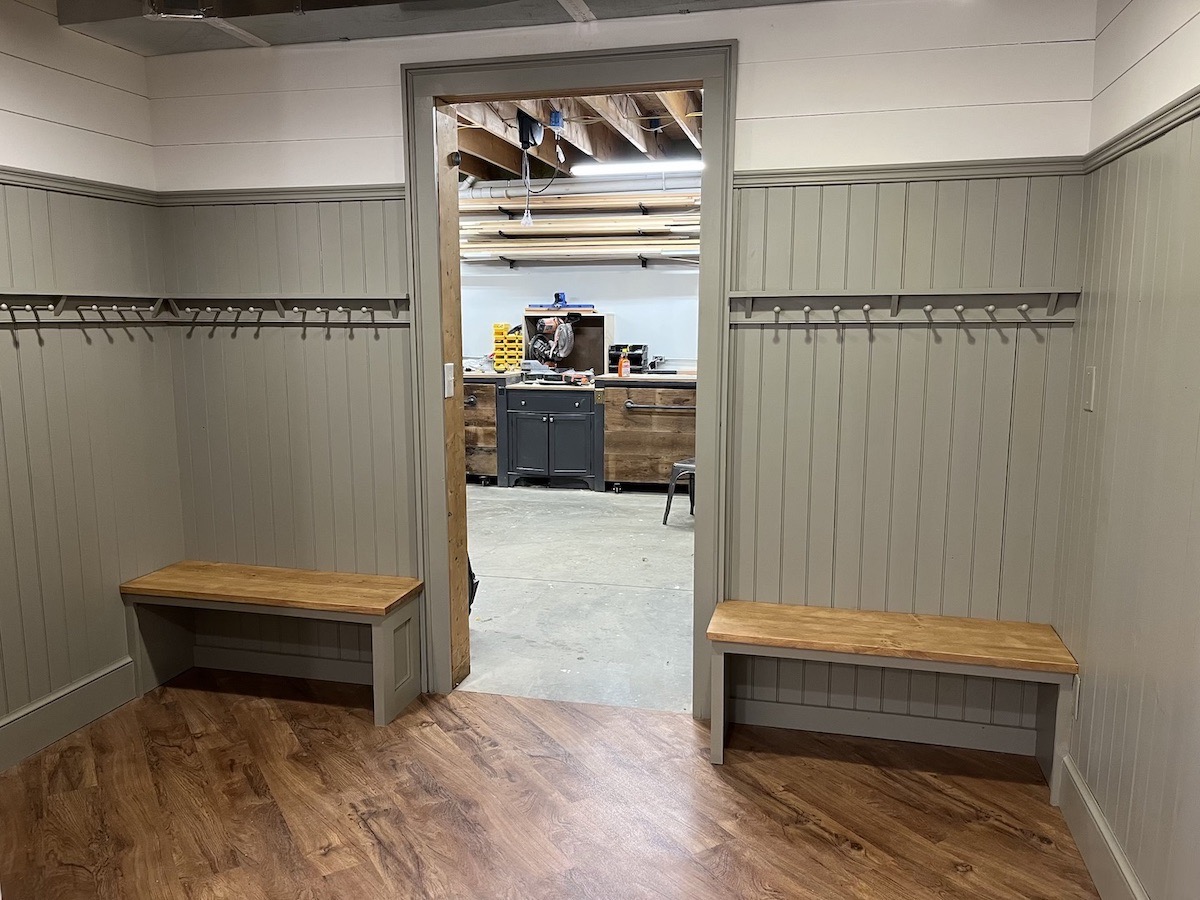
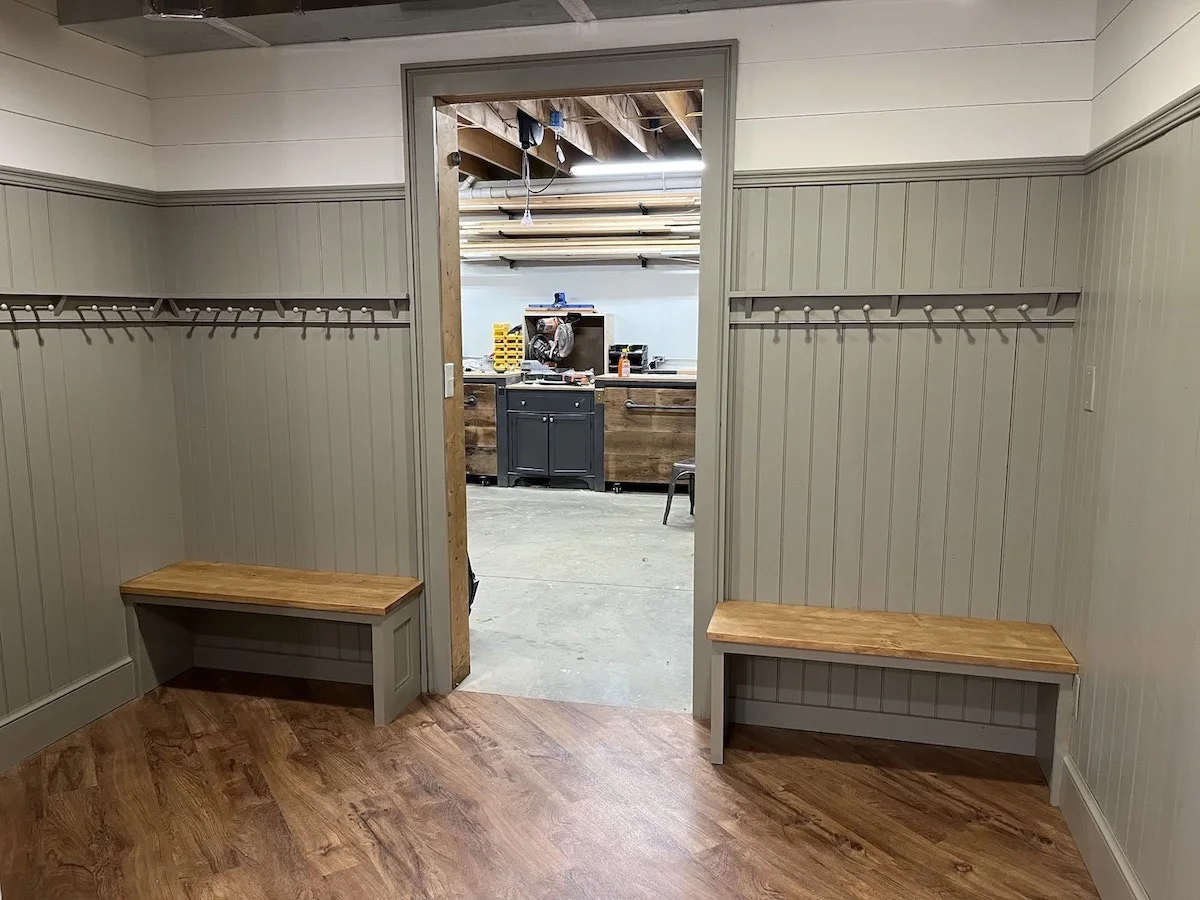
Once we had the basement mudroom paneling done I went on to add an antique reproduction door and pair of DIY mudroom benches like in the plan outlined above.