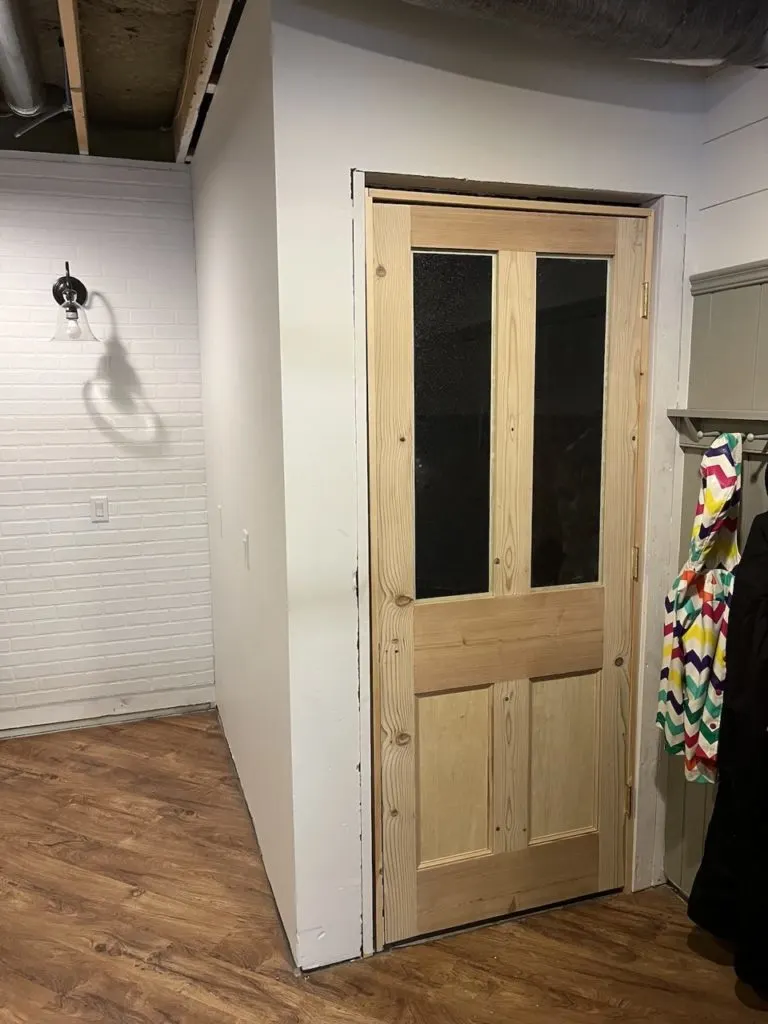
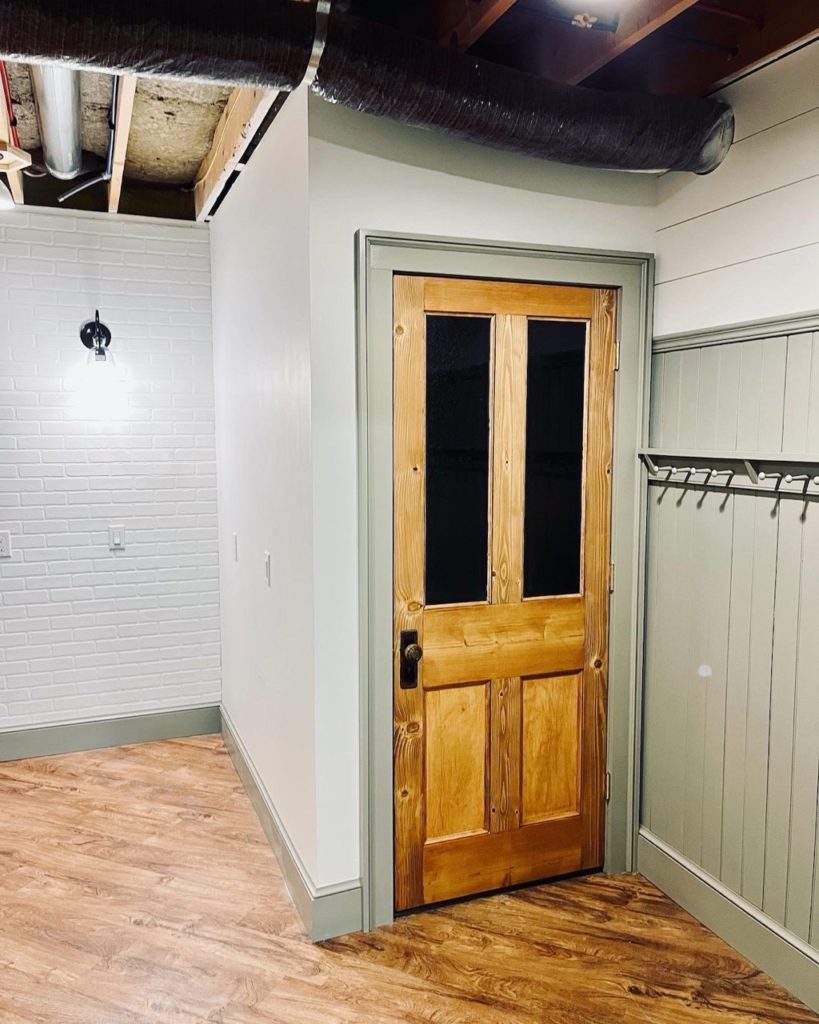
There were plenty of options for closing off the basement storage room, but I ended up deciding on a reproduction antique door. Specifically, a copy of a door that my parents found in the barns on their property when they bought it.
The scale is a little different and it does affect the charm, but here’s where we ended up.

So much of my style, and desire to make, derives from my parents saltbox home, built by a group of hippies, financed with a shoebox full of cash from a friend.

What makes this an reproduction antique door?
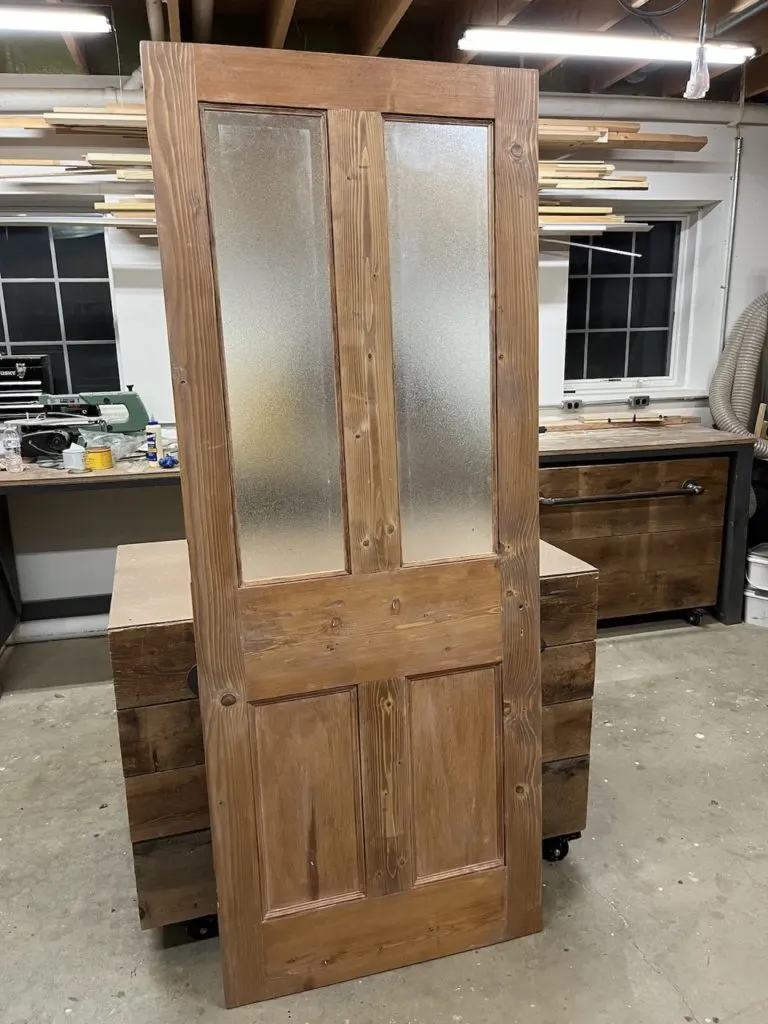
I didn’t want to spend a lot of tiime trying to find an actual antique door that would fit the opening to the storage room. I did have a very specific door for my inspiration, sadly even if I did steal the door from my parent’s house, it would be too small. So I built one to match. A four panel door with the top two planels in pebble opaque glass.
How is the reproduction antique door constructed?
The plan for the door is very similar to the carriage shed doors I built. The main difference here is that I used dowels instead of pocket holes because I wanted to have a natural wood stain on both sides. I did use framing lumber again because this is goin in my basement and I didn’t want to spend a ton of money not knowing how it would come out.
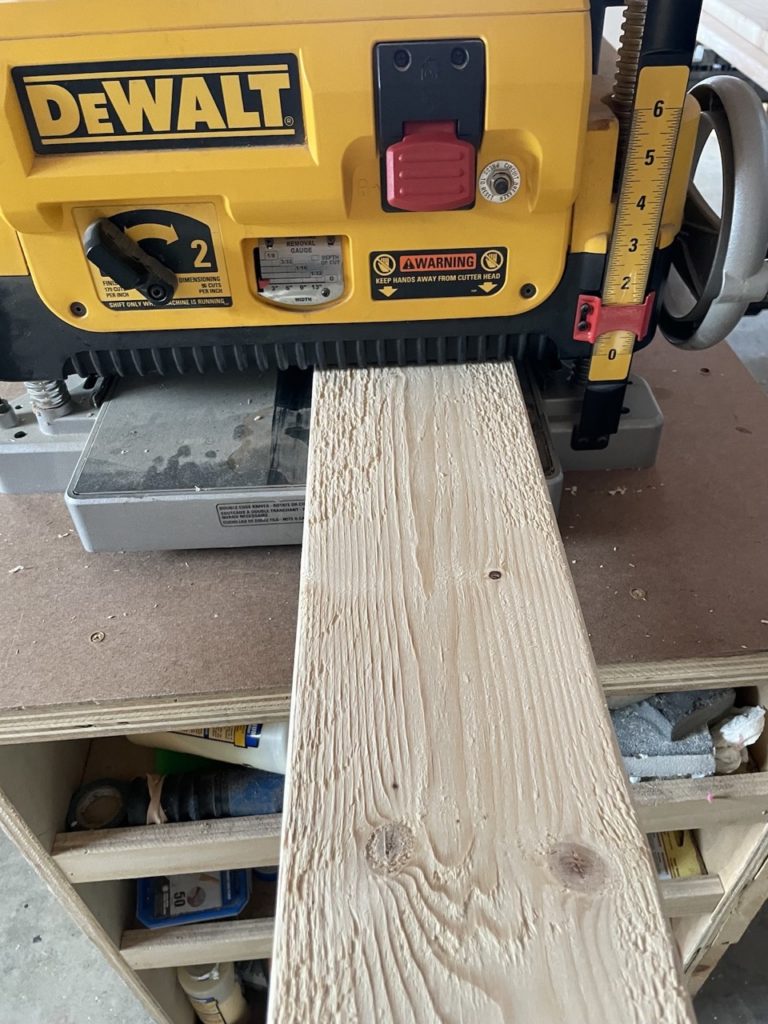

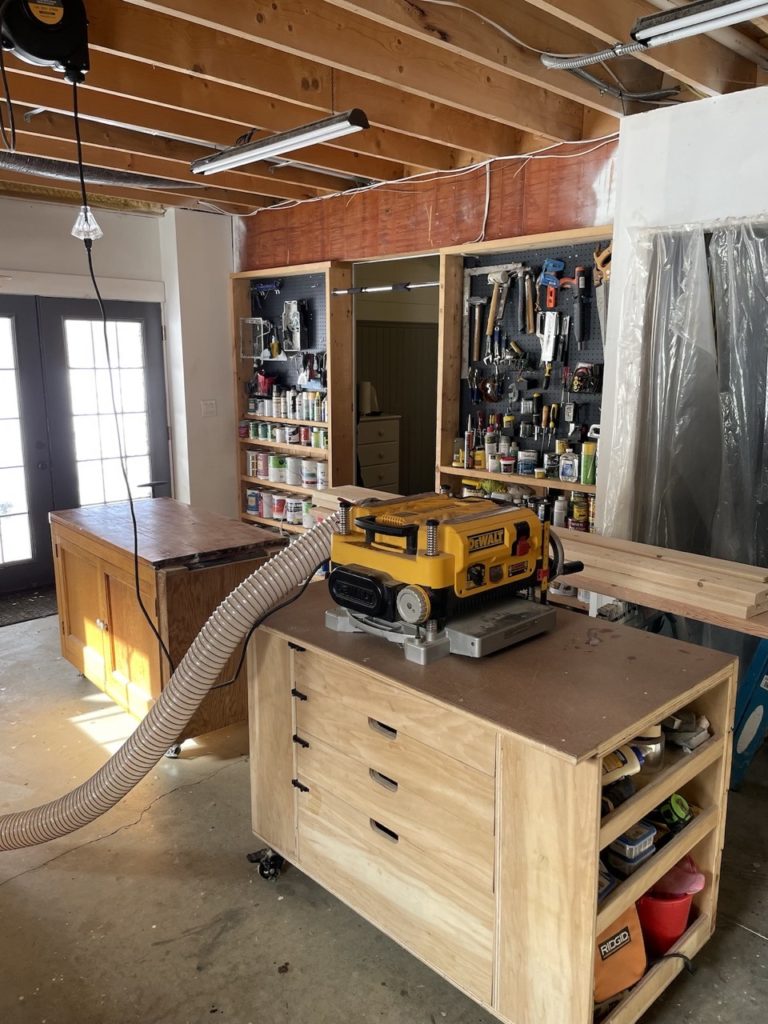
So since I started with framing lumber, I planed it all down to about 1 1/4″ with a few passes in the planer. Making all of your passes across all of your boards seems obvious now but I know I could have used that hint when I started out. You want to make sure your boards come out as exactly even as possible, so go through each board before adjusting and doing the next pass.
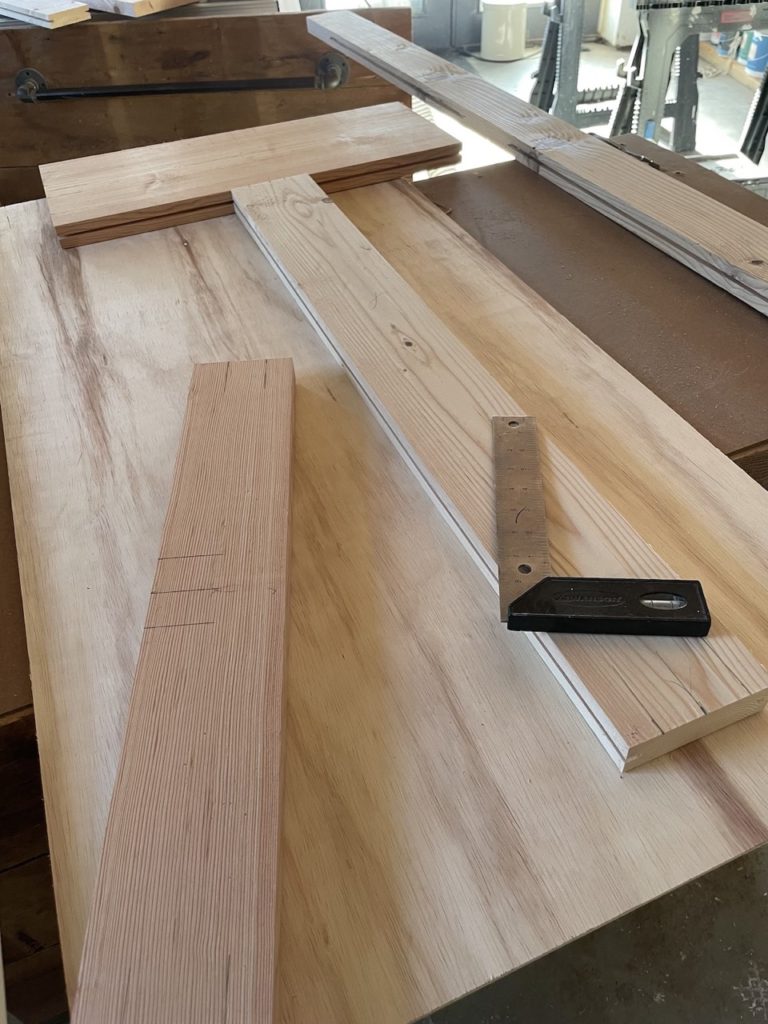


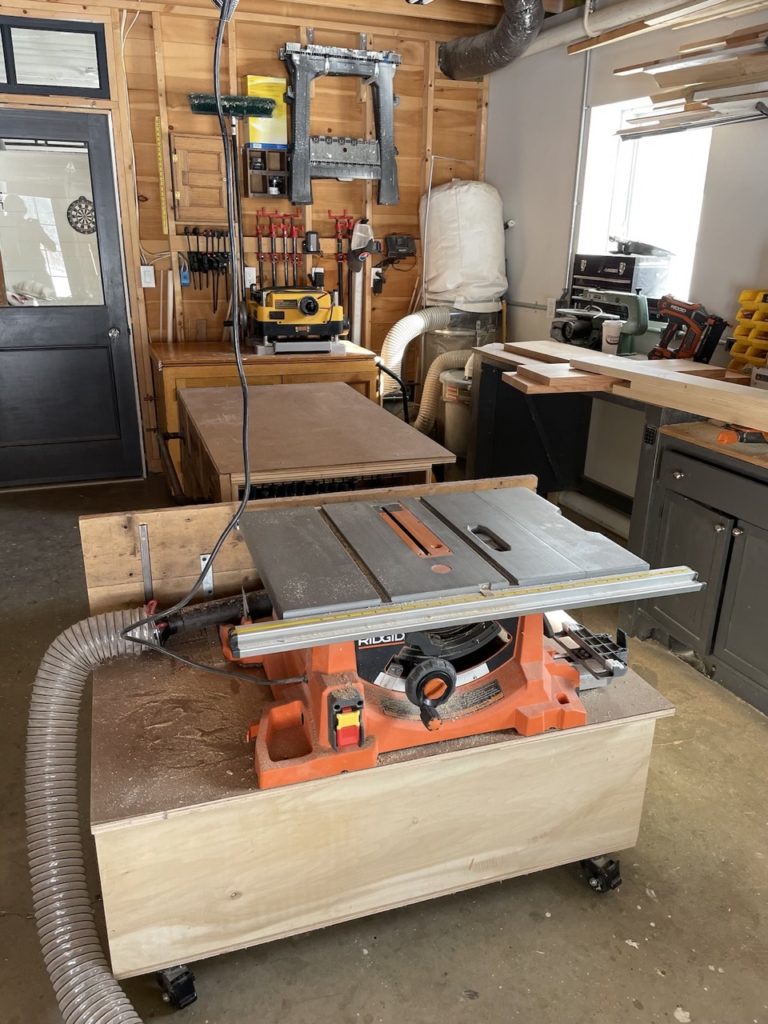
All of the boards then need to be cut to length. I had played with using longer styles on the shed doors and didn’t find it all that helpful. For this I cut all the rails and styles to their exact length and then ran them through the table saw to put a 5/16″ groove.
Again the important thing when cutting grooves with the tablesaw is to do all pieces with each pass. Another thing that helps immensly is to make a face mark, just a pencil mark to keep track of which side of the piece is the face. Yes a door has two sides but I picked the one that faced out as the face, in case I had to hide knots or uglier features on the backside.

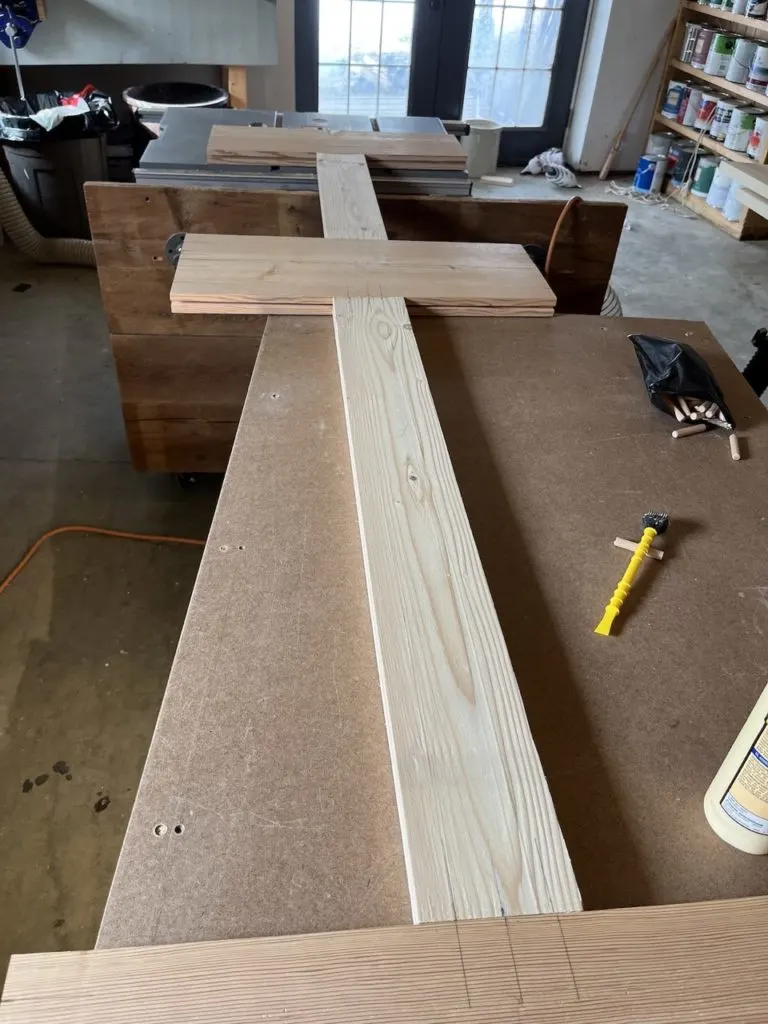
The photos skip over all of the marking and drilling of the dowels. There are at least 2 if not more dowels in every joint, glued in on both sides. There were many, many test fits throughout the process once I had the dowels drilled. Making sure all the dowel holes lined up is first, getting all the panels to slide in easily but not be able to pop out was another. The panels are just 1/4″ plywood, not matched at all in species which was a pain for staining later.
I used a very simple dowel jig, similar to this one from Amazon.


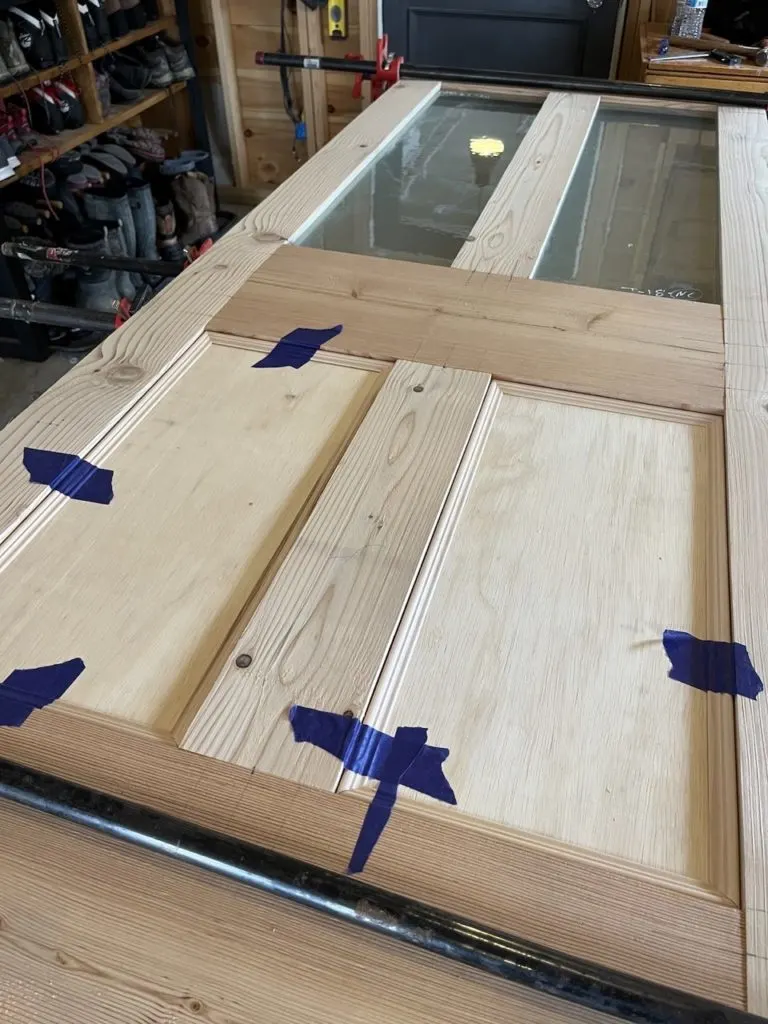
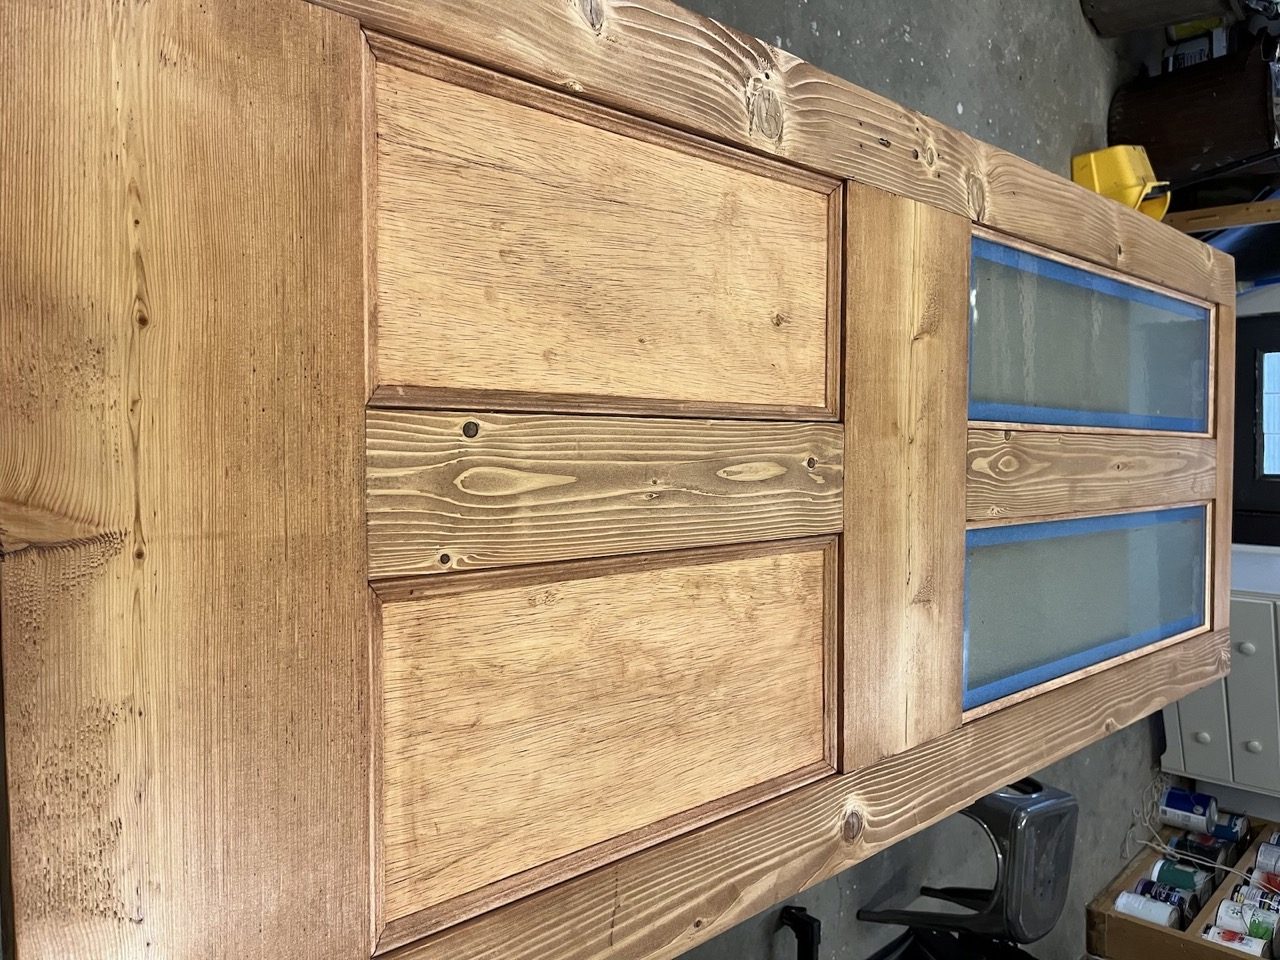
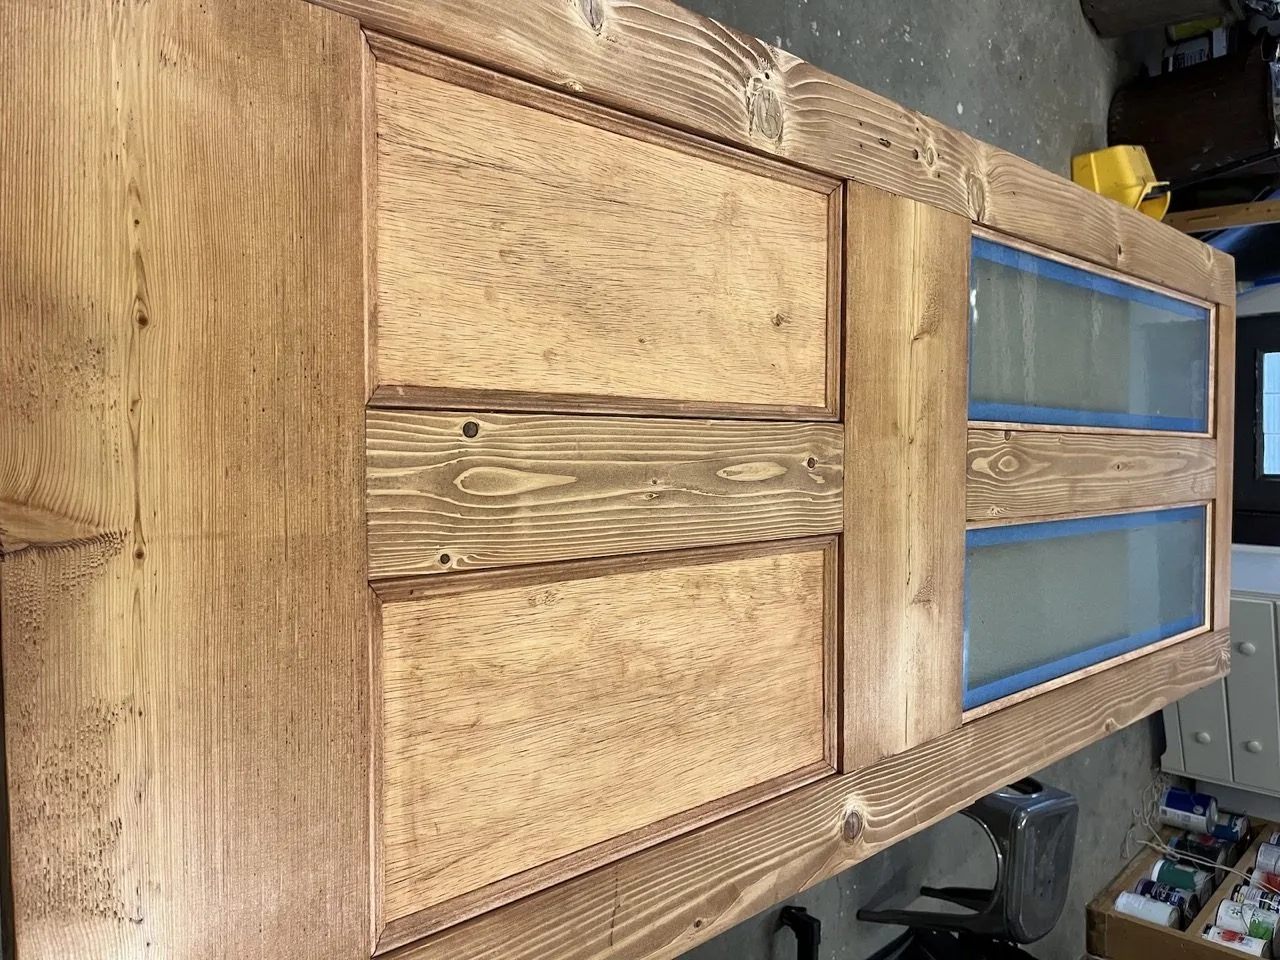
And speaking of not being the same species of wood and causing all sorts of headaches with matched the stain, let’s talk about this molding. In order to really match the door I was basing this look off, I needed to add molding.
Unfortunately I do not have the shop setup to mill my own so I was stuck buying from the big box store. The molding itself looks great, and if it were painted, I’d be very happy with it, but I have never had good luck staining this. It’s blotchy and speckled even using prestain conditioner and in this case gel stain.
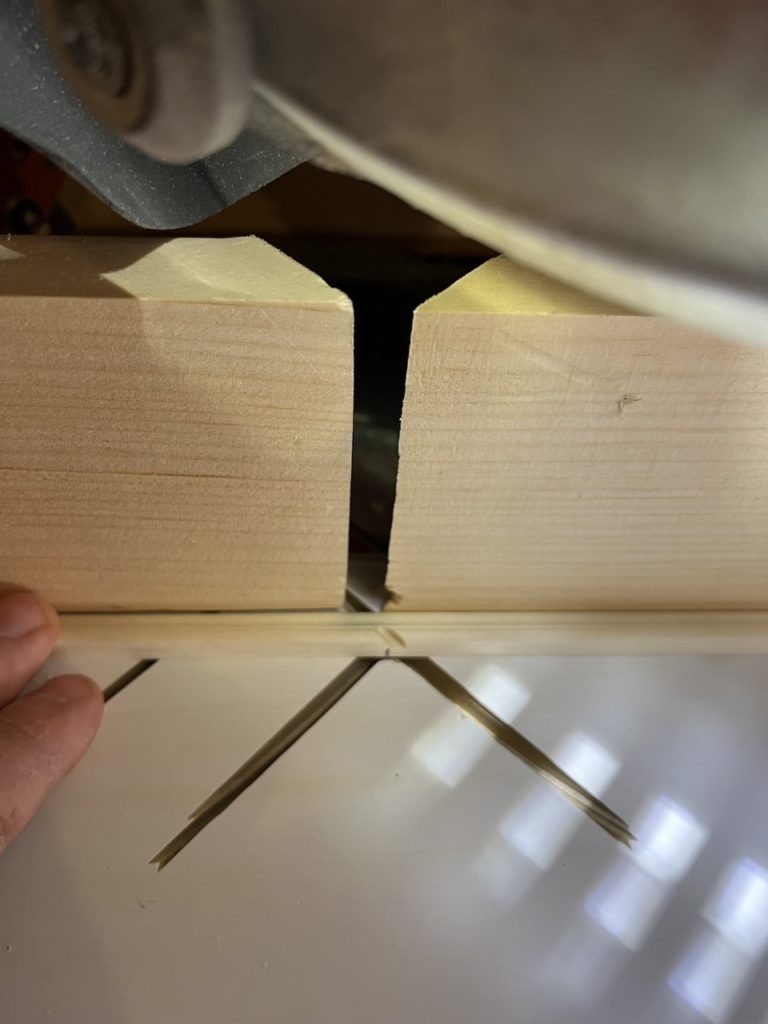
Cutting the molding, especially the finer molding used around the glass required a delicate hand with the miter saw. A stop block and sacrifie board under it and always making sure to face the thicker edge of the molding towards the saw. If I tried to to the reverse it would splinter and shatter at the last second. I used wood glue on the panel and a special glue for bonding to glass up top.
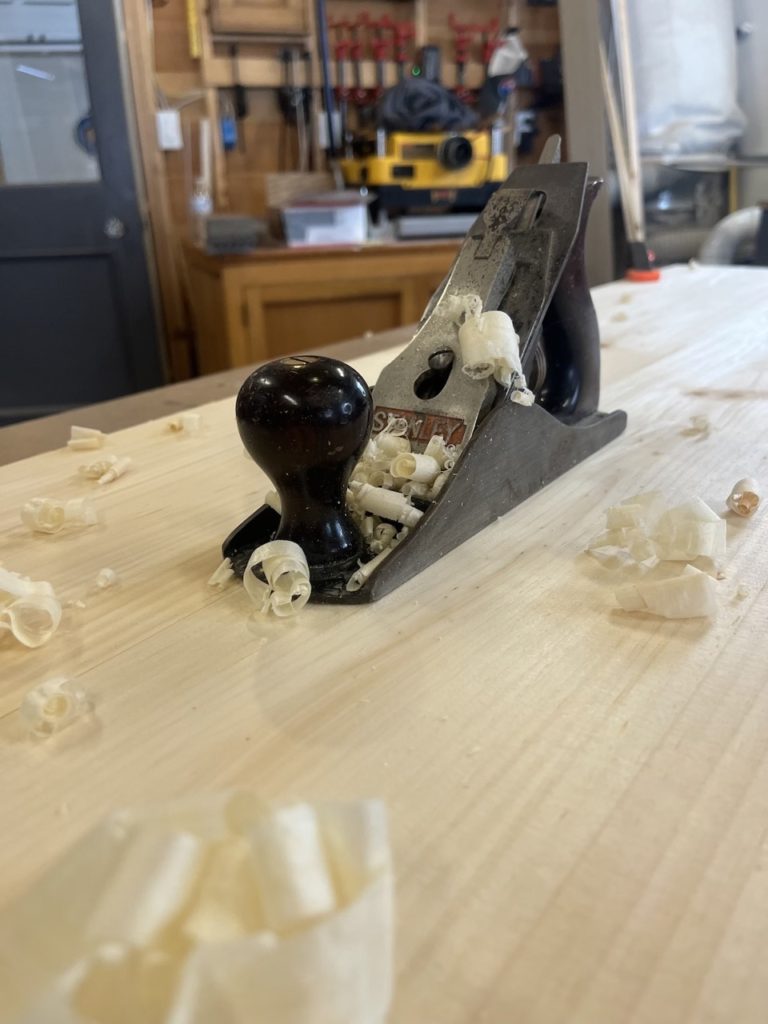

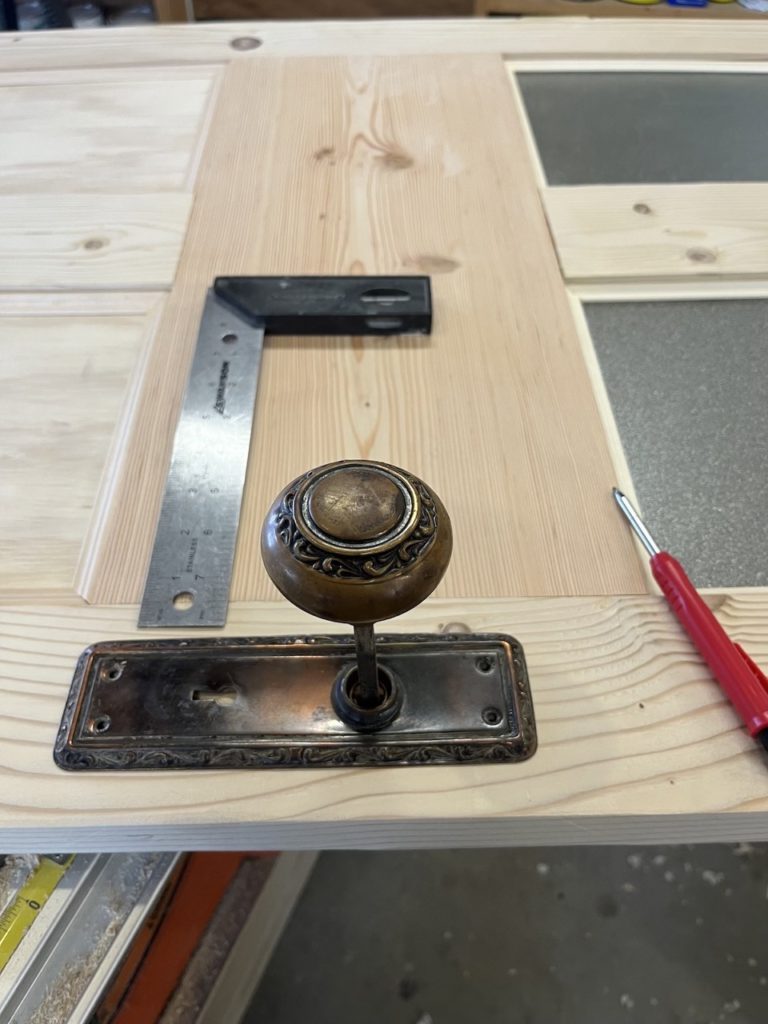

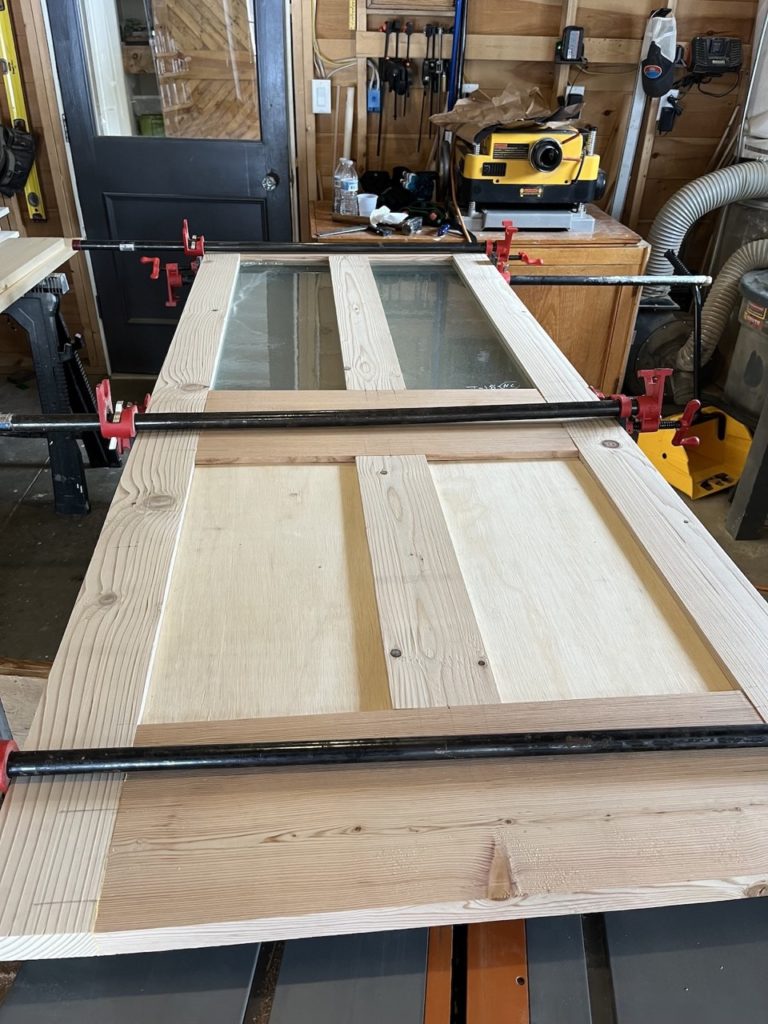
Even with planing down every board I still found that there were areas that needed to be knocked down, mostly some slight cupping at the joints. Thankfully hand planing these down made the door pretty flat and even across. Once the door was glued up I took a little sneak peak at what the hardware would look like. I have a box of old door hardware collected off eBay to choose from but I’m very happy with these old brass handles.

Another mistake I made here which I realized right before the glue-up was that I had used 2×6 material for the styles and much large two-by material for the rails. The difference is that 2×6 is very fast grown loose grain versus the larger boards are a tighter grain. It doesn’t make a huge difference but considering I was already dealing with different wood panels and molding, it would have been at least nice to have the rails and styles match better. Oh well.
How is the antique reproduction door finished?


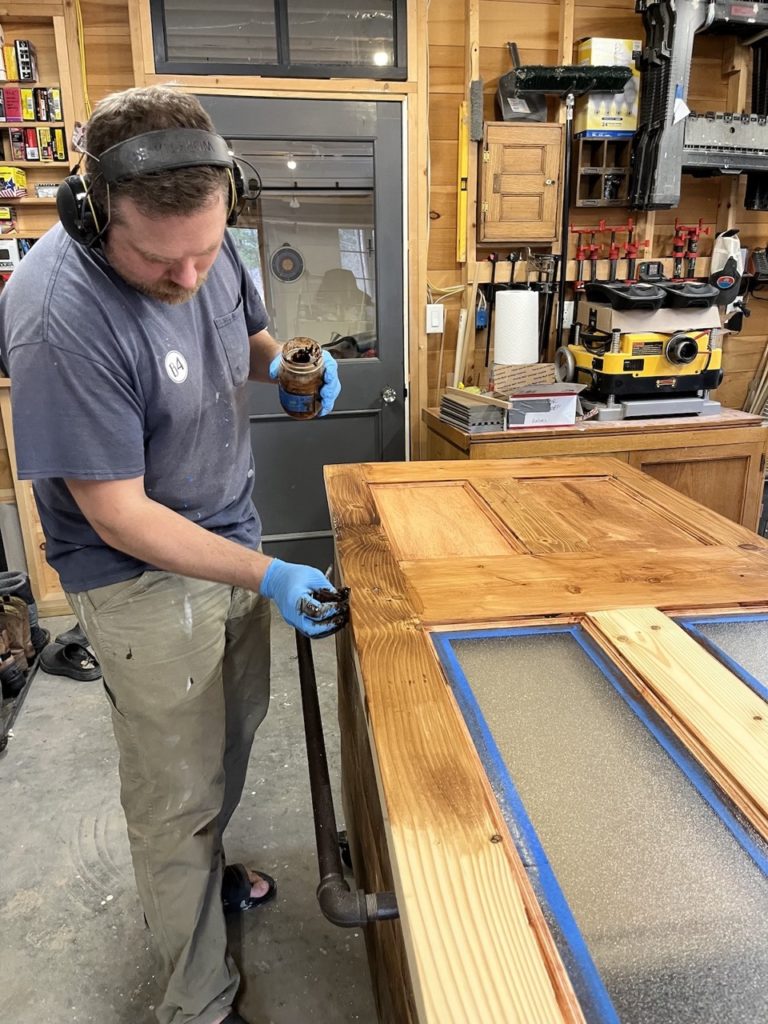

In order to get those three woods to hopefully finish up somewhat evenly I chose to go with a gel stain. I was hoping the thicker stain would help. The results were pretty good. I started with the same prestain conditioner that I always used and then mixed Cherry and Aged Oak Minwax Gel Stains.
The result here doesn’t look quite as good as when the door was hung, but overall I’m very happy. Instead of finishing with poly, I instead chose to wax the door. This is partially because I wanted to have a matte finish, but also because I had plans for an experiment on the storage room side.
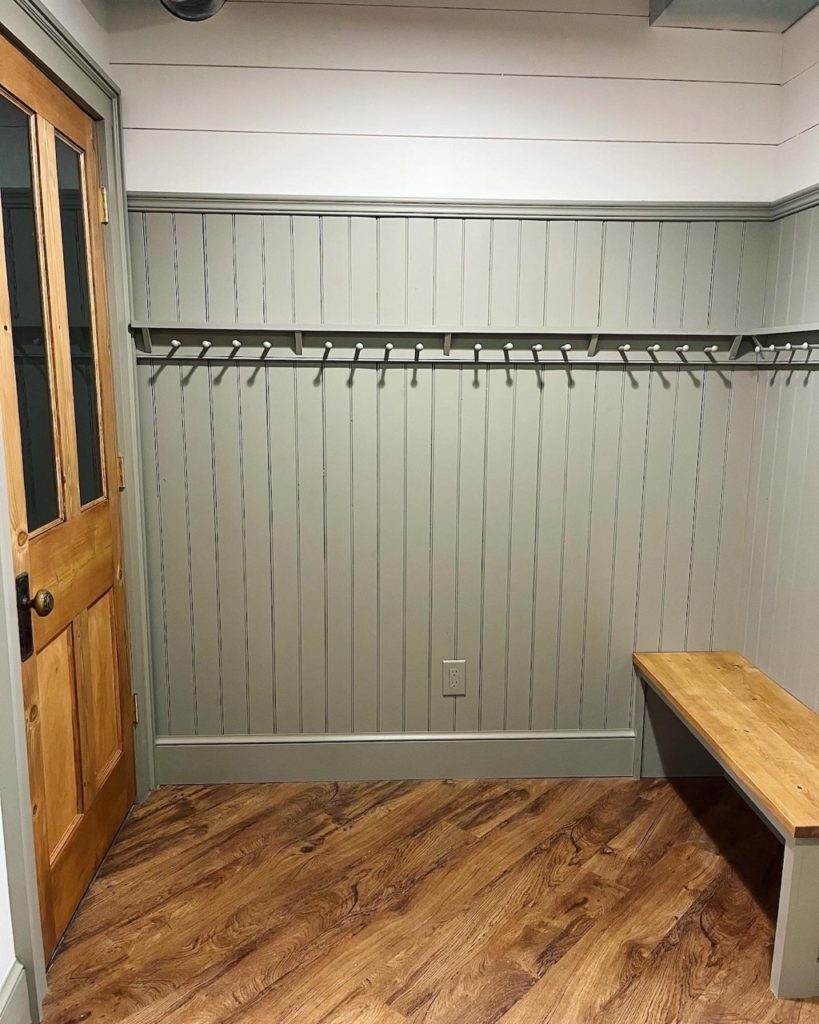

Using a matching gel stain on the mudroom benches and overall I’m very happy with how it all came out. It looks sufficiently like an antique door and definitely good enough for one in my basement. I didn’t mention it but I used a pebble texture glass so that you wouldn’t necessarily see all the bins in the storage room from the mudroom.

I’m very happy with the way it looks here and can’t wait to talk about the liming wax finish on the back and the removable ceiling idea that I used to help make this whole room feel much more finished.