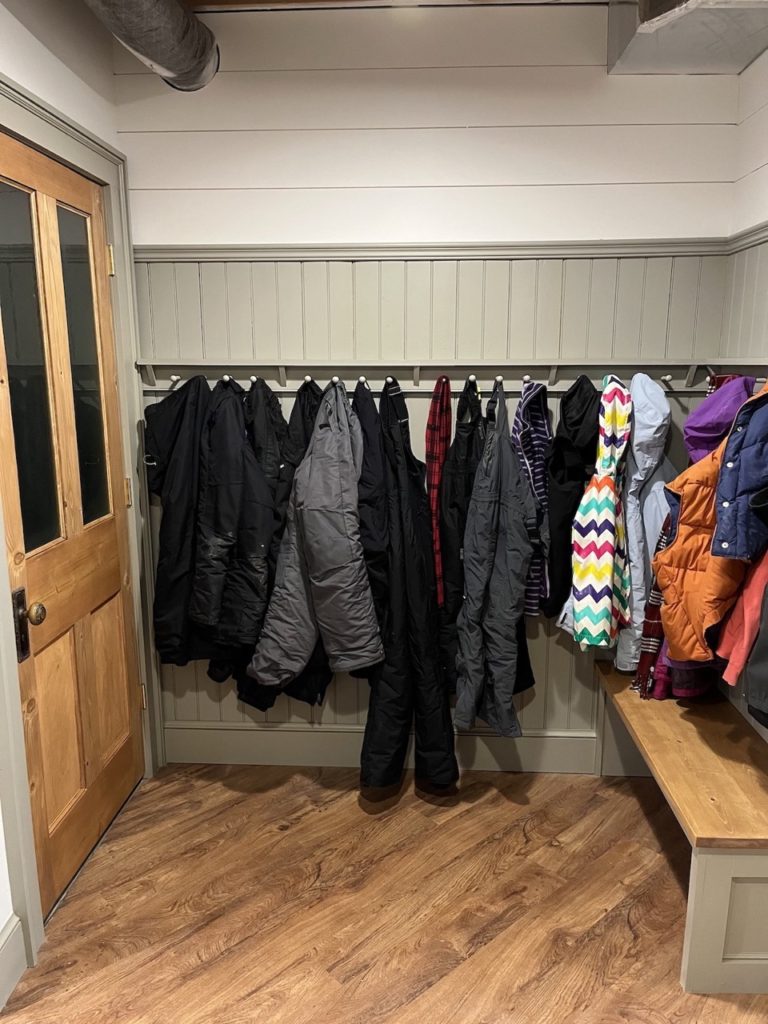
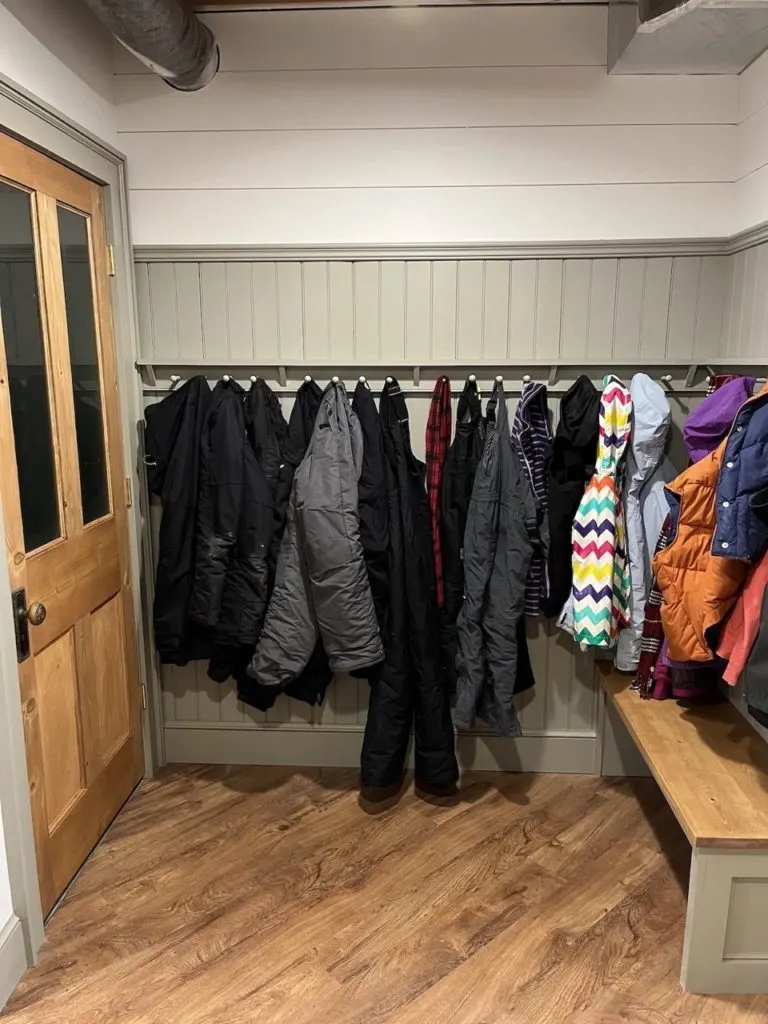
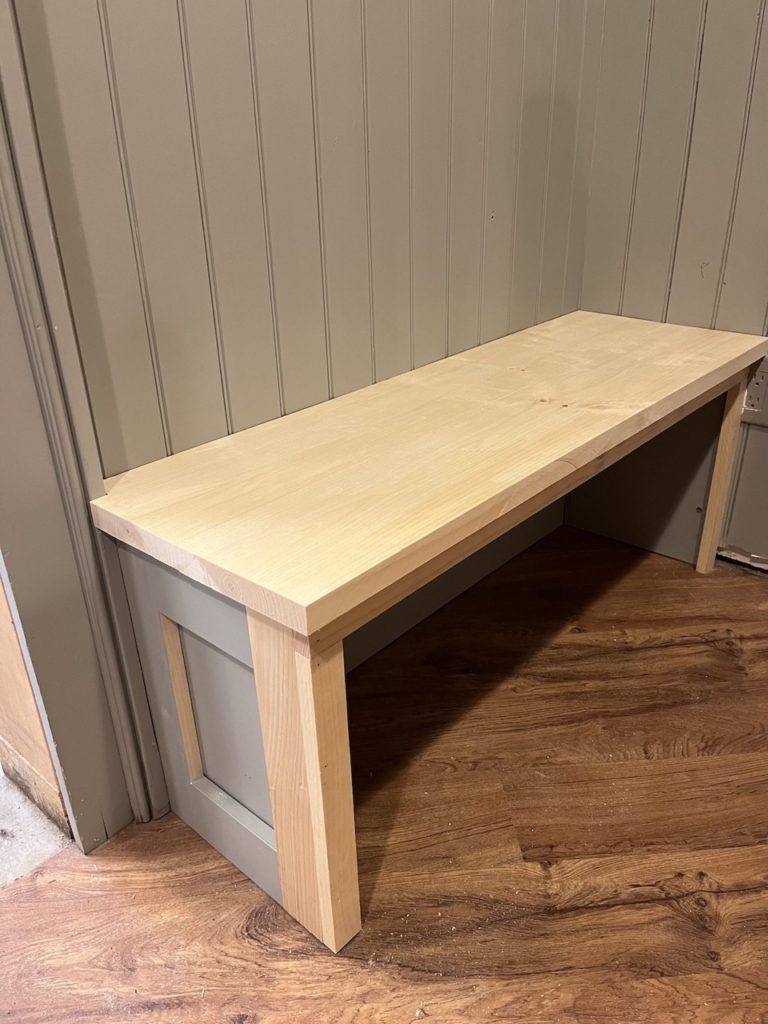
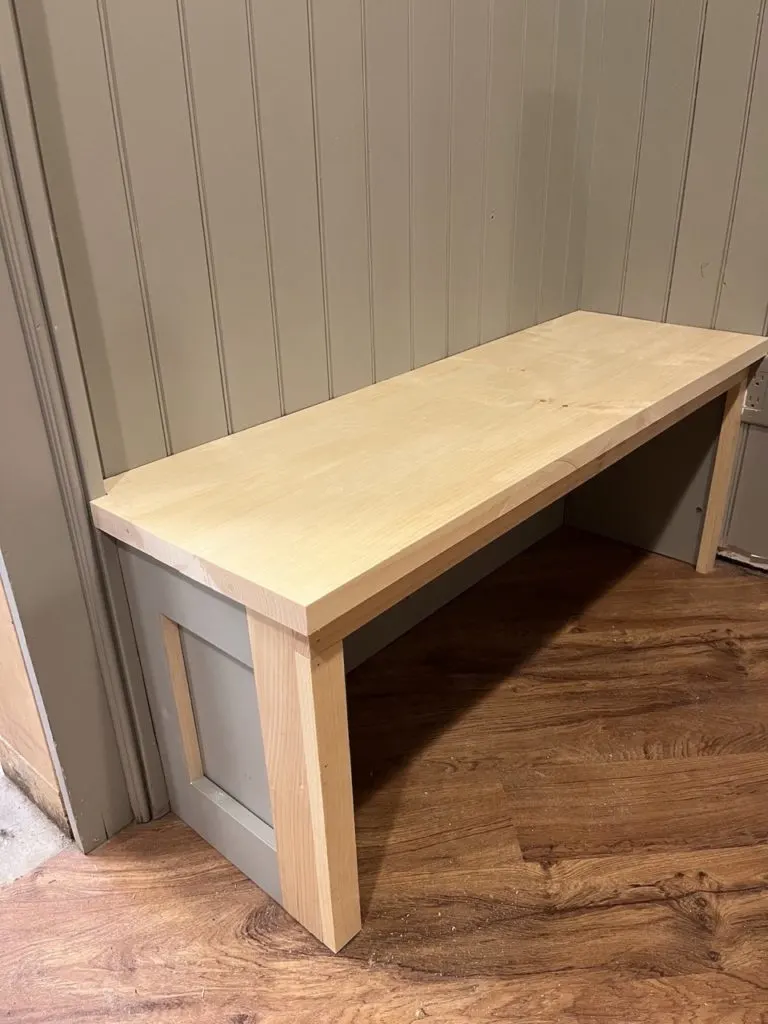
As a part of building out the basement mudroom I knew I wanted to add a mudroom bench. Either getting ready to go out in the snow or coming in and pulling off seventeen million layers, a place to sit comes in handy. We also were already using some baskets to organize hats and gloves and needed a place for them to go.

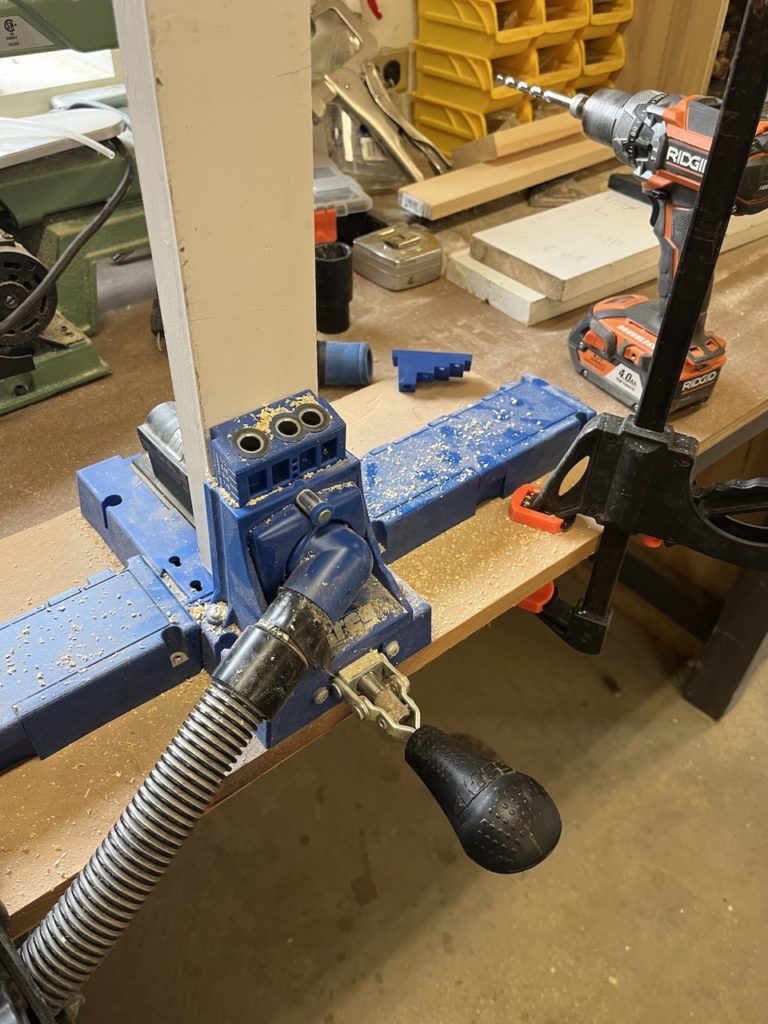

The basis for the bench are two square panels connected across the top. Everything was built using pocket holes, which thankfully the K4 jig cranks out easily. Yes, I probably should upgrade that but honestly it works so well it’s very low on the list.
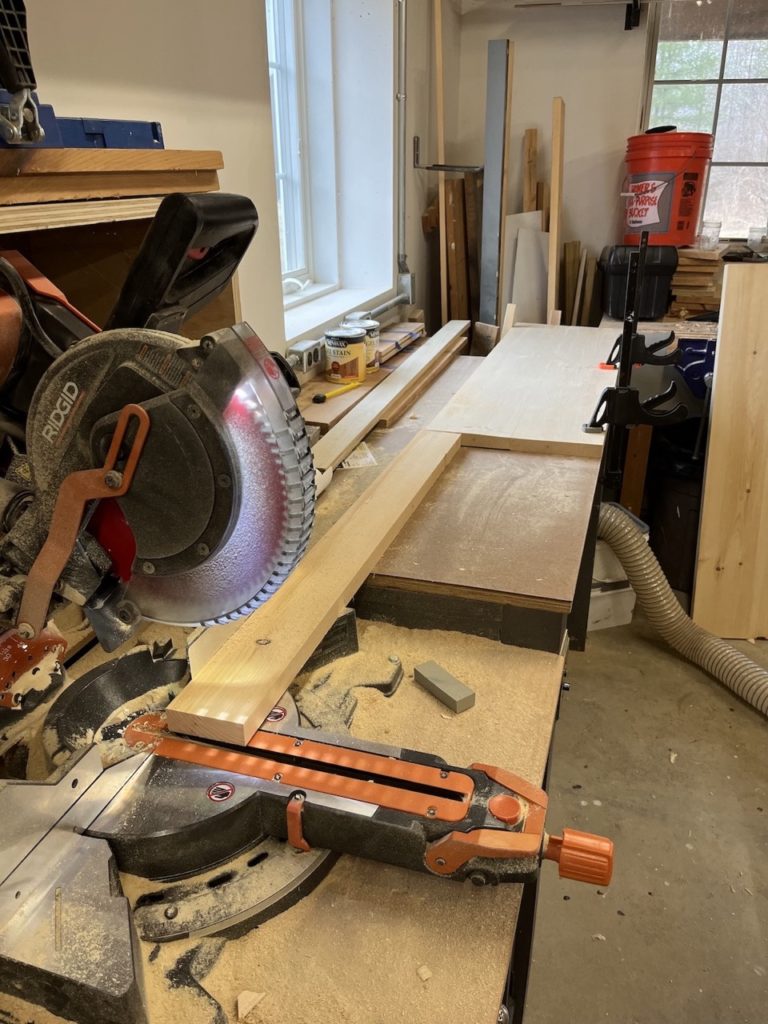

As always when cutting repetitive pieces I set up a stop block on my miter saw station. I still need to add t-track to the side tables so that I can more easily do this without clamps.

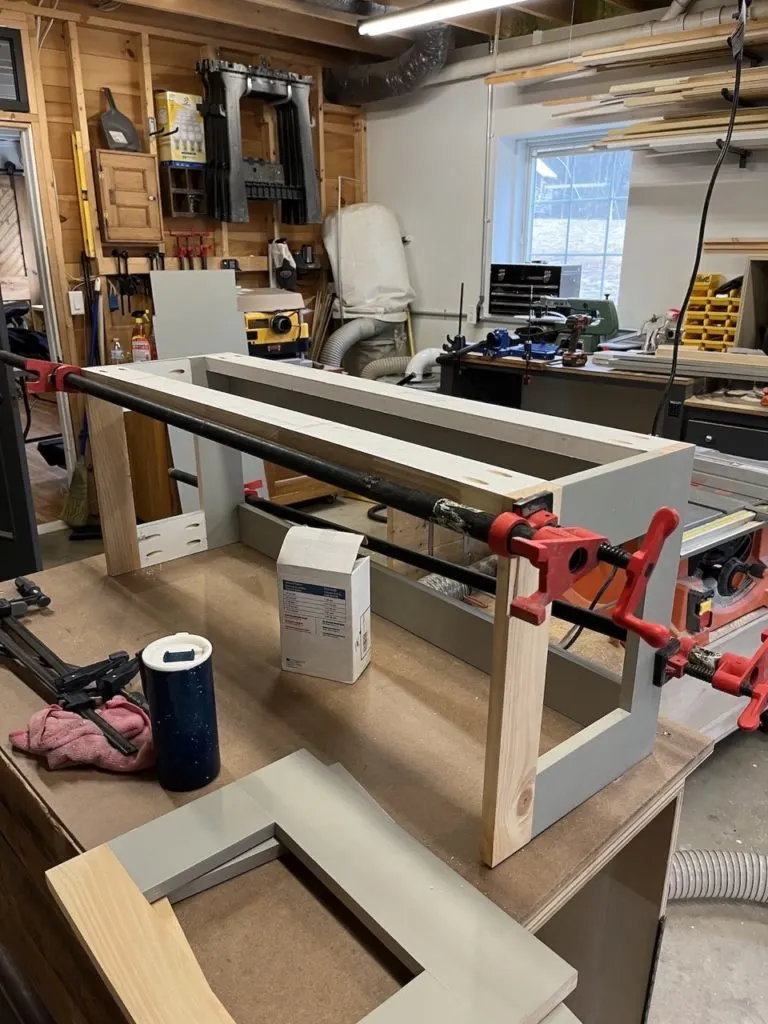
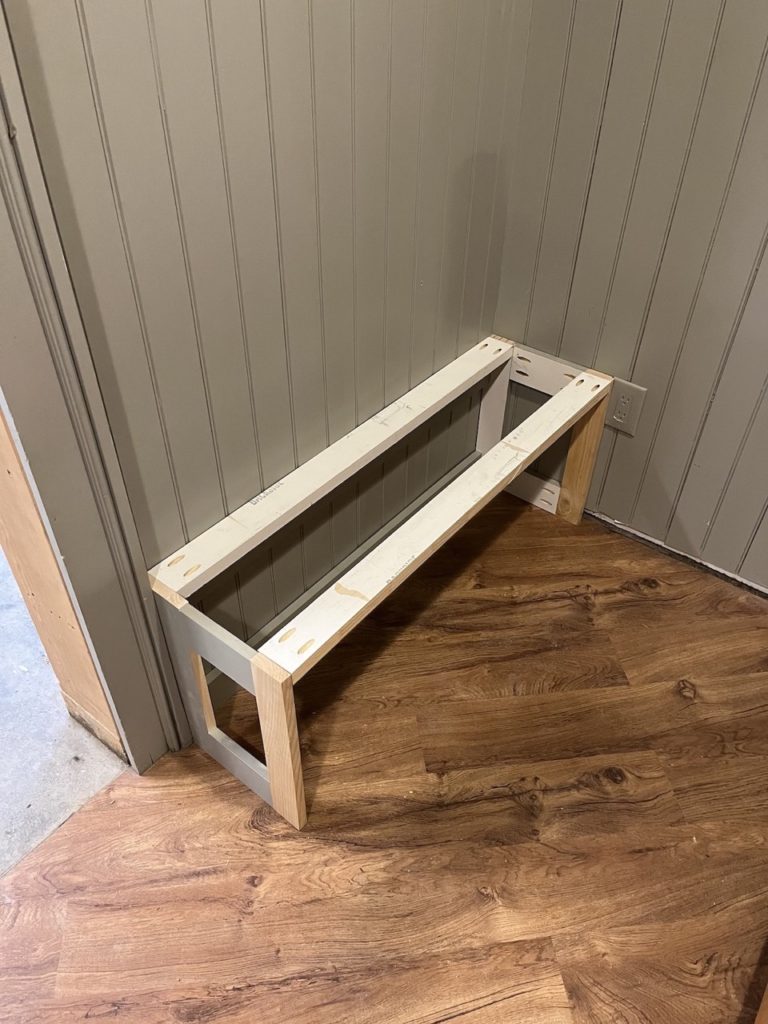

Clamping the squares together makes attaching the pocket holes much more consistent. After I had the two squares for each bench I just attached the stretcher on the back and the two supports on the top. I didn’t worry about the pocket holes on the squares showing because I’m adding panels later. The holes for the top supports will be hidden by the bench and the holes on the back stretcher go against the wall.
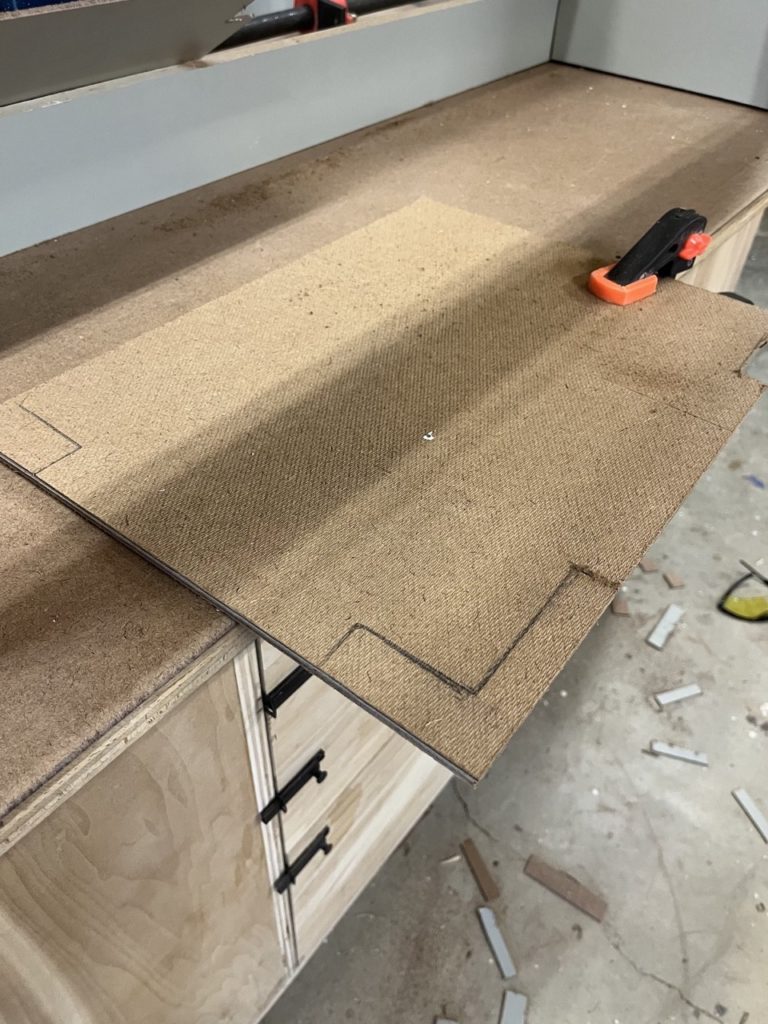

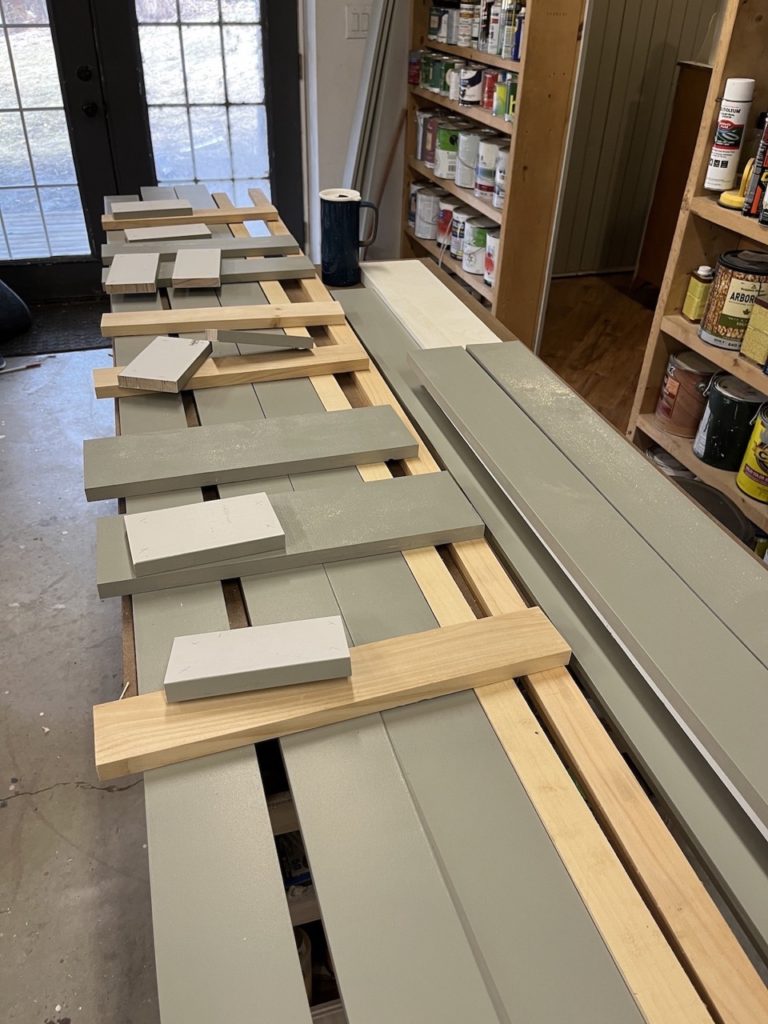
I had some hardiboard left over from some other projects so I cut two pieces for each exposed bench end and one for each inside end. If I had material that was smooth on both sides I wouldn’t have needed so many, but it was free so I can’t argue.


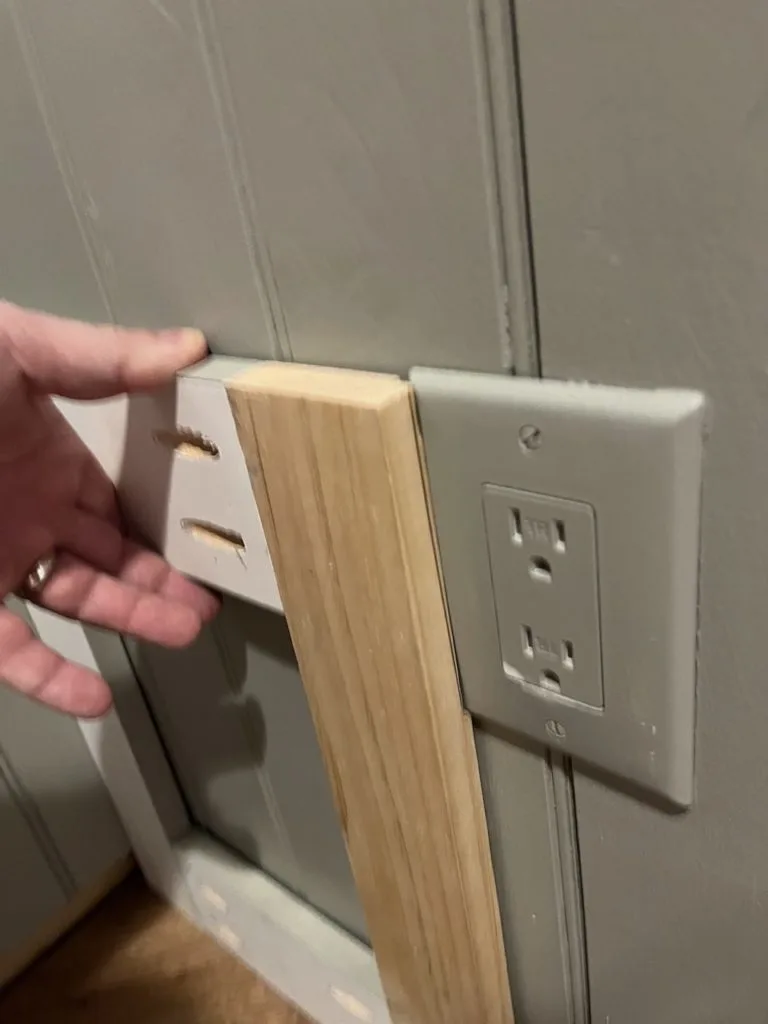
Hit a small snag when doing the bench on the right wall in that it juuuust barely overlapped the outlet. It was a pretty quick trim with a knife to make room for it. The stretcher on the bottom and a piece under the back support are screwed into the wall to support the bench and keep it from moving around.
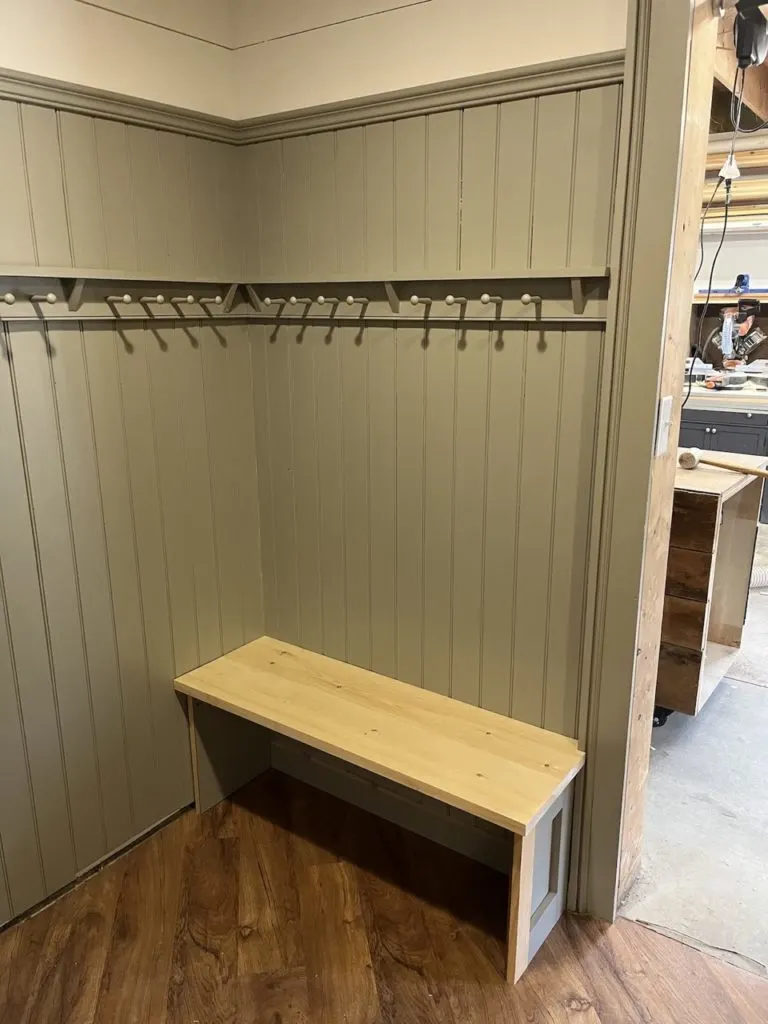
The benchtops were made from 5/4 pine that I glued up. Sadly I bought a biscuit joiner specifically for this purpose (among others) and then forgot I had it? I had been so used to using dowels or just gluing up straight, that I just went ahead and did it. Oops.
The face frame was just some more one by material. I had originally planned to add a bead along the inside of the frame but the added complexity wasn’t really worth it here.
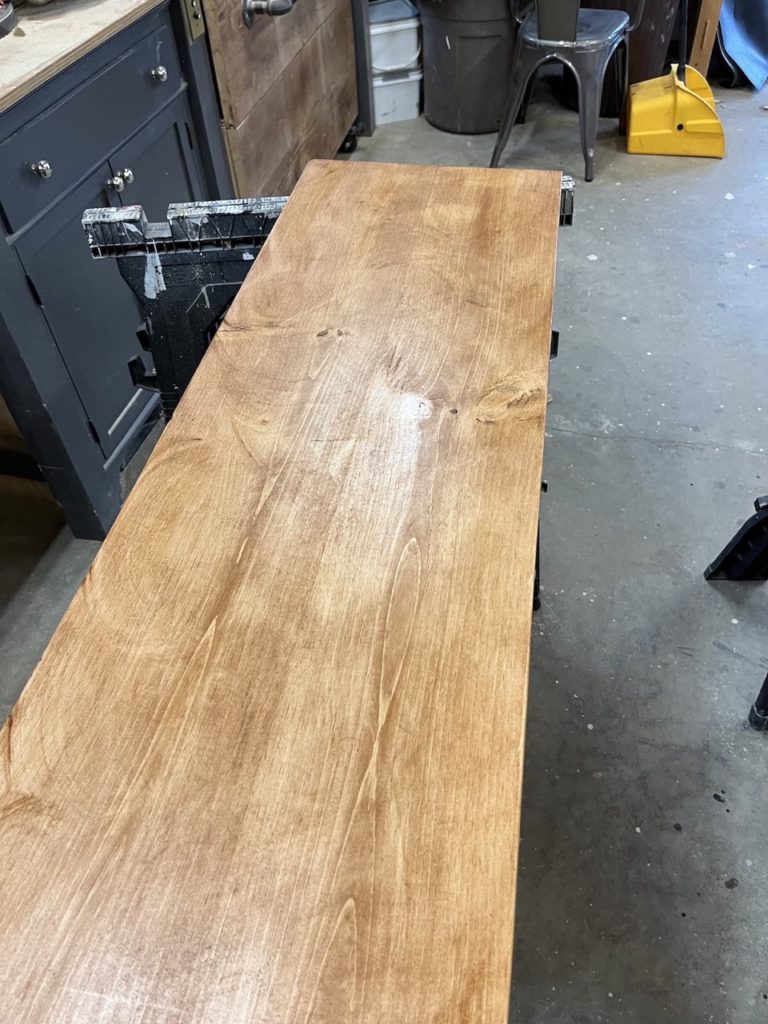


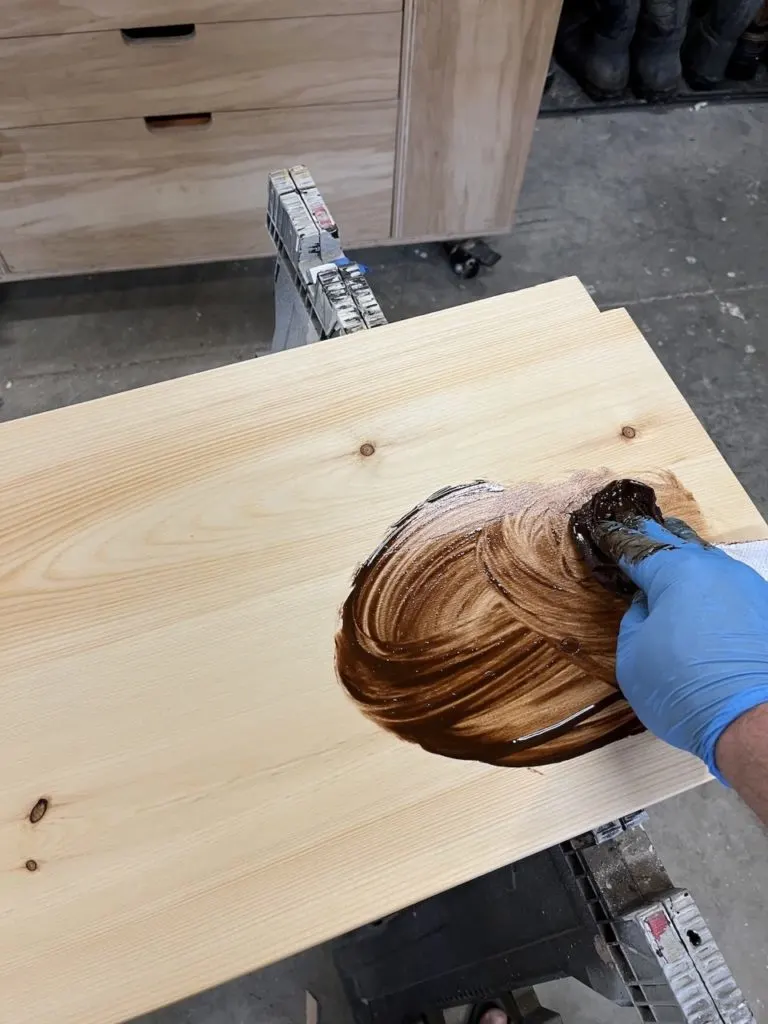
For a stain I used the same mix of stains that I had mixed up for the antique replica door that I created. It’s a mix of Minwax Gel Stains Cherrywood and Aged Oak in roughly equal measures. The effect on the pine was actually a lot lighter than I expected compared to the douglas fir / framing lumber in the door.
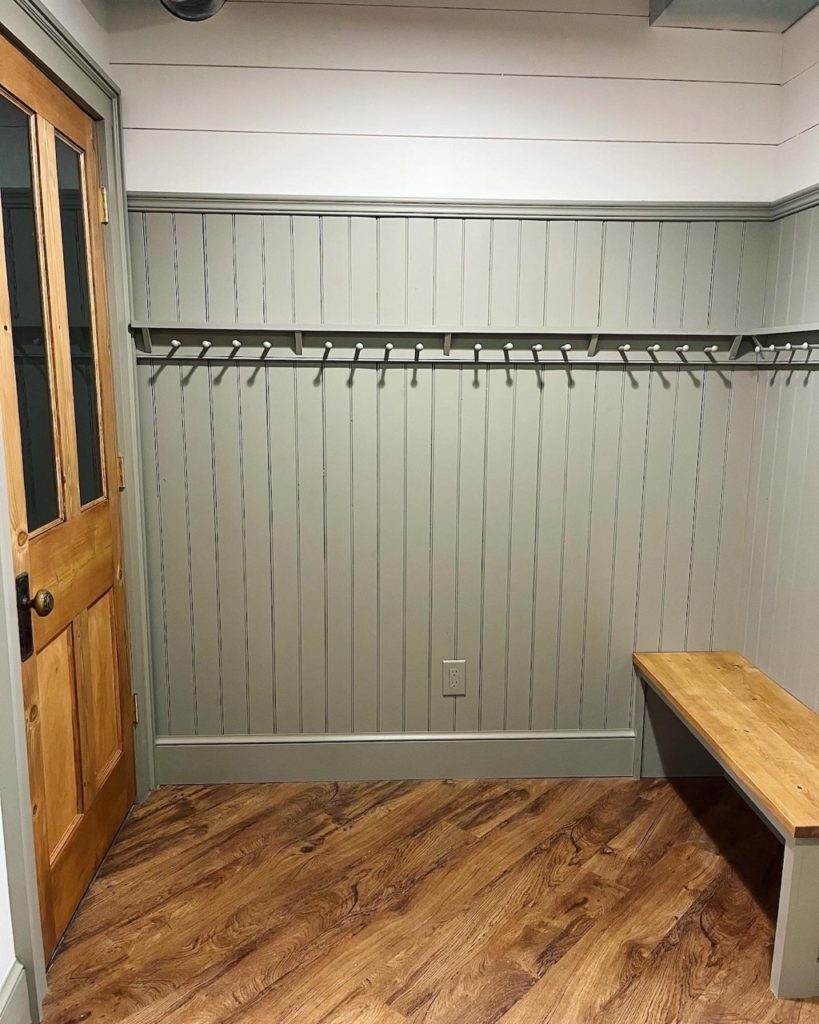

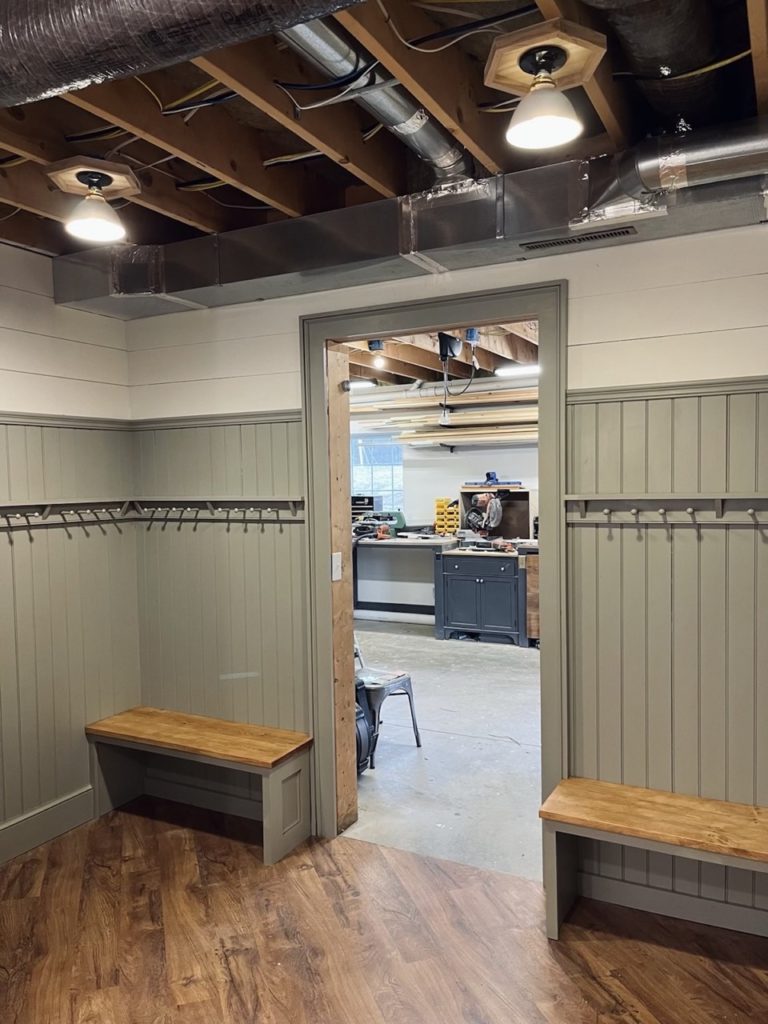
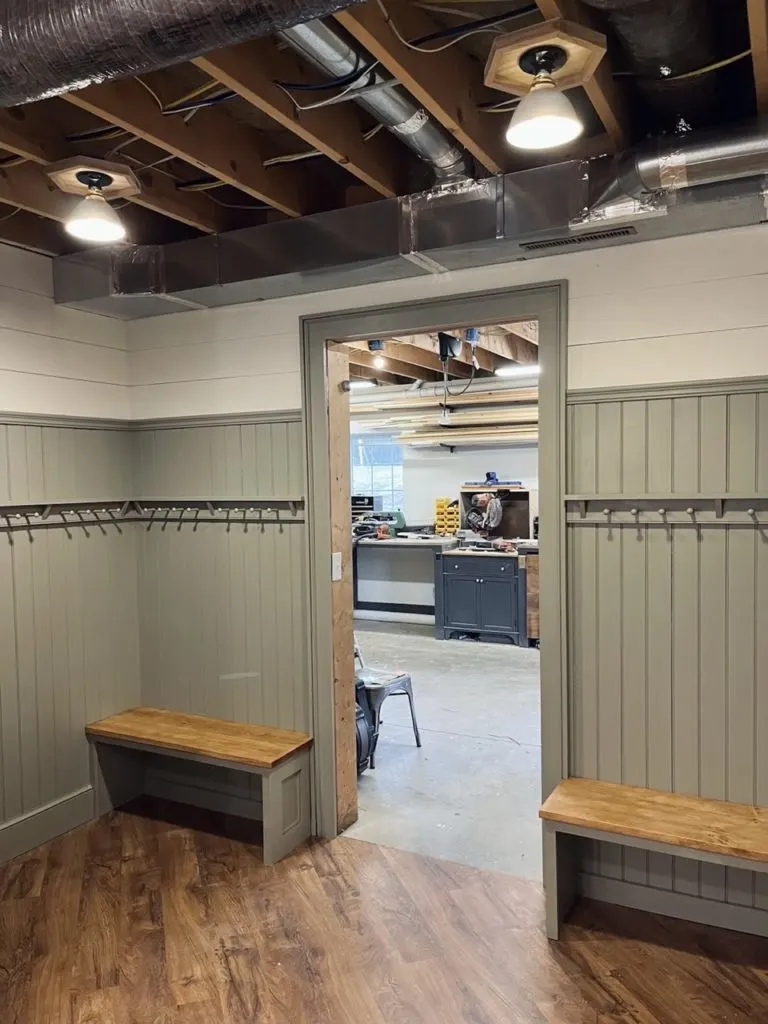
In the end though it matches enough with the door that I’m not too annoyed by it. The bench and the door form a little noook that feels much more purposeful than the empty corner and gaping hole to the storage room that was here before. The added hooks don’t hurt either once we load it up in the winter.