After a wonderful stay in a Fixer Upper AirBnb in Waco, I was pretty set on adding a painted faux brick panel wall. I had used thin brick behind our woodstove for our faux mantel but was interested in trying the much cheaper and faster panels.
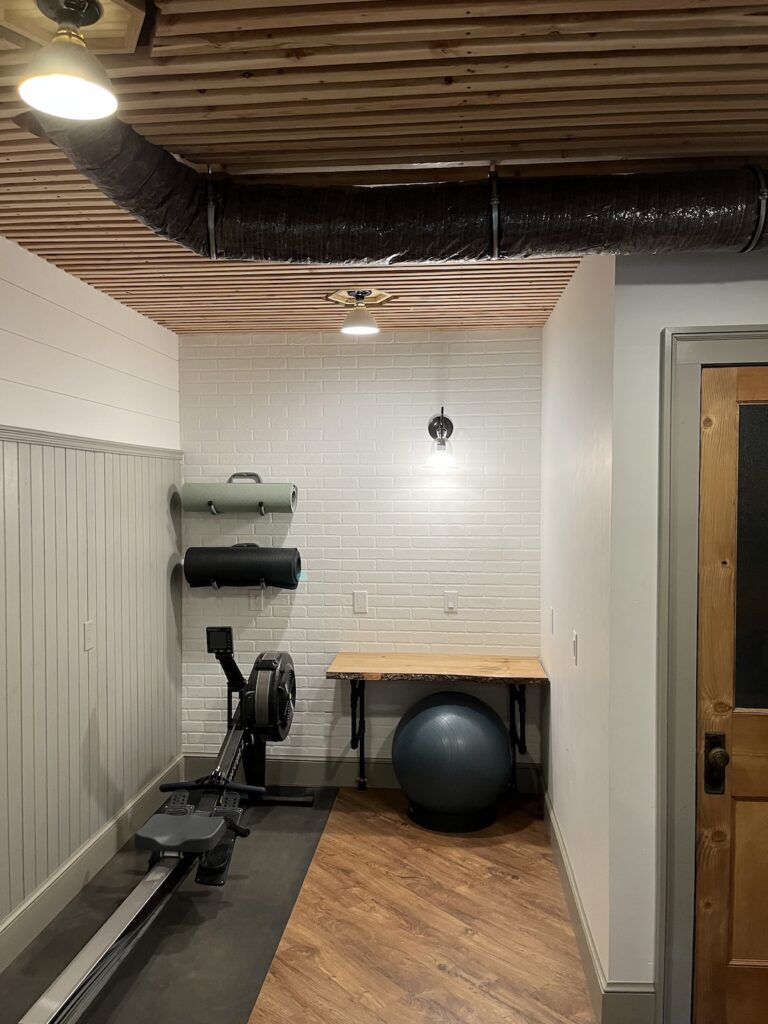
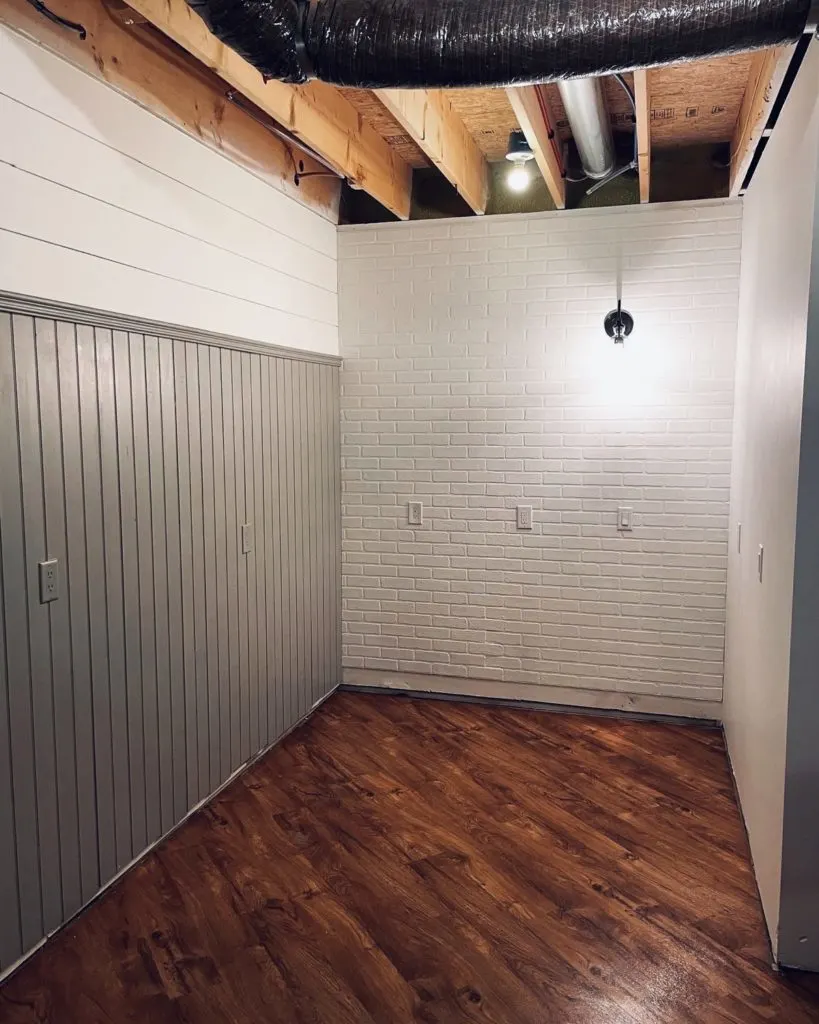
Here is where it ended up (well after I added the removable ceiling and folding wall desk).
This is hardly a ground breaking idea. People have been posting projects like this for years. There are some great tutorials like Sawdust to Stitches and others.
I also knew that I wanted a painted brick wall and was considering black, like in the AirBnb we stayed in. Since it was going in the basement room without windows Shannon convinced me to go with white.
White clearly worked great for The DIY Playbook. Looking around I also found a really stunning example of a painted faux brick wall at This DIY Life which gave me more confidence that it was the right choice.
The most important inspiration for the project though turned out to be this post at A House We Built. Their tip about cutting the bricks into individual jigsaw like pieces instead of trying to cover the seams was instrumental in getting the look I wanted.
What materials did I use for the faux brick panel wall?
- These brick panels from Lowes
- My favorite Ridgid cordless nailer (seriously I 🧡 🧡 this nail gun)
Heaping gobs of adhesiveNo. Please don’ t do that, some screws are fine- Joint compound
- Jigsaw
- Mini-saw (optional, the jigsaw would have been fine too)
- Primer
- Benjamin Moore paint in Oxford White
- (other things for doing electrical work, but since I don’t want any liability from people doing their own wiring I’m glossing over that)
Planning the space for our faux brick panel wall
This little room off my workshop in the basement needed a little bit of love. It acts as a mudroom, my workout room and the entrace to our storage room. In reality I also need it to work as an office too. We have 7 people in a little over 2,000 sq ft so rooms rarely have the luxury of being used for just one thing. Even the upstairs bathroom is where we cut hair, the downstairs bathroom is also the laundry room.

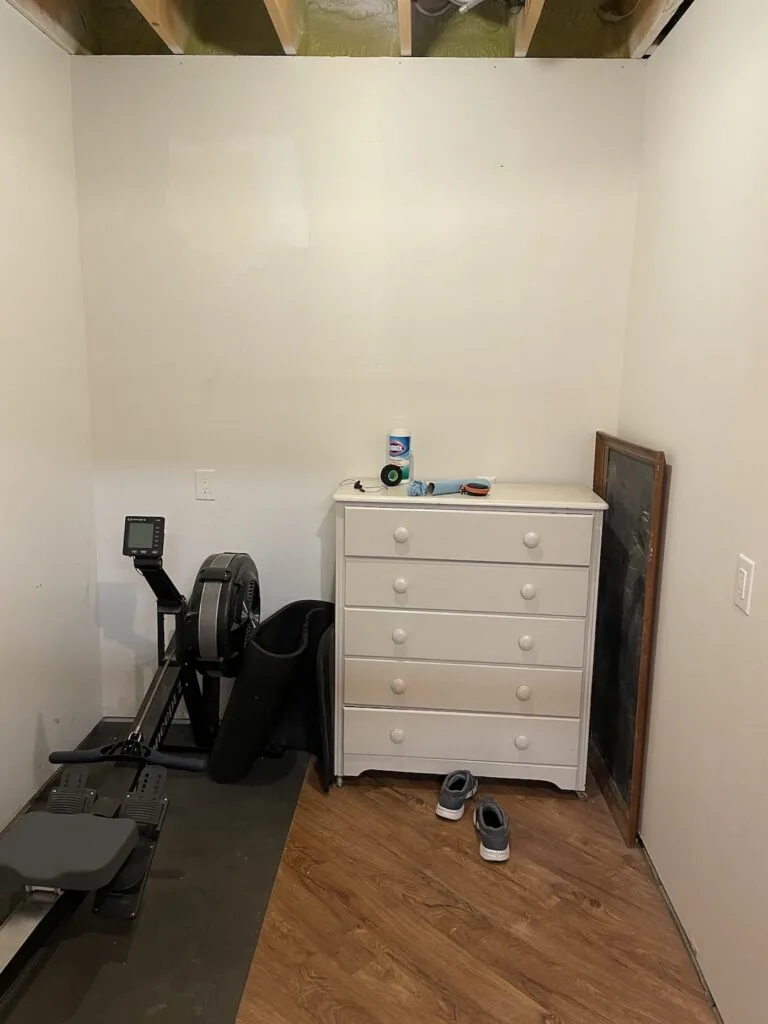
I started renovating this room a few years ago. I added the vinyl flooring (that I still love) on the diagonal and some hooks and paneling on the other side. There was a change in plans though with moving the storage room door and building lockers. That got scratched and the room gained a rowing machine instead.
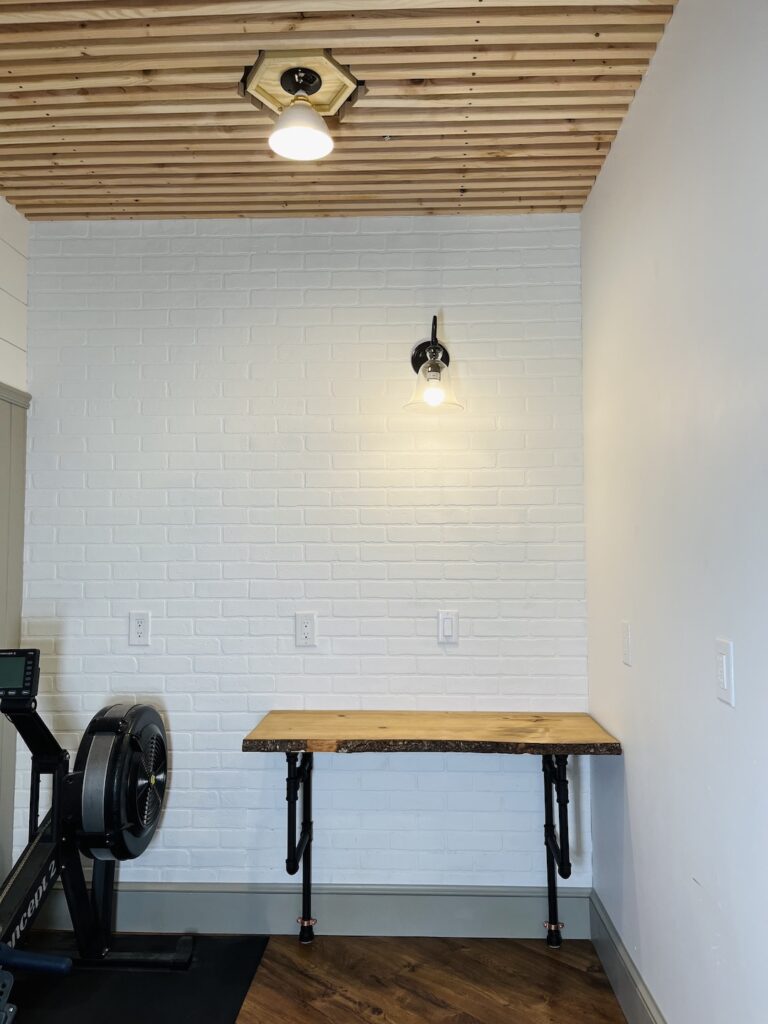
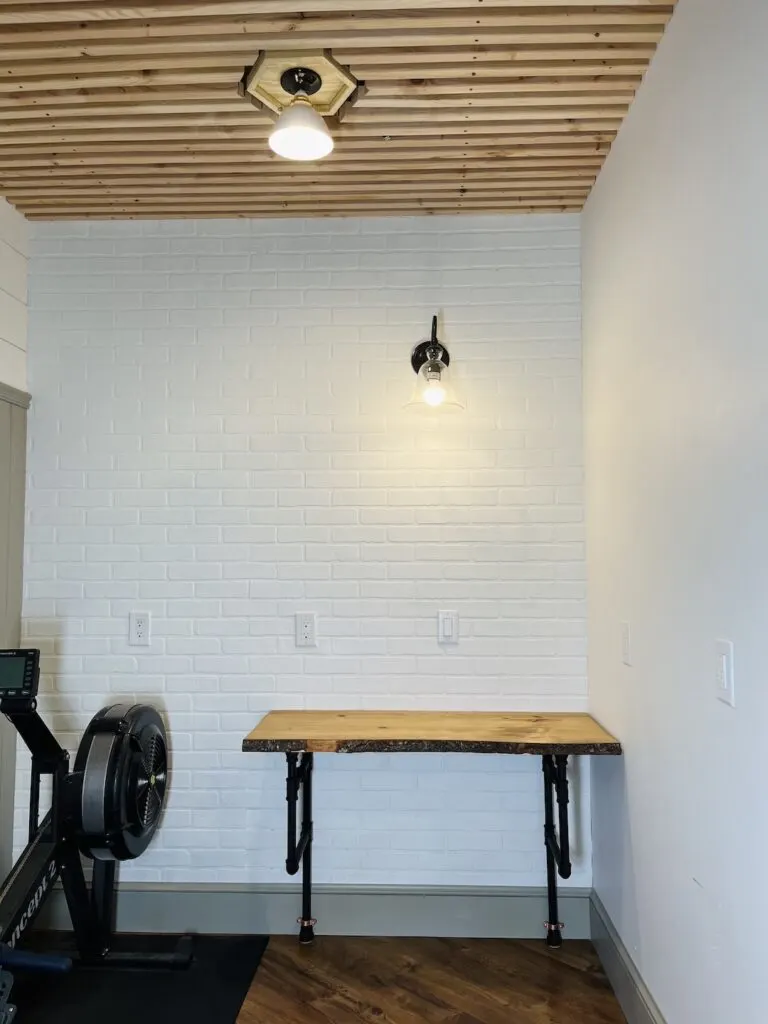
The plan for the far wall was to add a faux brick panel wall, a wall sconce and a desk to make a little office space where the old dresser we had stashed down here was.
The first step towards getting this room to function as all of those things though was corralling all of the boots and shoes into an organized rack in my shop.
Adding a wall sconce
First off, please do not do your own electrical unless you know what you are doing. I know enough to feel comfortable wiring outlets, switches and fixtures so that’s what I did here. I first cut out a panel so that I could access the wire between the two outlets. I wanted to add a switch on that line up to the new sconce.

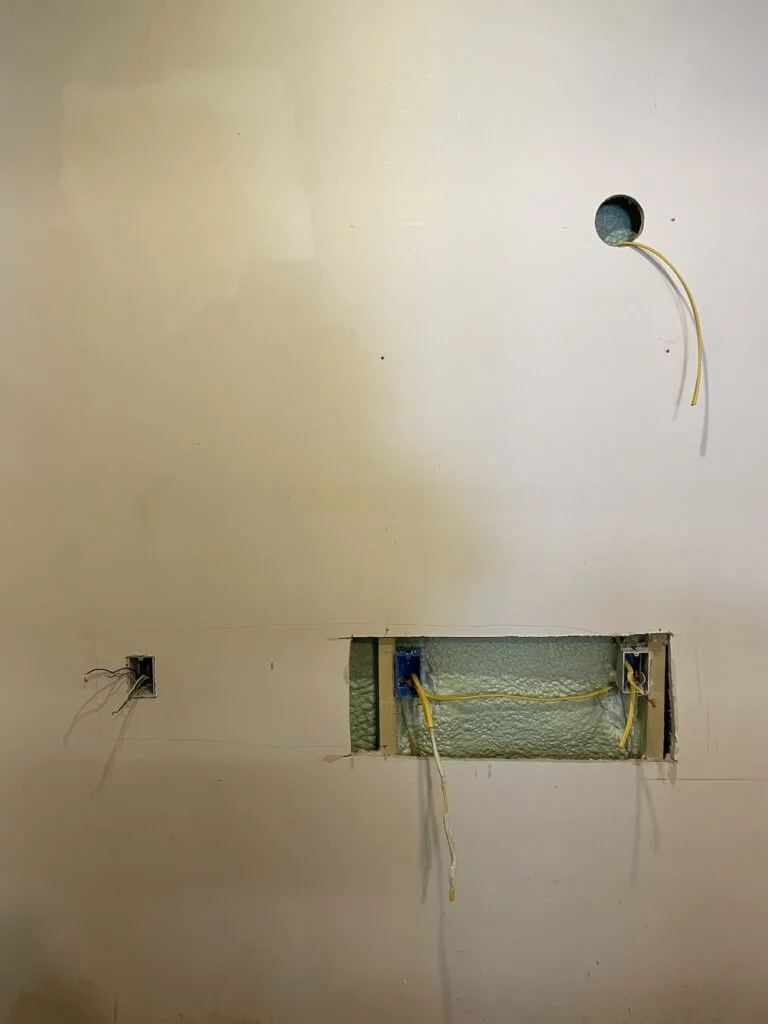
I cut out for the sconce with a hole-saw and used a “old work” ceiling fixture to run the wire to. I made sure to cut my panel wide enough to get past the next stud to make it easier to attach the switch box (this one a “new work” box) and run the wire.
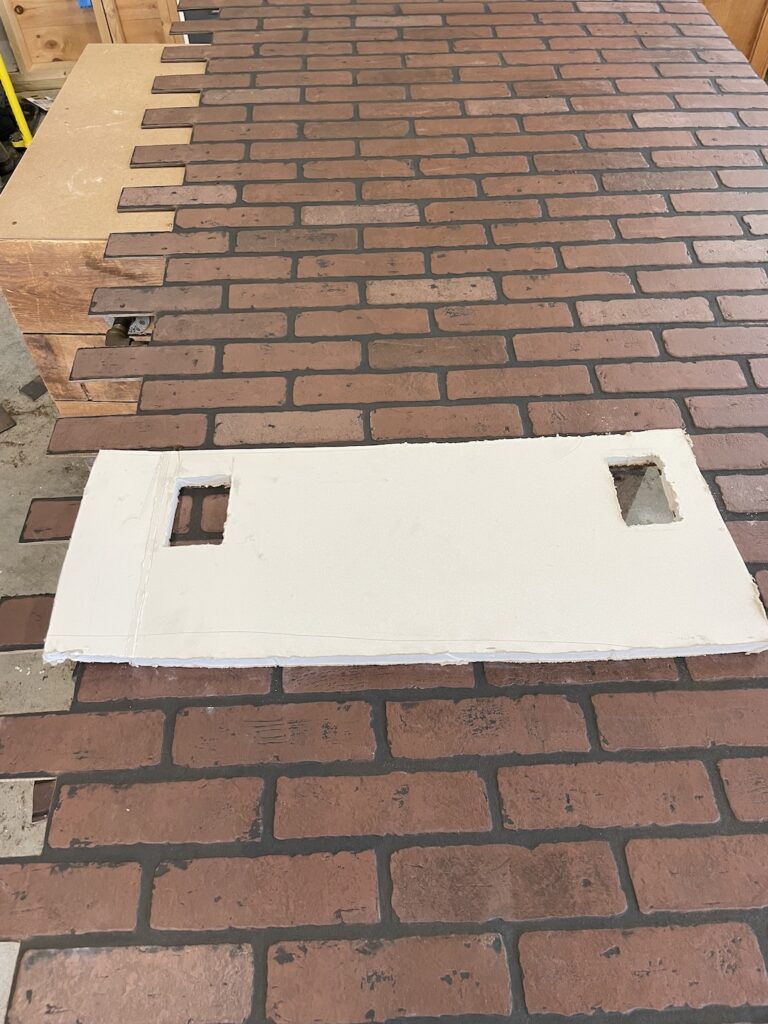
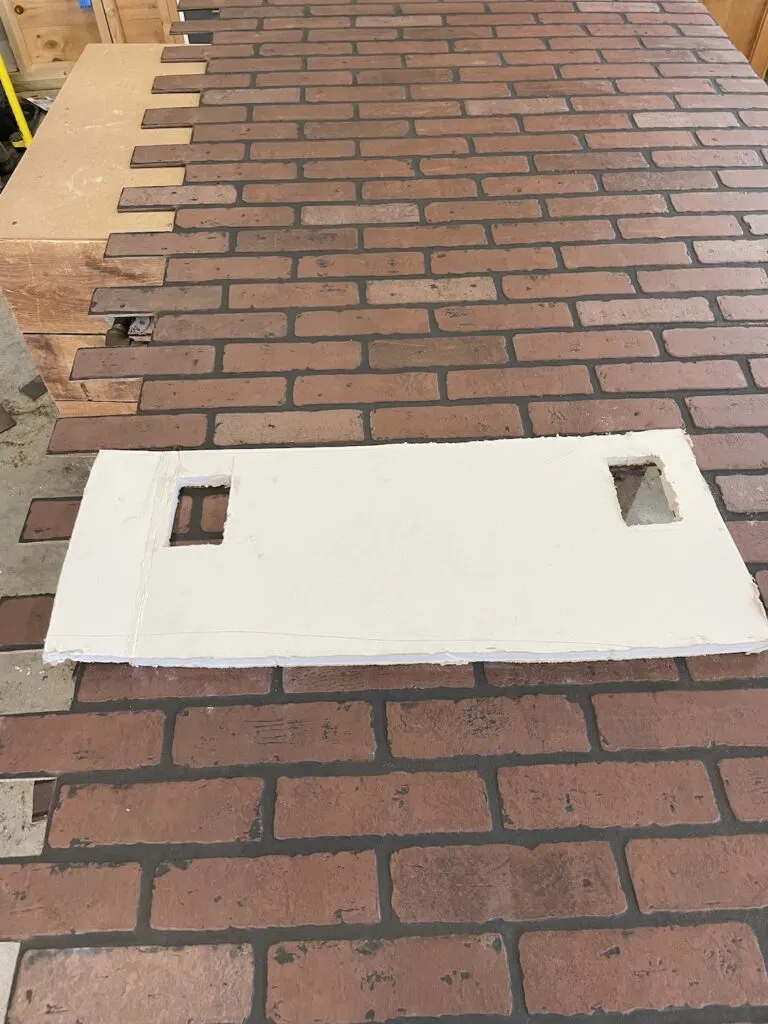
I used the panel of sheetrock to mark out for the box cutouts on the brick panel before I re-attached it to the wall.
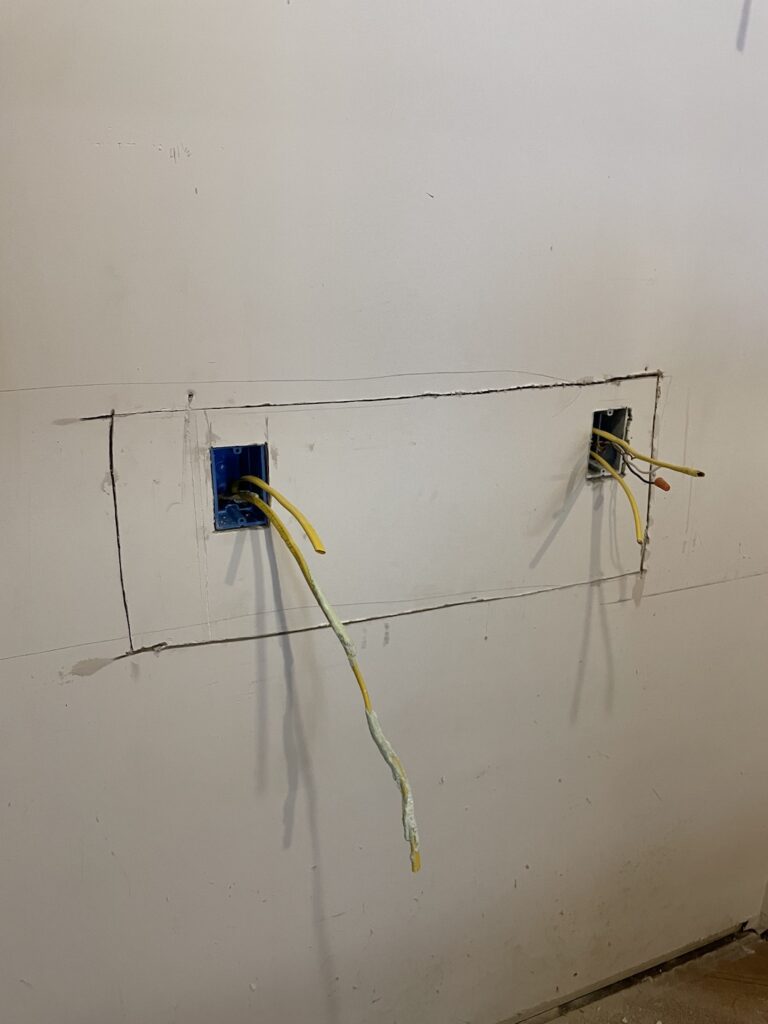

With the wires run to the boxes I reattached the panel to the wall. I am very grossed out by the stains on the lower part of the wall and will be happy to move on to steps that have that all covered up. I thankfully did not have to mud sheetrock and sand as that is one of my very least favorite DIY tasks.
Cutting the faux brick panel wall
The brick panels themselves are very similar to hardboard, an mdf like rough surface on the back and finished front. In this case the front is embossed with textured bricks separated by mortar lines.
I will say the texture on the panels is very convincing. The color? Well, there’s a reason I (and most people I’ve looked at) painted them. It’s not great.
While you certainly can put up the full panels and use joint compound to cover where the two half-bricks meet, I was sure that it would still leave a line. I didn’t plan on doing any fancy German schmears or adding enough texture to distract from it, so I decided to try something else.

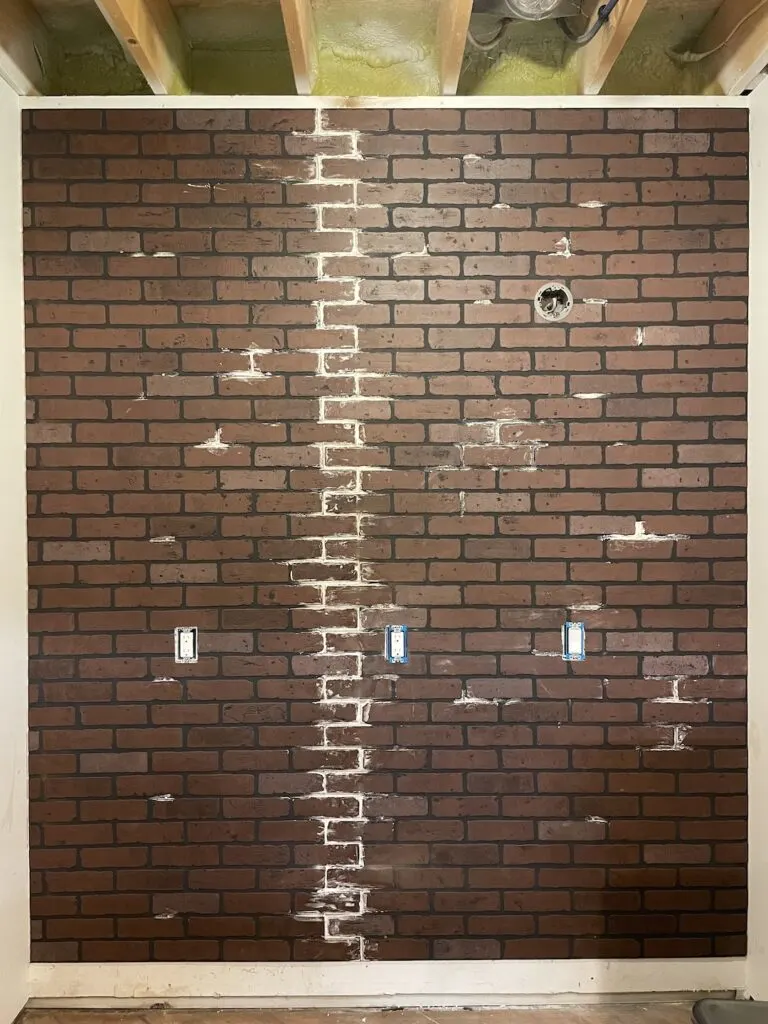
I only had one joint since the wall is right around 7′ wide and the panels are 4′ each. As you can see, I cut out the half bricks on either side of the join and then use joint compound to fill in the mortar line. Blending the joint compound with the mortar was pretty simple and intuitive. I also added a few splashes of joint compound into other mortar lines to help make it less uniform throughout.
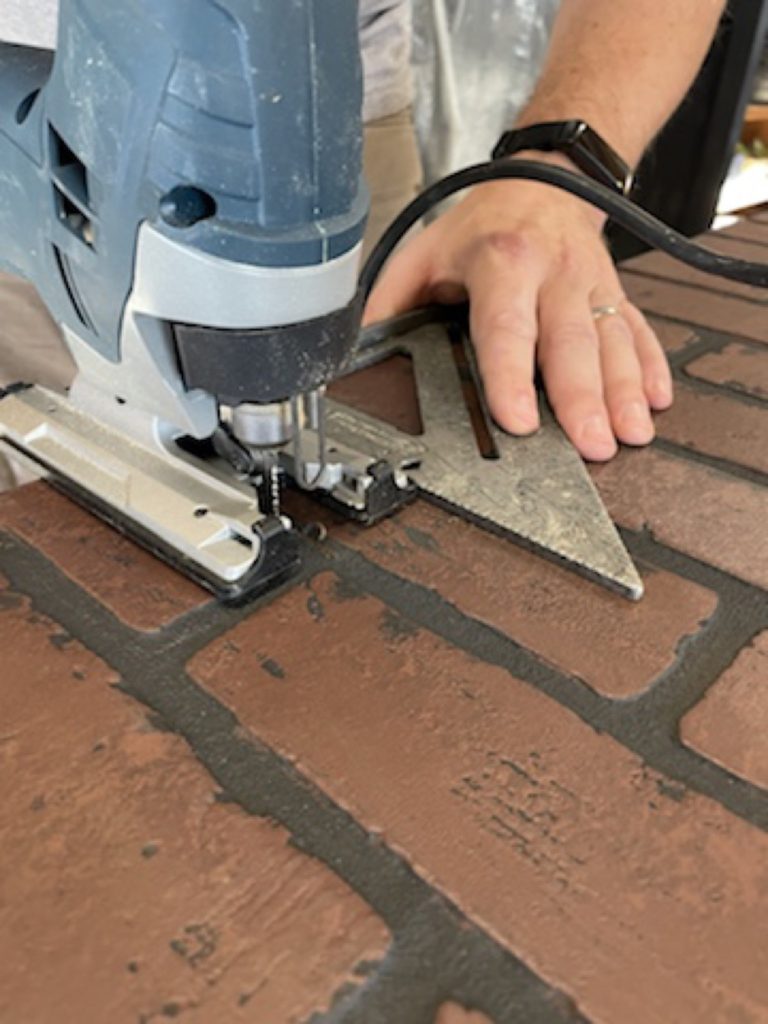

I tried to get as straight of cuts as possible usign the jigsaw aligned with my square. It was moderately successful. There is a lot of variation in the bricks themselves actually, despite being a stamped pattern. I ended up having to trim quite a bit when I put up the sheets.
Once I had the plunge cuts done, I ended up using my mini-saw to do the cross-cuts. This created a ton of dust, but went much faster than having to try and get a straight cut with the jig saw between two cuts.
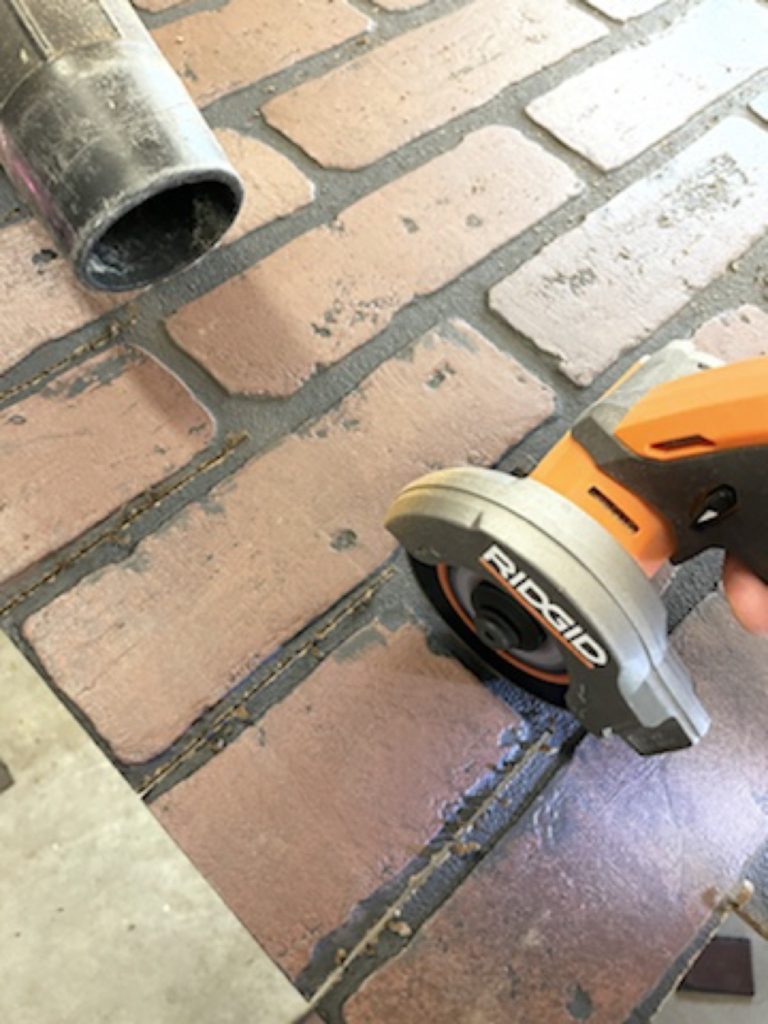

Having one of my sons in the shop to hold the shop vac for me was a lung saver on this one.
It took me far too long to figure out exactly how to position the sheets so that I could mark out the cut lines on the second sheet using the first as a pattern. There was flipping, turning and all sorts of spatial manipulation shenanigans involved. And at least three sets of lines drawn.

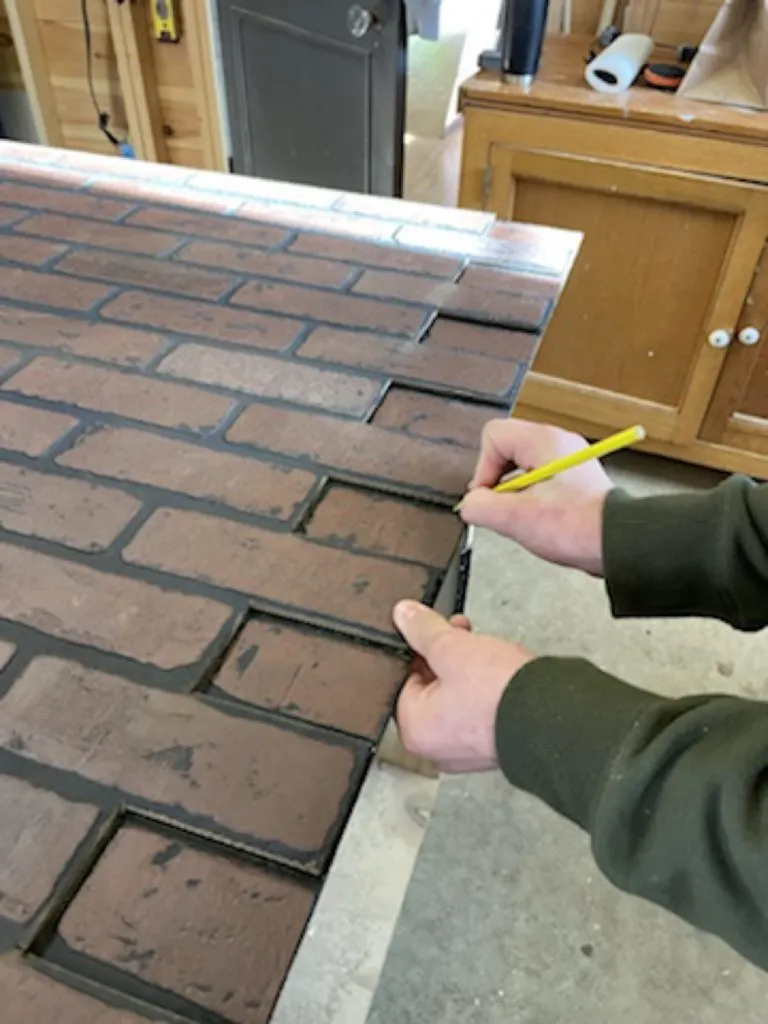
Once those were marked, scribbled out, remarked, considered and marked again, I just had to repeat the same cutting process.
Hanging a faux brick panel wall
Here is where I deviate pretty heavily from other tutorials on the hanging these panels. I do not recommend using liquid nails. As someone who has removed wainscoting and other paneling, please don’t do this.
Instead, I used some finish nails to keep it up until I could get screws in. I premarked out my studs so I knew where to screw and a couple screws in each was more than enough to get it flush with the wall and secure.
In the case that I pull this off, I would much rather patch a couple screw holes versus have to pull down the sheetrock and start all over.
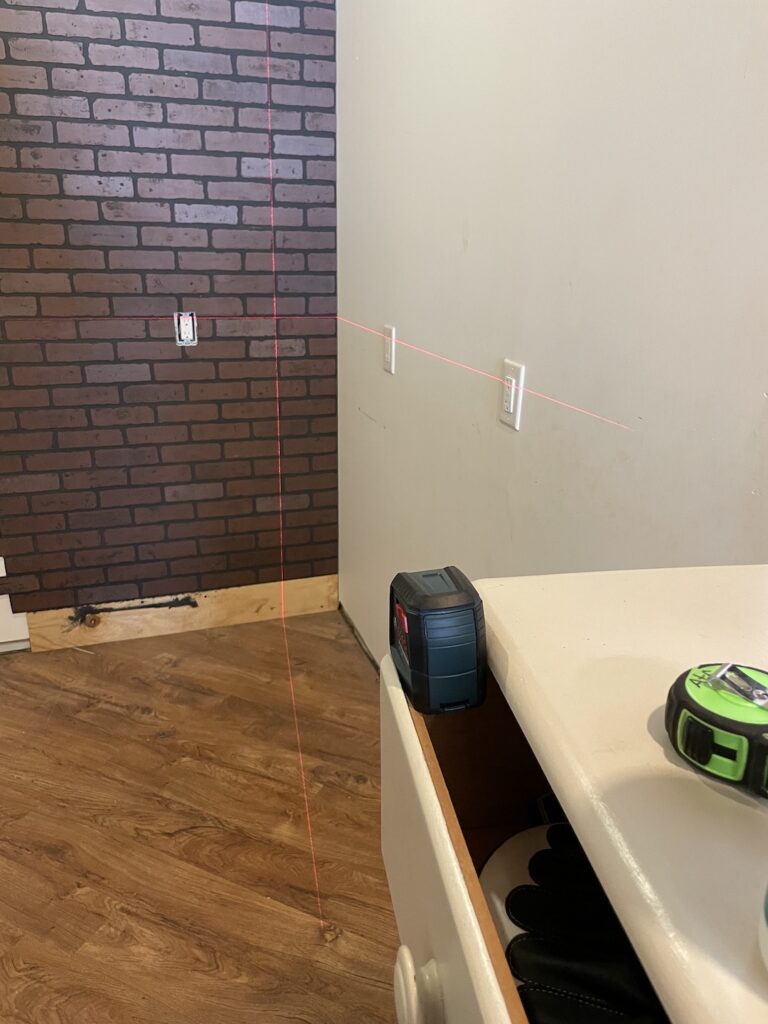
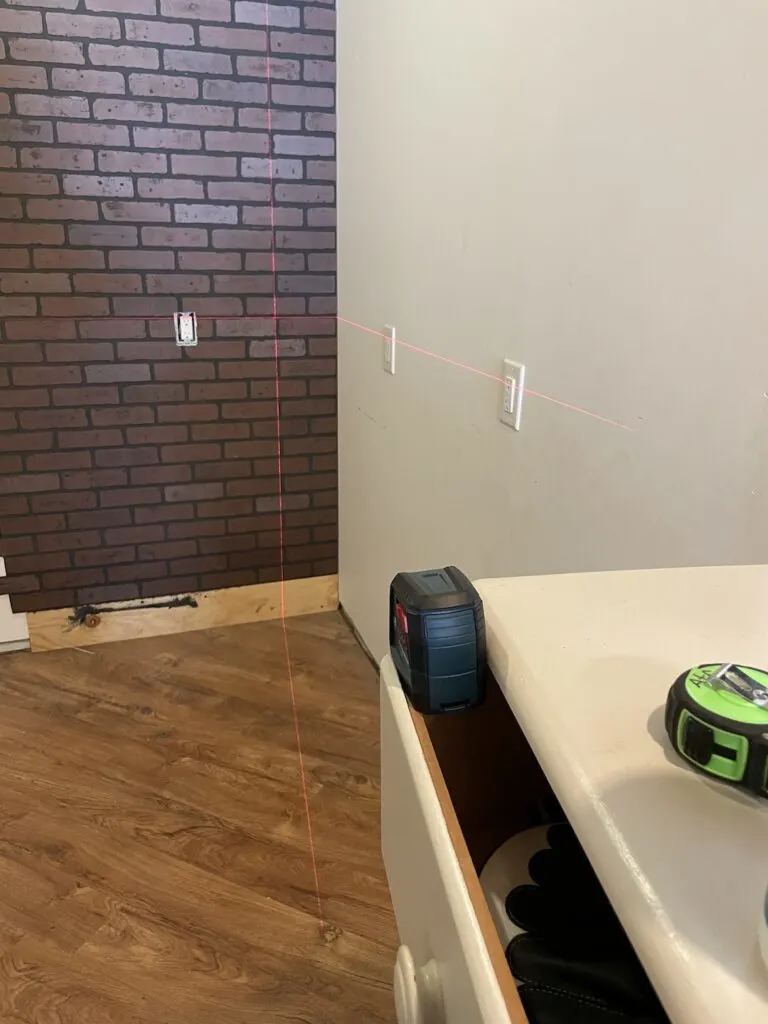
I also had an excuse to break out the laser level for this, which I think was only the second time using it? It worked wonderfully for making sure that all of the ends of the bricks were in line. I didn’t have anything else handy so the top drawer worked as my fancy holder.
Hiding the joints on a faux brick panel wall
This was the part of the project I was most nervous about honestly. I knew that the brick itself would look good painted white. I was honestly nervous though since so many of the brick wall projects I found had a heavy texture applied over it. I assumed that was because it didn’t look very good without it to be honest.

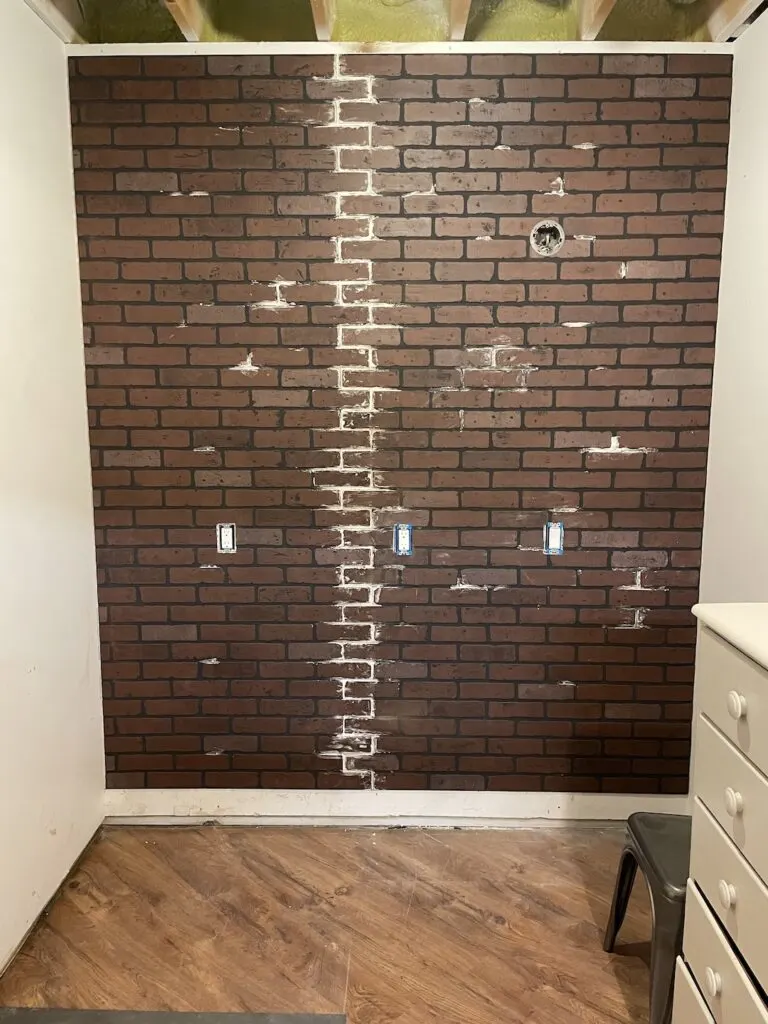
And even here you can’t really tell if that is going to be extremely visible or not. I applied the joint compound with a knife but used my finger to feather it out across the mortar joint. I let some slip infront of the brick but mostly tried to keep it as close as possible so that you didn’t have one thick jagged line of “mortar” sticking out.
Side note: in a pose about faux things I keep finding myself wanting to put things in quotes. It’s not really brick. It’s not really mortar. It is a set of panels on a wall though so at least that’s not a lie.
Finishing off the faux brick panel wall
Once the joint compound was dry, all that was left was to prime and paint it. I used a very heavy duty primer because I was priming the knots in the wood paneling at the same time. I know from experience that you need to break out the big shellac based primer guns for knots if you want to have any chance at keeping them hidden. I think a simple water based primer would be fine for the panels though.

The only section that didn’t come out perfectly is the last four rows of bricks. I had a bit of an issue with my jigsaw joint there, but it will be covered by the desk so thankfully I didn’t have to worry too much. Overall I’m very happy with how it turned out and can’t wait to get the space fully finished off, even if I still have seven or so projects until this is done.
Once I did a few more projects like add a removable ceiling and build a wall desk the room looks a little more like this.