I’ve been meaning to make a DIY boot rack for a while now. We have 7 people in the house and live on land that is all blue clay. In winter we have downhill skis, cross country skis, snow boots and general chaos abounding. Banishing all of the mud boots and winter boots to the basement was better but it was not exactly a solution.
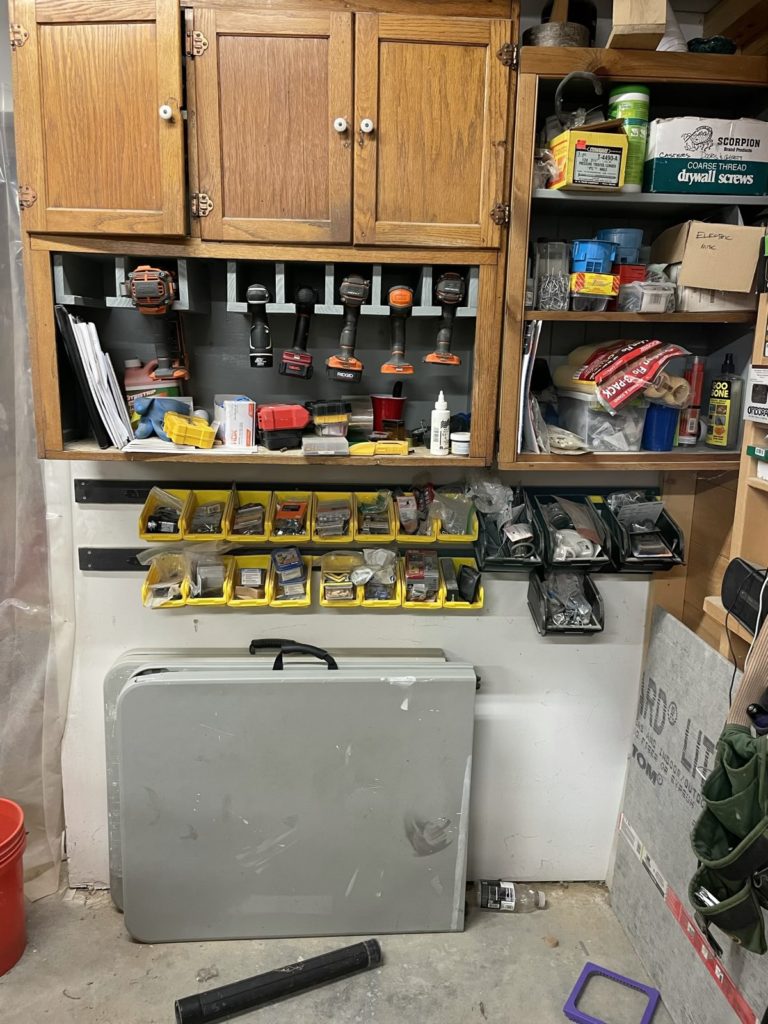
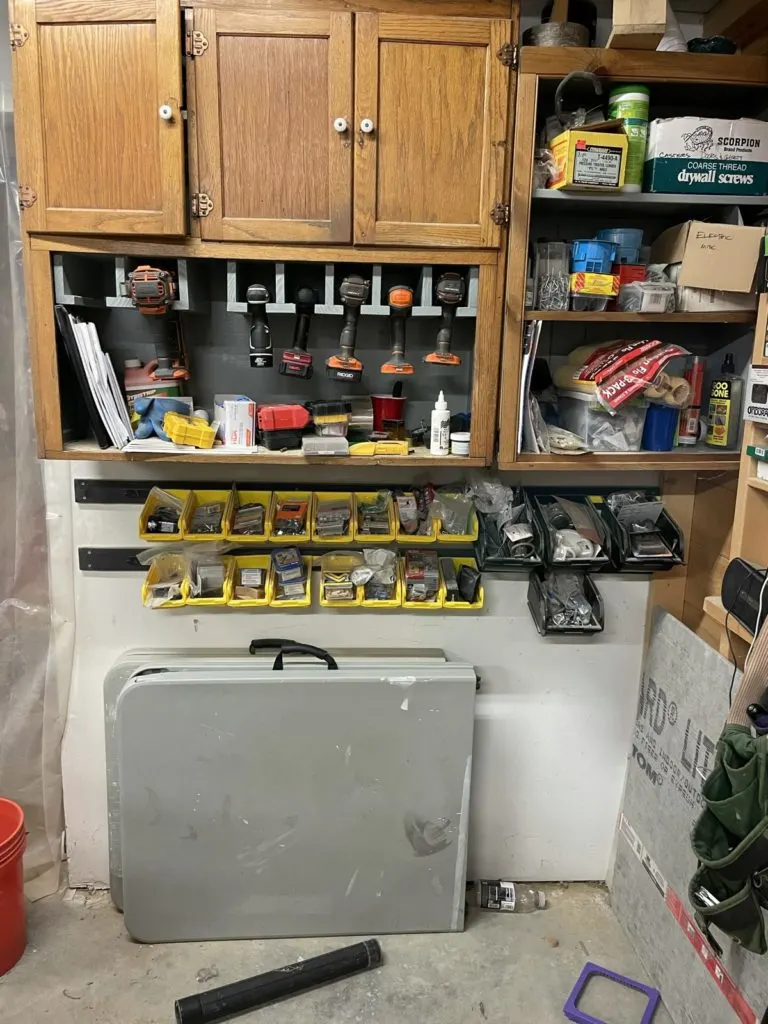
We started with this pile of nonsense in our basement entry, which just so happens to also be my workshop.

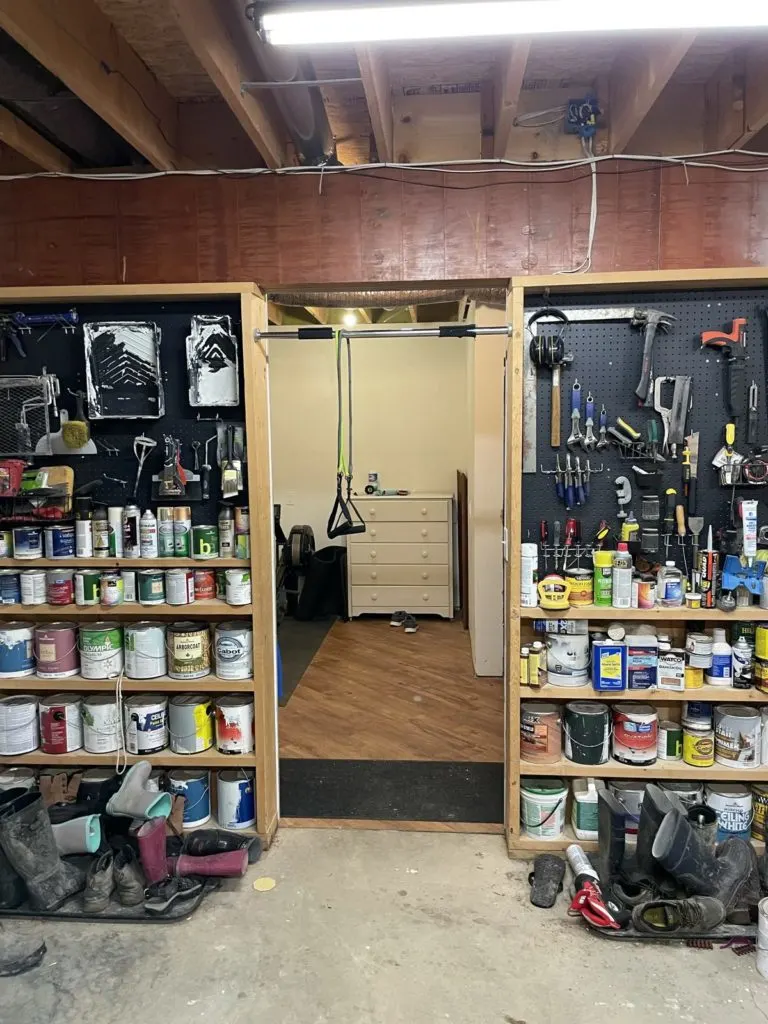
It’s embrassing yes, but that’s exactly what the shoes and boots down here looked like most of the time. The boot trays were a nice idea in that maybe we could fit 4-5 pairs of boots on each. In reality we were so far past 8-10 total pairs.
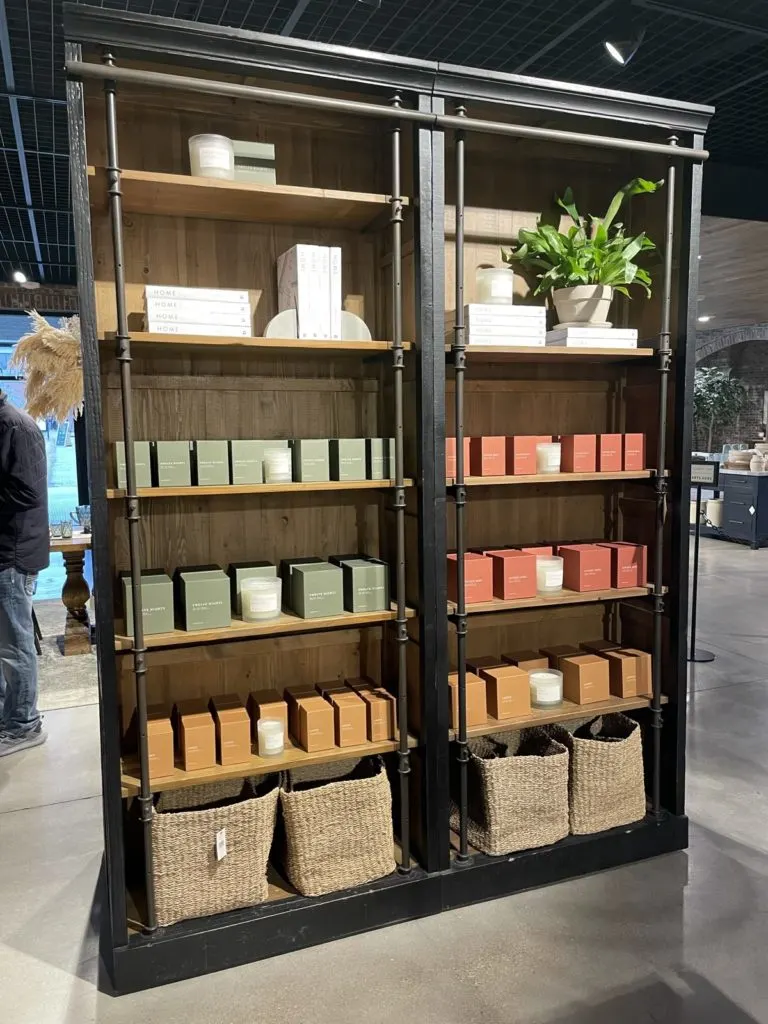
Having just gotten back from a visit to Waco and the beautiful wonderland that is the Magnolia shops at the Silos I had some ideas. Namely I was inspired by the Ellory bookcase piece from Magnolia home.

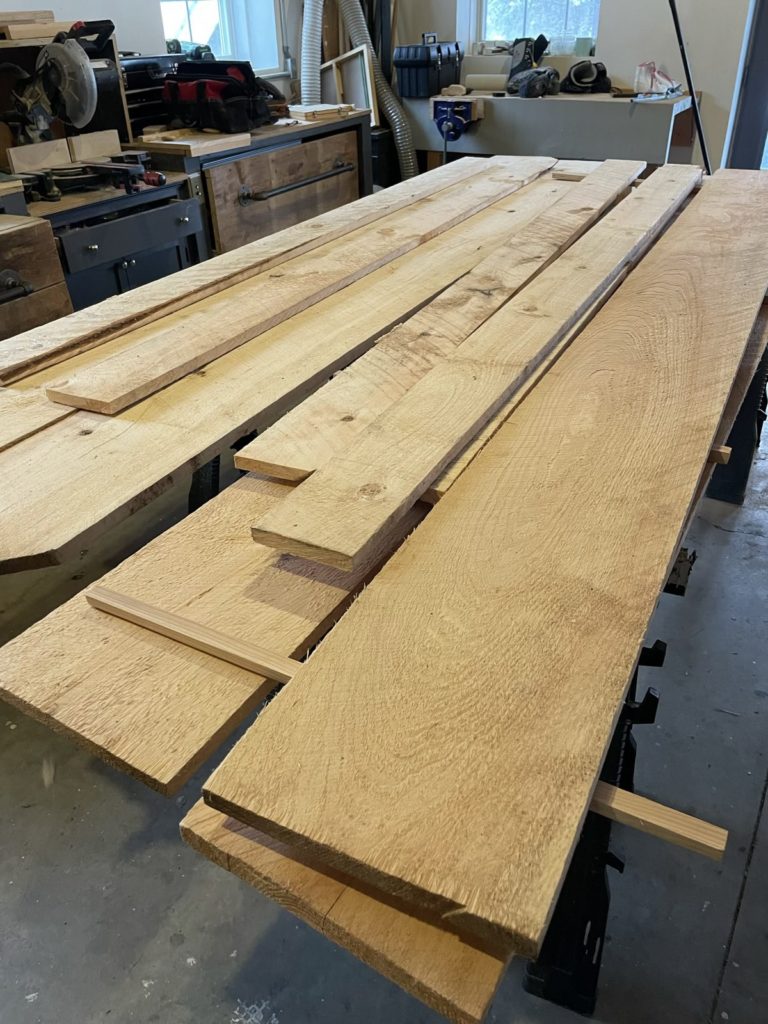
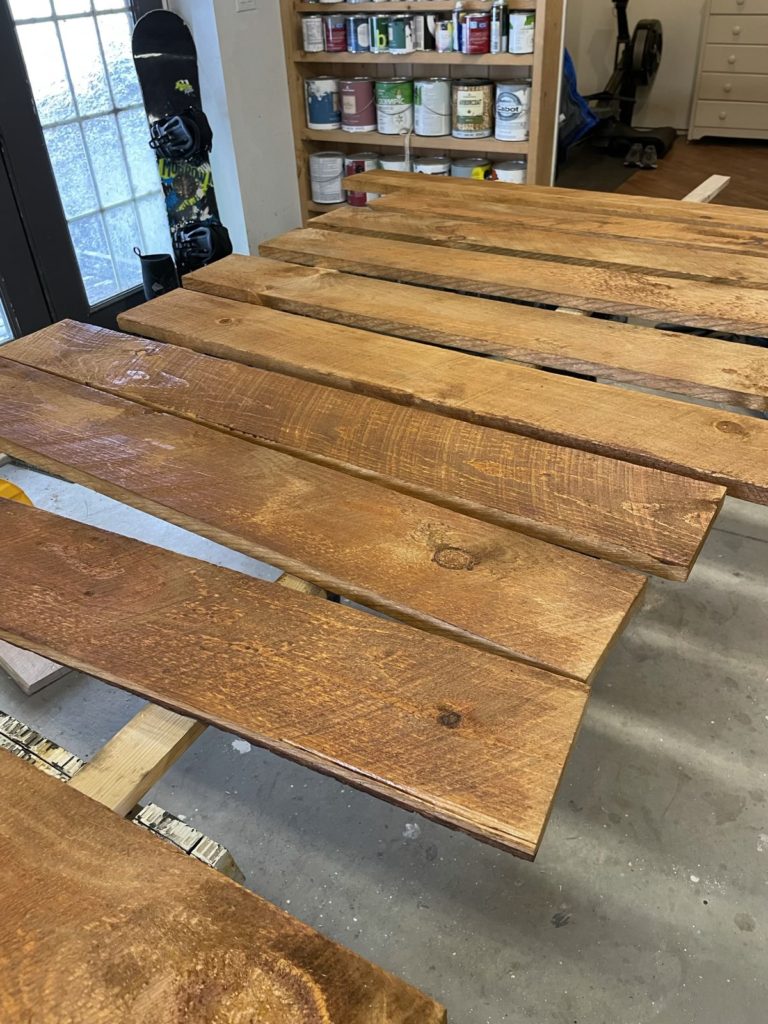
I had no interest in actually using beautiful reclaimed wood for a shoe and boot rack in my basement so I turned again to our local sawmill to get some roughcut pine. Yes the wood is green and going to expand and contract, but it’s a rustic piece of furniture and so far, so good.
Here’s a peak at where the project ends up.

What is DIY Boot Rack Versus a Shoe Shelf?
I will get into the how of it later, but the main difference between a shoe shelf and boot rack is the ability to hang boots upside down to dry.
Our land is wet and swampy at many times through out the year so drying out boots is a regular need. Also we have a couple kids and they are drawn to water and mud like heat seeking missiles, but with less explosions and way more talking.
Making the Carcass for a DIY Boot Rack

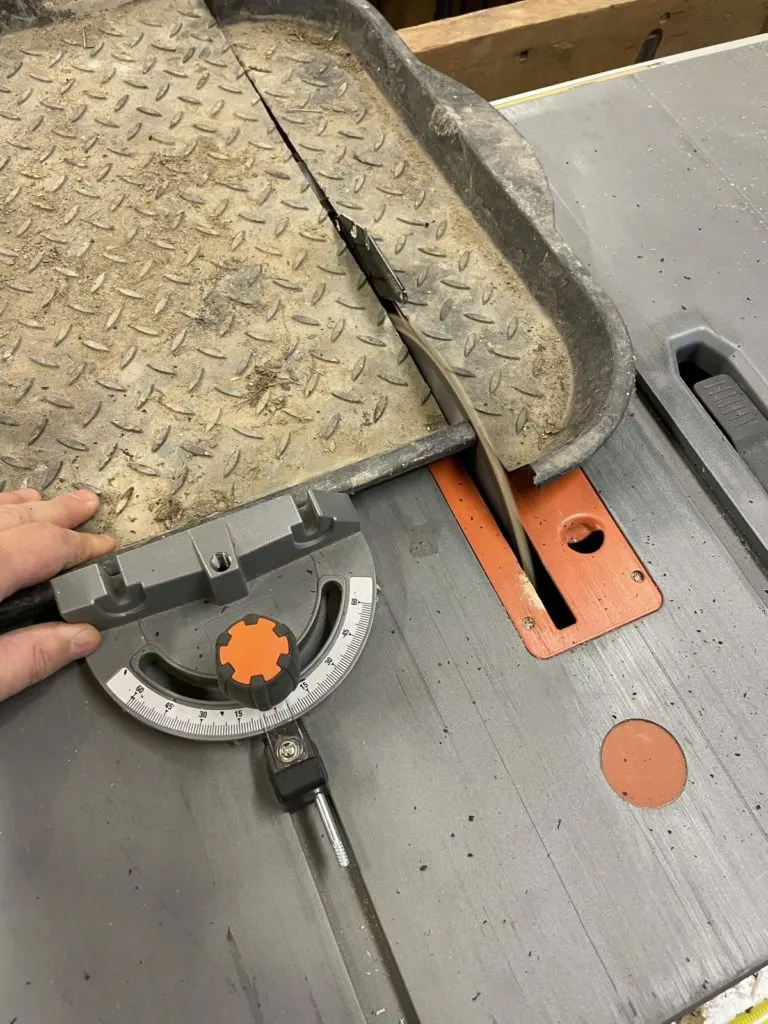
You can see my miter saw station in the background sporting the old saw. Right after this project I upgraded my saw to a new Rigid 10″ sliding miter saw that I love. (I have more than once gone down to my shop and gotten distracted by it, standing there with a goofy grin on my face.)
I used 1 x 12 boards for the shelves and sides and put full 1×6 boards on the back. I was tempted to split those in half to make a lighter 1/2″ thick back but to keep things moving I just used them as is.
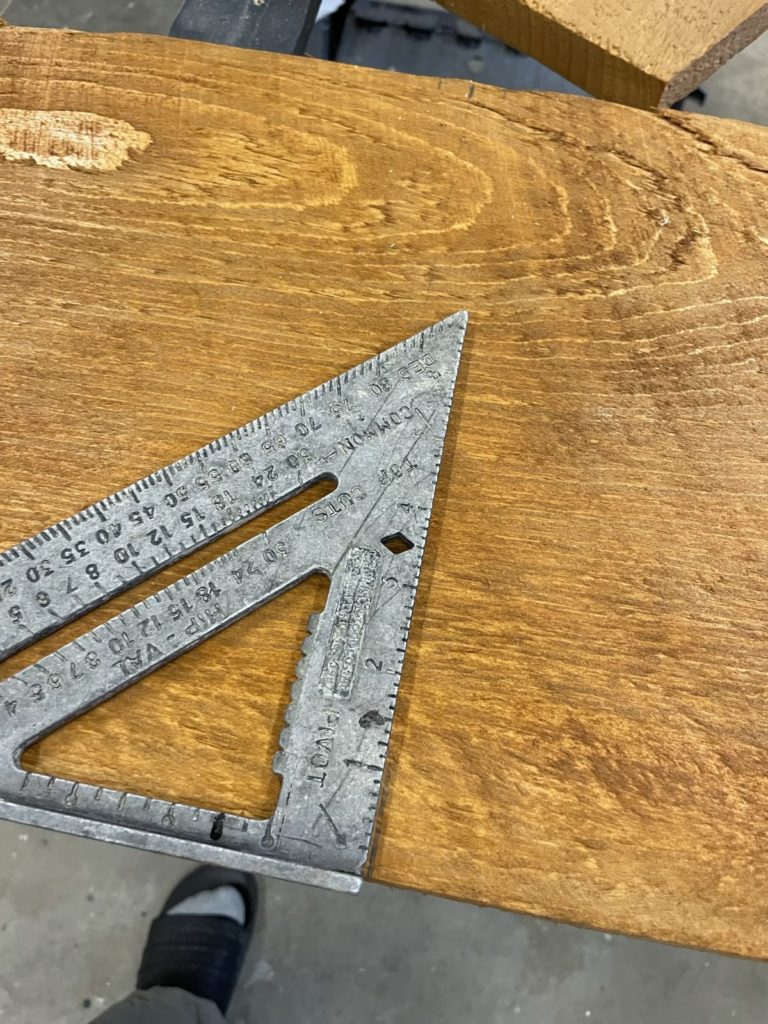
The backing, shelves and sides were cut first.
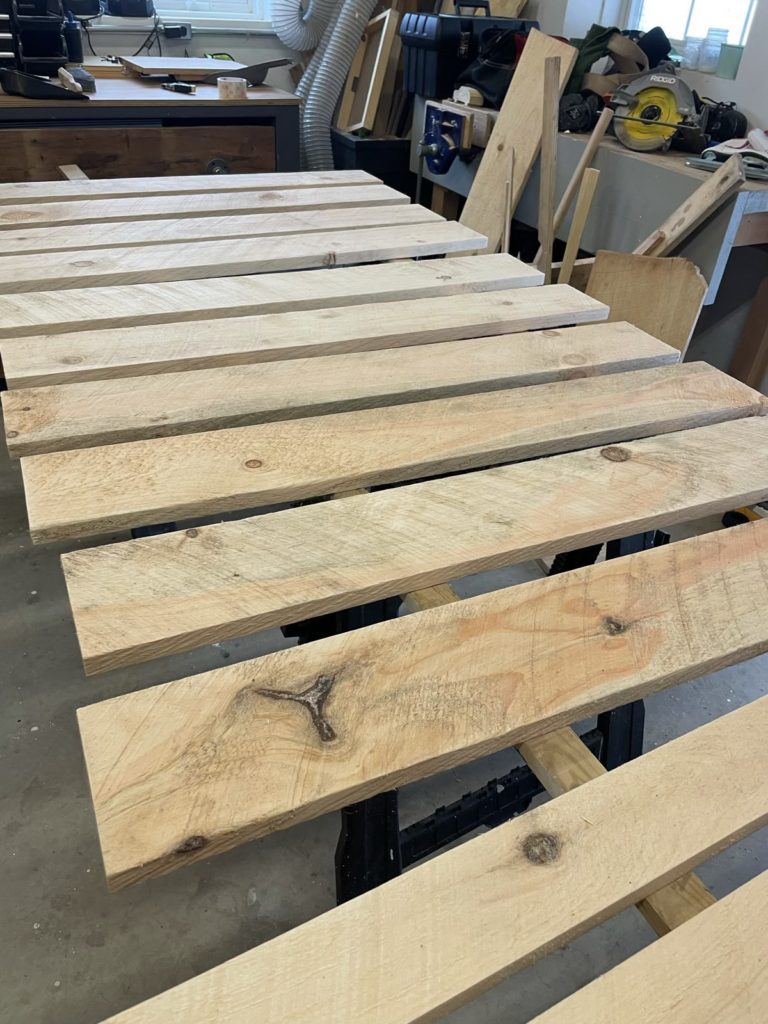


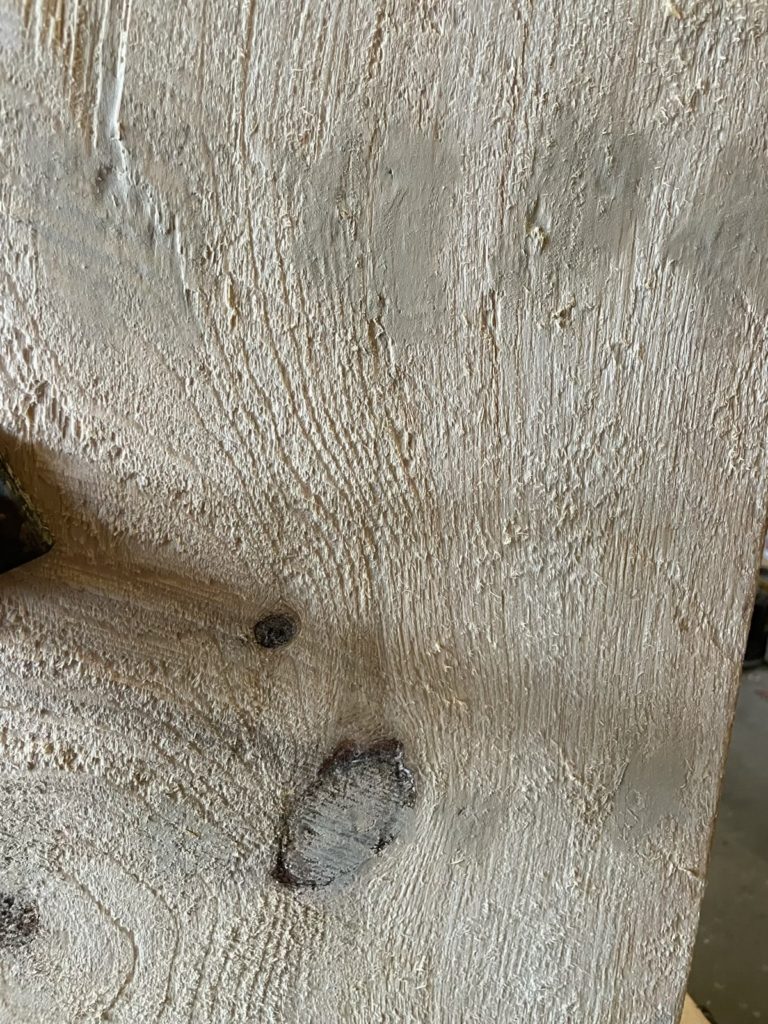
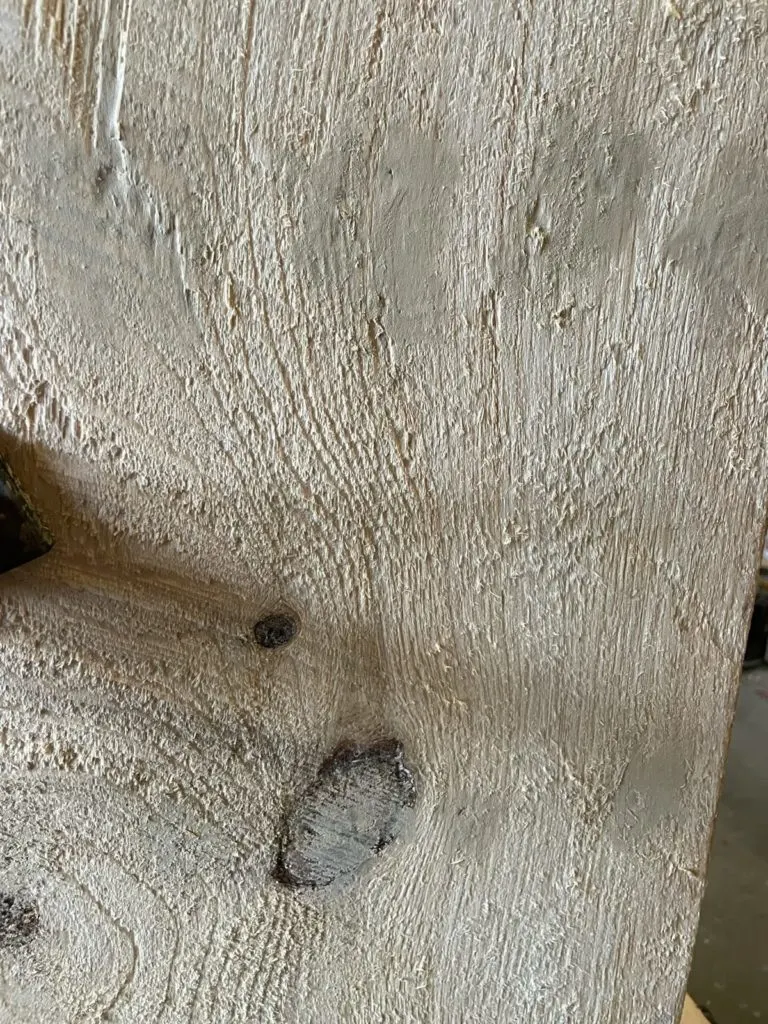
Before I started assembling all of the pieces got a rough sanding so that I could knock off as much of the rough bits as possible. I didn’t want them to catch dust or clothing or even scratch up kids hands. (I like how I wrote kids hands as if I don’t have delicate typing hands. I do. Super delicate typing hands.)

The easiest way to assemble the carcass of the shelf is to through screw (not pocket hole or anything else) the dividers and then the shelves from the outside. The screws for the dividers are hidden under the shelves or by other dividers.
For the screws on the sides I countersunk them and puttied over them. The putty on roughcut is super forgiving even before the dark stain on the outside.
The outside isn’t stained yet because I did a two-tone finish, so only the inside needed to be pre-stained. The outside was easier to stain once it was all assembled.
First the dividers were attached to the shelves from below.


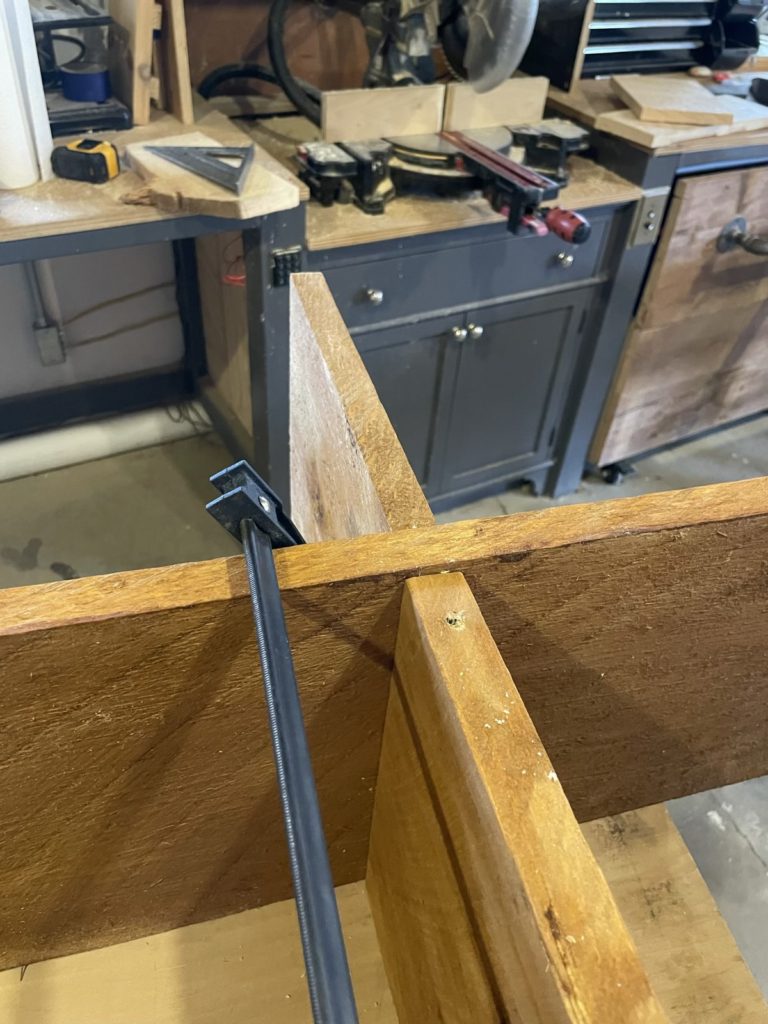

To attach the two shelves and their dividers I used toe screws from the top that are very hard to see in the rough cut, and one toe screw up the back of the divider.

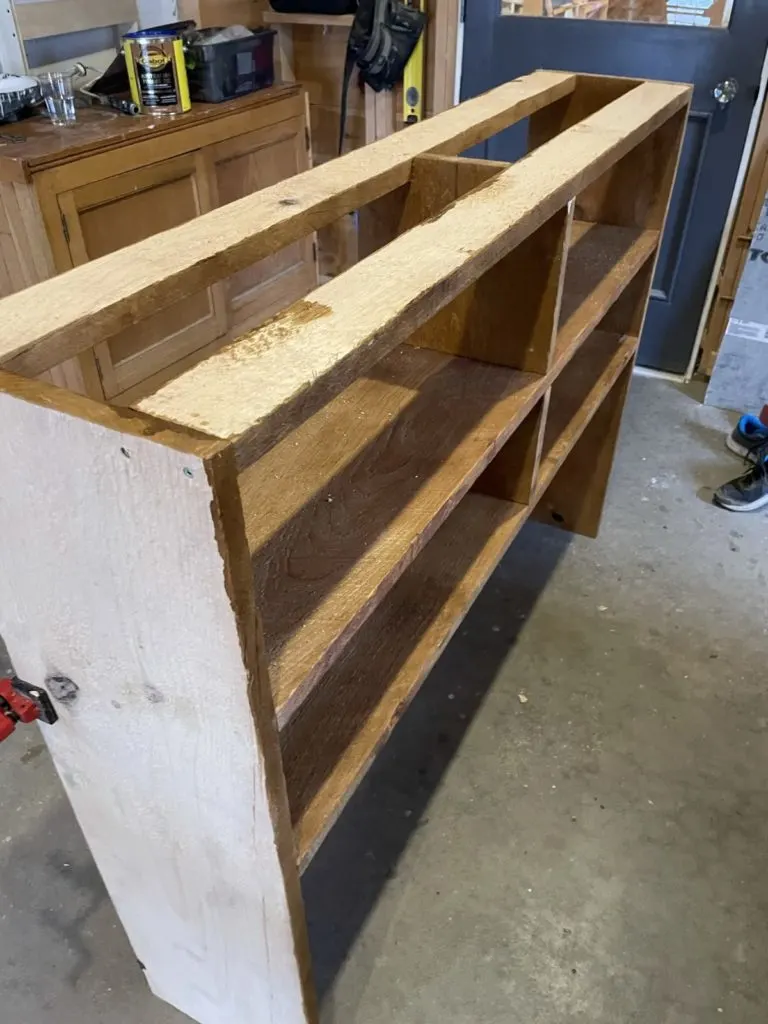
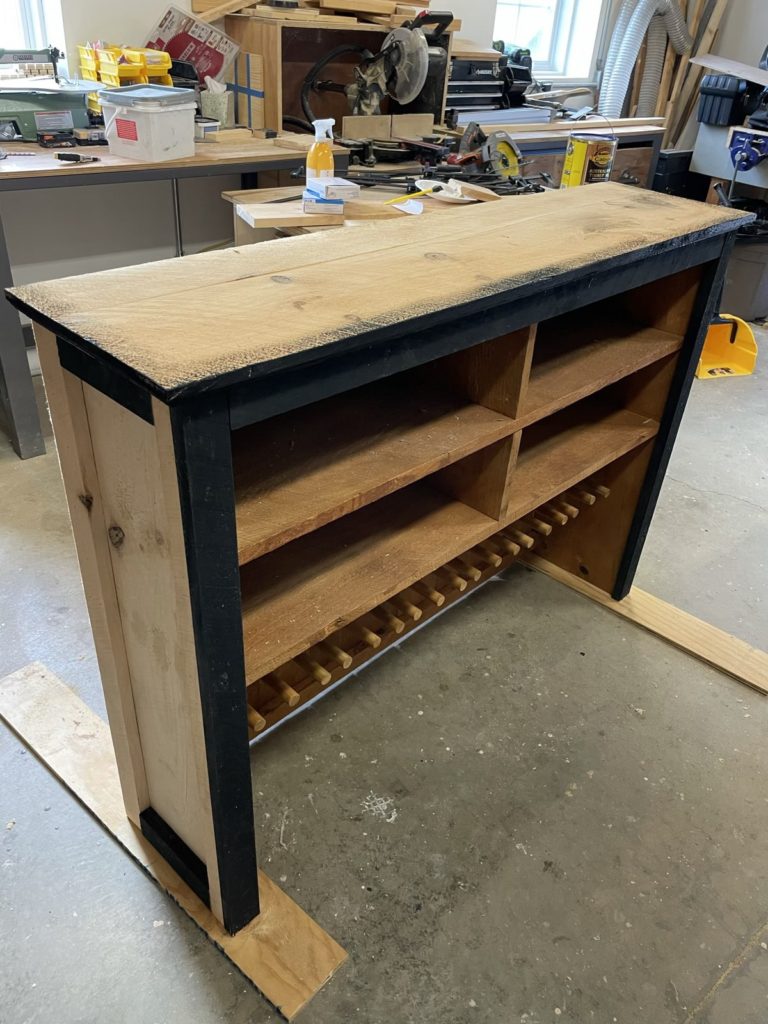
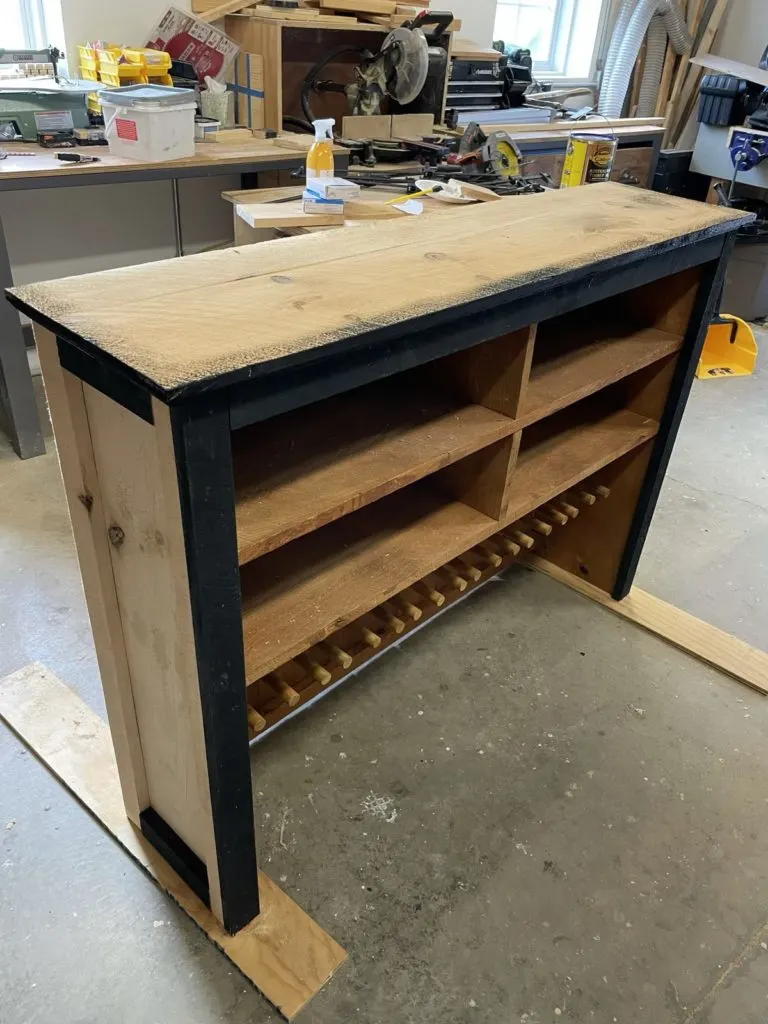
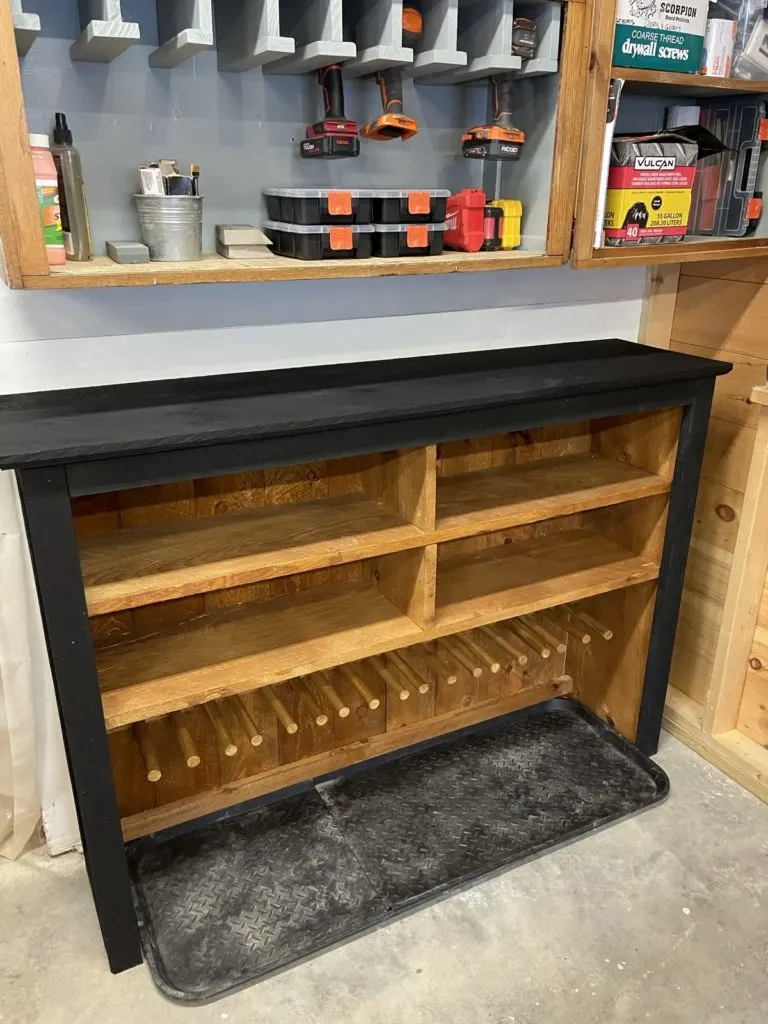
Here’s the assembled, very unimpressive carcass. This is a functioning shoe rack that you could just stain and use as is for the most part. But because of who I am, I need to make it a little more functional and a lot prettier.
Making the DIY Boot Rack Pretty

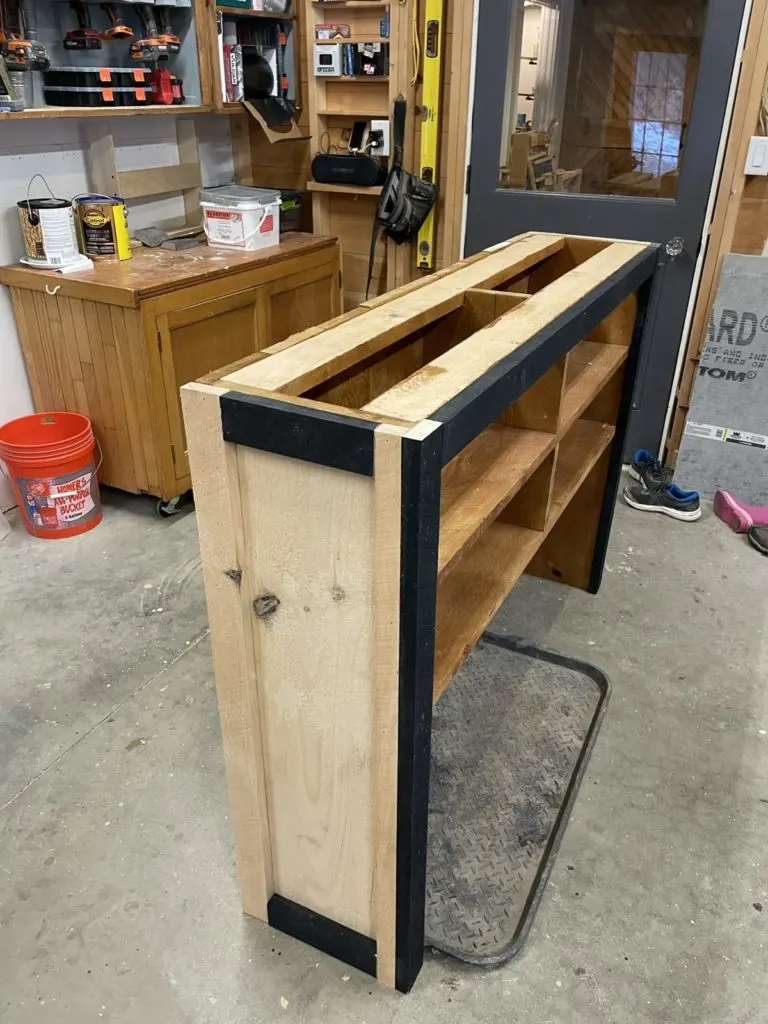
With the trim on you can already see the boots and shoes being drawn to the rack. They’re very impressed.
The face frame and side trim is 2 1/2″ wide. I cut a 1 1/2″ piece of trim to got against the back of the face trim to give it the appearance of a solid piece, and a consistent width all the way around.
Making the Top for the DIY Boot Rack
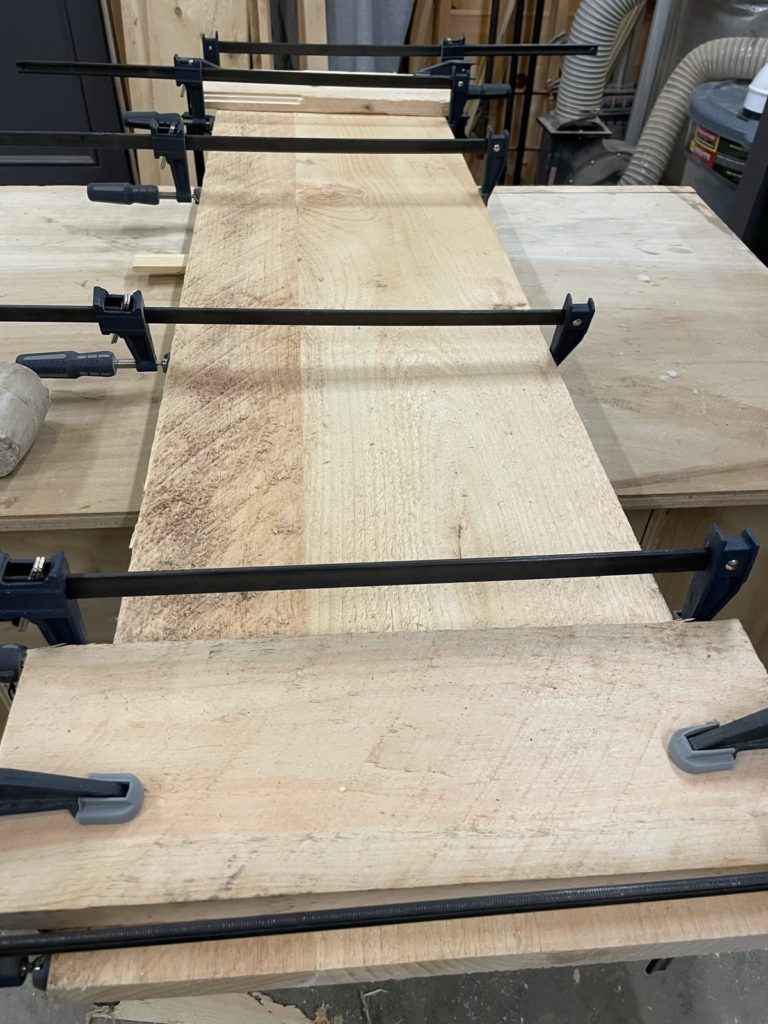
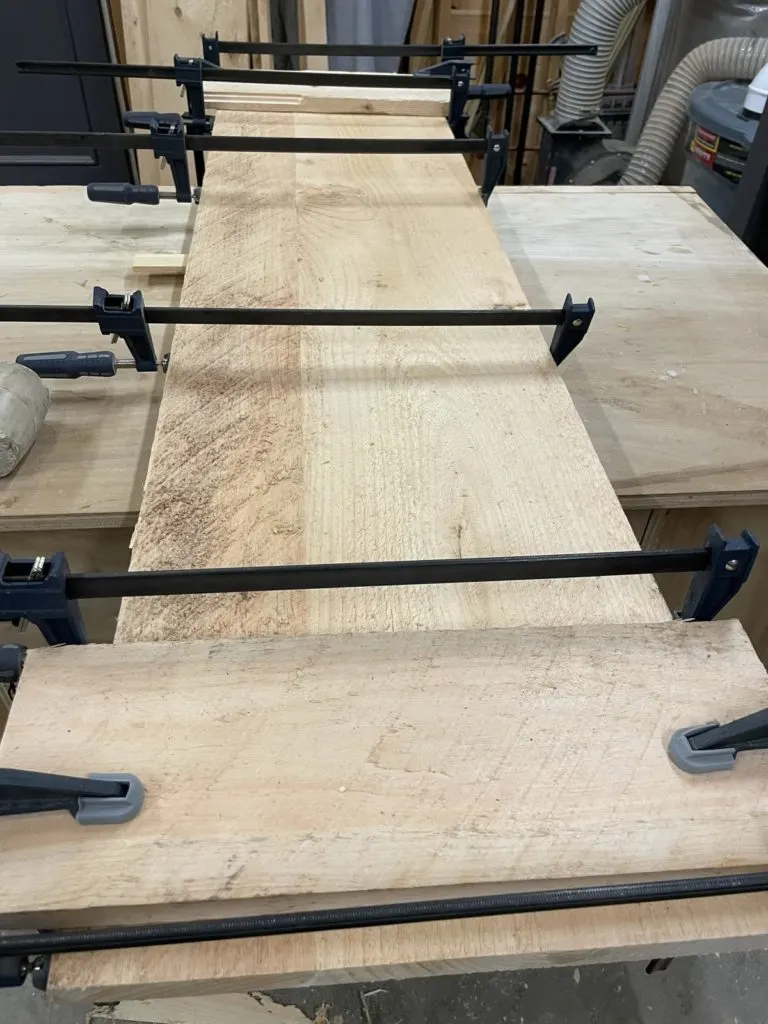
I then did a quick glue-up on a piece for the top to get me a decent overhang over the shelves and face trim. The shelves were 12″ (rough cut is actual dimsions so a 1 x 12 is actually 1″ x 12″) and the face trim added 1″. I ripped down a clean side on one both pieces to get a better joint. I don’t have a jointer so it’s not as clean as it could be, but good enough.
I didn’t use biscuits or dowels for this top, but I would have for a more finished piece.
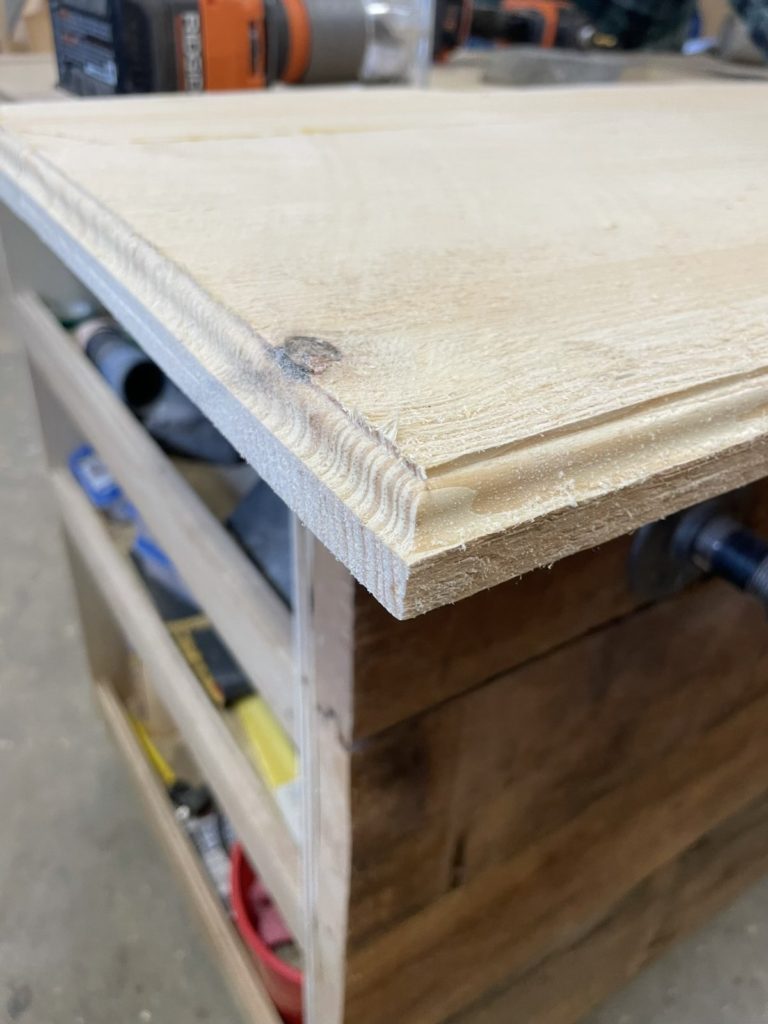
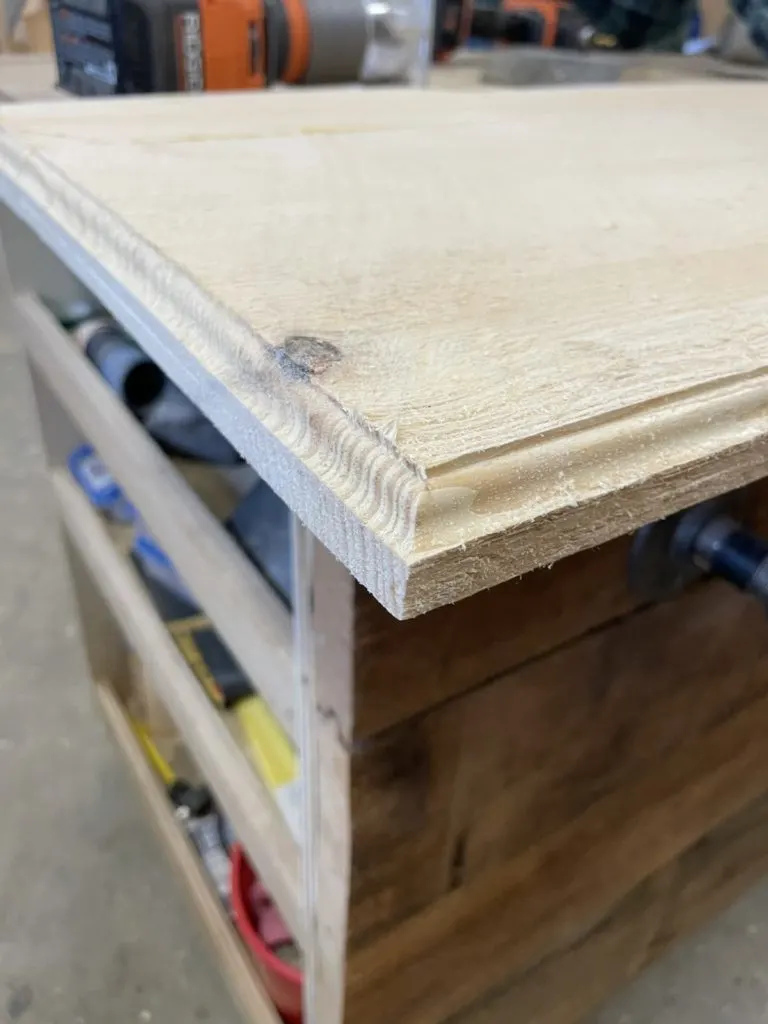
Once the top was dried I ended up routing a roman ogee detail around the underside. Even though the piece is super rough I liked the idea of it having a fancier trim detail. It’s the same reason I added face trim and boxed in the sides.
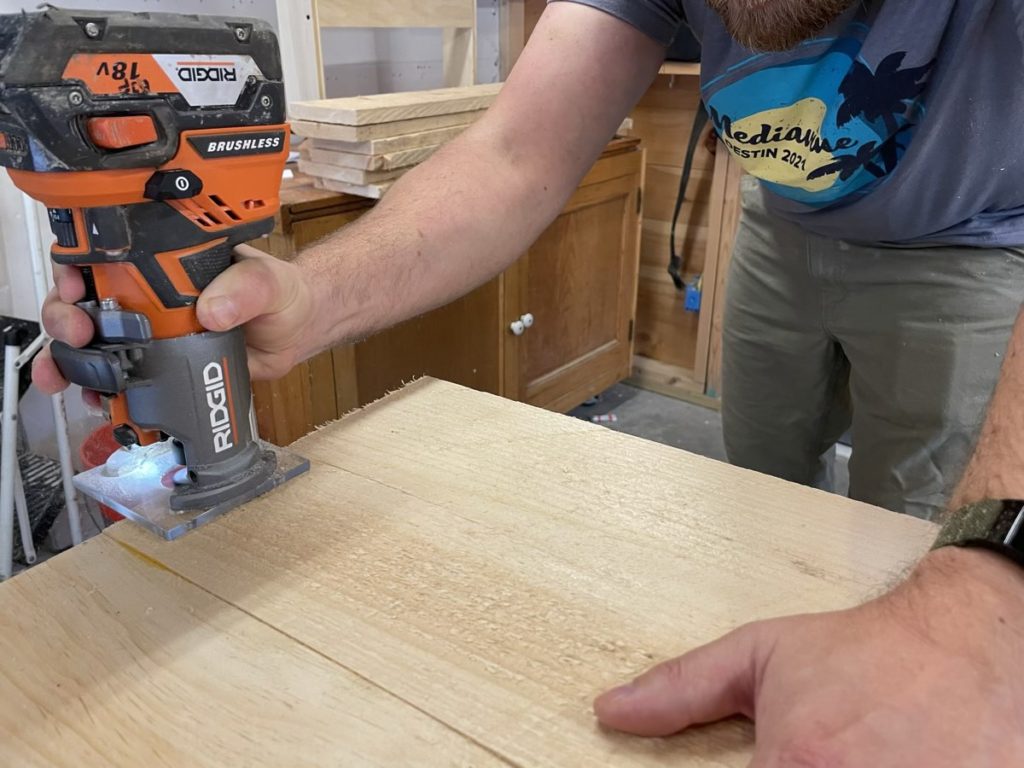

(super subtle Mediavine shout out here)
The rough edge with the very refined finish right below it is the type of juxtaposition my high school art teacher would have appreciated. Mr. Fleury was the best, and I still think about some of his advice to this day when creating things.
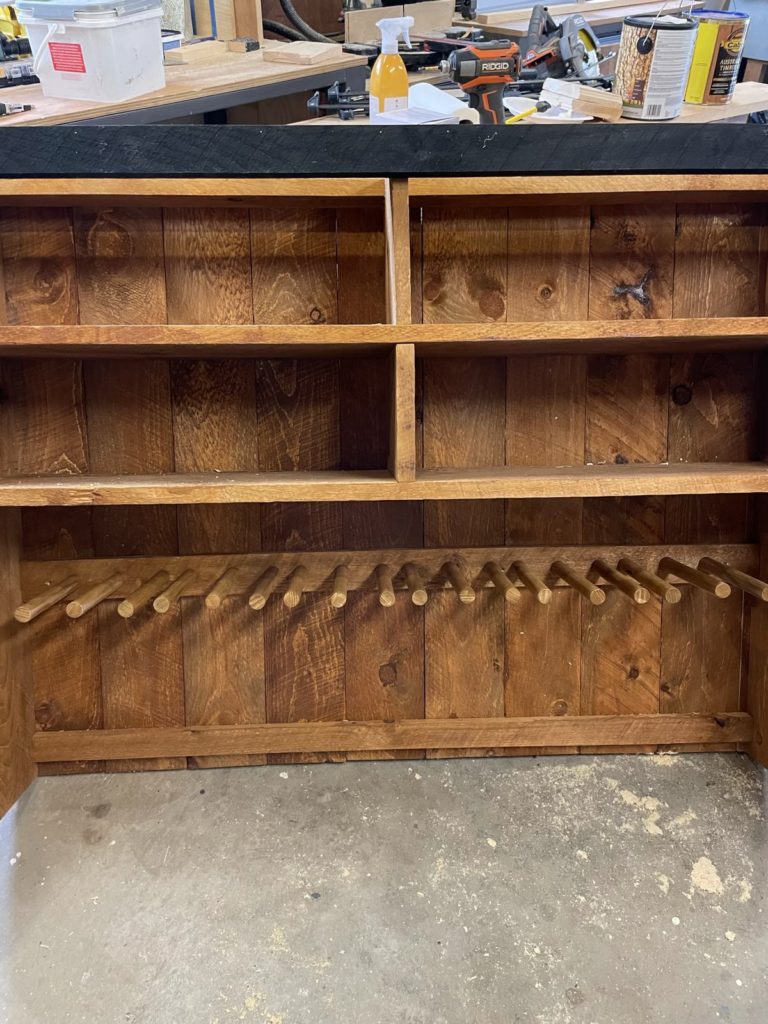
Making it a DIY Boot Rack, Not Just Another Shoe Rack
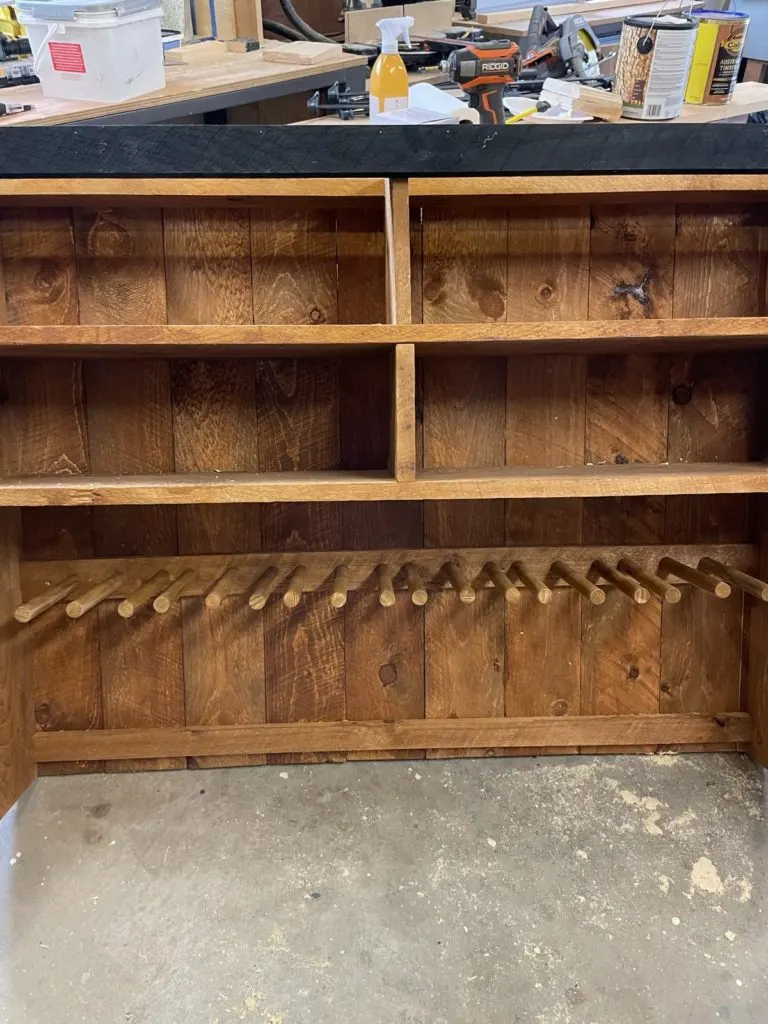
So far I’ve just made a very big, heavy shoe rack. What makes this a boot rack? Thankfully it’s not special sauce. Pouring special sauce over this thing would just make it super gross I think. Nope. It’s a row of pegs that are used to hang boots to dry.
There are freestanding boot drying racks, but I wanted to integrate it all into one rack for shoes, wet boots and dry boots all in one spot.

On a test piece, I tried to use my drill press with a 1″ spade bit to make a hole for the pegs. TLDR: It was a disaster. The Harbor Freight drill press which has never worked well, fully broke. The spade bit was way too aggressive for nuanced work. It was not good. Pretty sure I decided to take a break for lunch and eat some Christmas treats at that point.
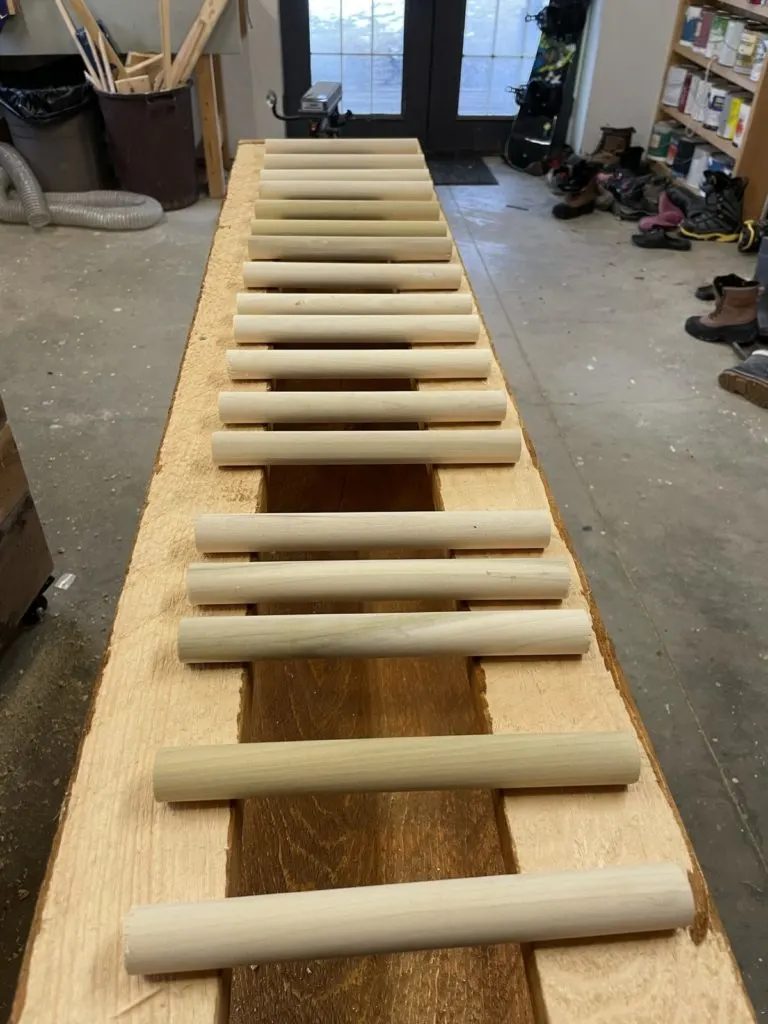
After I calmed down I decided to do test the layout I had planned. The layout helped with making sure boots actually fit in the spaces and how wide the gaps should be. I had bought some 1″ dowel from Home Depot and in the course of the test layout realized I of course was 2 9″ dowel pieces short. So I went backout and bought some more. As you do. I also grabbed a 1″ forstener bit to drill the holes.

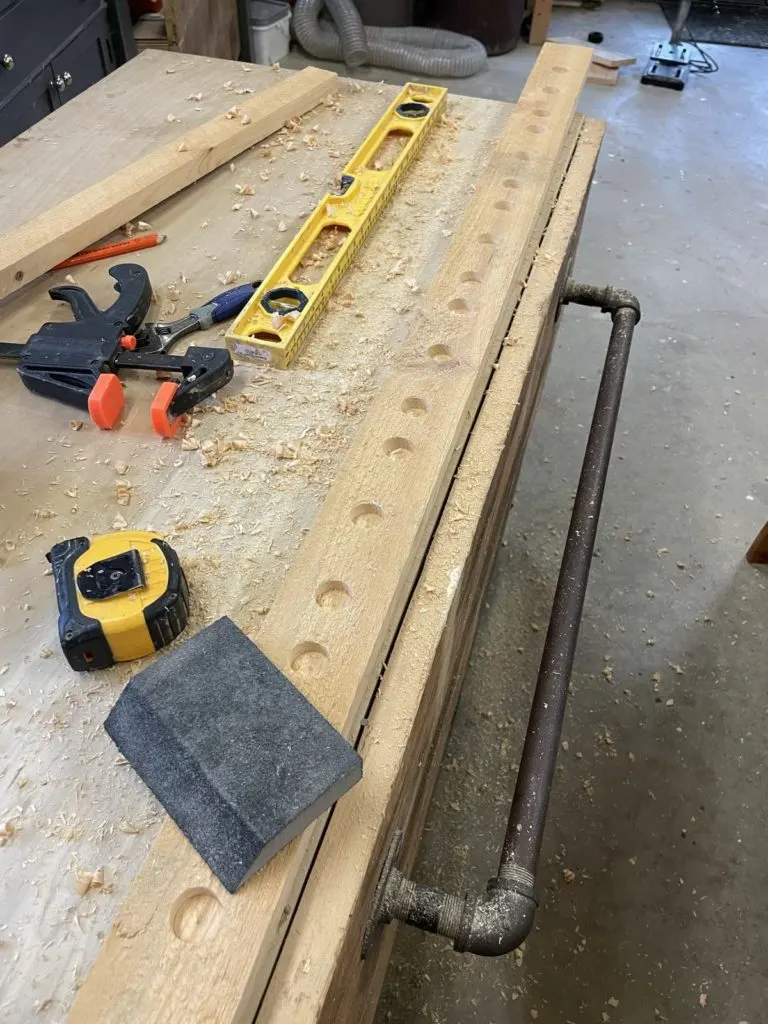
The “pattern” I used was 3″ on center for boot holes and 2″ between pairs. So it was a repeat of 3-3-2-3-3-2. It works well and fits both my adult sized muck boots and my younger kids rain boots equally well. The adult boots sit a little higher, so I made sure to leave 5″ between the boot rail and the bottom of the first shelf.
Paint Stain it black
Yes I am pretty sure I used that exact heading when I talked about going with this Benjamin Moore Midnight Dream stain for the sheep shed. The deep blue almost black color and matte finish is exactly what I wanted and contrasts really nicely against the Timber Oil.
In all honesty, the Honey Teak soaked up too much in the rough cut for my taste, but it’s not a bad brown and actually matches some of the other cabinets in the shop.

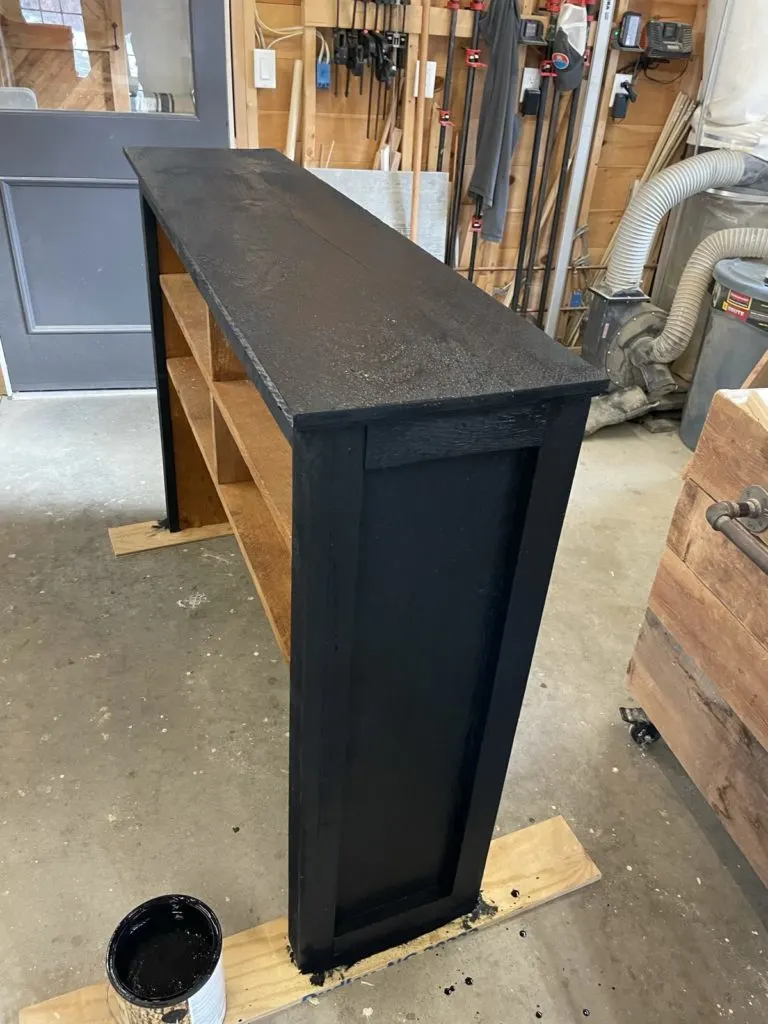
I propped the shelf up on some scrap boards to ‘save my floor’ … as you can see from my messy stain job that barely helped. I’m an unmitigated paint/stain slob.
Add boot mats
The boot mats were very nice for containing snow melt and mud and whatever else my kids tracked in that I really didn’t want to ask about. Unfortunately because of their length and ‘handles’ they didn’t fit so great in the new rack. Well not until I trimmed them down.

I cut the handles off of both mats on opposite sides and then trimmed off the rounded ends. Rather than try to join them again in the middle, I just cut off enough to let them overlap. This provides a nice even surface all the way under the rack.
And yes, I also scrubbed them because they were filthy. Again, no idea what my kids are tracking in, don’t want to know.
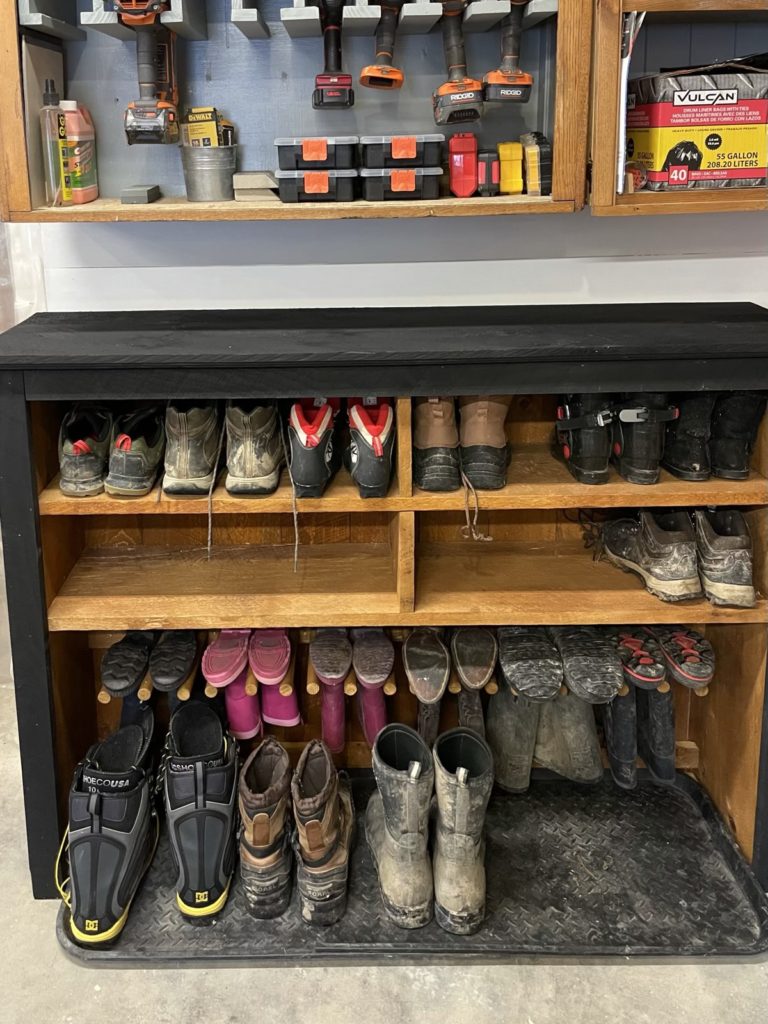
Finished DIY Boot Rack
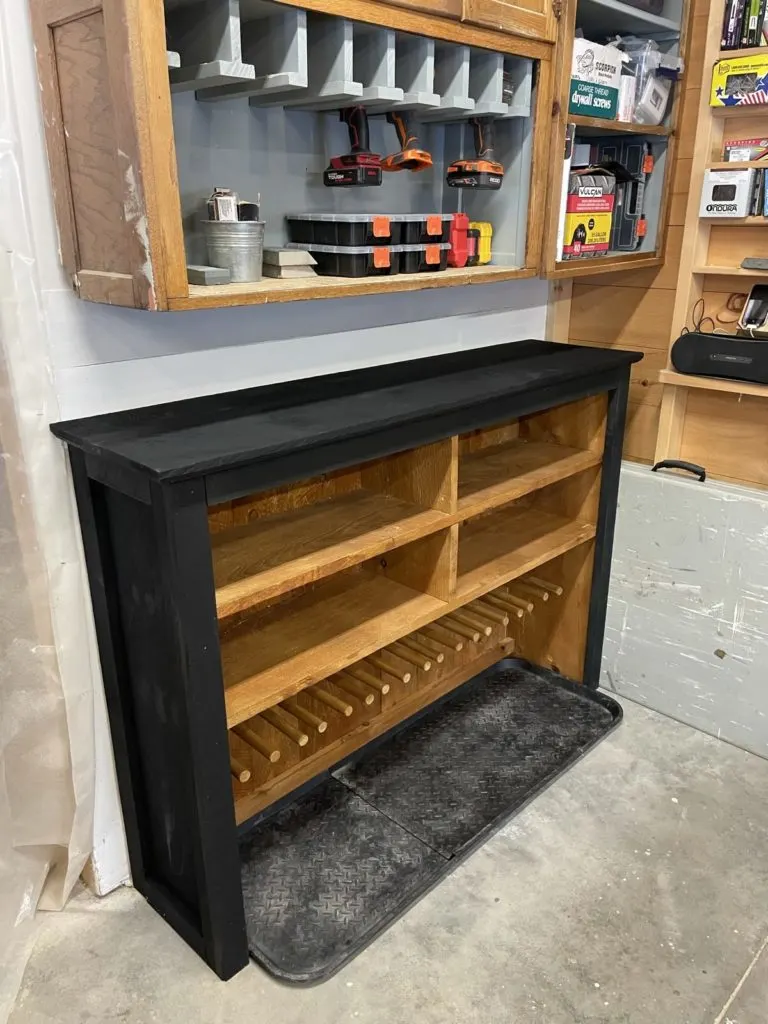
In my shop I have an old kitchen cabinet from my parents house. These are oak cabinets built by a family friend nearly fifty years ago when my parents first built their house. I repurposed some in my pantry (which I should write about) and then I put one on wheels in my shop.
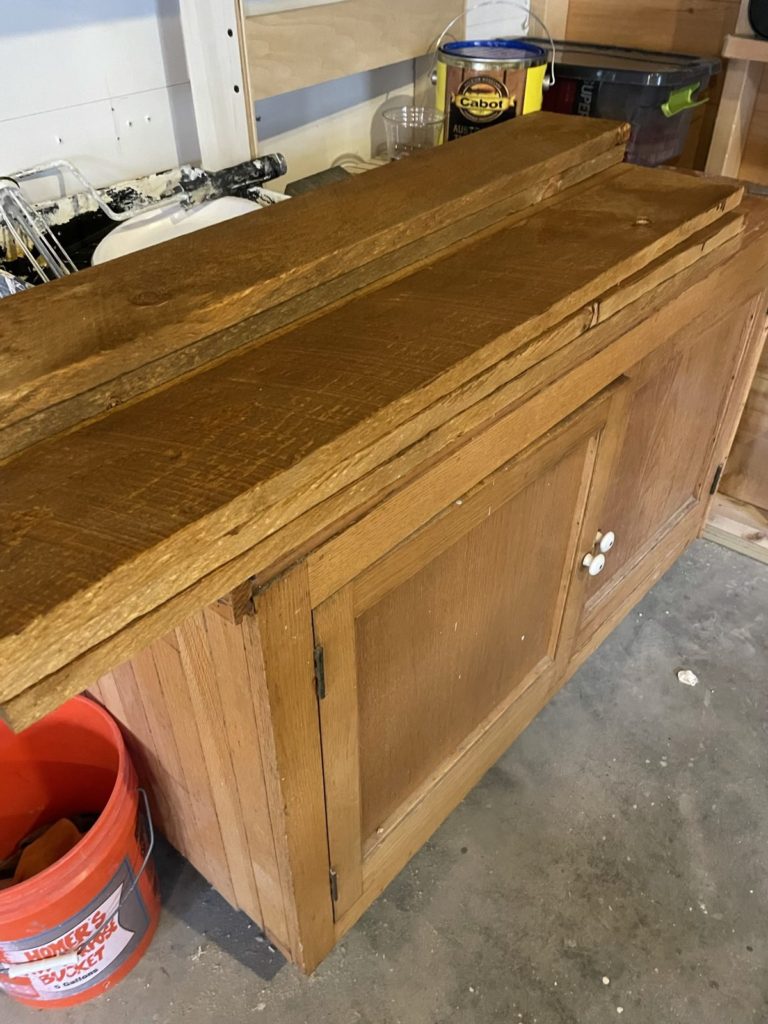

Completely by accident the stain color of the interior matches the old cabinet nearly exactly. I plan to refinish the cabinet itself (the top is super wavy and other reasons) so it’s nice to have this connection still. The shoe rack was put where this cabinet used to live.
Okay, now that I’ve gotten those rough before pictures out of the way, let’s take a look at where we ended up.


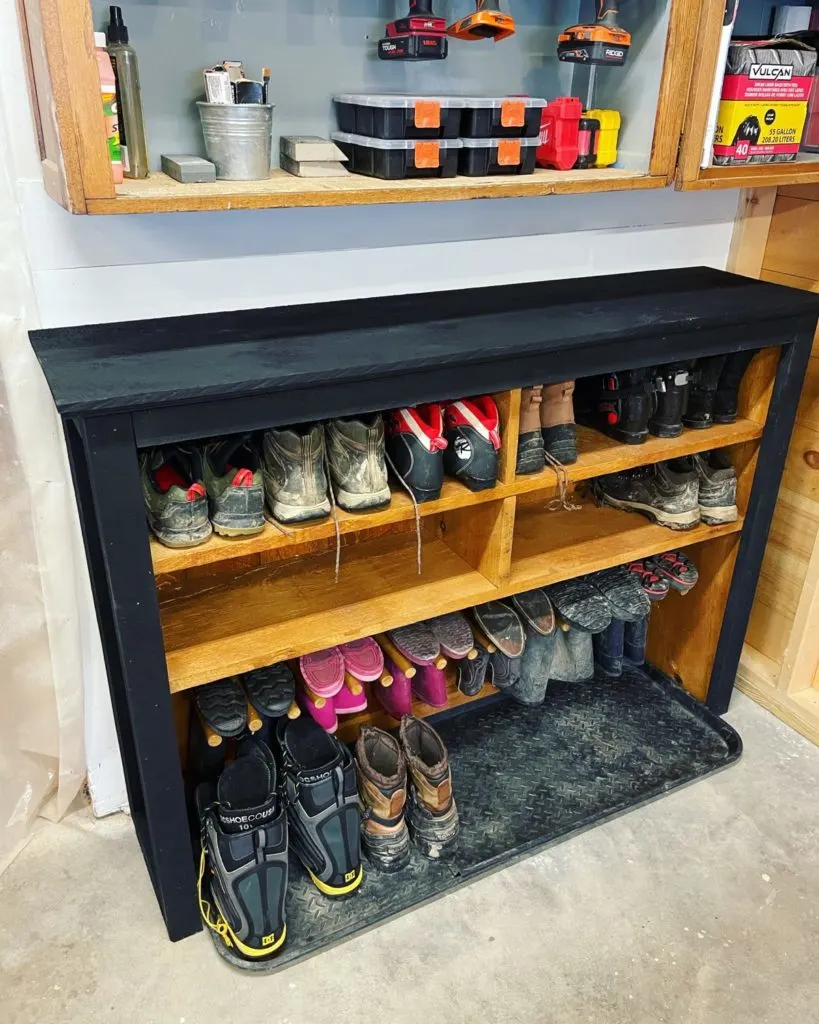
The rack fits at least 12 boots on the bottom alone and then another 12 or so pairs of shoes and smaller boots (like hiking boots or kids winter boots). I’m very, very happy to have a place to put everything.