I didn’t originally plan to make a DIY vintage light for my mudrooom / office / workout room / basement area that will likely do more in the future. Working on the room, I knew I wanted to replace the two bare bulb porcelain socket fixtures. Originally I bought two lights from Amazon and was going to use a third pendant light that I had.

The pendant light’s canopy didn’t cover a very standard electrical box and the two farmhouse lights from Amazon cast so much shadow on the ceiling it felt like a cave. It was somehow way worse that the two barebulbs I previously had in the space. The photo above doesn’t really show it, but the ceiling was incredibly dark and it made the space feel much smaller.
Already feeling burned by the lights I bought online I didn’t want to go through buying another set of lights, especially as I now needed three of them. My solution (obviously based on the title) was to build some myself. I settled on a DIY vintage light based on a few that I had seen over the years and started sourcing materials.

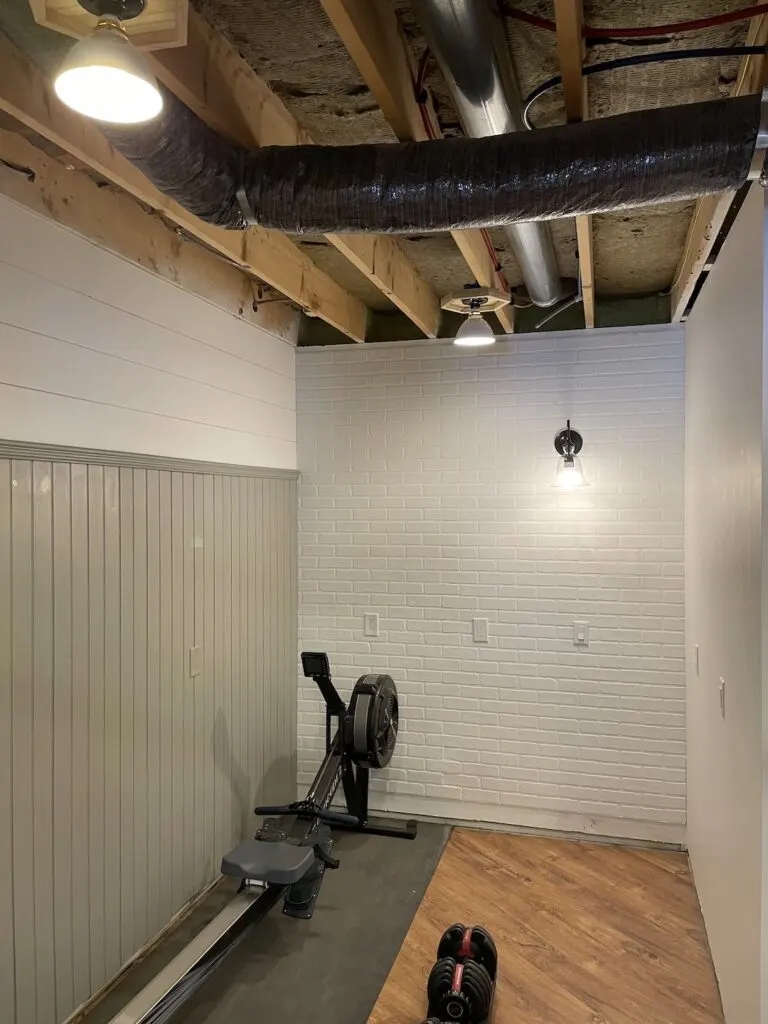
It’s hard to show just how much more light hits the ceiling but it made a huge difference to have the smaller shades and shorter lights. They aren’t overpowered by the sconce I added when adding the faux brick wall either.
Materials for DIY Vintage Light
- Porcelain sockets ($2 ea)
- Socket extenders ($3 ea)
- Porcelain shade ($19.5 ea)
- Shade fitter ($6.75)
- Assorted spray paint
For around $30 a light, I’m very happy with where I ended up. I wasn’t really sure if what I wanted to do was possible until I found the shades and fitters at Snake Head Vintage. From there it was easy to find the socket extenders that I needed to add to the porcelain sockets I already had.
Paint it Black
While I did play with the idea of going for the very retro green or yellow shades, I decided to stick with what my color-blind heart loves best: black and white and metal. My kids often joke that everything I design ends up black, white, gray, wood and metal. They’re not wrong per say.
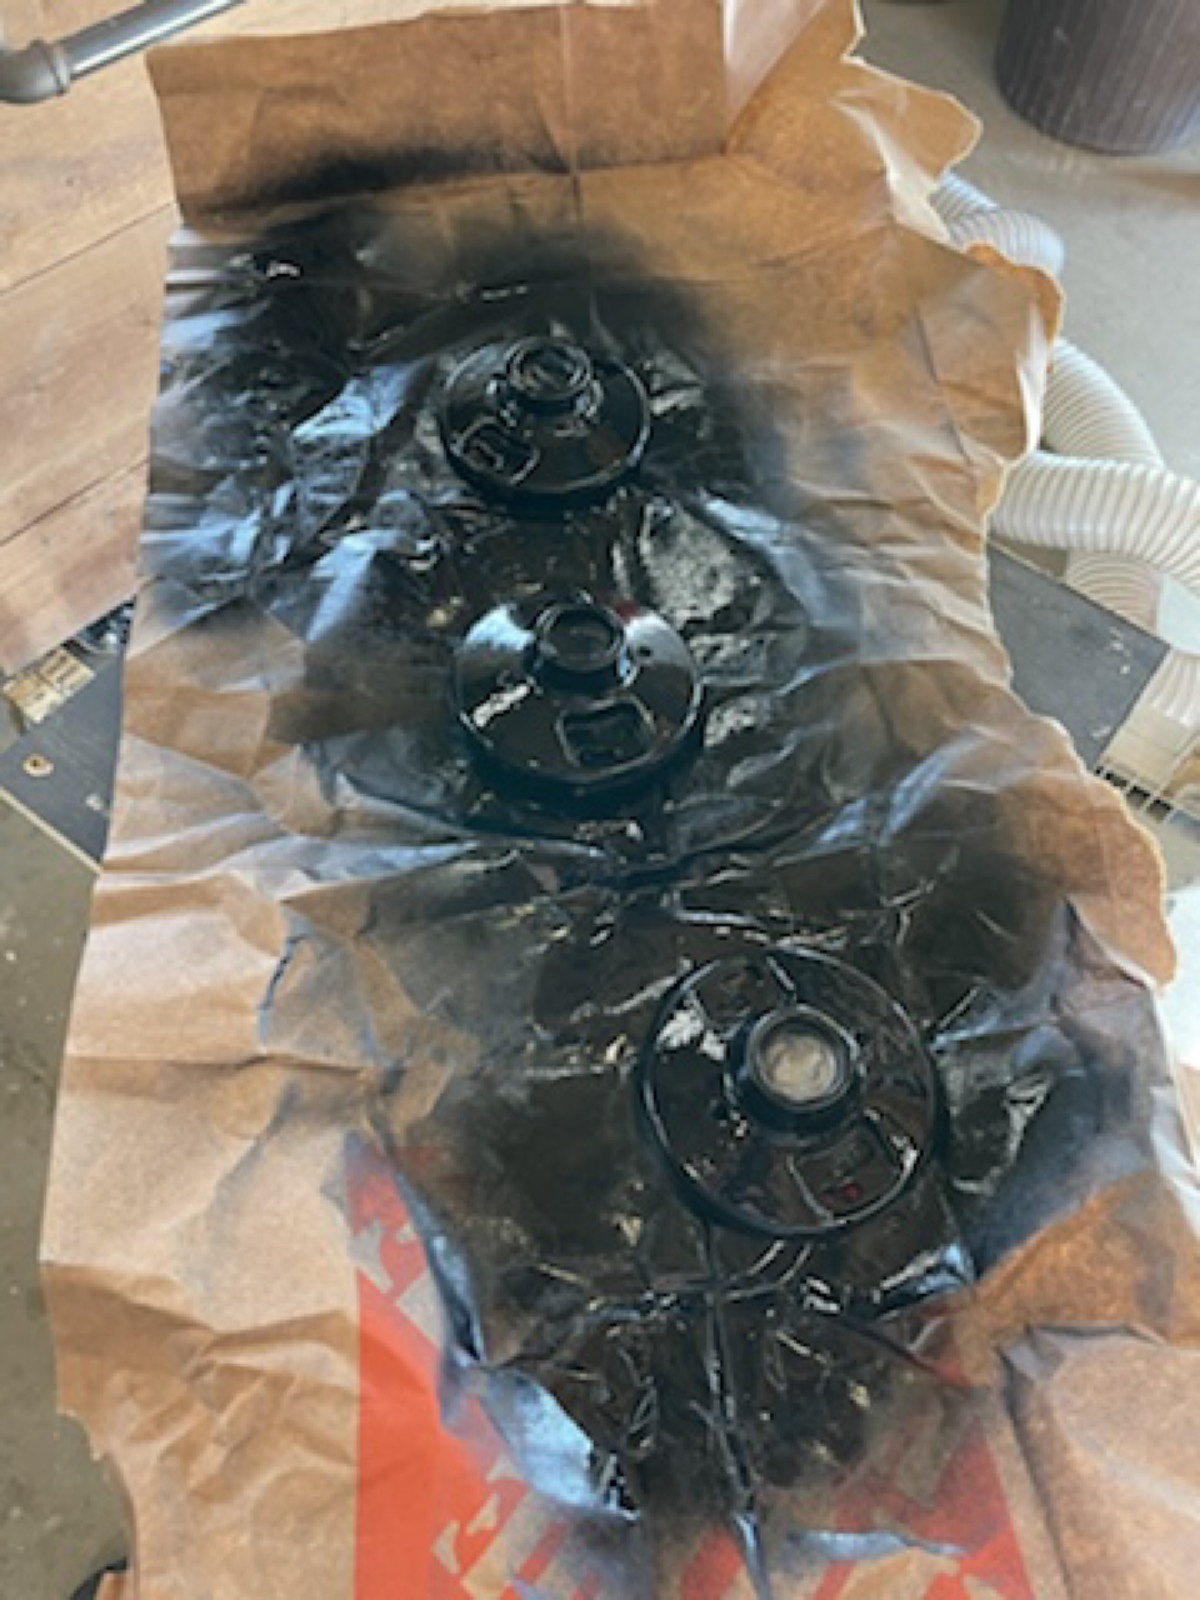
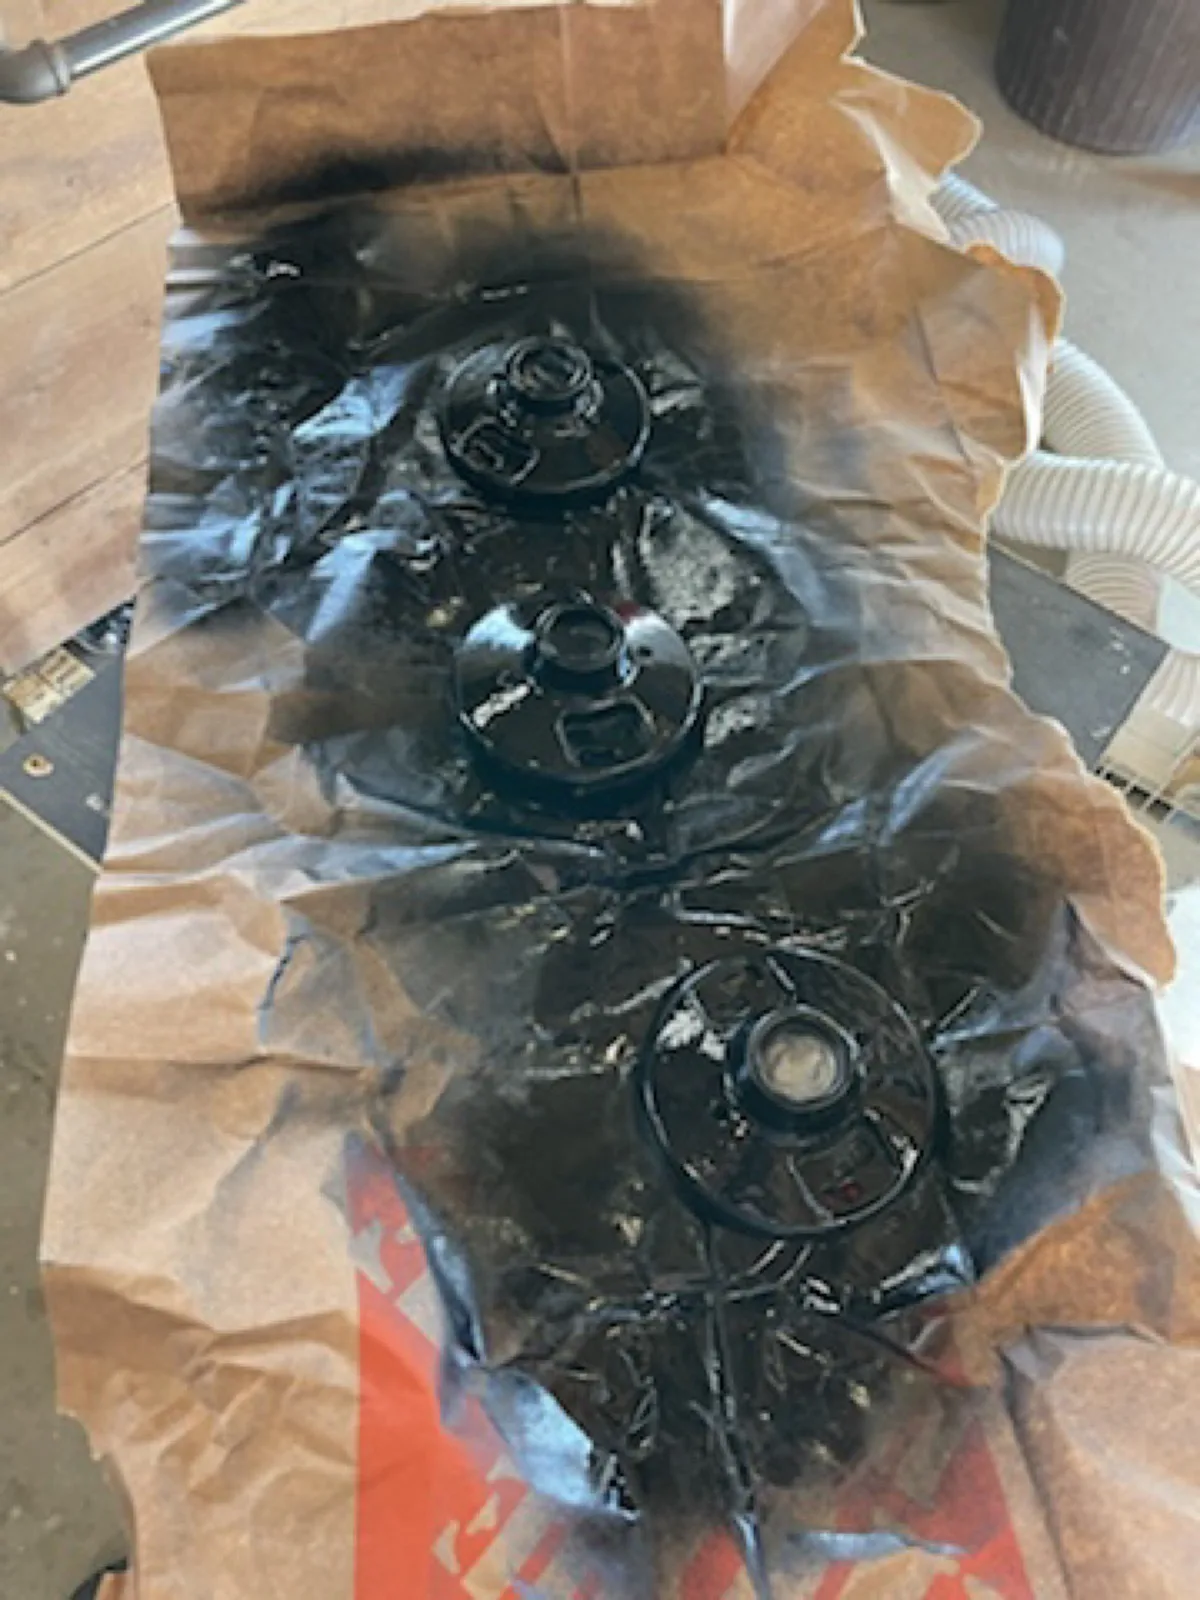
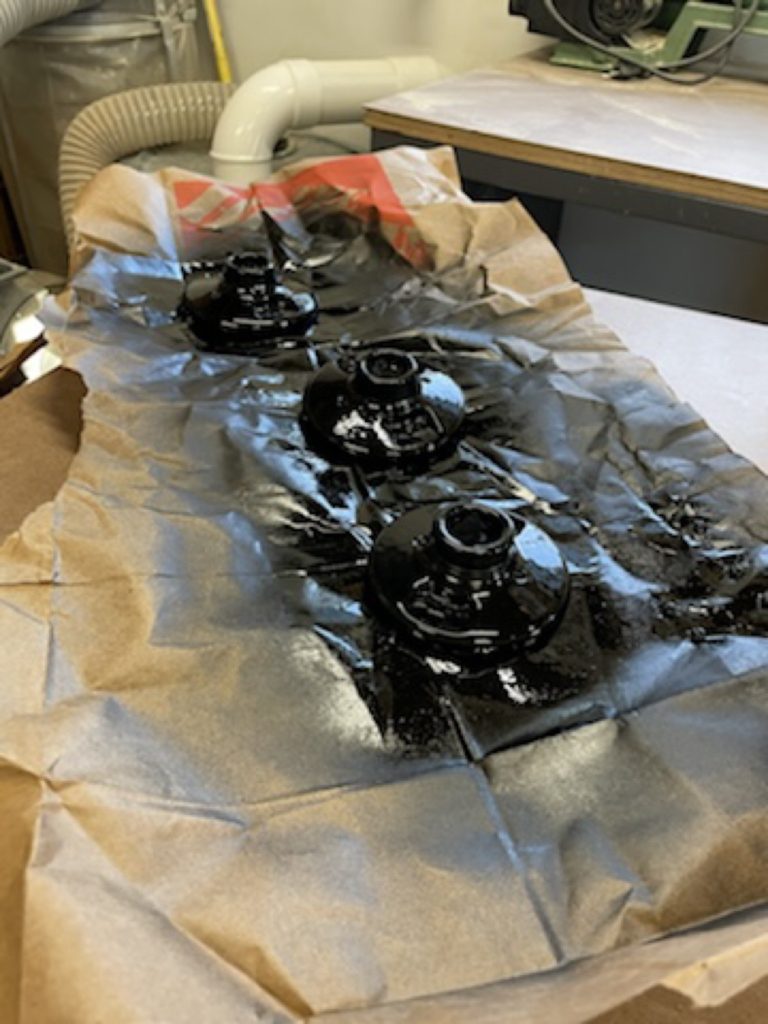
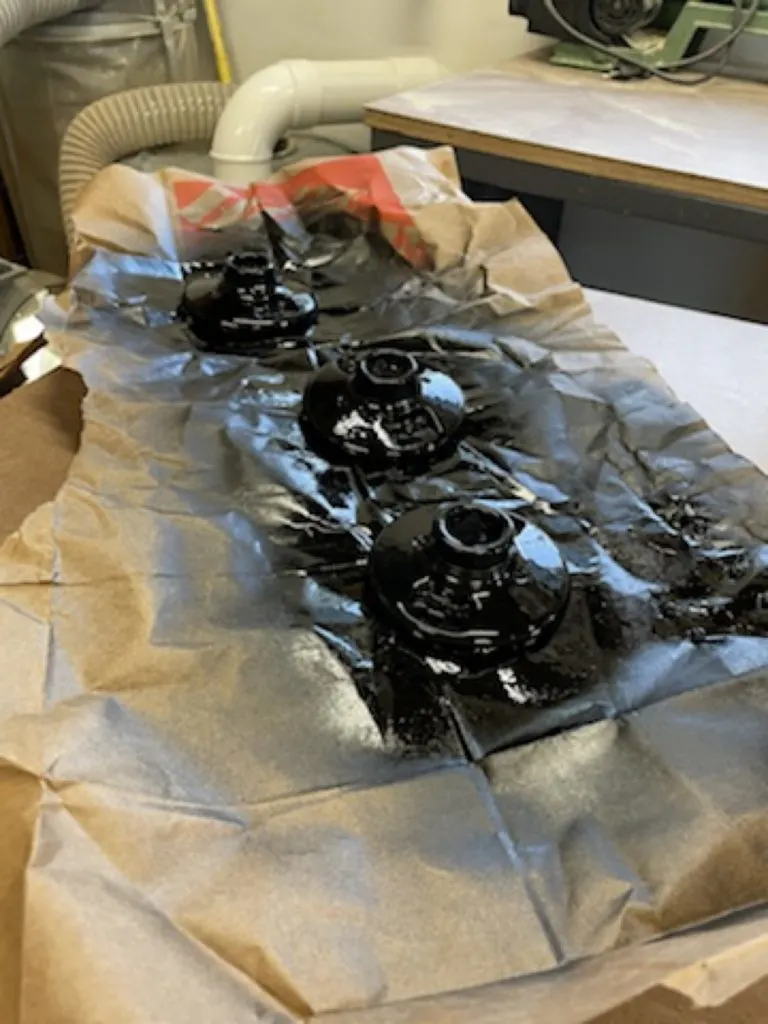
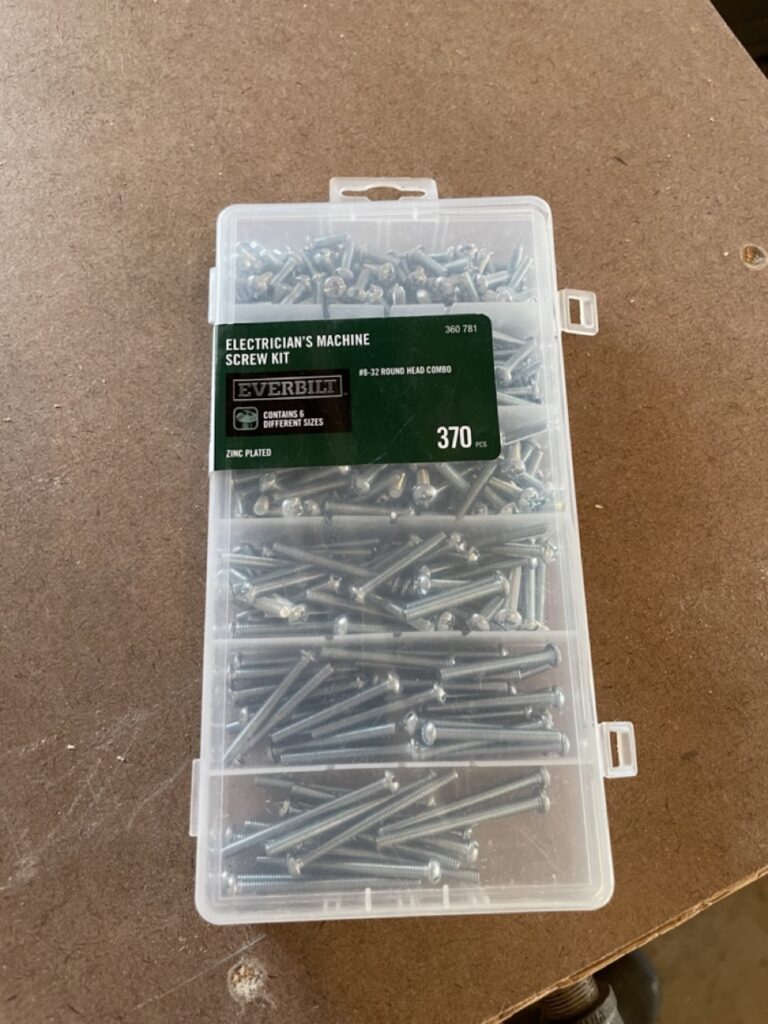
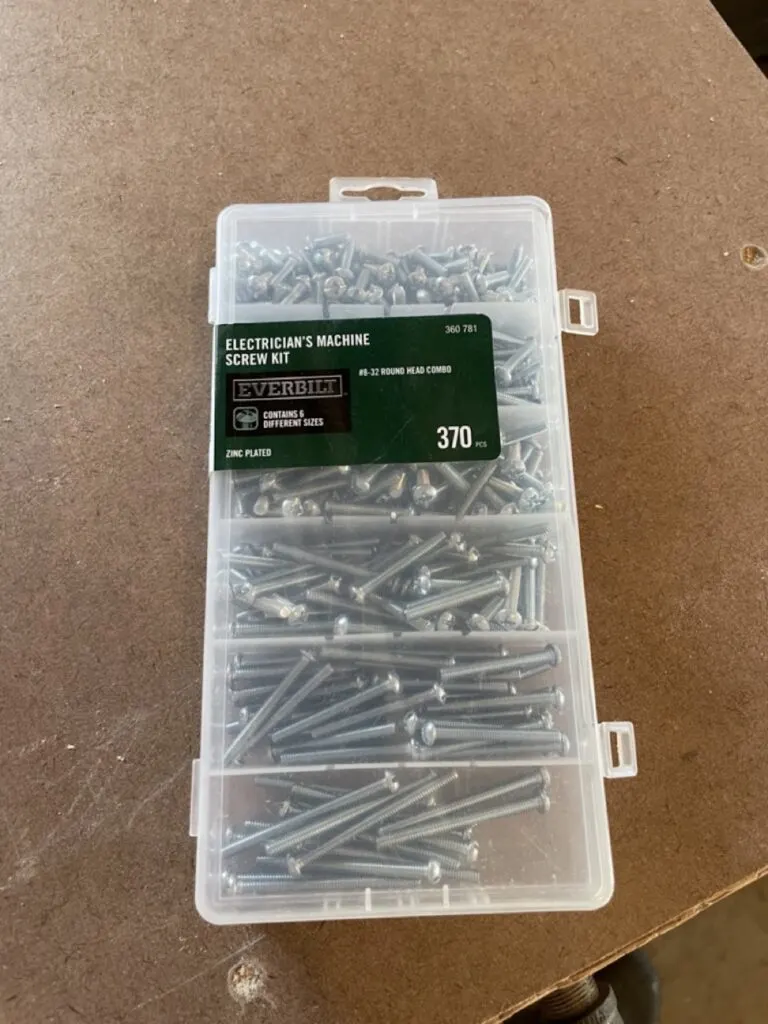
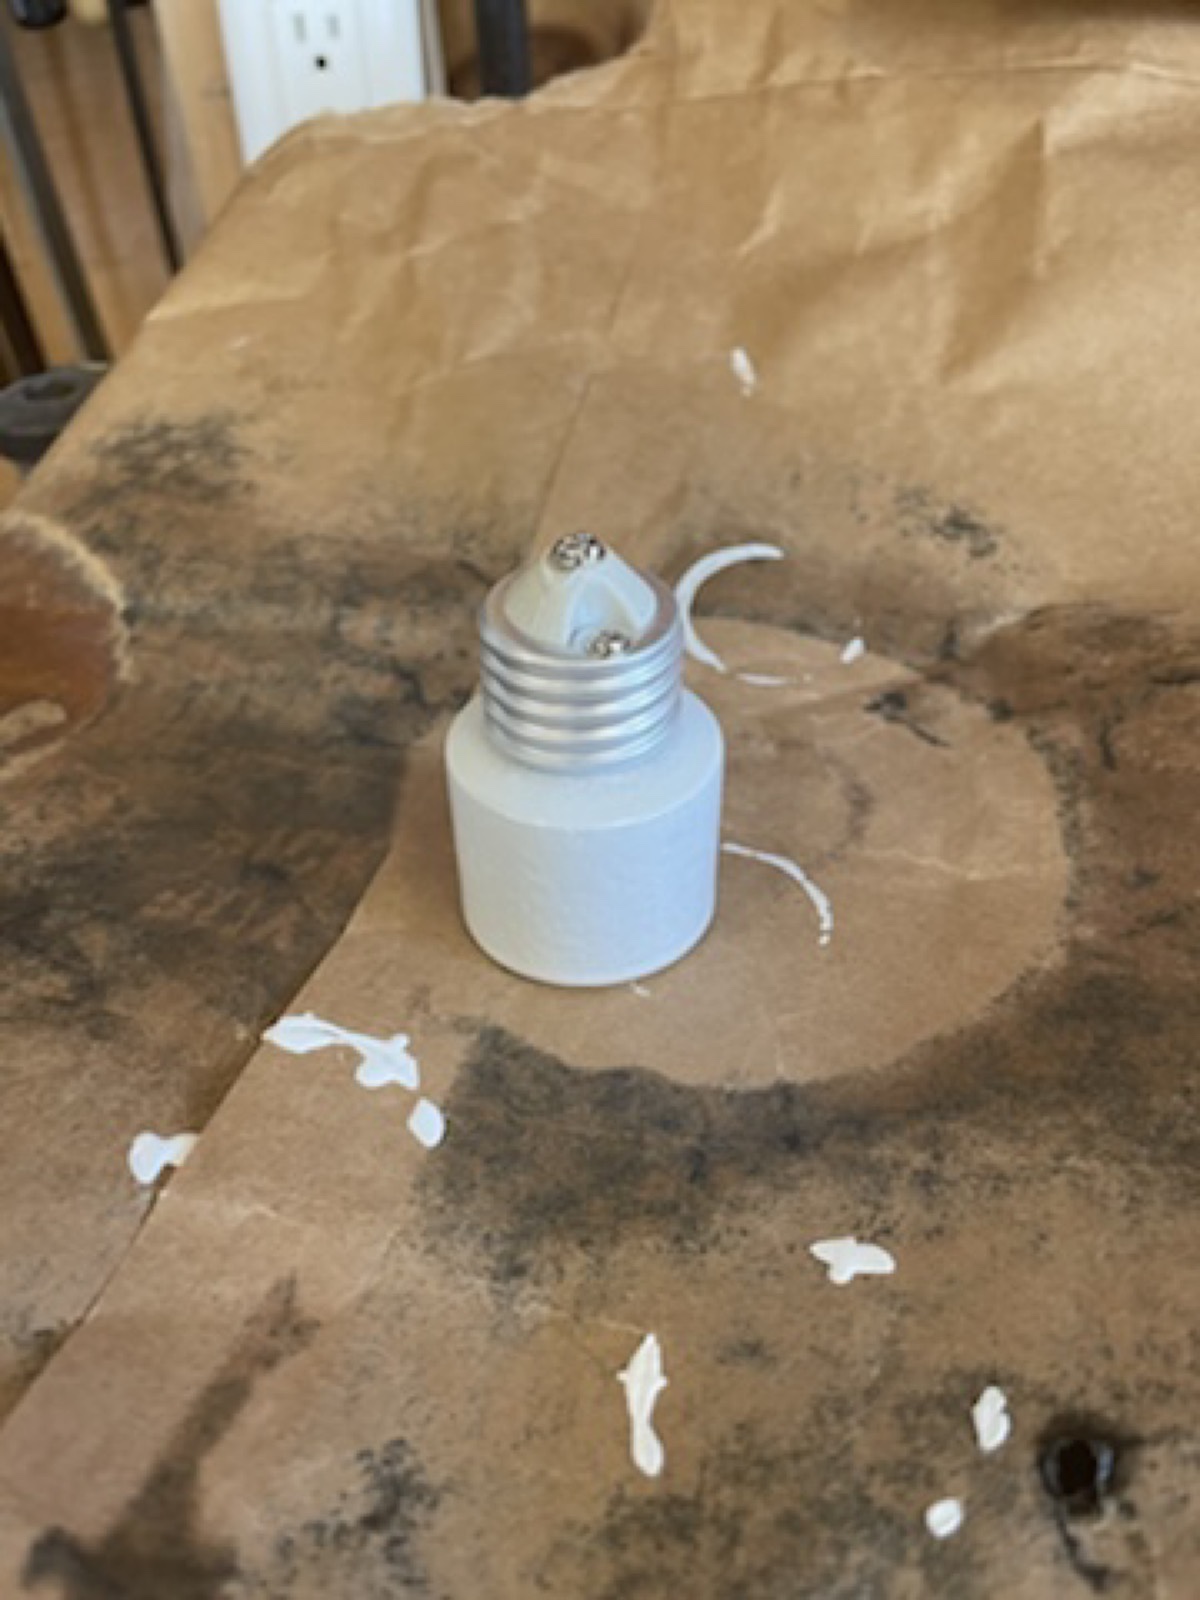
Stuffing some paper towel into the actual socket helps keep that free and clean of paint, while still being very easy to remove later. I also made sure to get some extra long screws from my favorite variety pack of electrical screws and paint the heads of those too. Seriously, I love whoever made this variety pack, after always having to hunt for the right size screw.
For the extensions I actually screwed them altogether into a little tower to spray paint them all at once. It was a decent idea but then I got all impatient and started to assemble before they were fully dry and made a mess of them.


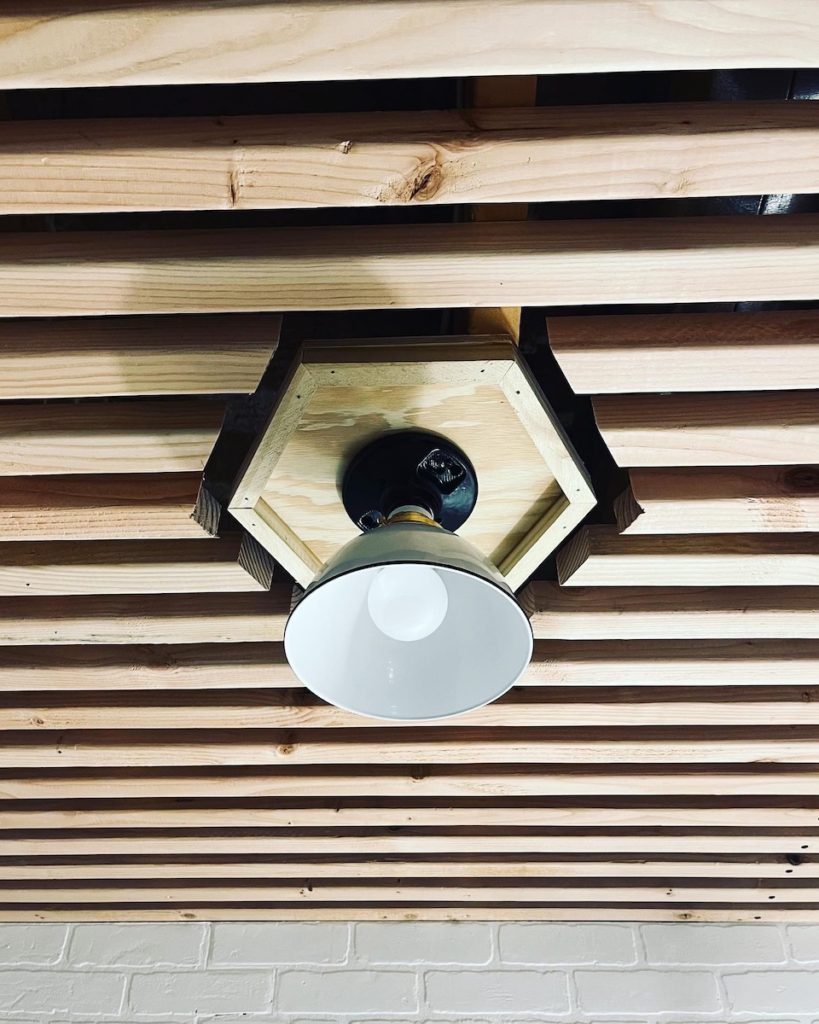
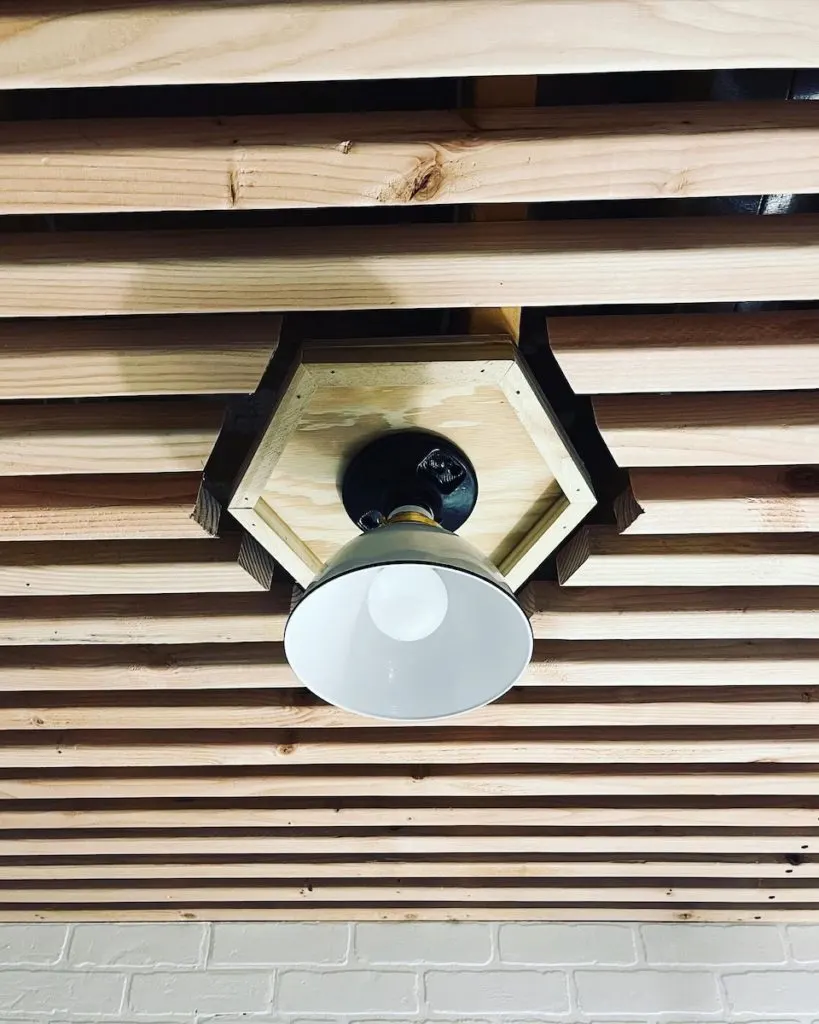
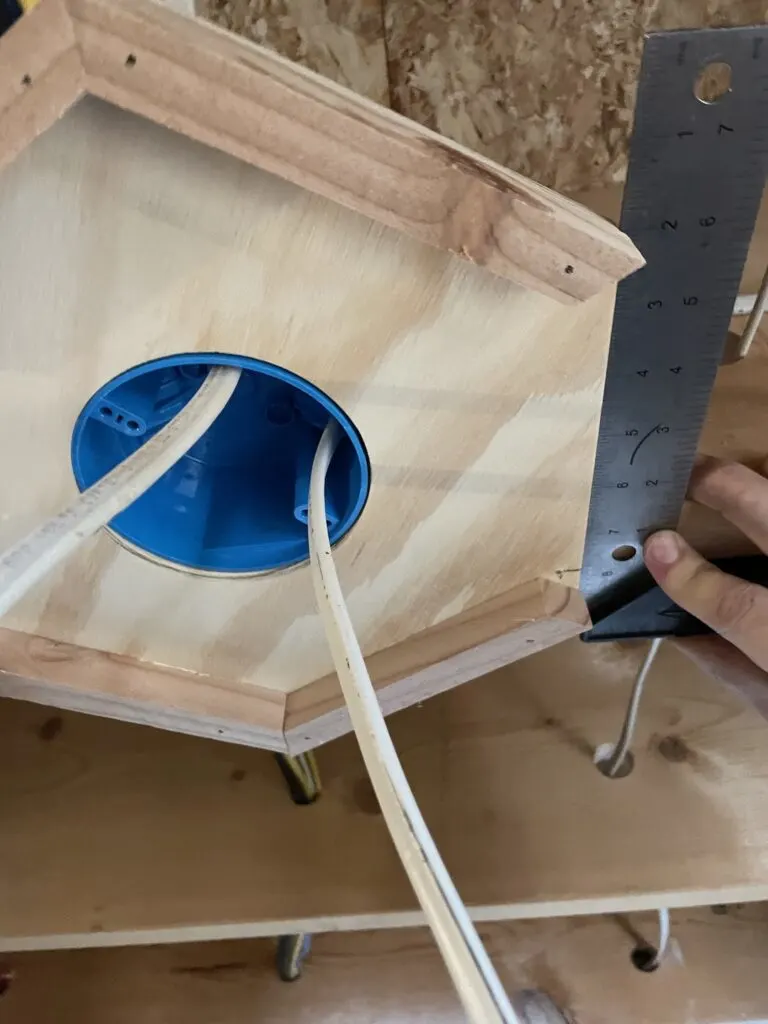
Hexagons are Bestagons
Mounting the lights I wanted to add a little more interest so I had previously made some hexagon backers out of scrap plywood and scraps from my bin. The hexagons are just screwed to the joist and have a cut out for a traditional ceiling box.

The effect is a little weird now, but I’m hoping once I finish the ceiling it will make a little more sense. Maybe. it will make more sense.
It does.
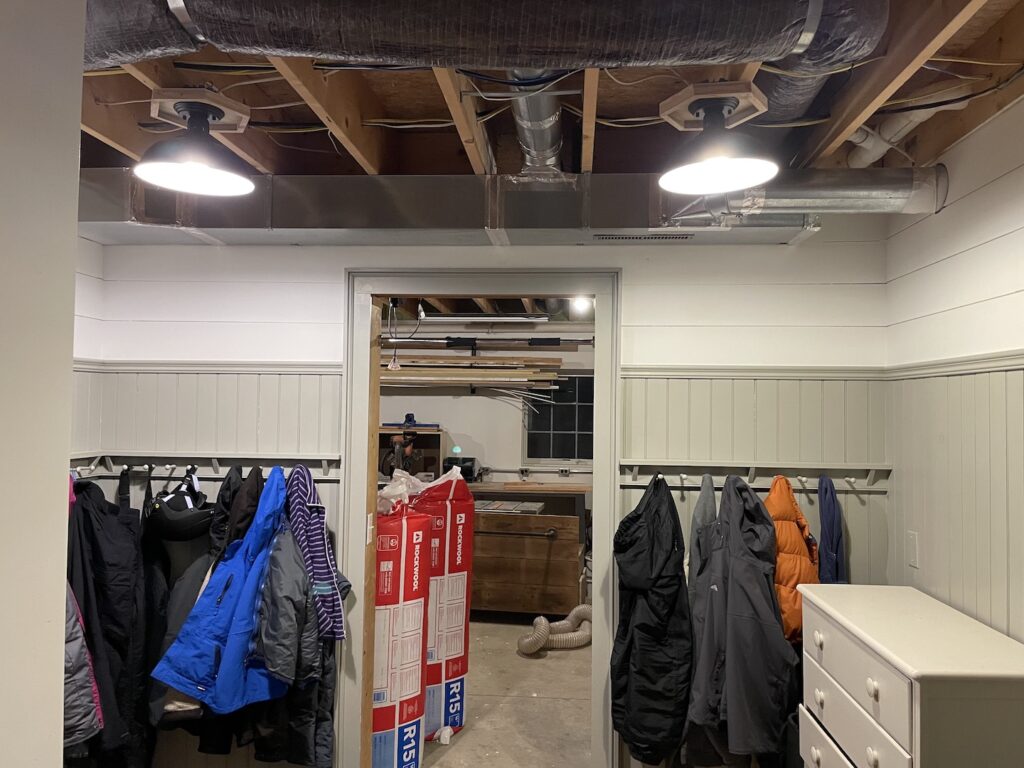
Finished DIY Industrial Lights
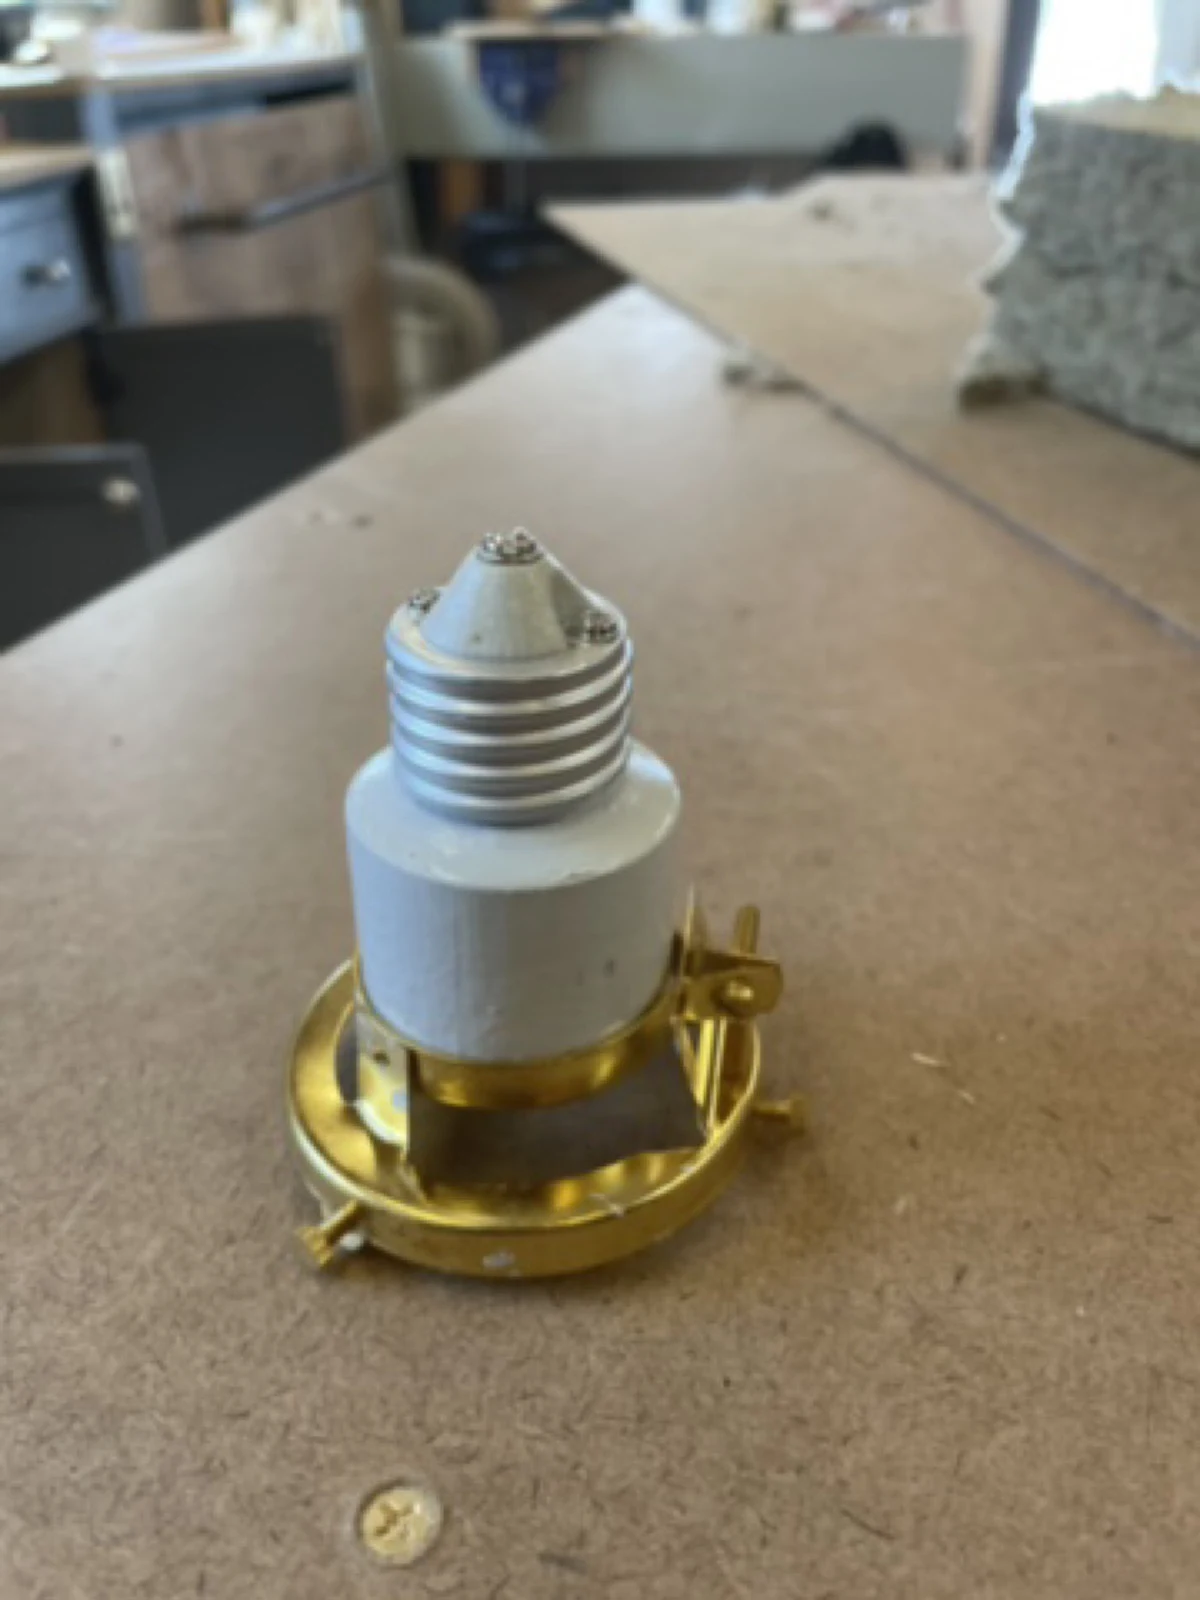
Putting up the lights is really as straight forward as connecting the wires for the sockets and then screwing in the extender with the shade attached. It’s not really much of a build but I’m very happy with the end result. There’s a lot more light and a lot less doom and gloom in the room now.
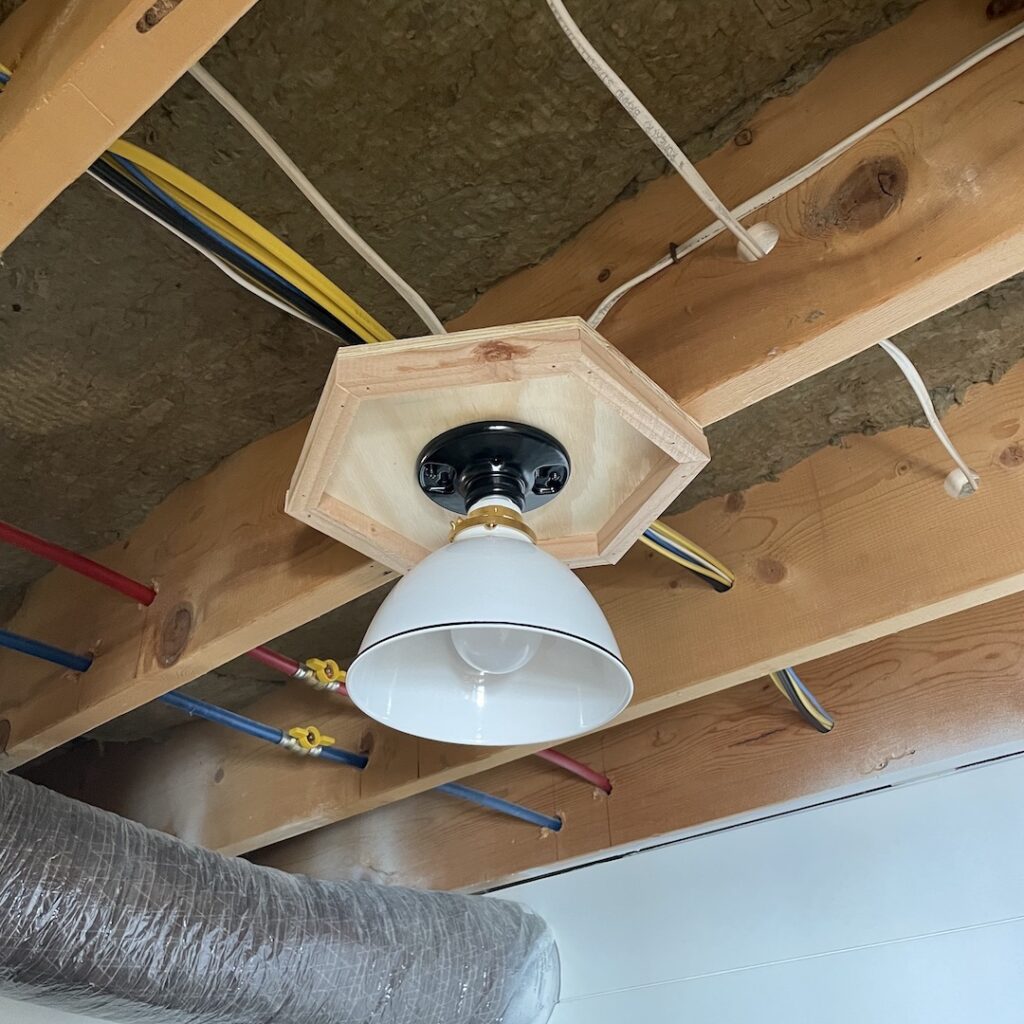

Once I added the removable basement ceiling around them, the lights look a little bit more like this. The angle makes the shade look darker here, but it is the same white shade.