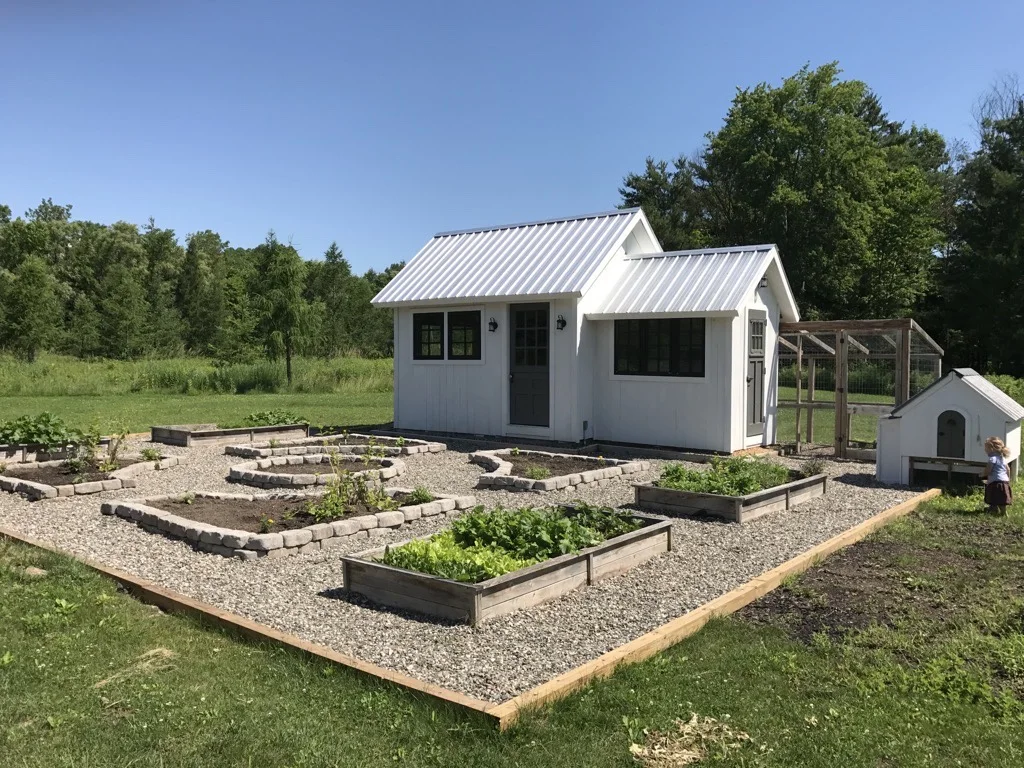
Our garden plan didn’t start out with 13 raised beds in a structured potage garden style. No, our garden plan started out with very humble beginnings. Humility is a virtue but our original four raised beds were taking that to an extreme and not really meeting our needs for production or Shannon’s desire for herbs, cut flowers and all vegetables we wanted. So as beautiful as this before picture is, we knew it wasn’t the final state for our garden.

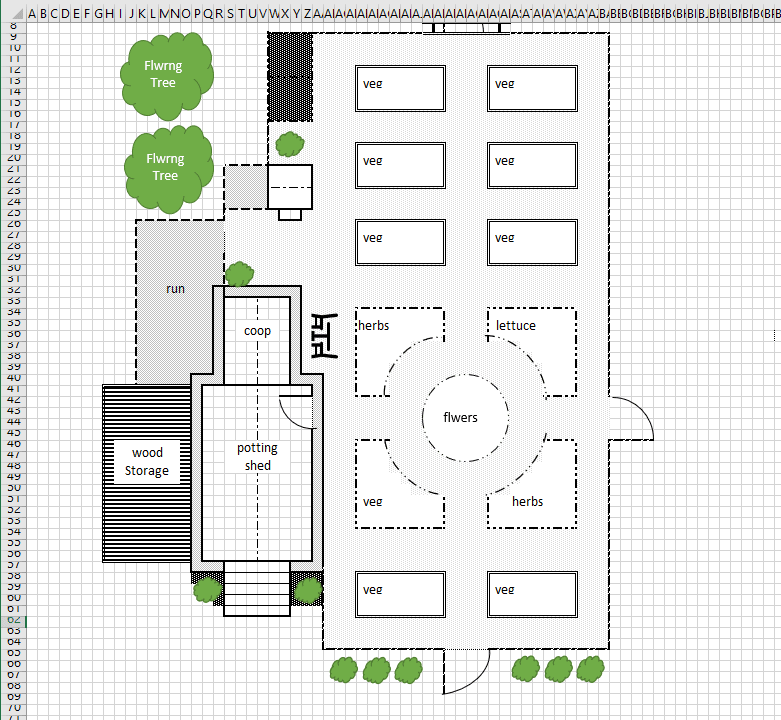
Where we wanted to go with the garden wasn’t clear so it was time to draw up a plan and so I turned to my secret weapon of house projects. Are you ready? No. You aren’t but you think you are. It’s Excel. Cue confused looks and uncomfortable silence like a bad Zoom call where no one wants to talk. Here’s why it’s Excel, because you can change all your cells into the same width and height to make virtual graph paper, and then use borders, fills, lines and shapes to ‘draw’ up your plan. And so I started with the very unimaginative, add more beds plan.
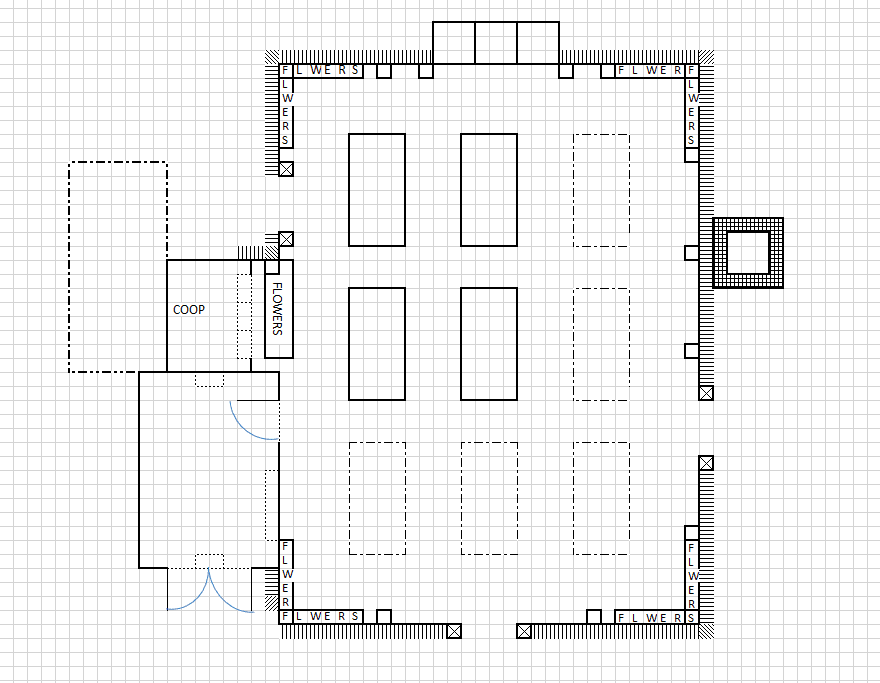
This was very uninspired. It didn’t move any of the original beds, it added some narrow flower beds in the corners and did a little shift of the compost bins. Those ‘compost bins’ were just some discarded pallets (non-treated) that we screwed together and used pretty successfully for years, but were at this point rotting out and needed to be replaced.
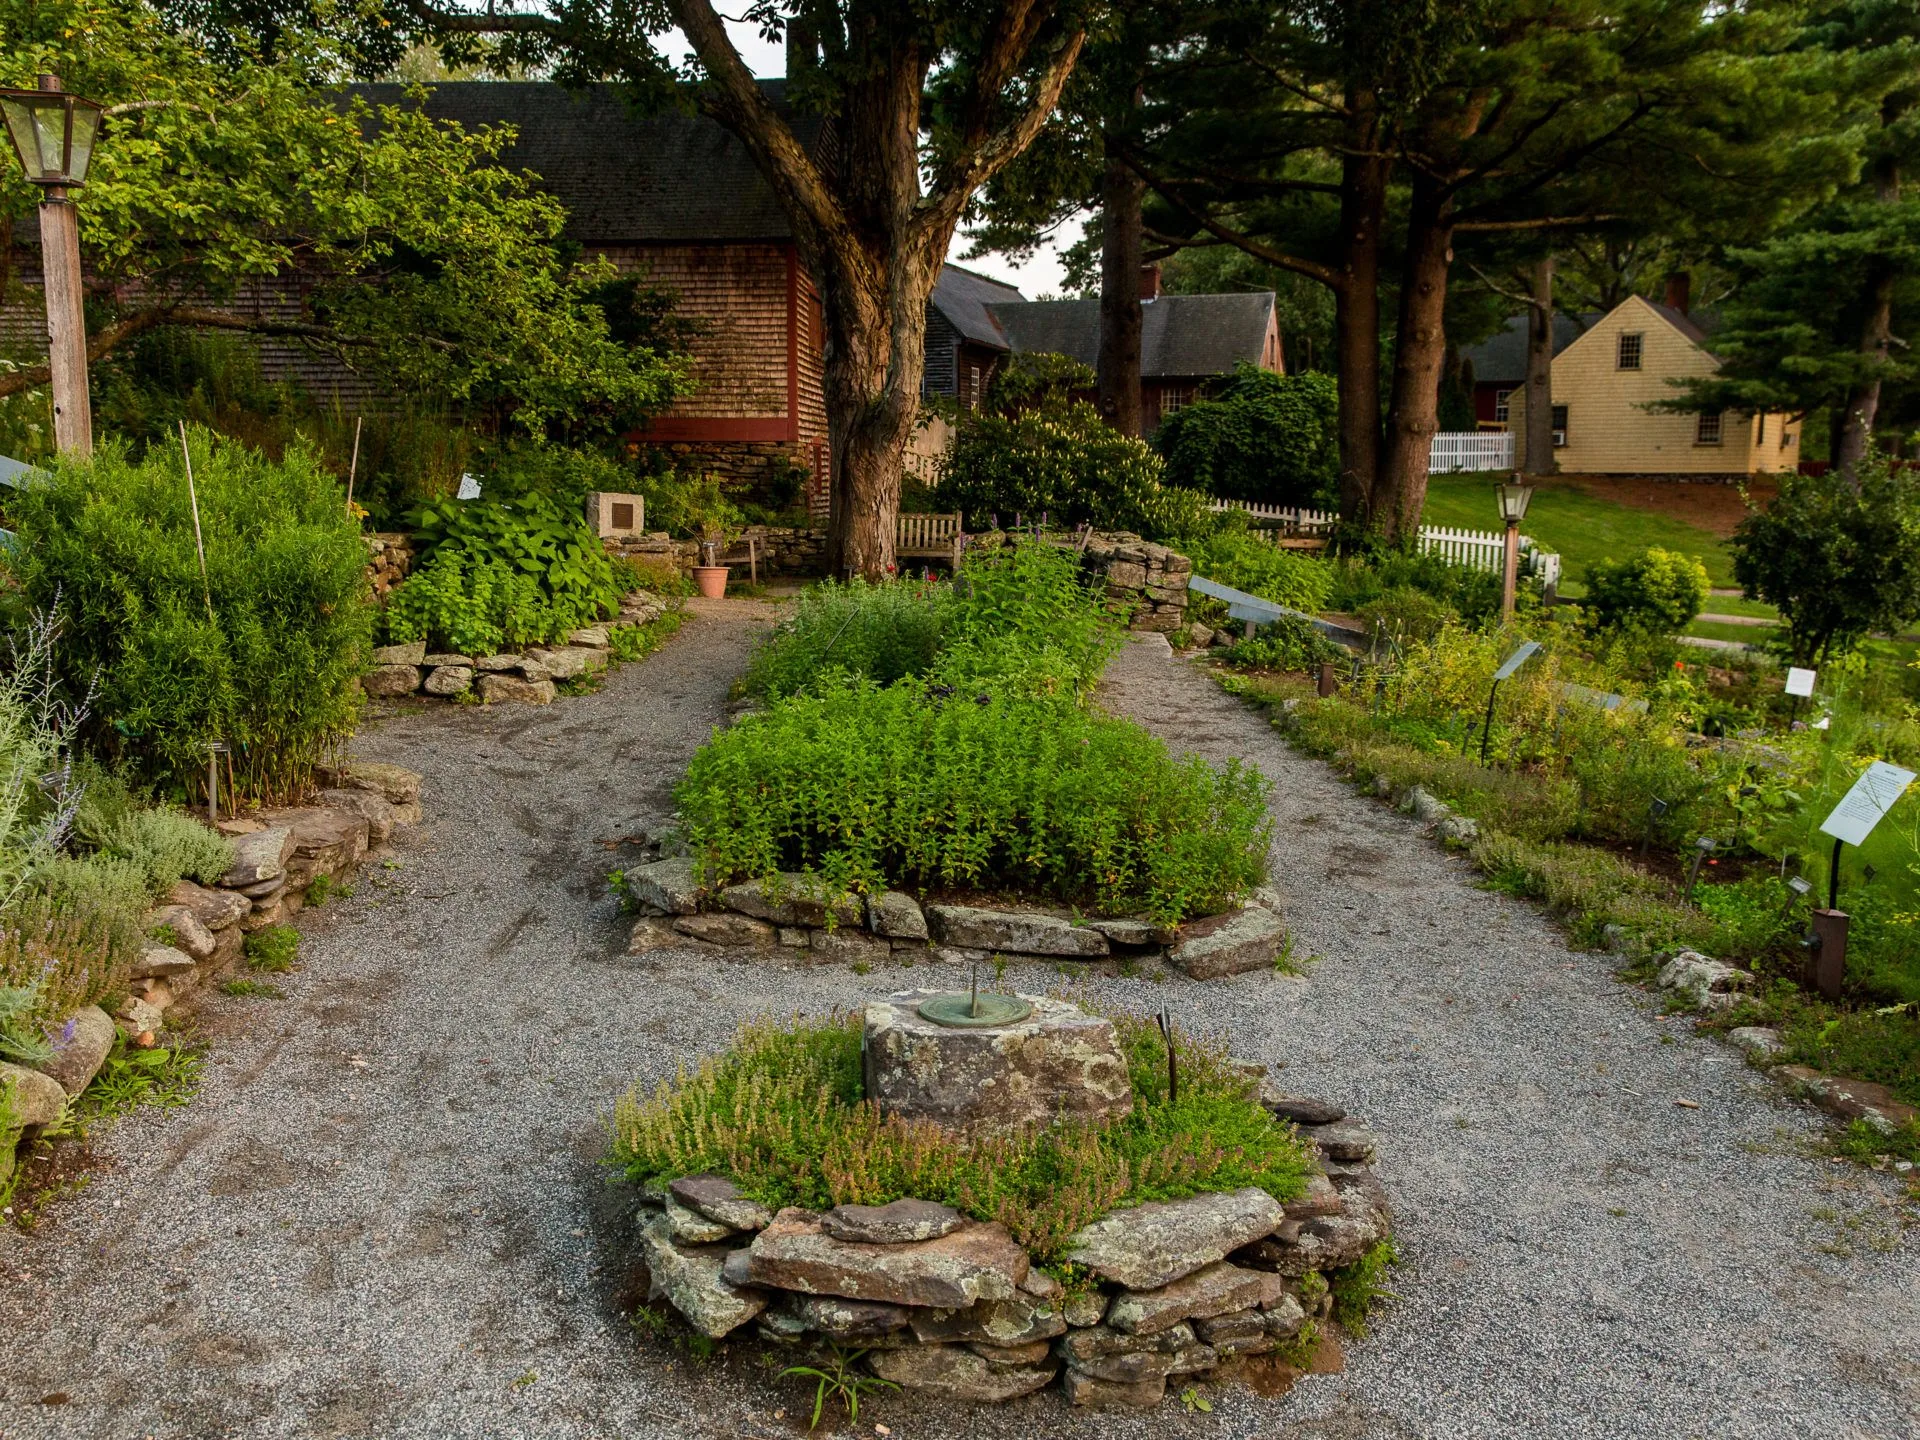
The turning point for the garden plan came during a visit to Old Sturbridge Village in Massachusetts. The two things that stand out about the visit were trying to navigate the muddy village in a walking boot because of a torn Achilles’ tendon and the gardens. I’m not much of a plant guy despite my mother’s prolific green thumb and Shannon’s love of gardens but what stood out to me was the structure of the gardens. The geometric pathways, negative space and various heights were enough to kick start my process and we ended up moving towards a more interesting plan.
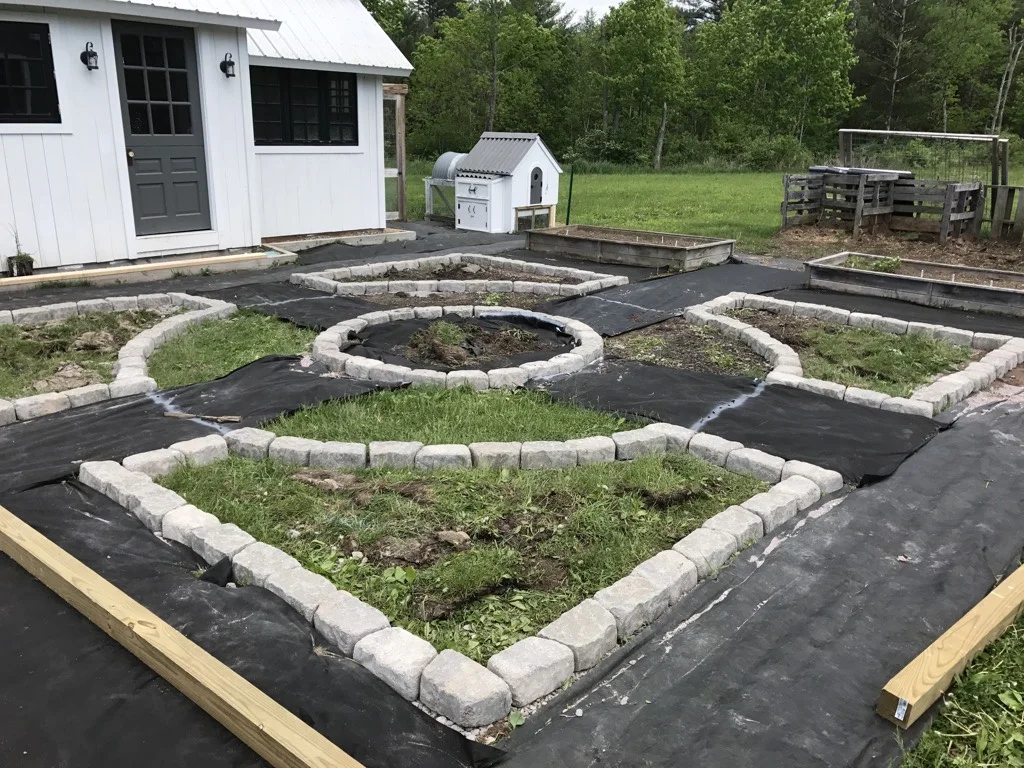
There is actually an intermediate step skipped here where we built up the center circle of the garden with the paver raised beds and just kept the original four cedar raised beds. This step included adding a border around the garden, laying down landscape cloth, building up the paver beds and adding the pea stone walkways.
That lasted a few years but still wasn’t enough space. It also didn’t solve any issues with the rotting pallet compost bins or really feel like a finished space.
The next phase of the garden came when we decided to get serious about a fence. The reason for the fence was not tiny woodland creatures rampaging through our tender plants, it was mostly an overly loving dog who loved rolling in the dirt and just couldn’t bear to be parted from us even when we were sweaty and weeding the garden.
The design for the fence was very much Joanna Gaines inspired. Like basically everything else she touches, her gardens are beautiful and full of inspiration.
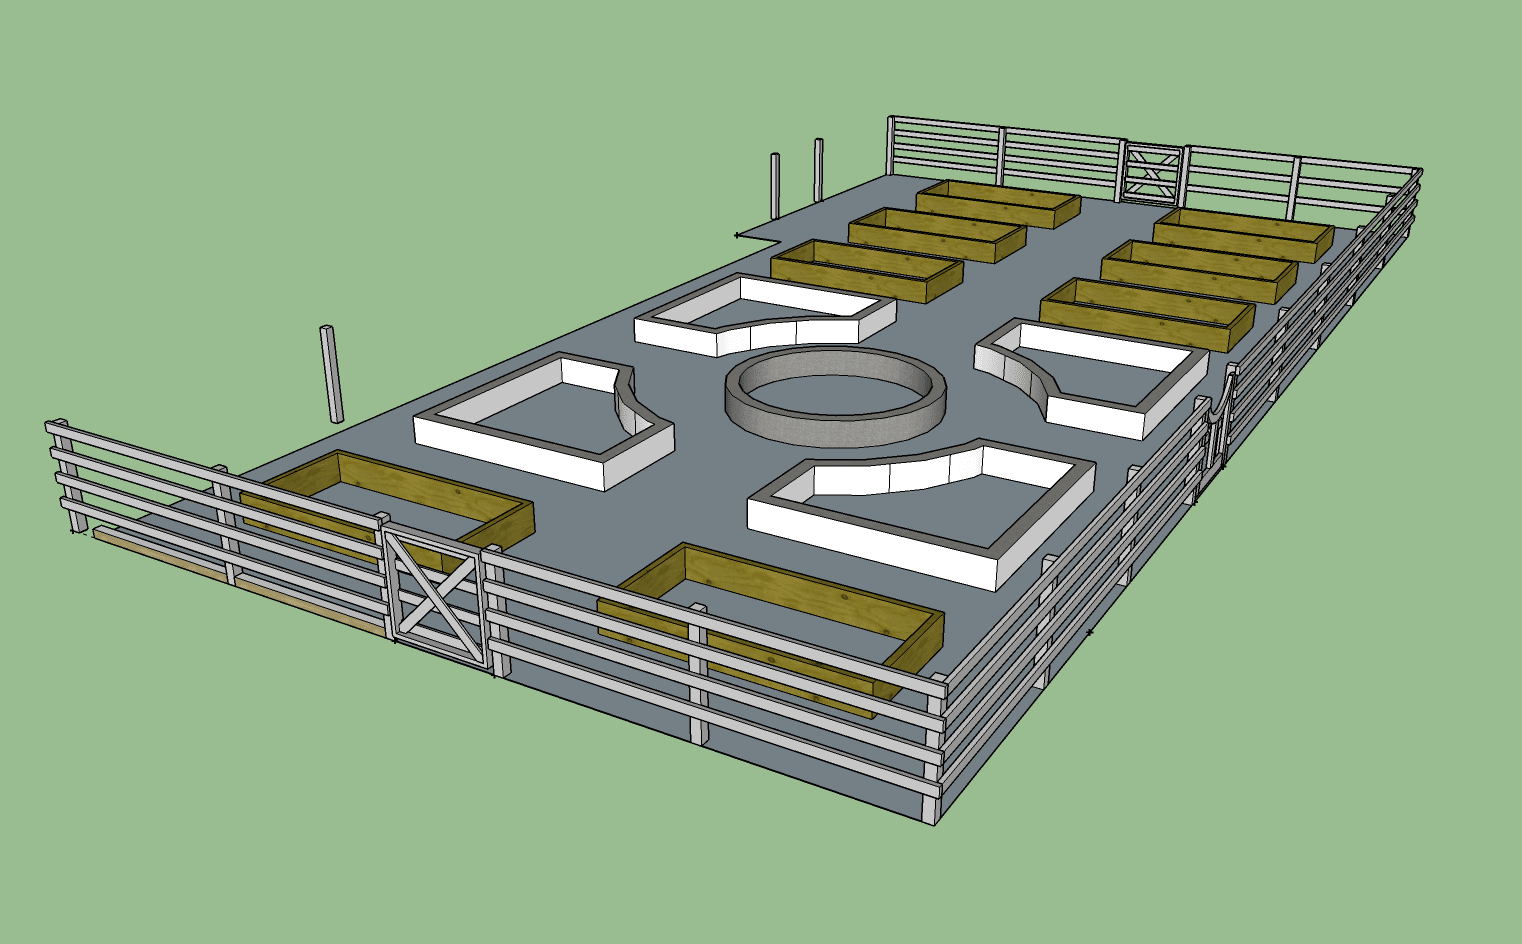
The thought of fencing in the garden just didn’t make sense as it was though because we knew we were short on planting space. So it was back to the excel file, adding another four beds and reworking the compost bin placement. Once we had that in 2D it was time to up the planning game to see what the fence would look like. Enter Sketchup.
The adding of the four raised beds was very straight forward, I lifted up the back border and added some more landscape fabric and built four more cedar beds. I’ll probably post plans for those at some point.
It is now some point. Here is a post about building cedar garden beds. 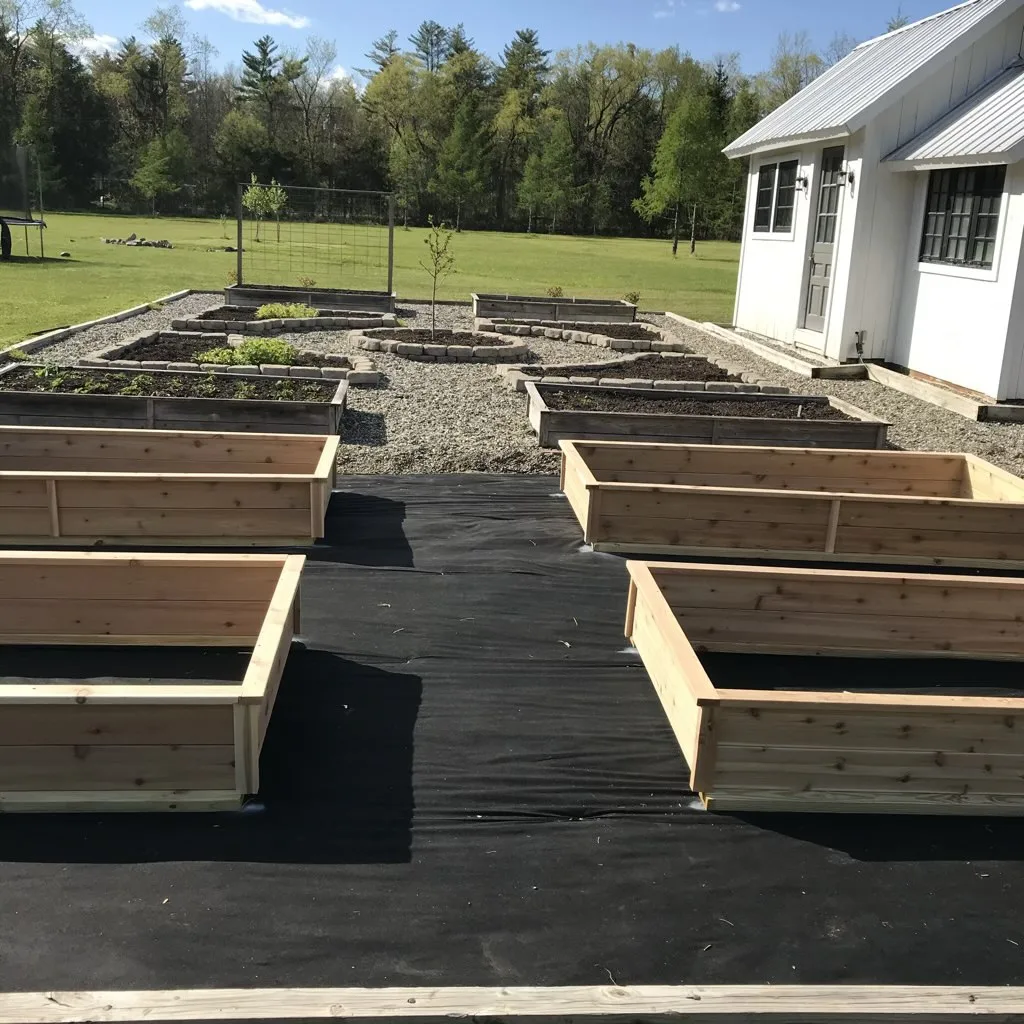
With the new full shape in place I could then start to focus on adding the fence. For this we borrowed heavily from Joanna Gaines personal garden fence. The simple horizontal boards but with some interest in one rounded gate and other X gates. We decided against white for a myriad of reasons and ended up with Seacoast Gray solid stain from Cabot to match my parents barns next door. 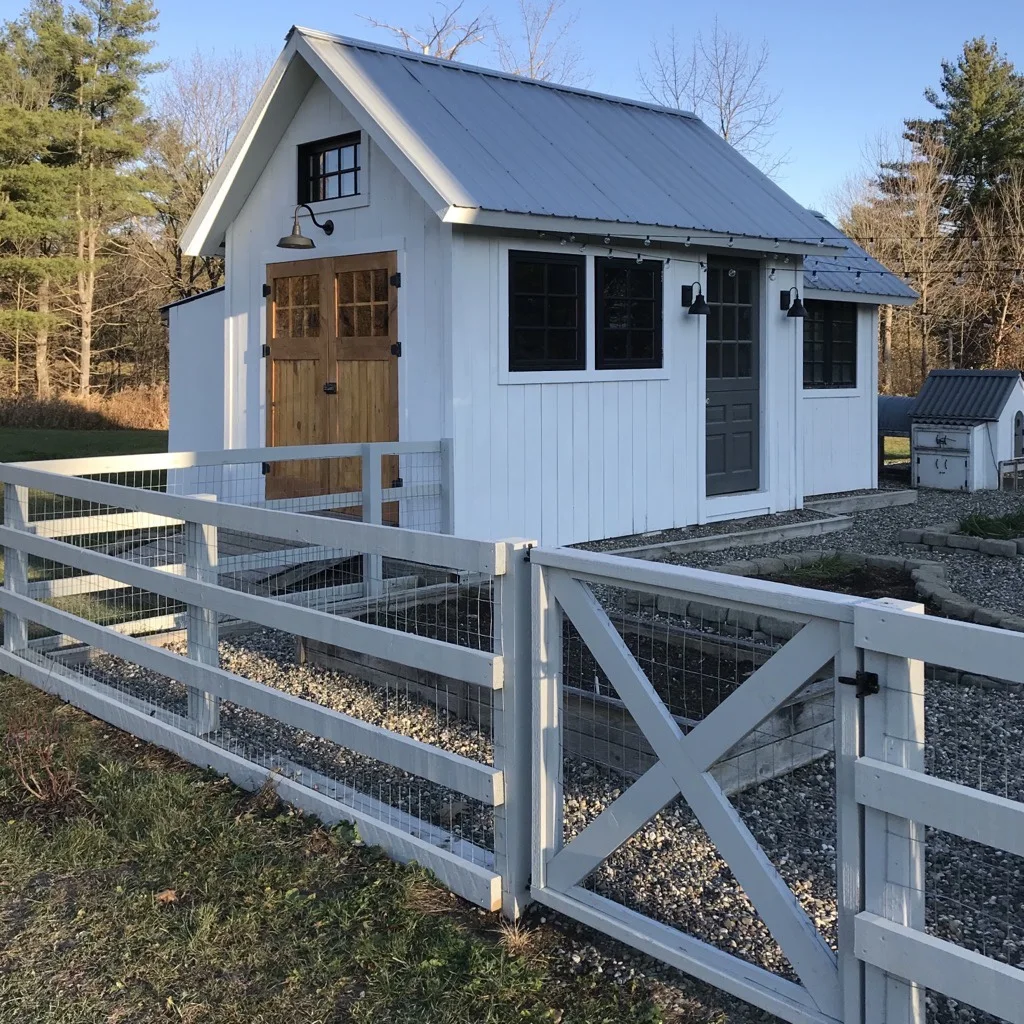
The last finishing touch that the garden didn’t really need but I couldn’t really pass up was adding some string lights. This has actually proven to be one of my favorite parts about the garden because coming home to the garden all lit up in the dark is really wonderful. It looks warm and inviting in the snow or in the summer. Overall it’s not necessary or practical but 10/10 would do it again.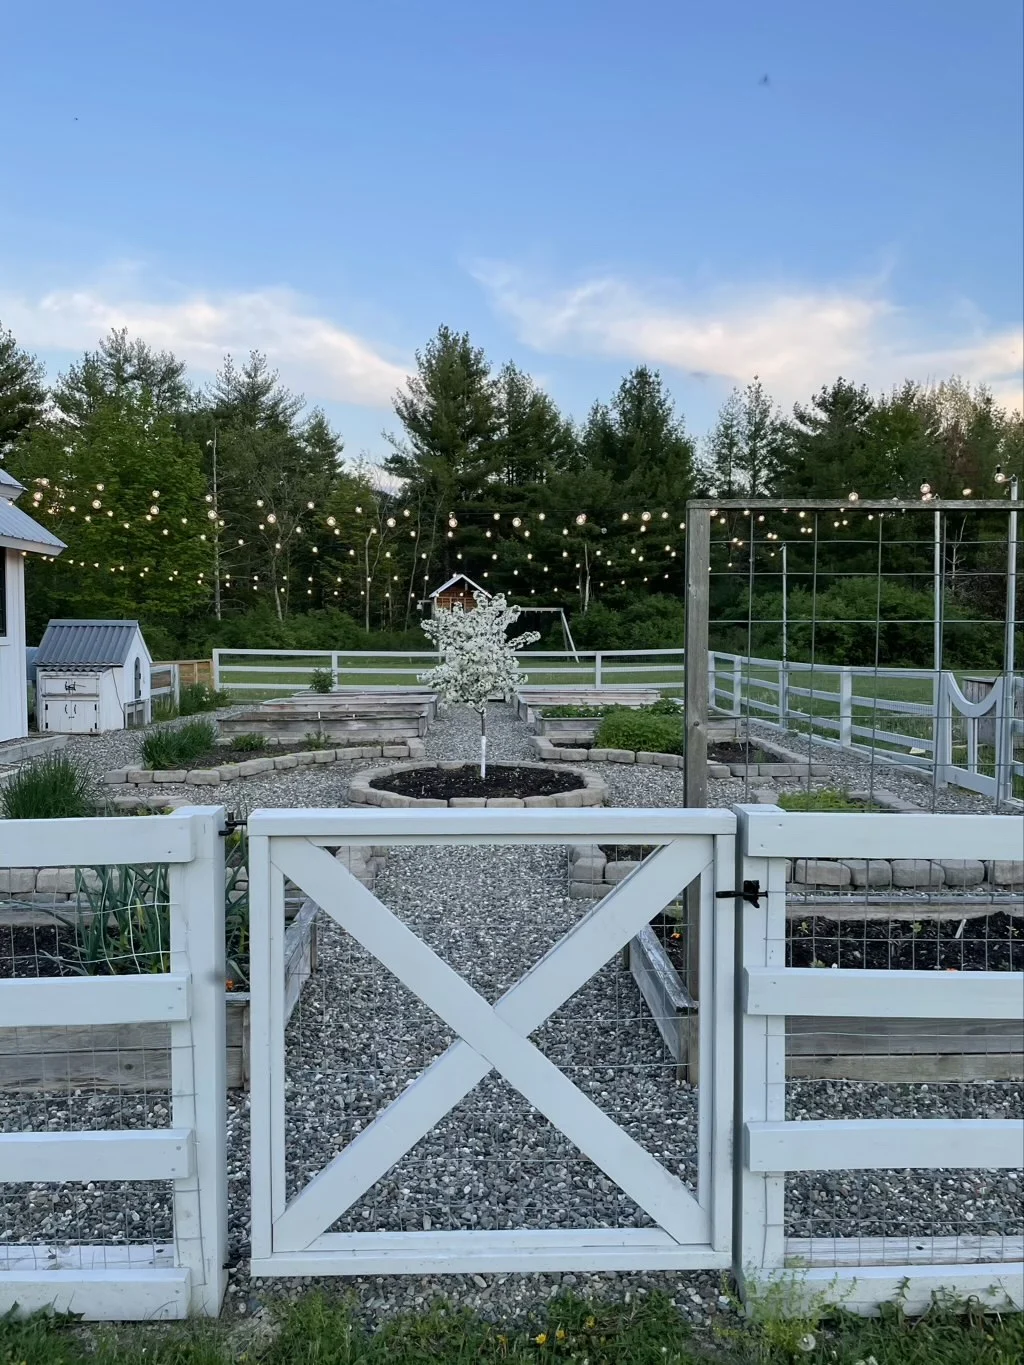
The lights are attached to chain link fence posts that are secured to the wooden fence posts with U braces. They plug in at the shed to a special outlet that has a remote control that lives in the house so we can turn them on and off easily. 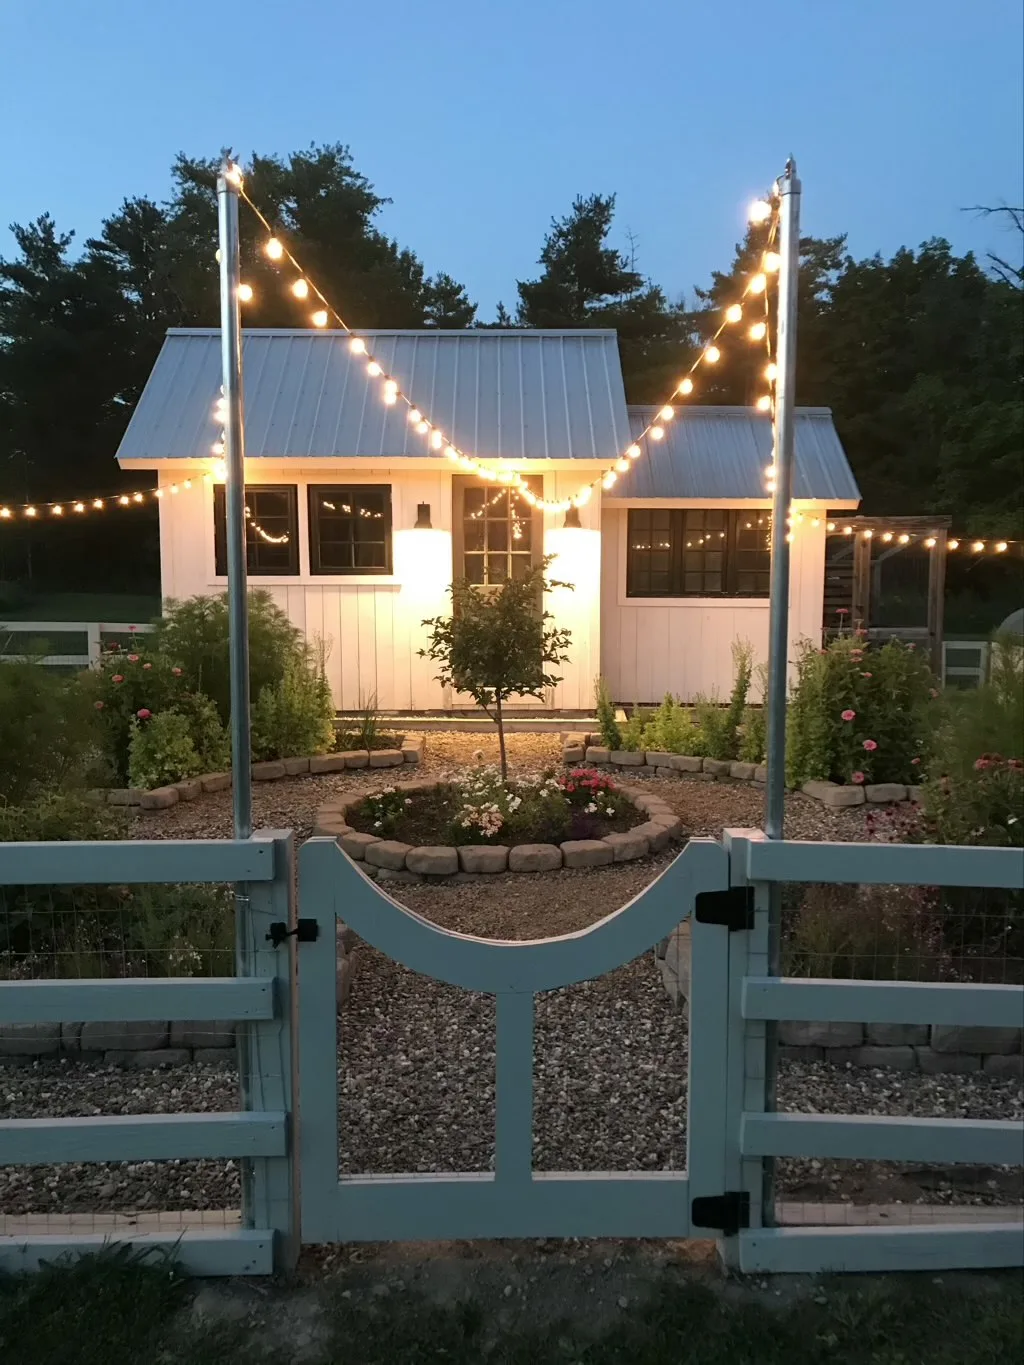
The garden has been years in the making but it really feels now like it’s what it should be. There are definitely more garden spaces that we’re going to add, but it’s nice to have this one feel complete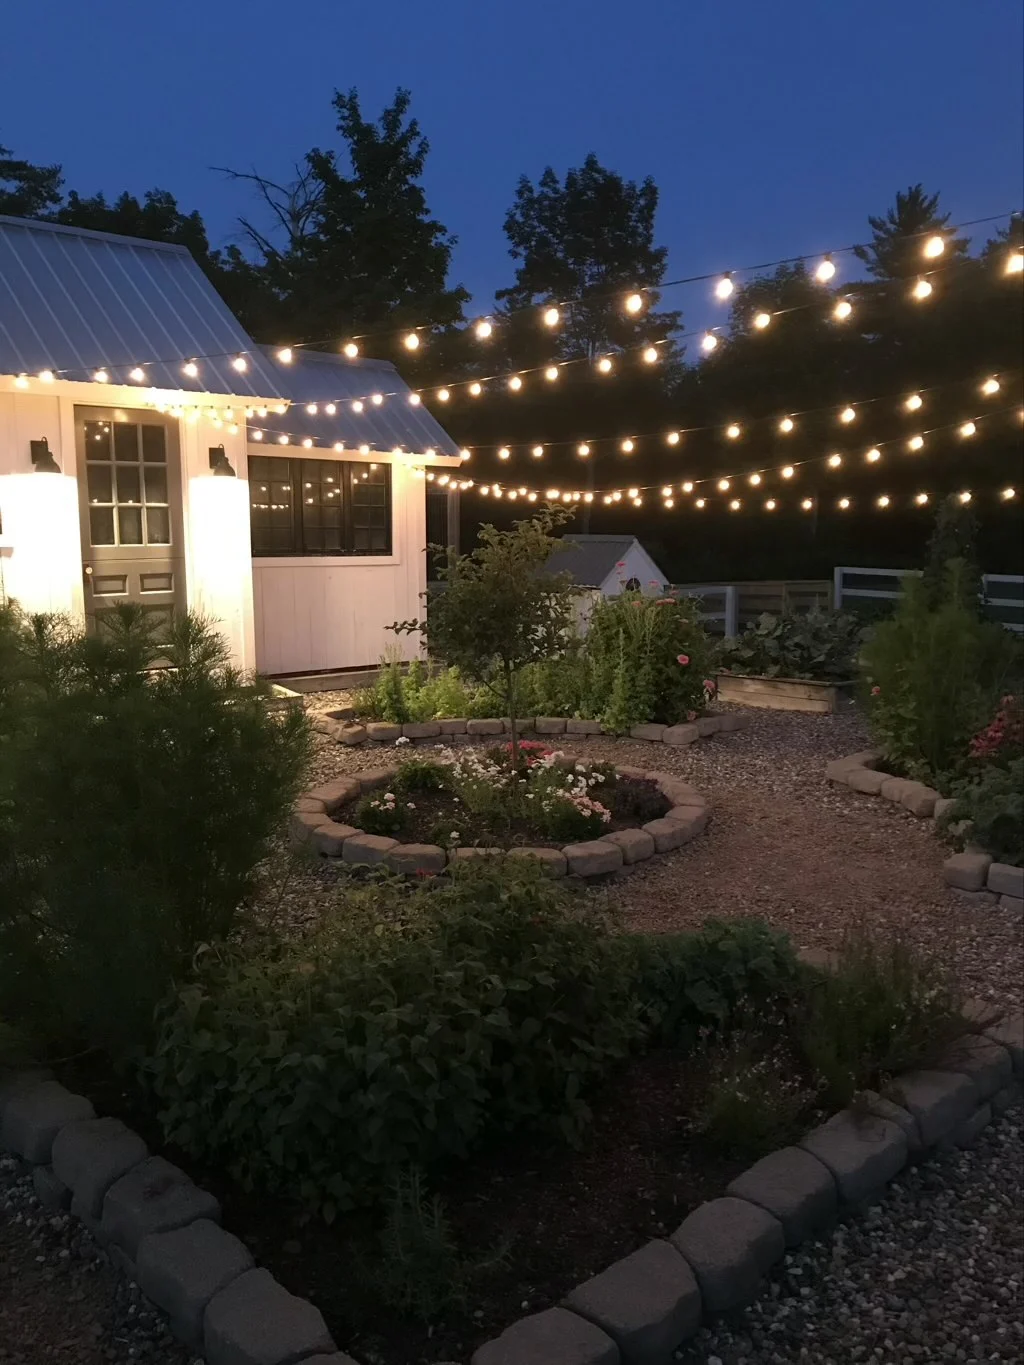 .
.
We also did add the blueberry bushes out front from the plan when we added the firepit.
