Adding a little character to your shed or barn is the most important thing you can do, full stop. No, I’m kidding, a barn is by definition a functional structure but it’s very easy to make a round top shed door and add a little personality.
If you are looking for something a little more classic I also covered how to make carriage style shed doors in another post. But for now? Let’s focus on this slightly more ridiculous one.

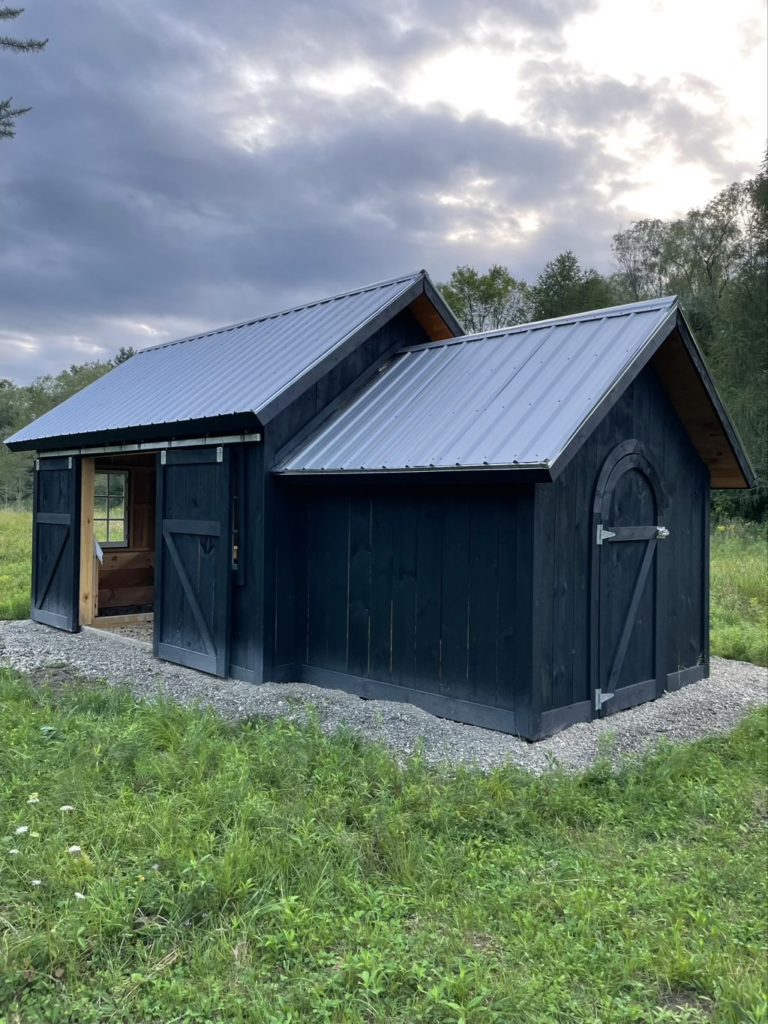
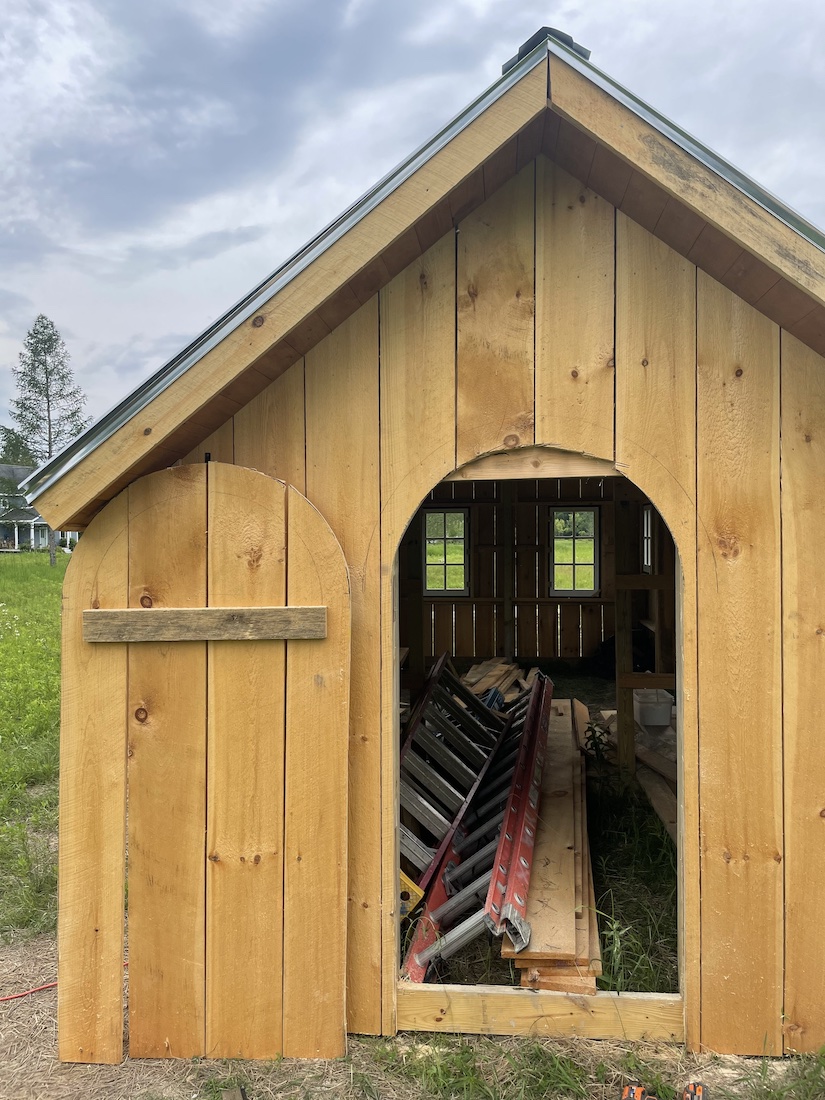
The “Hobbit door” as my wife affectionately calls it leads to the hay storage part of our sheep shed.
We had originally envisioned a loft with a door that we could heft bales up to and throw them down for the sheep. It felt classic and space efficient but the more we thought about climbing ladders and lifting bales up overhead the less appealing it became.
The basic fundamentals to creating the round top door are the same as making a circle cutting jig for a router. I had actually originally thought about using my cordless trim router to cut out the arched top but that fell through once I actually got into the project.
Begin a Round Top Shed Door
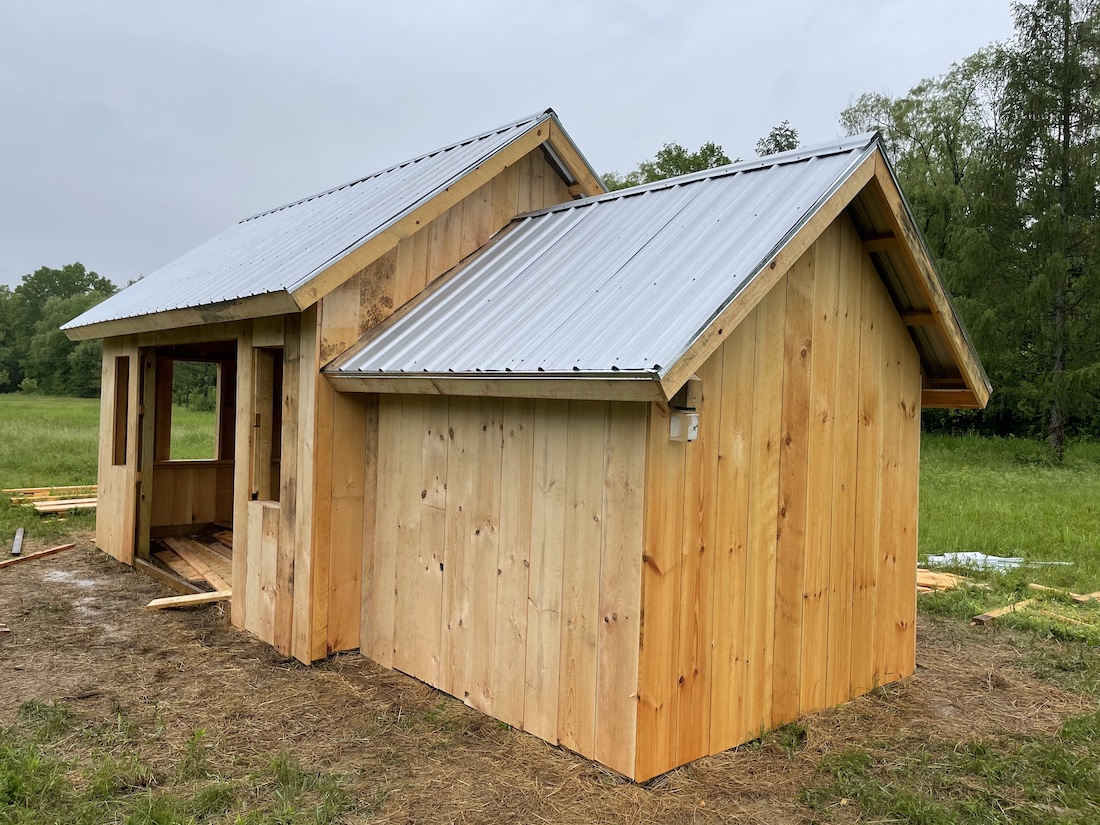
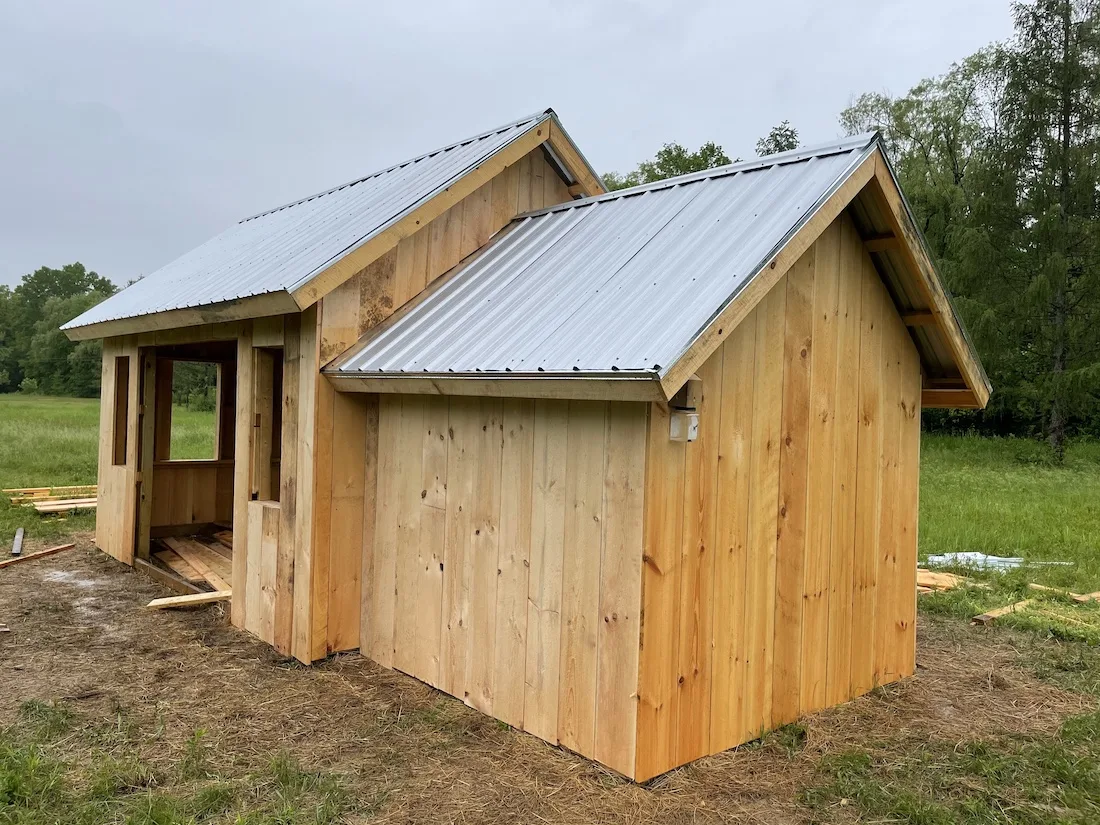
For this door we started by siding the entire side of the barn, including the door opening.
There were no boards to nail to in the opening obviously and I just made a roughly arched pattern near where I thought the top of the door would fall.
For the bottom, I screwed in the boards to the lowest rail to keep them stiff for cutting later.
Find Your Center
No, not that type of finding your center.
Now that you have a beautiful if slightly muddy canvas to work with, the next step is to find the center point of the wall. If you door isn’t centered on the wall then find the center of the doorway.
Finding the exact center is extremely important, so measure twice, three times, get out a sextant, measure again. Do whatever you have to do to make sure you’re exactly in the center.
Your center mark should be at the height where the curve of the arch will start, in my case it’s roughly 5′ from the bottom of the siding.
I say roughly because I was very fast and loose with where the bottom of the boards fell when we sided. Taking whichever is the higher mark and then using a level to make a line gave me at least five feet on either side.

Draw some lines. And then more lines.
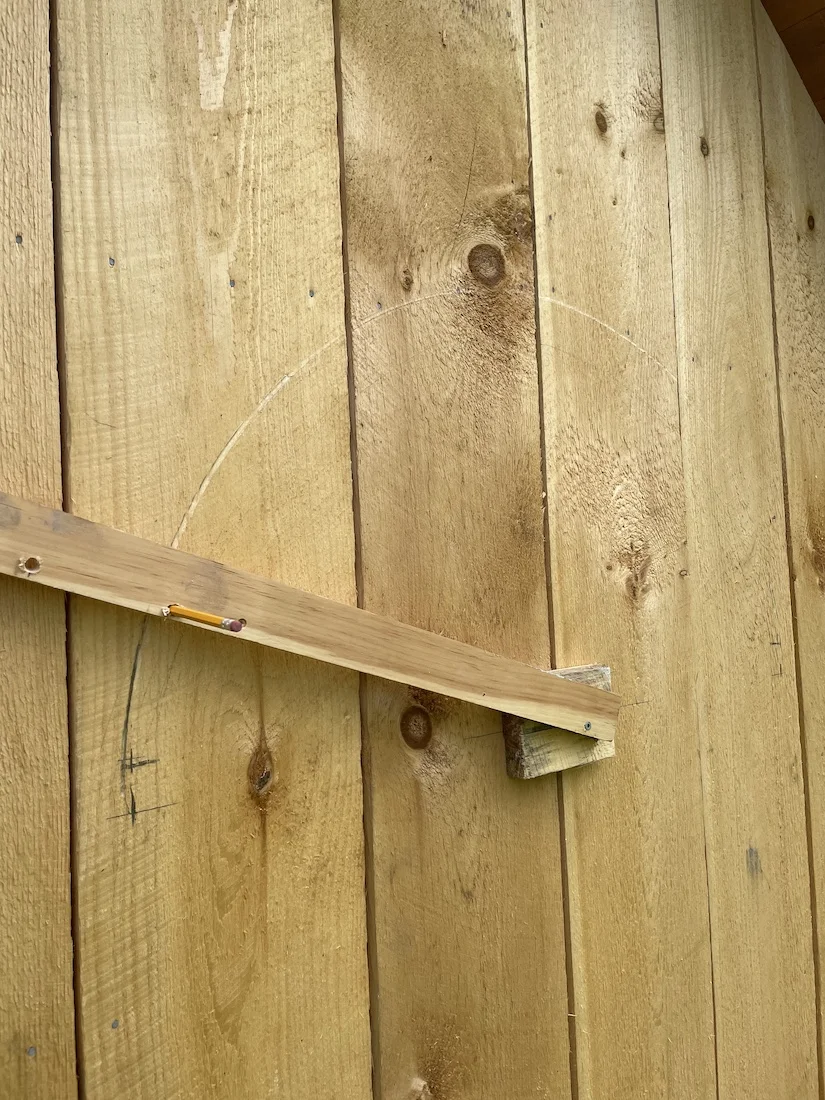
Once you have a center mark at the right height, you can realize that it falls precisely between the gap in two boards and stare off into the field for a while.
With the chances of that happening properly calculated, I just used a scrap piece to get me back on track and give me a way to put a screw exactly where I wanted it.
With the screw in place you have really two options, a string with loops at exact measurements to hold a pen, marker, pencil, crayon, or a good old scrap board.
Ideally you should snap at least 3-6 pencils during this process and then raid your children’s homeschooling drawer for more. I’ll leave that up to you.
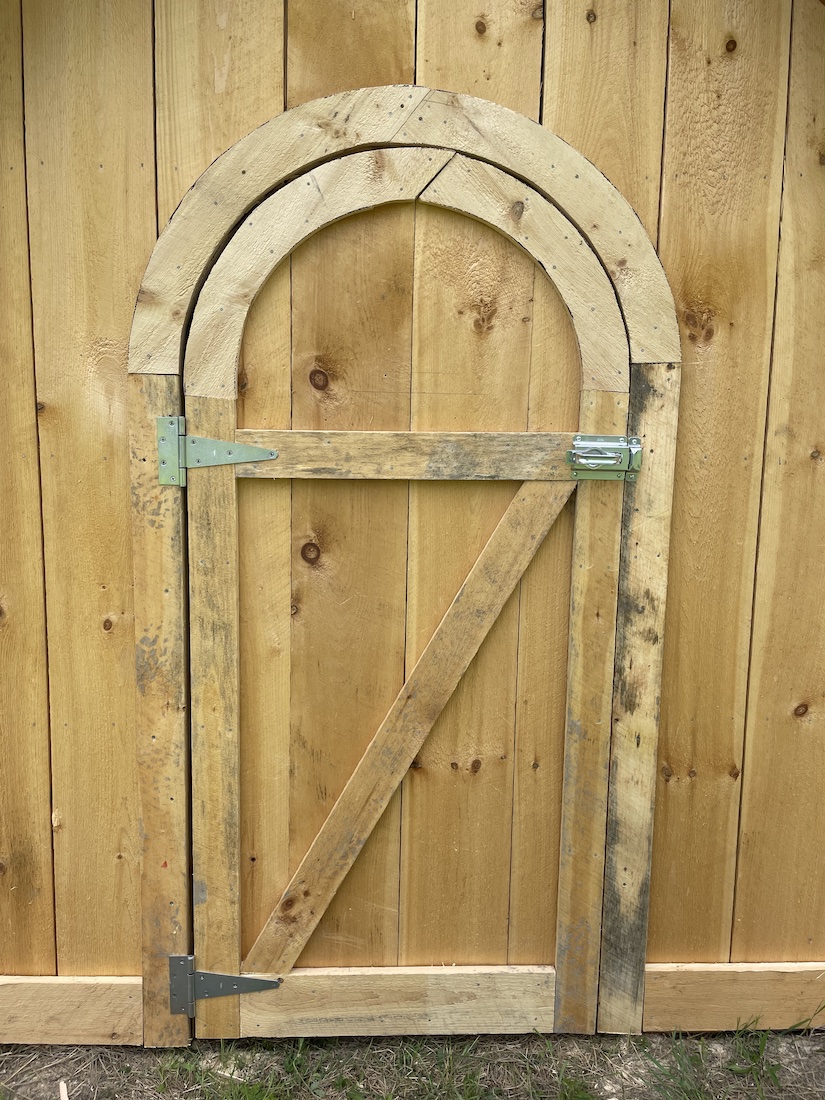
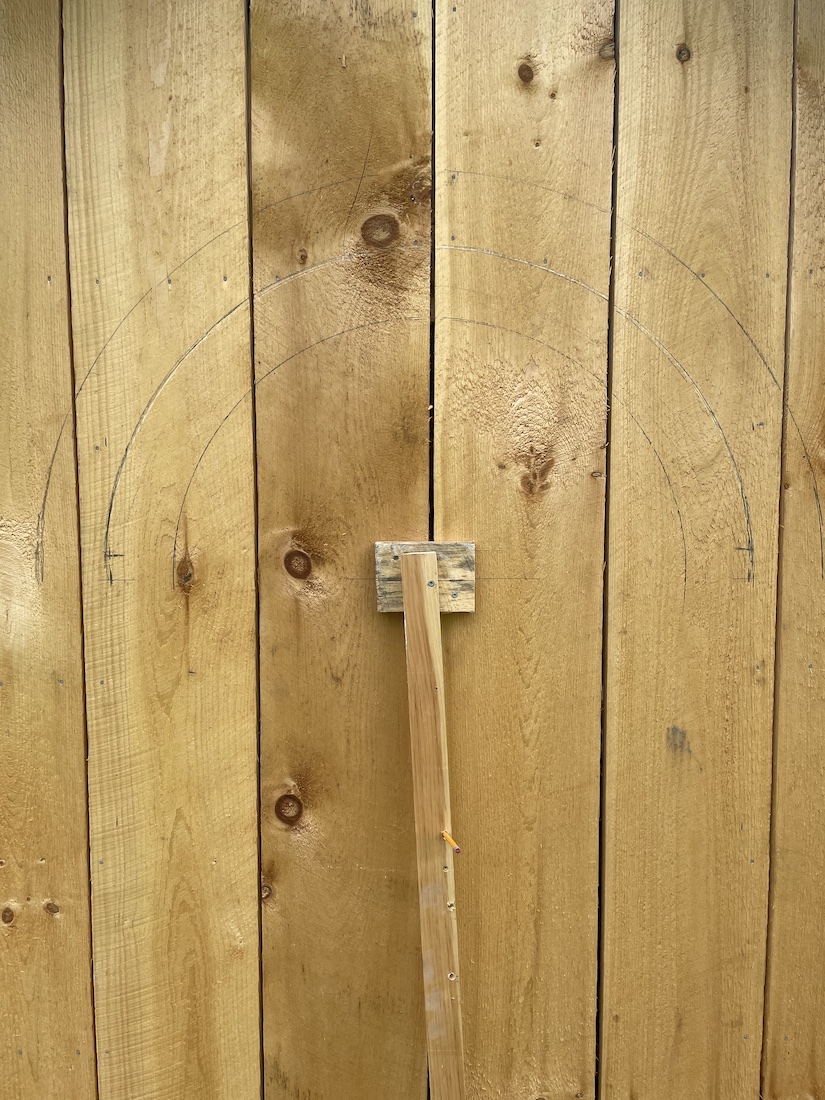
The board method prevailed because I could pre-measure and drill exactly where I wanted my marks to be made. The first mark is exactly 1/2 the width of the door, this will give me an arch for the door outline. If you plan to have a slab door with no trim, that’s all you need.
If you plan to be a little rough on your cuts and would like some merciful trim to cover your imperfections with its kindness, then you will want two more marks.
For this project I was using green rough cut lumber from the local sawmill (Shout out to Drumm’s for not bankrupting me on the project in the age of lumber prices that feel more like gold or precious metal).
Since it’s rough cut, the 1x4s are actually 1″ by 4″, so I added one mark 4″ past my original and one mark 4″ shy of my original. This will give me three arches, with a consistent 4″ space between them.
Here’s a picture to hopefully explain that far, far better. It’s like I’m drawing the simplest monochromatic rainbow. The center line is for the door, the outermost line the shed trim and the innermost the door trim.

Do Round Top Shed Door Magic
Okay so here’s where the magic happens. Or at least something that is possible less intuitive so you can convince small children it’s magic so long as you make a sparkly finger motion and get a crazy look in your eyes. The crazy eye look is important.
Once you’ve marked out the outline of the door, it’s temping to cut it and get this show on the road. But instead you should take the time to tack up some boards so that you can mark out your trim pieces for both outside the door and for on the door itself.
I used some left over 1×10 boards from the siding and arranged them to cover the full arch first for the outside and marked them. Then I pulled those down and repeated the process for the inner arch, making sure to clearly label which piece was which to avoid having a meltdown later trying to puzzle it out.
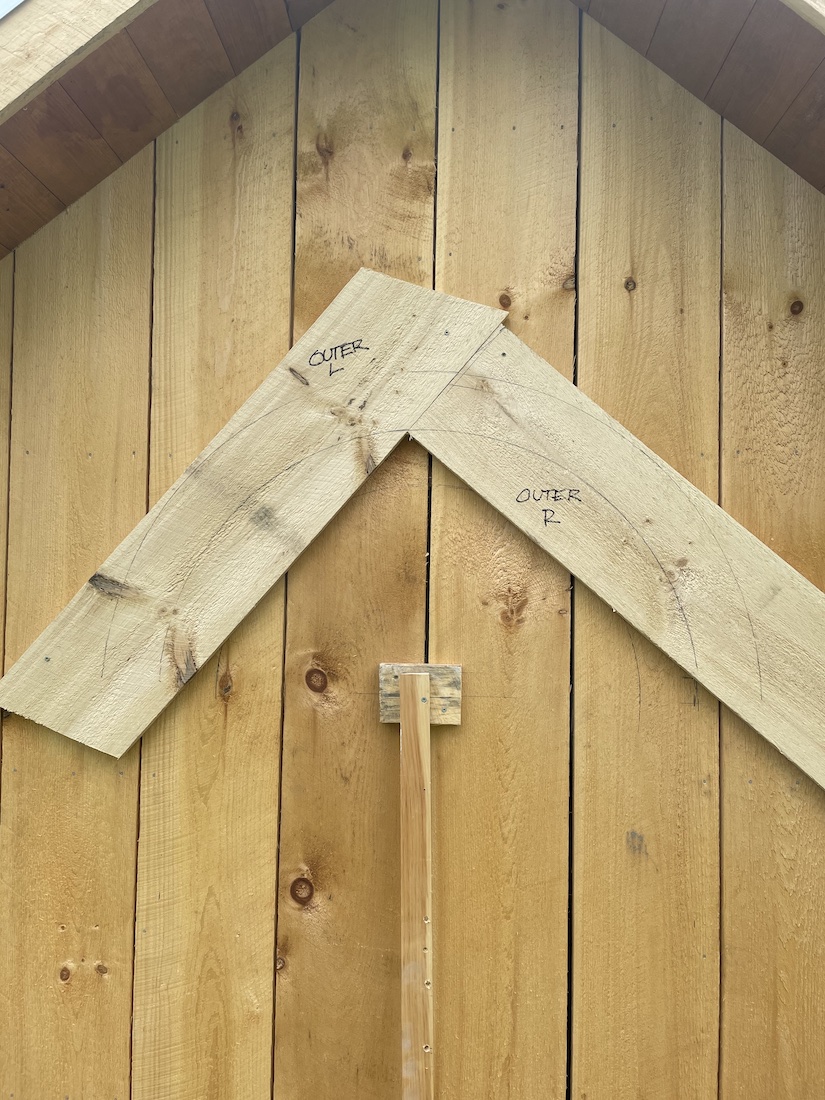
Once those pieces are marked you can go ahead and cut out the door, I used a jigsaw for the round curve and circular saw to do the majority of the other cuts and then finished out the bottom with a hand trim saw. Once the boards were down, I cut out the pieces for the inner and outer trim that I had marked earlier.
Then Build a Round Top Door
Building a plank door is ridiculously simple. Clamp the planks, screw in a support on top and bottom, add a brace.
I clamped up the door and attached the trim pieces with siding nails on the front, and then screwed them in from the back for extra hold.
I realize this is a very short description, but honestly once you have the shape cut out and the trim pieces cut to size, it is that straight forward.

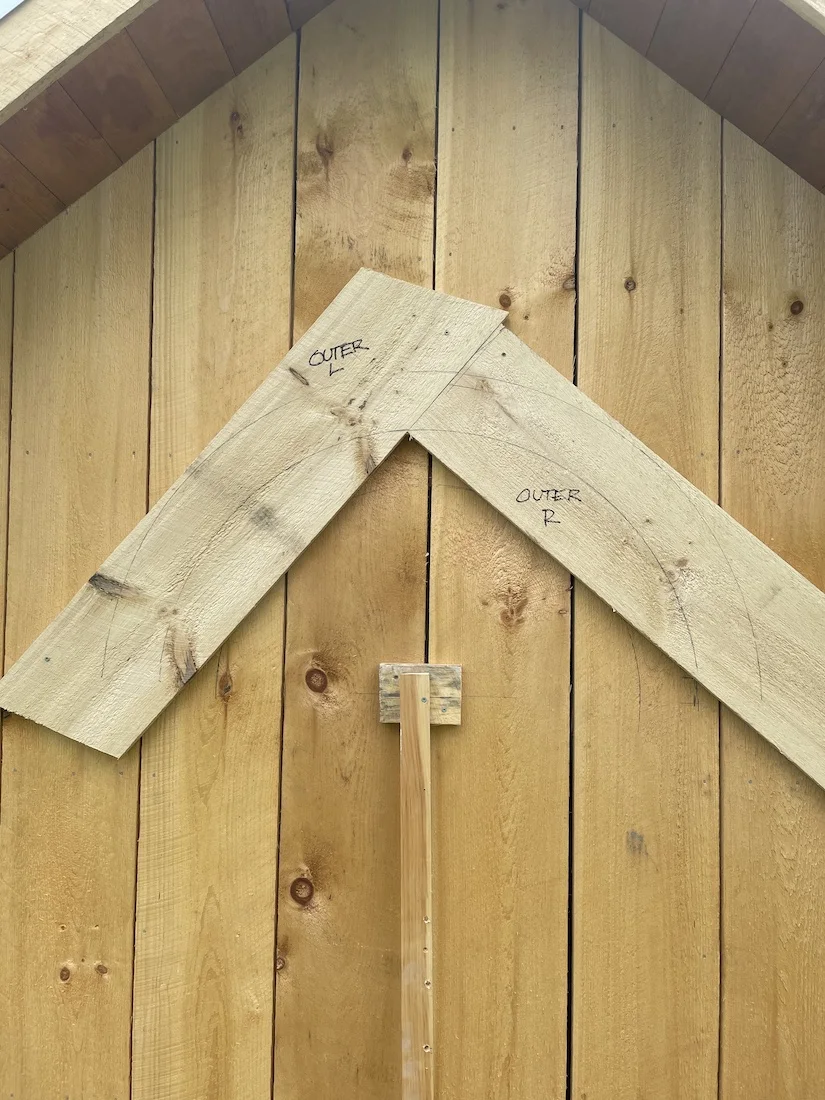
You can see the pencil line track on the door and the shed showing how the trim should fit. This pencil line is very helpful for putting up the trim later so you know exactly how the curve should look.
Hanging a Round Top Door
From there I put the trim up around the outside of the door frame and checked to make sure that the round top door fit. I didn’t have to get the jigsaw back out to get creative with shaving it down the arch. Thankfully. It fit, so all that was left was to add the hinges and door hardware.
I had to hang the handle a bit high because it ended up being thicker than the side trim and I didn’t want to add a back block, but it’s still functional.
One trick for hanging a door like this that can help immensely is to take a brace piece and temporarily screw it to either side of the frame, set the door reveals on either side to be roughly even and then screw the brace to the door.
That will keep the door in place as you do things like add hinges and add the handle.
Once that’s all done you have a beautiful round top shed door for your sheep, which they will pretend to not notice, but deep down they will appreciate the artistry. Maybe.
Paint Stain it black
Once you have a round top door you can then do something crazy like stain it all black. The door, all the trim and the entire shed, all black.