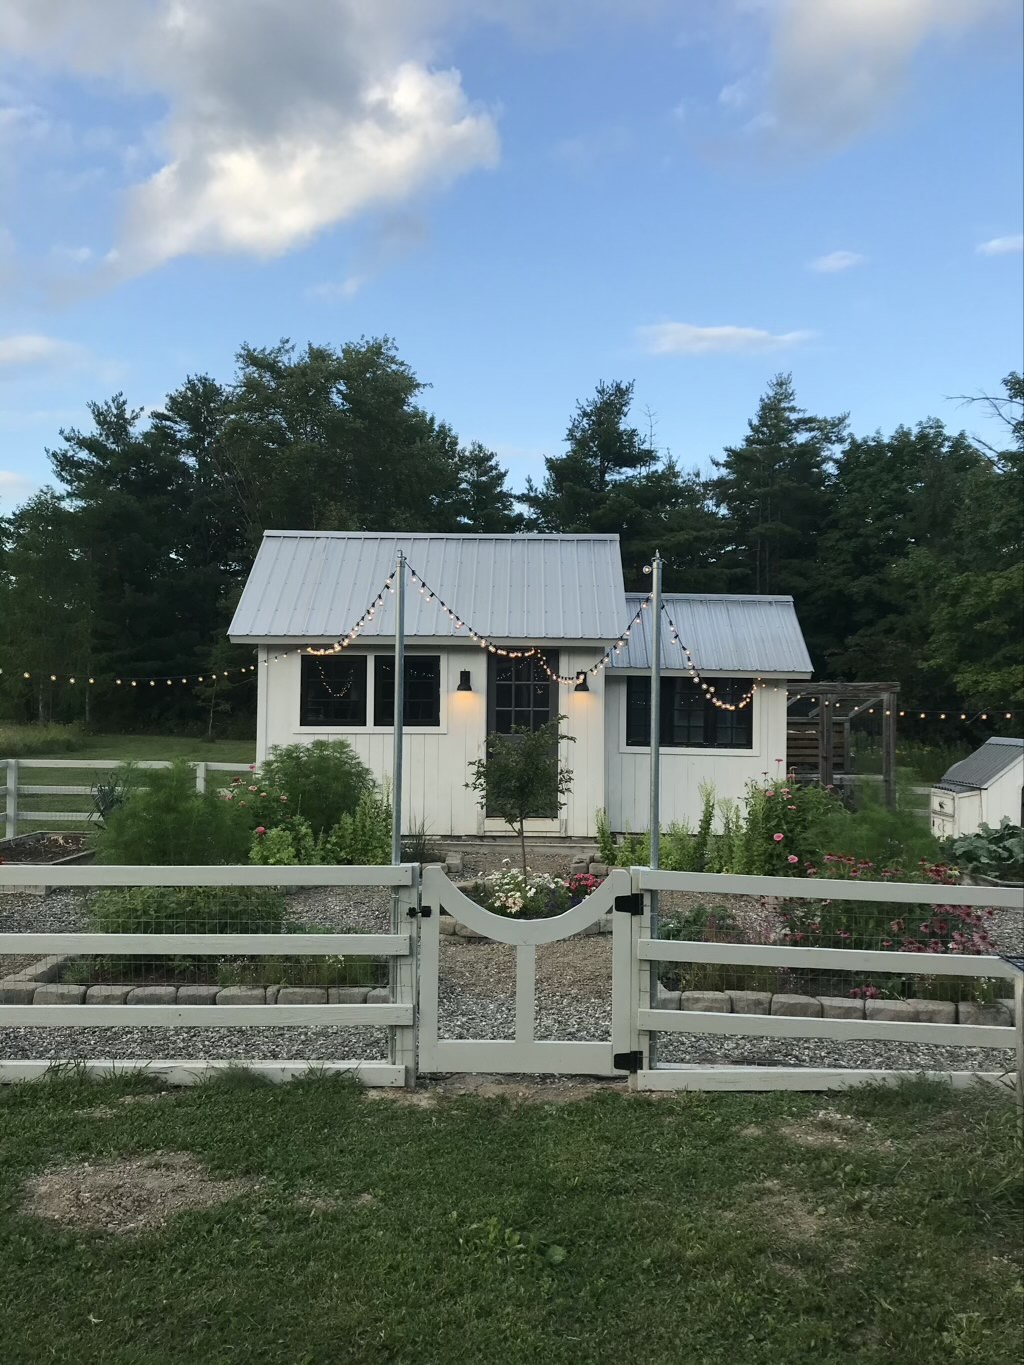
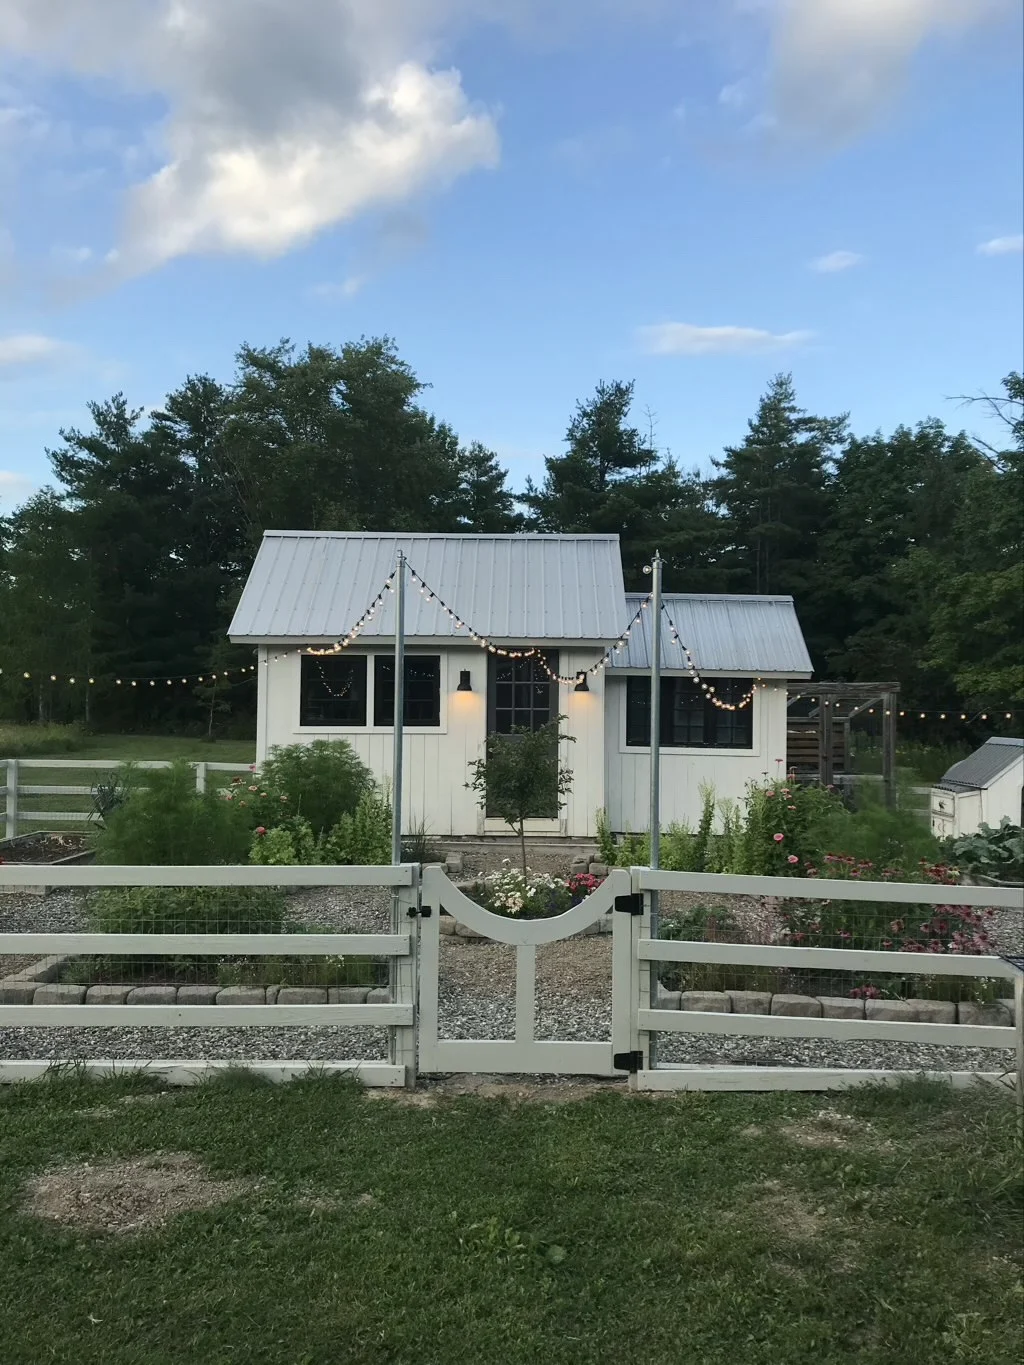
A garden fence to keep unwanted things out is great but it’s a lot more useful if you build a garden gate or two to let you in. When we were planning our fence the design of the fence was very easy, just some horizontal pieces over the posts with welded wire between, all stained a nice light gray. Easy. But what to do about gates?
We went back and forth on the design and eventually decided to build two different style gates for the garden. One X style for the front and back and one curved style for the side entrance in the center of the garden that faces the house and gets the most traffic.
X Style Garden Gate
The design for the front and back gates is a very classic X style gate composed of a square two-by-four frame with a double X made from fence pickets. Normally I would say these materials are cheap and they might have been when we built the gates originally, but now expect to let out a whimper of pain when buying any material, anywhere at any time.
The two by fours are cut to form a square, two at the same length for the top, and two at the same length for the sides (subtracting 3″ since they will be sandwiched by top and bottom pieces). Do yourself a favor, square this up, get a framing square and hold it on when making the next couple marks, it will help reduce the urge to throw it in a burn pile later.
Before you build the X’s figure out the width you’d like and rip the fence pickets to that width, I used 3.5″ to match width of the two-by-four rails. The easiest way to make the X is to mark a center line on your fence picket and then line up that with the corners. Mark the cut lines and you get an easy cross piece. Make two cross-pieces.
From there you want to put another piece under and lay a cross-piece over top, marking the corners and the intersection of the cross piece. This will give you a left and right side. Make two sets of these pieces.
Now please break out the Kreg Pocket Hole jig of choice and get after it. You will need pocket holes in the corners for one X (the cross-piece and two sides) and pocket holes for all separate side pieces to join to the cross pieces. Basically assemble two Xs (feels weird because Avengers Assemble but it was always ‘To me my X-men!’…) and set those aside.
At this point its going to be A LOT easier to stain your pieces before you start assembling. Take some time to do that. Pick a pretty color. Don’t do bubblegum pink, you think it will look fun but you will regret it and spend months trying to tell yourself it is quirky and fun but secretly hating it. (I’m kidding, if you want to rock a pink garden fence by all means, have at it.)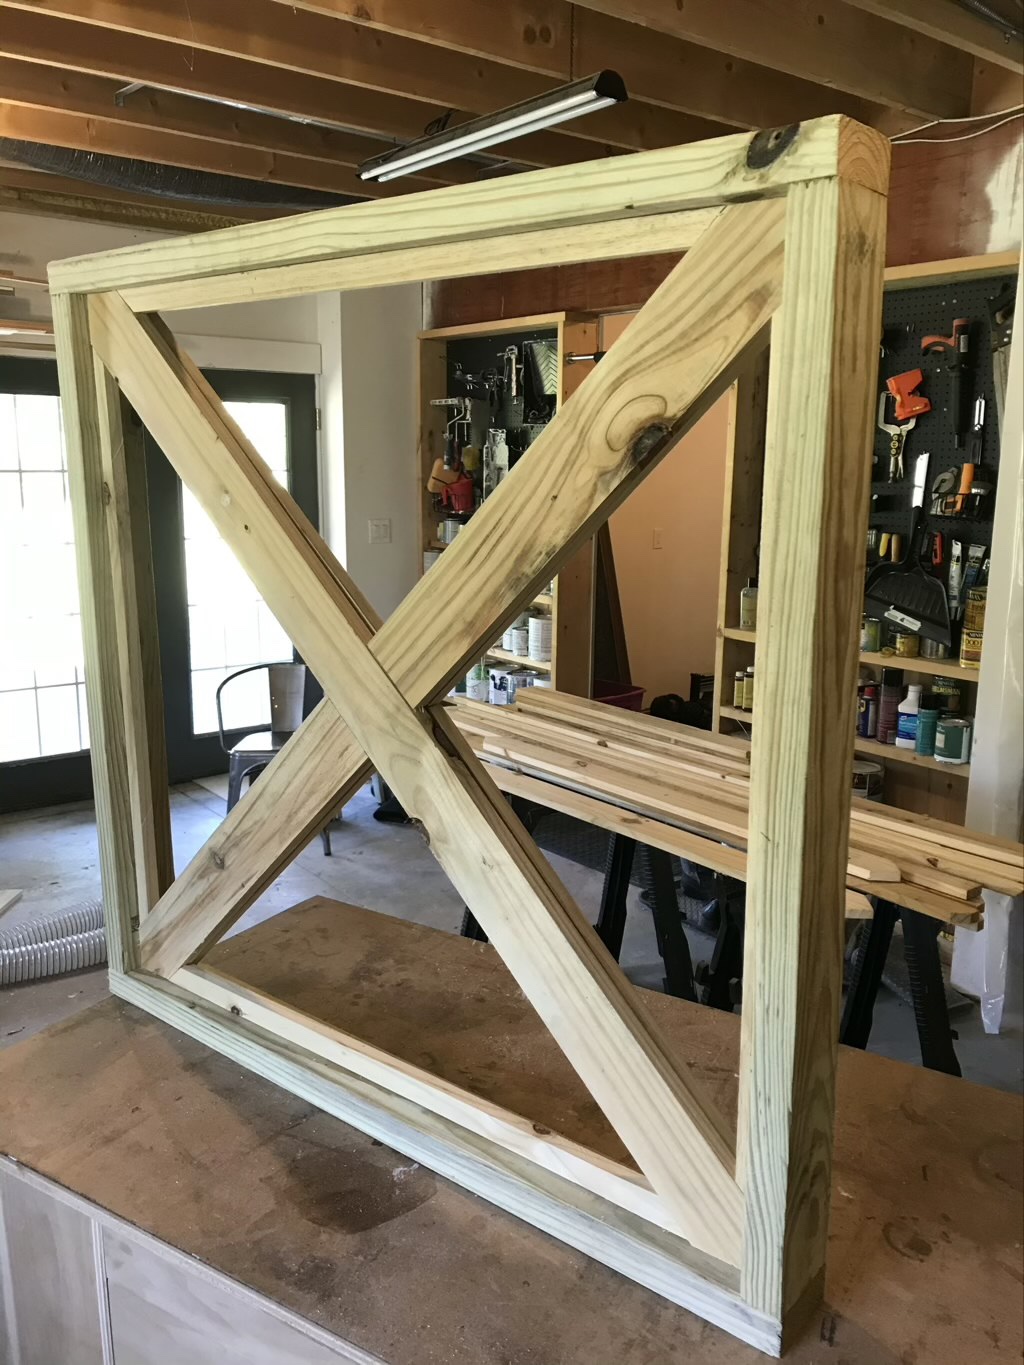

Propping up the X from underneath to get an even reveal on either side, and screw in the corners. Sandwiching the welded wire between the Xs, lay the other X on top and then screw in to the first X. Adding some trim between the corners will add stability.
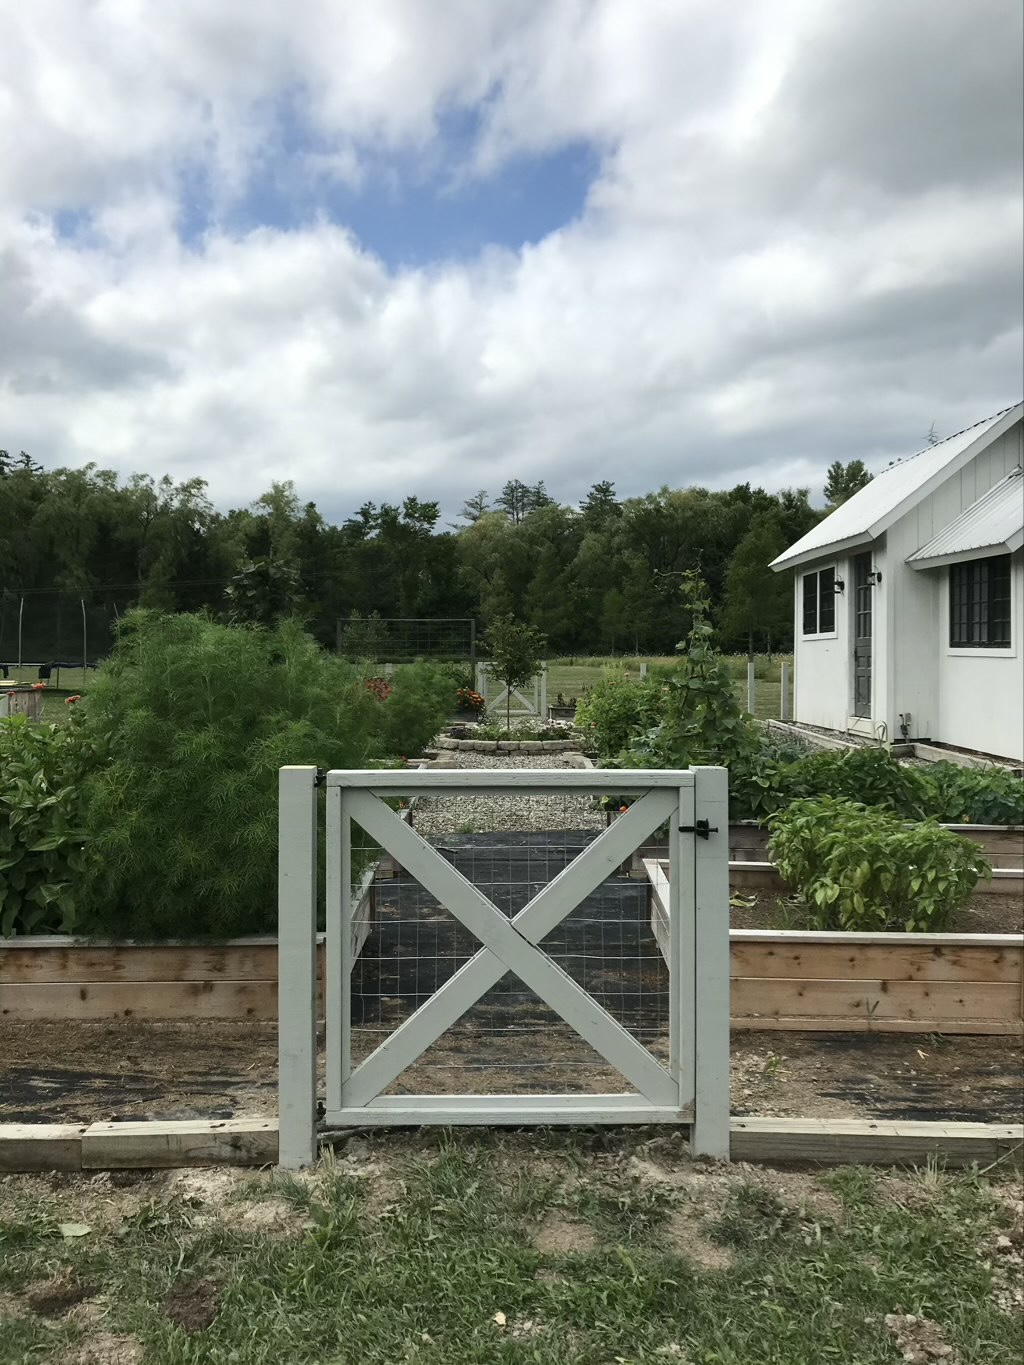
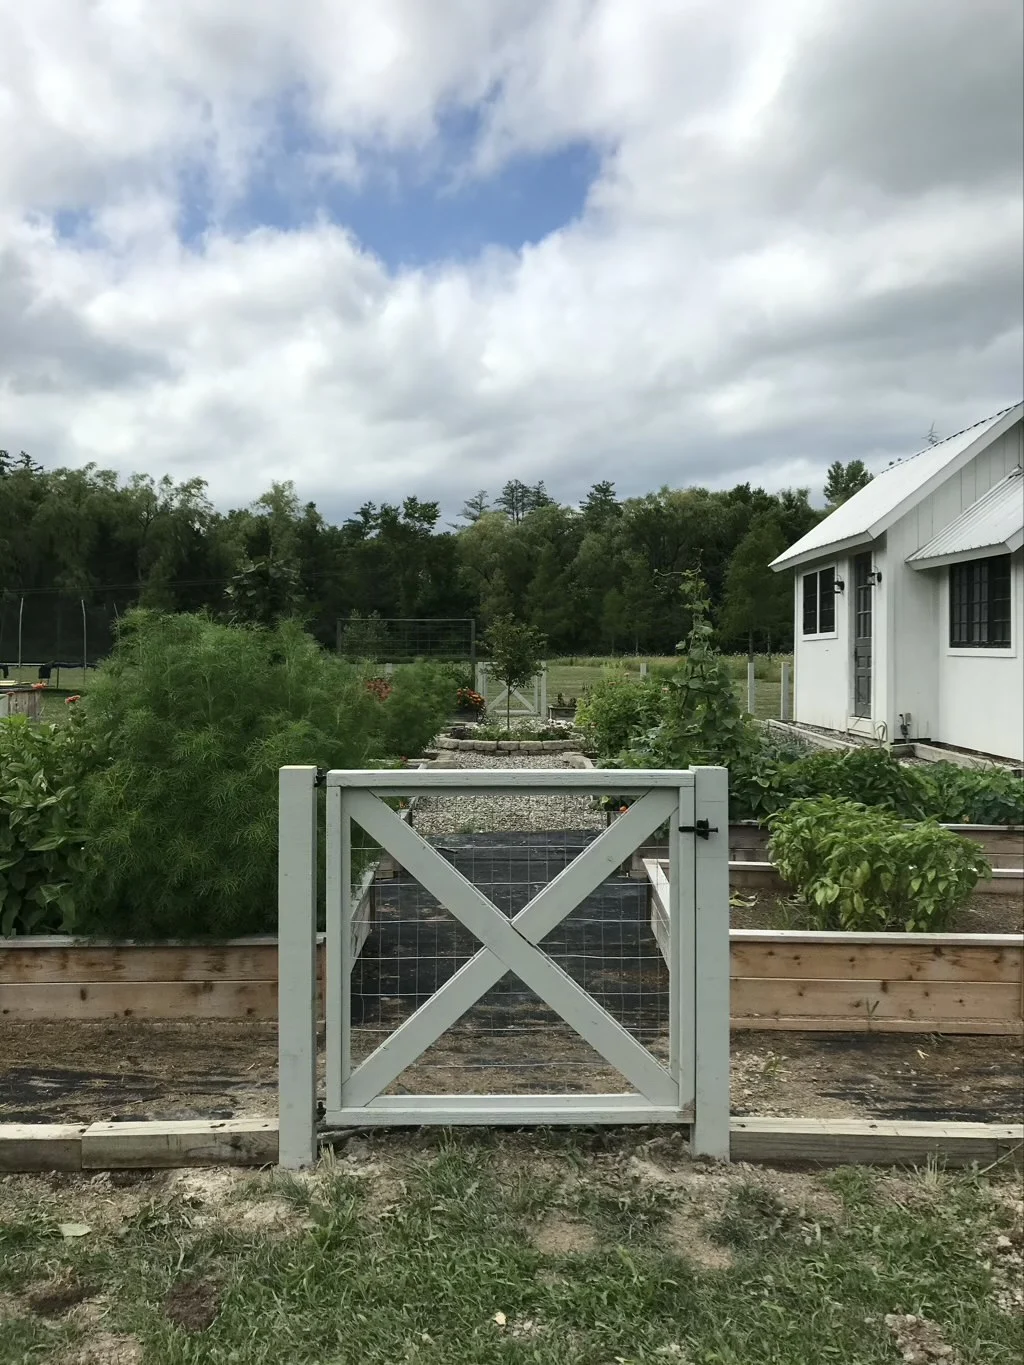
I hung these gates with these 5″ gate hook and eye hinges. The hinges eat up a little more space than I expected and would have needed even more if I wanted to have the gates swing bi-directionally. I did use these again in the sheep stalls and knowing more about they worked was able to plan better for them.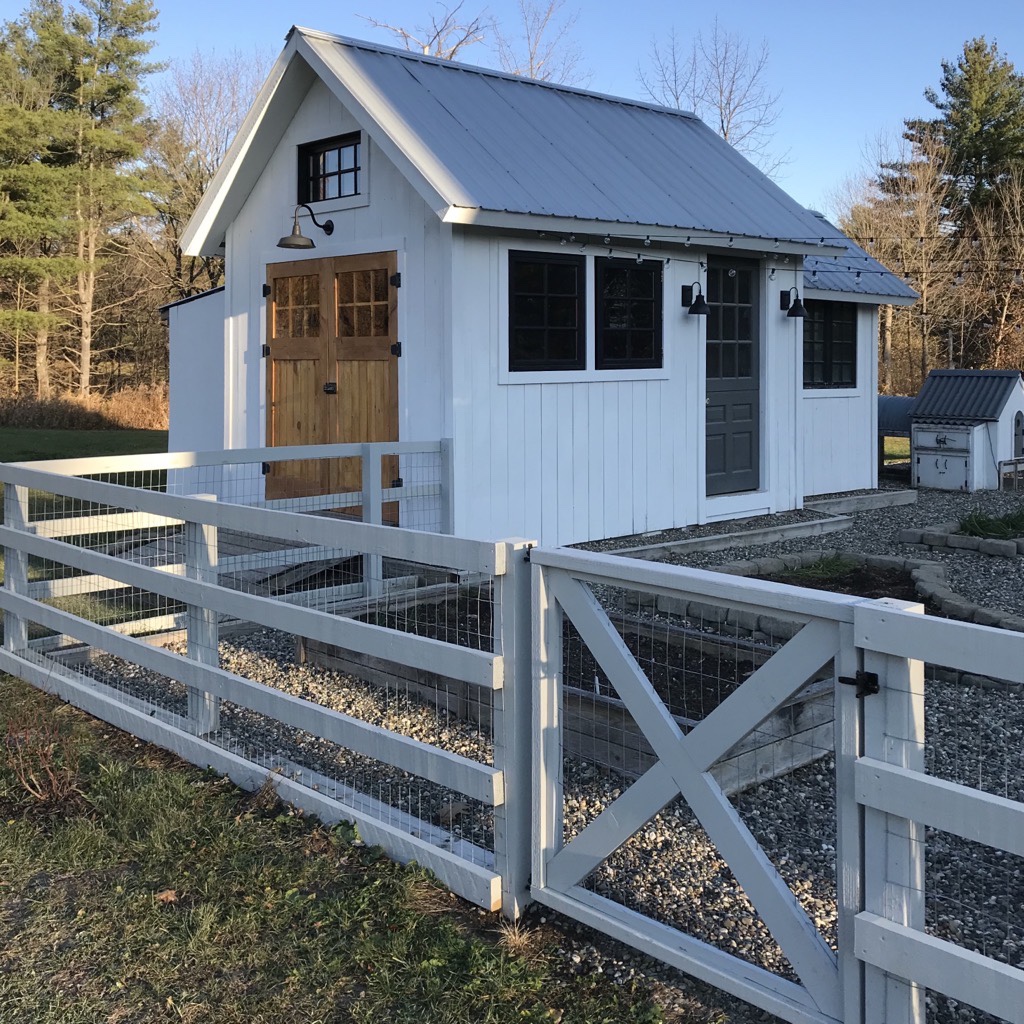

Curved Style Garden Gate
For the next gate we decided to go a little less functional and a little more wow. We had already drawn from Joanna Gaines fence as inspiration and so again dipped into that wellspring of design inspiration for the next gate. It’s classy, it’s simple, it’s way the heck too big for our garden. 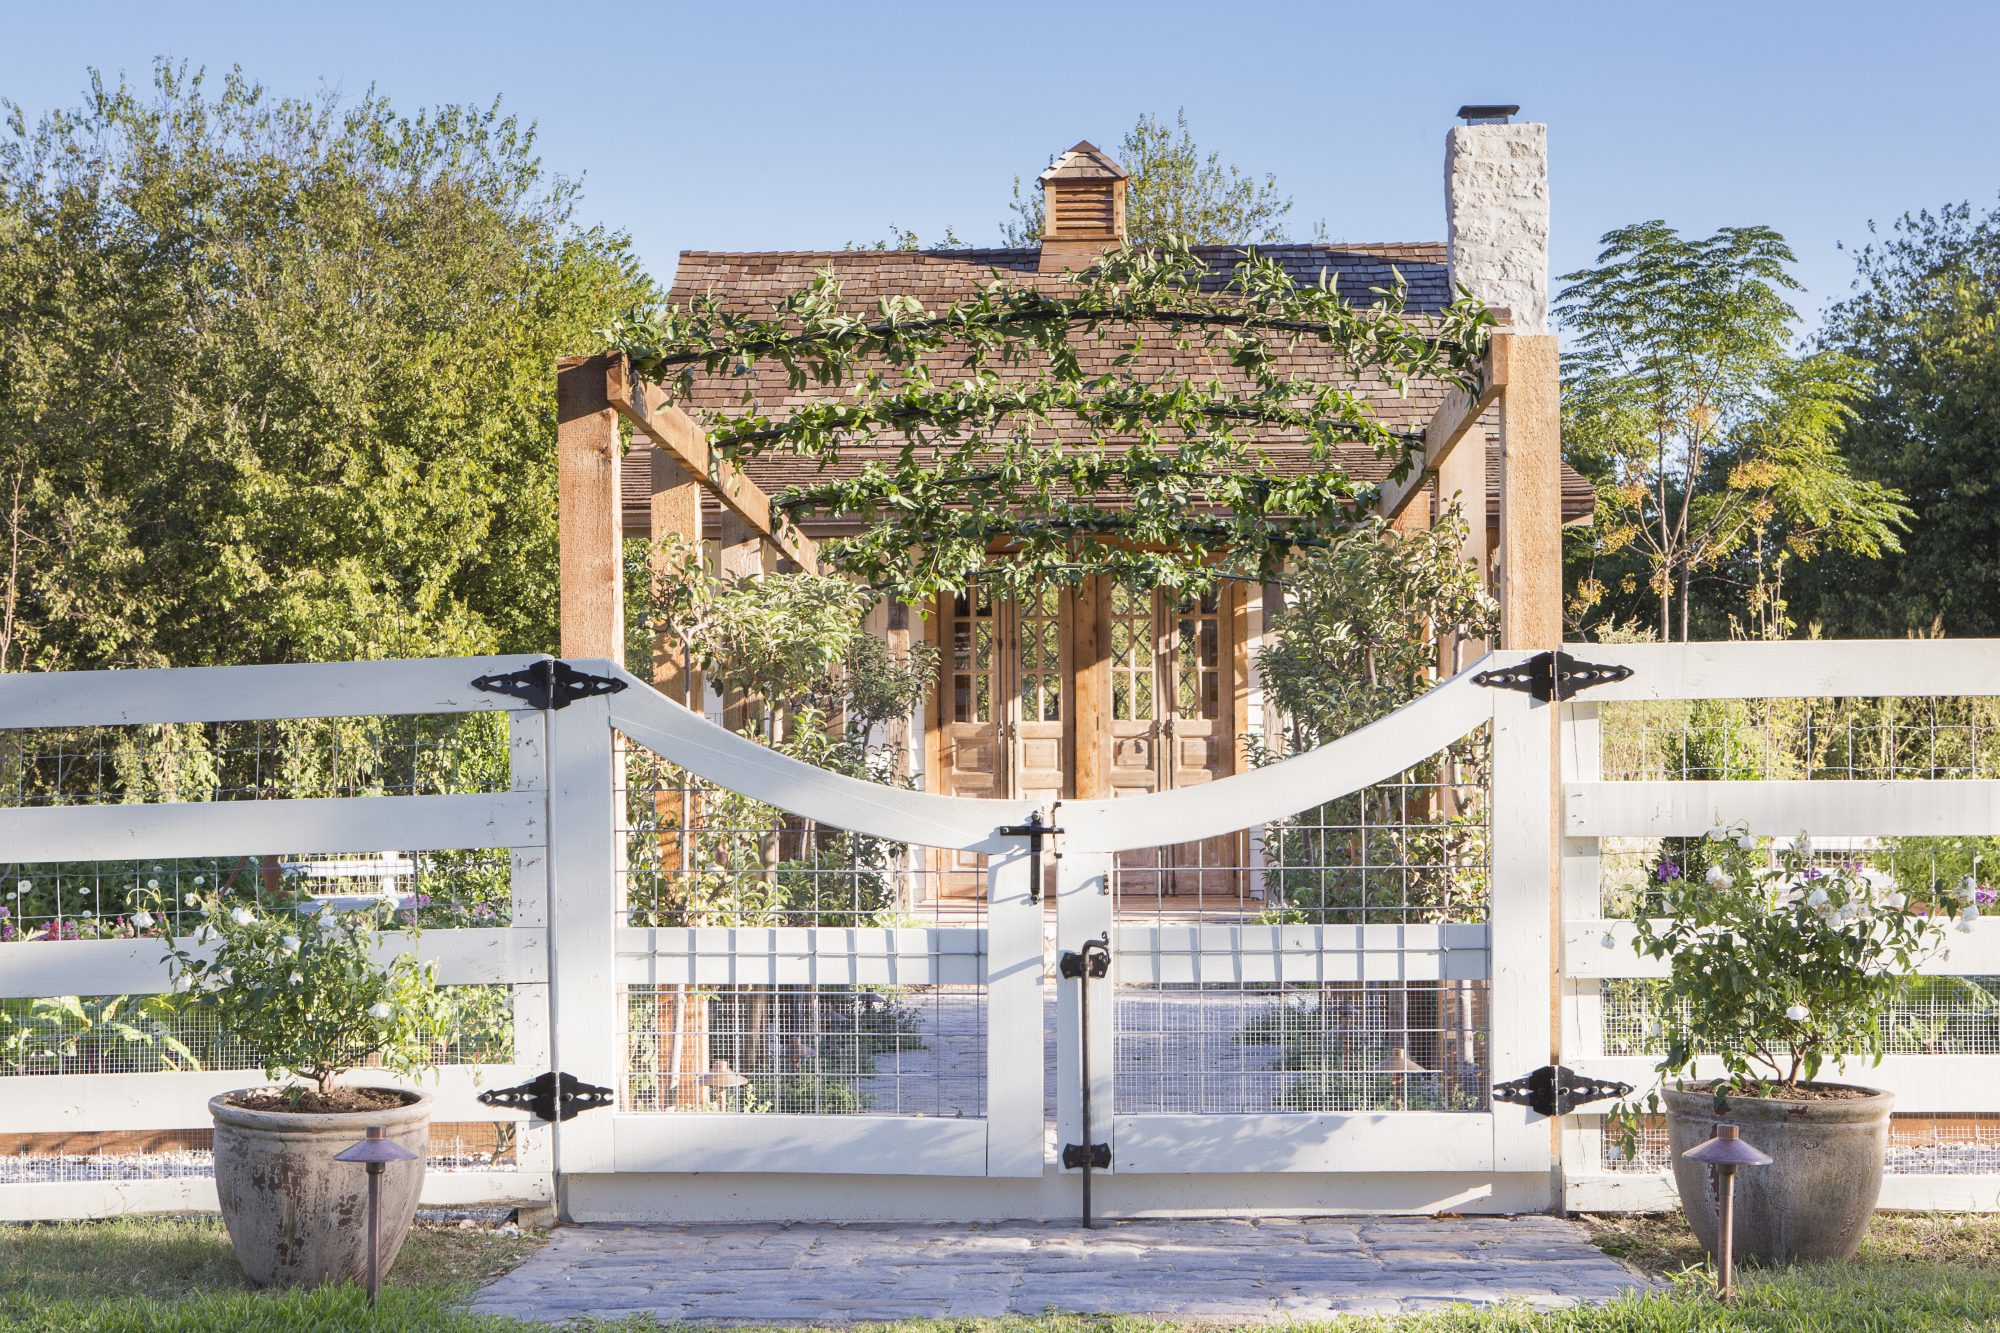
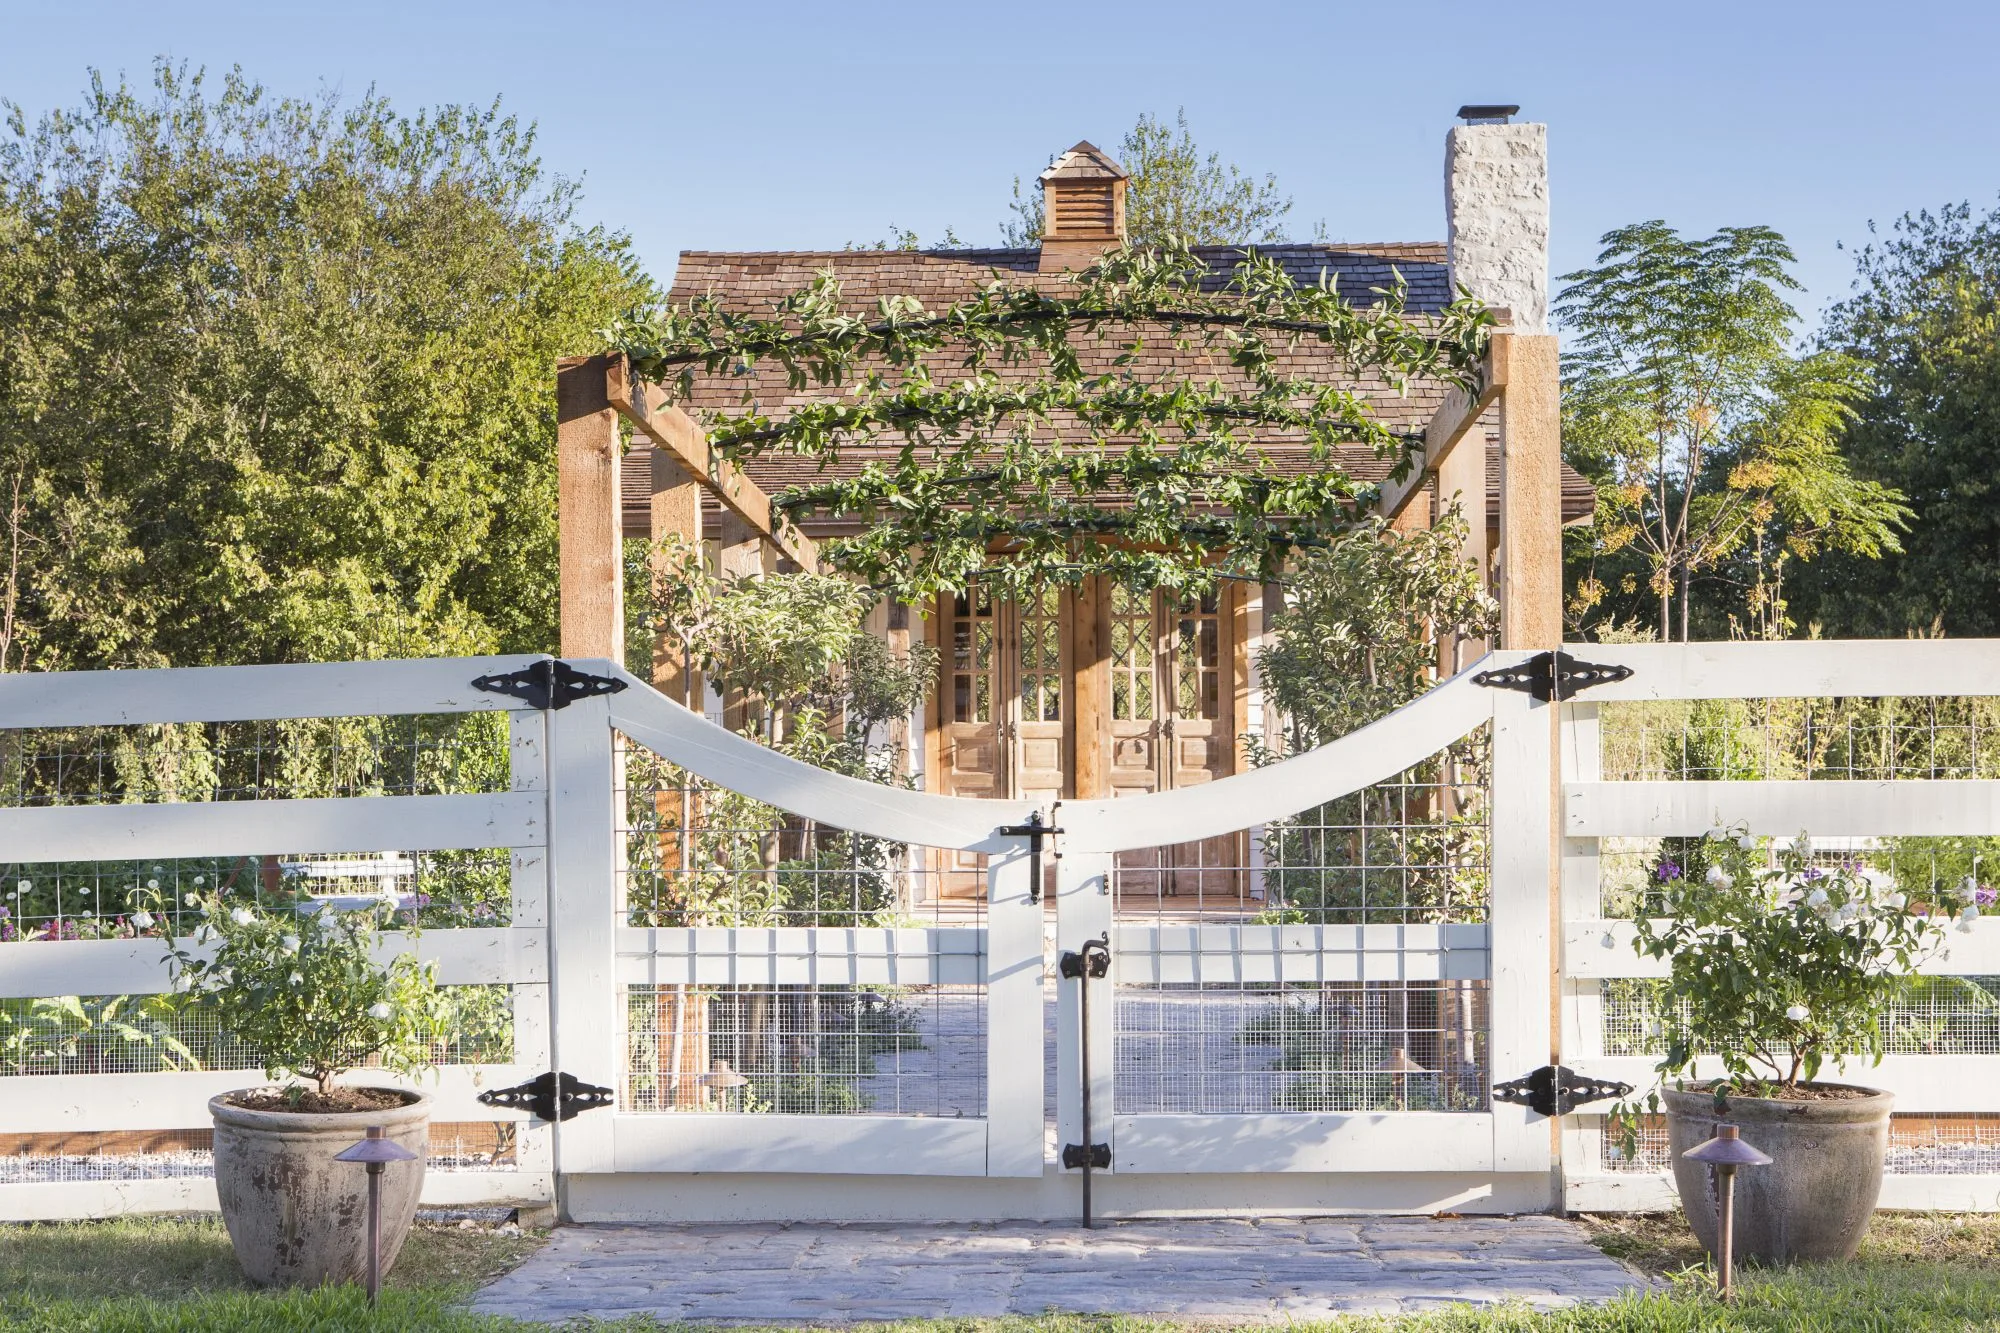
So we took that idea and scaled it down to a garden on a slightly less grand scale and after some sketches (a lot of sketches (no seriously so many sketches)) came up with a simpler version.
The key to getting double spousal agreement was eliminating the horizontal piece, which makes the smaller version way too busy. This is actually the same reason our lower fence has fewer cross pieces, smaller scale means subtracting to keep things from getting too busy. 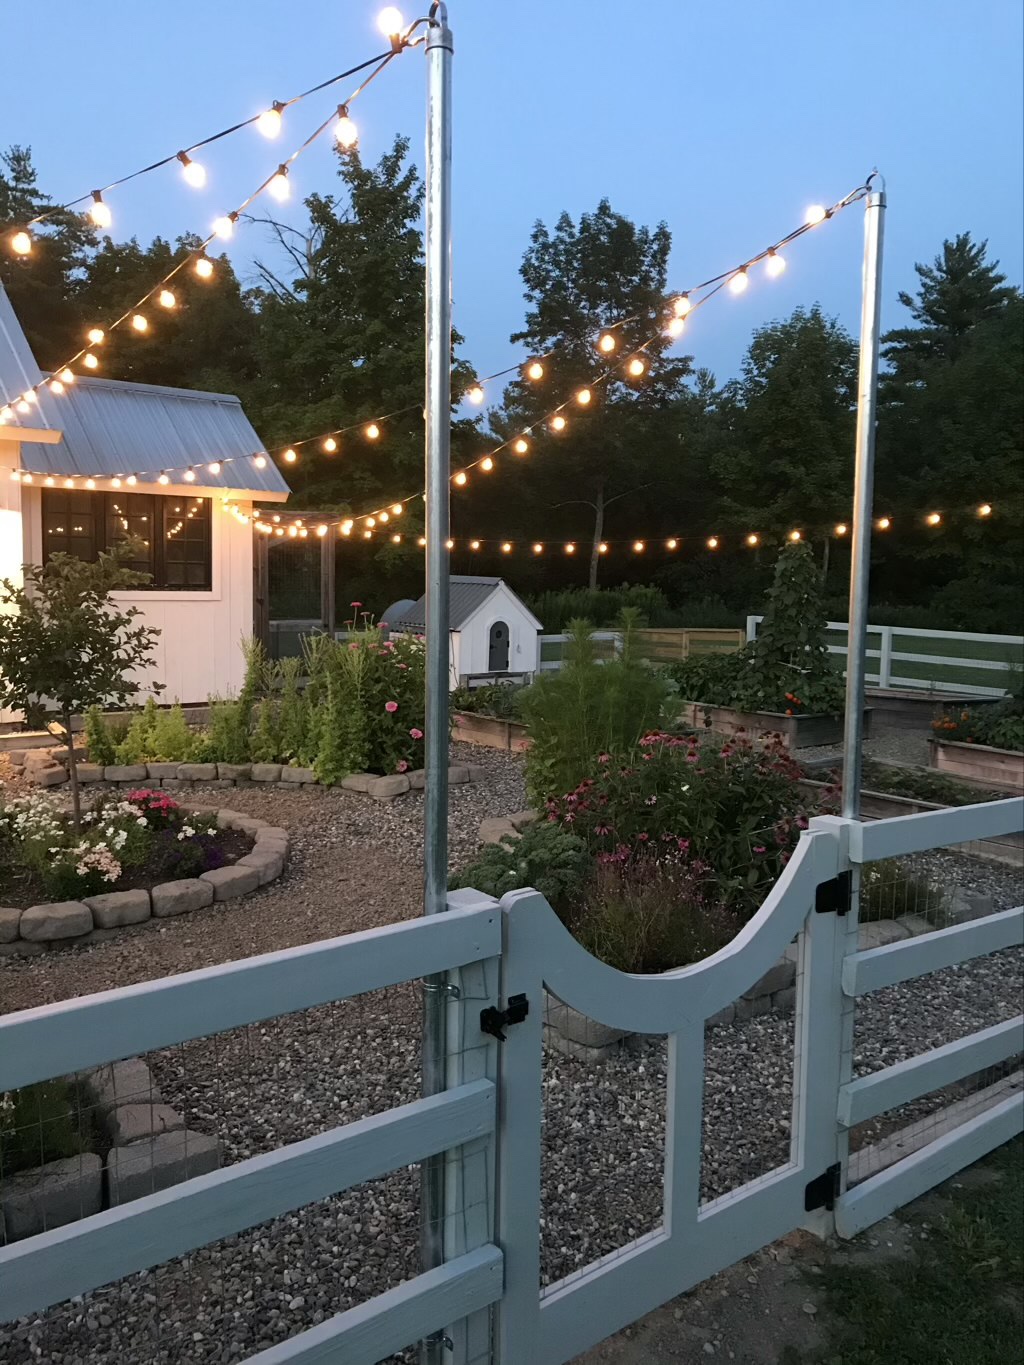

The concept for this gate is very similar to the inner X, we sandwich welded wire between two identical pieces that we pre-stain. The only complication is that we need the curve. Weirdly this does not include a circle jig. Seriously a strange amount of my early posts include circle jigs.
Nope, for this one I built the base and attached the uprights, then made a cardboard template. It would have been a lot easier if I had any material larger than 5.5″ wide. I could have glued up some pickets ahead of time, but instead cut multiple pieces. 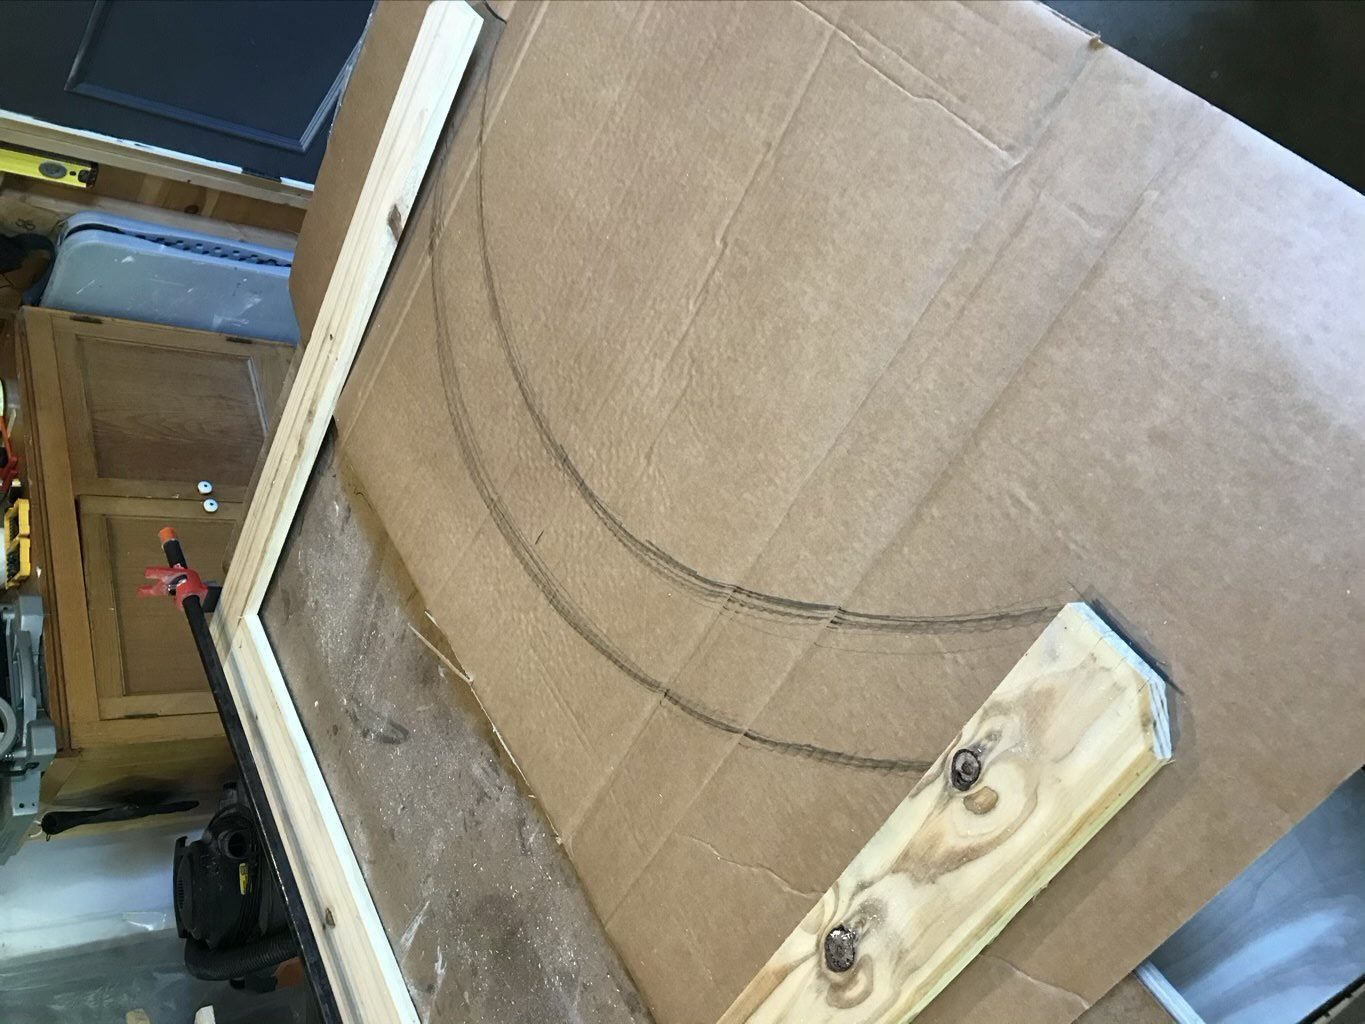
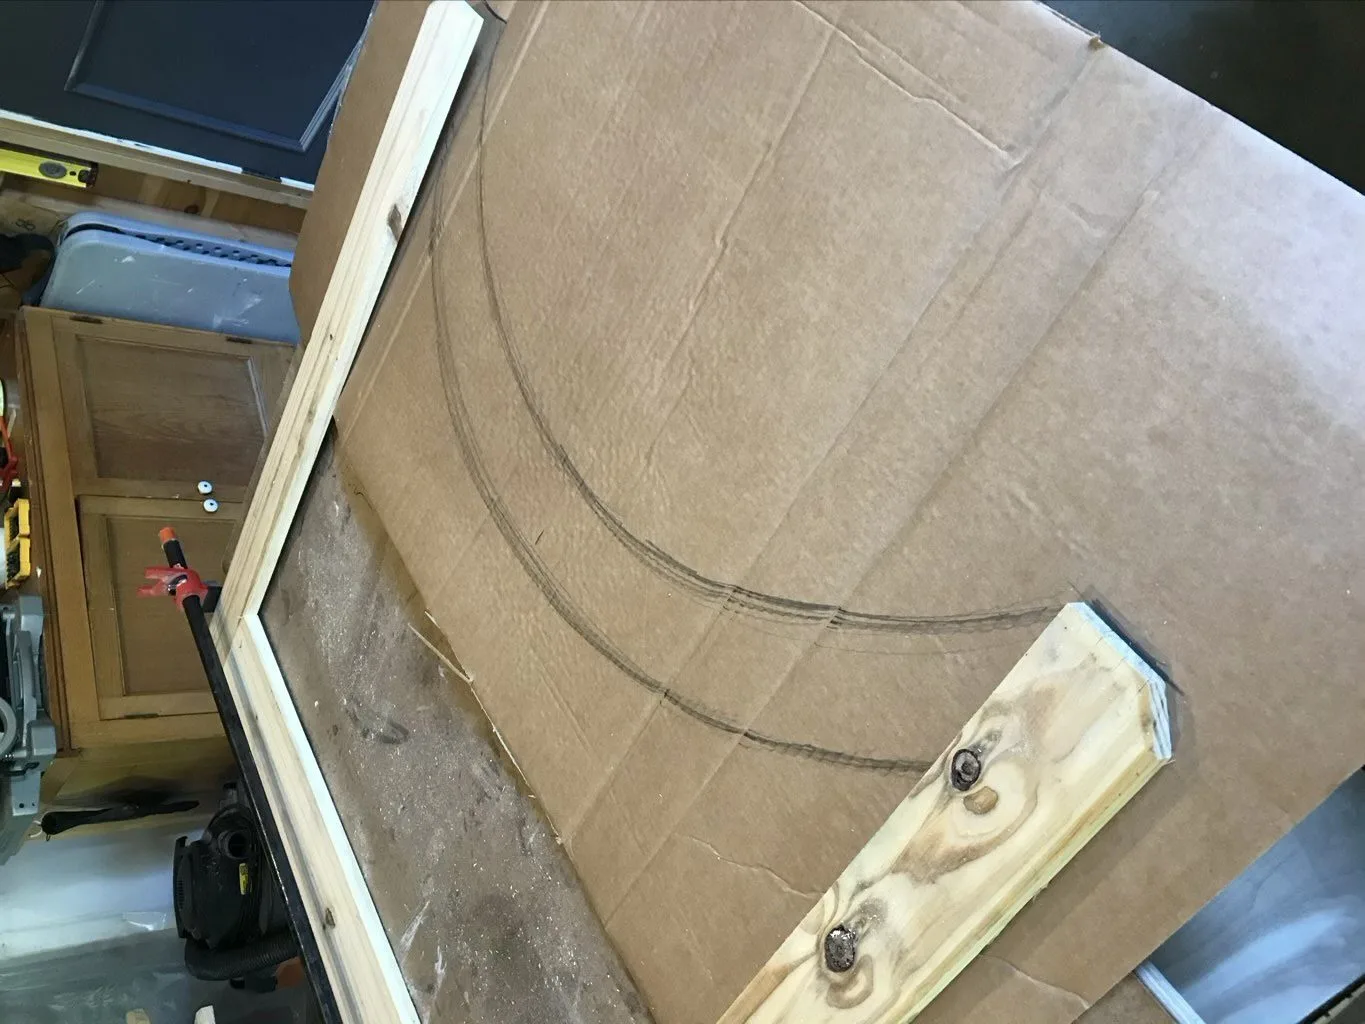
I freehanded the arch based on how deep of a dip I wanted, and trying to keep the width consistent with the width of the uprights. From there you cut out the template and fold it over to even it out and make sure it’s symmetrical.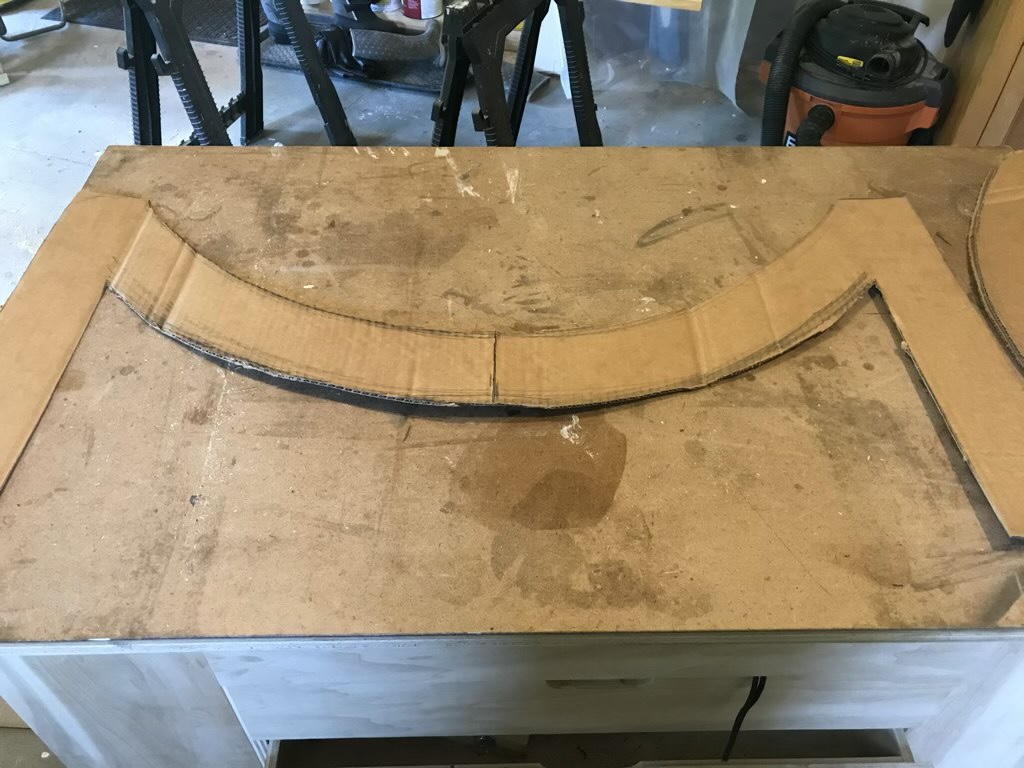

You will need to transfer that pattern onto multiple pieces, sadly I don’t have a photo of that but it’s very similar to the arch trim around this round top shed door. 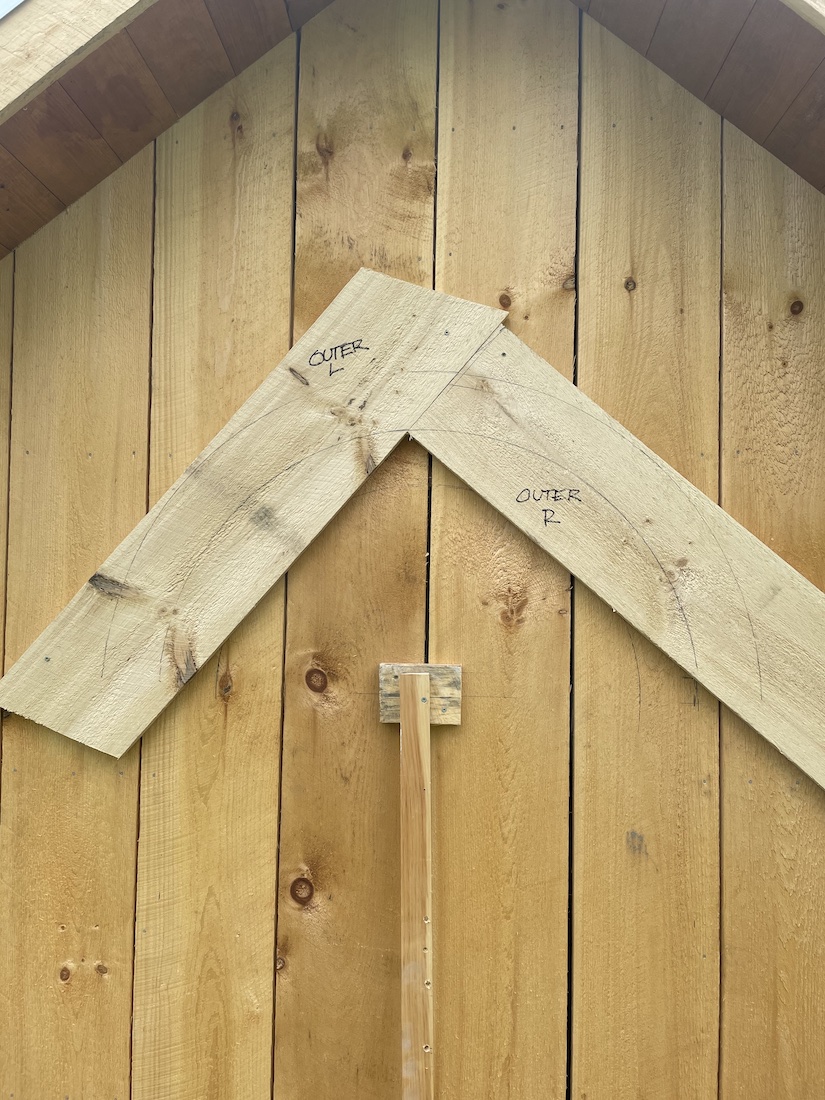
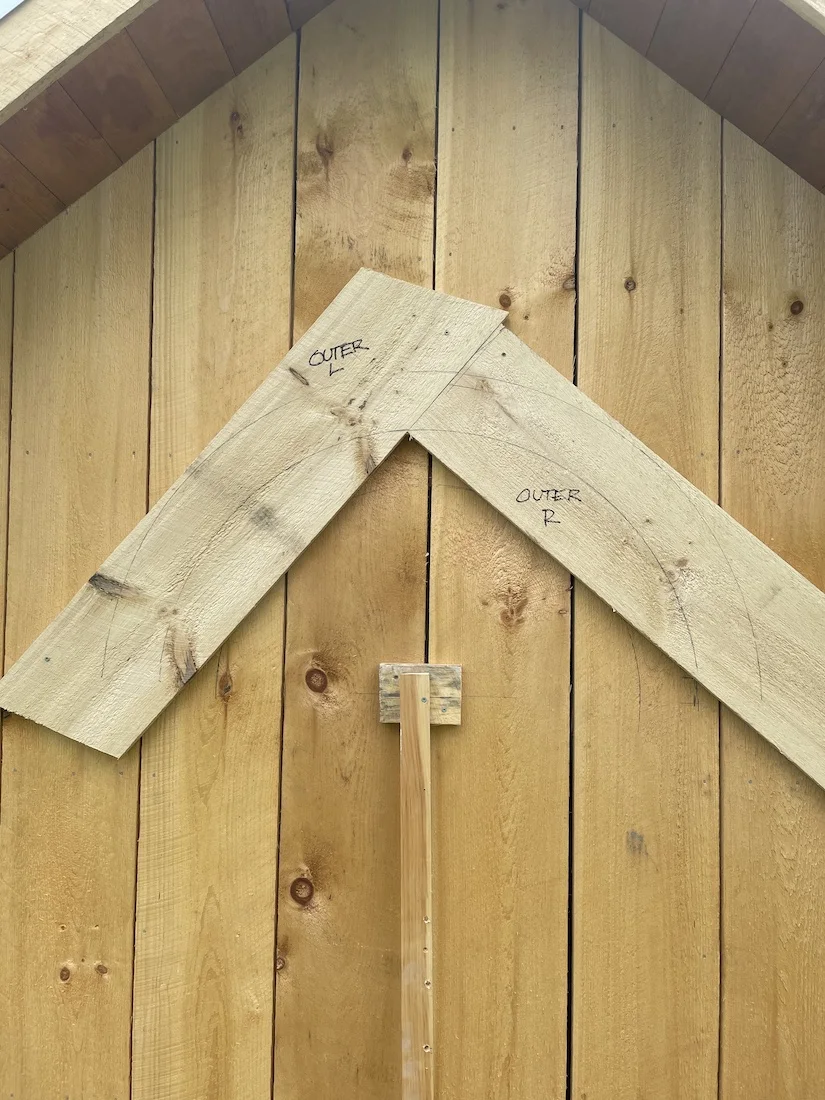
The multiple pieces are held together with pocket holes on the back side, which then get sandwiched together and hidden. Again before this fence gate sandwich gets assembled I highly recommend staining it on all sides.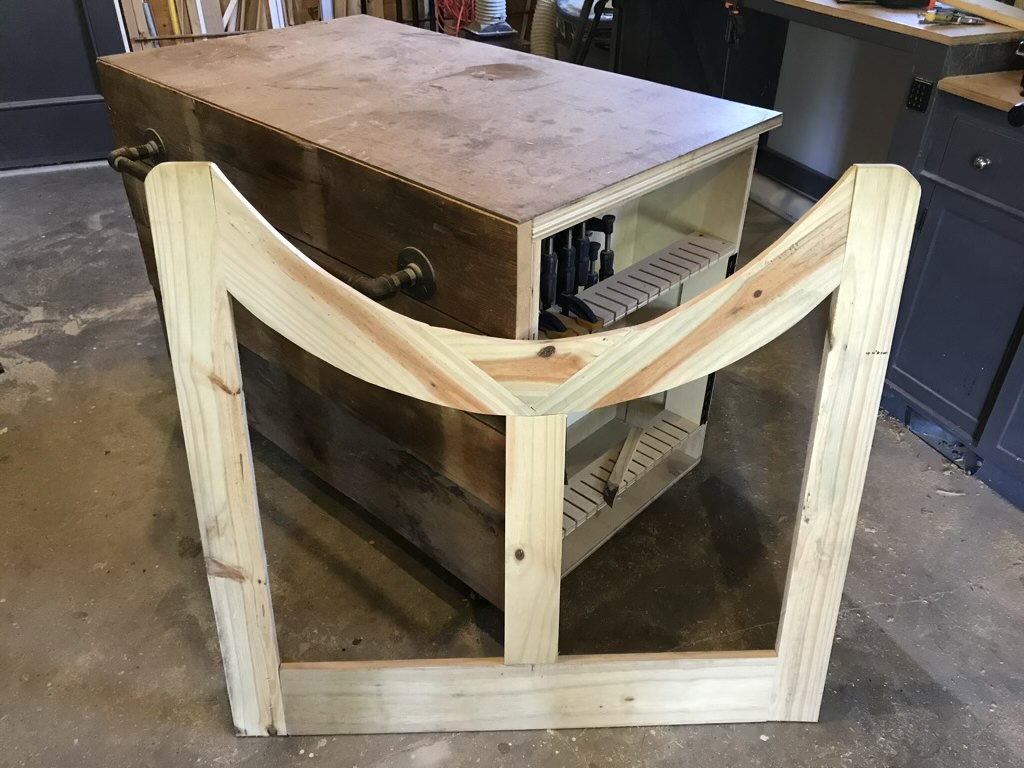

For hanging this gate, it was a lot easier to go with a self-closing traditional gate hinges. They help keep the gate shut when the kids are in and out a few hundred times a day. Sadly I haven’t found any reliable solution for the shed doors that they always leave open.