We didn’t play to diy a cheap firepit area this summer. However, when discussing the need for drainage in the sheep shed we needed a place to put stone. And if you give me a place to put stone, you get a firepit area? Or something.

What did we start with before the cheap firepit area?
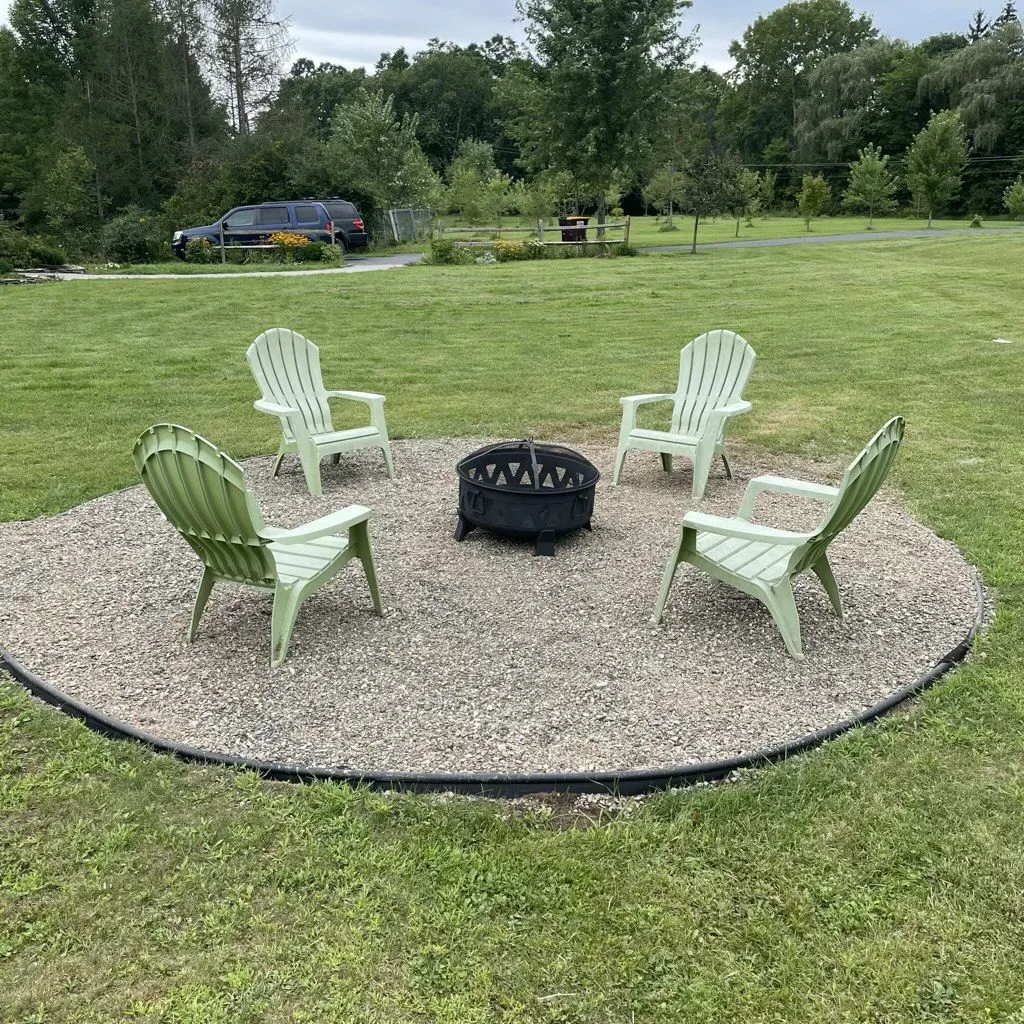
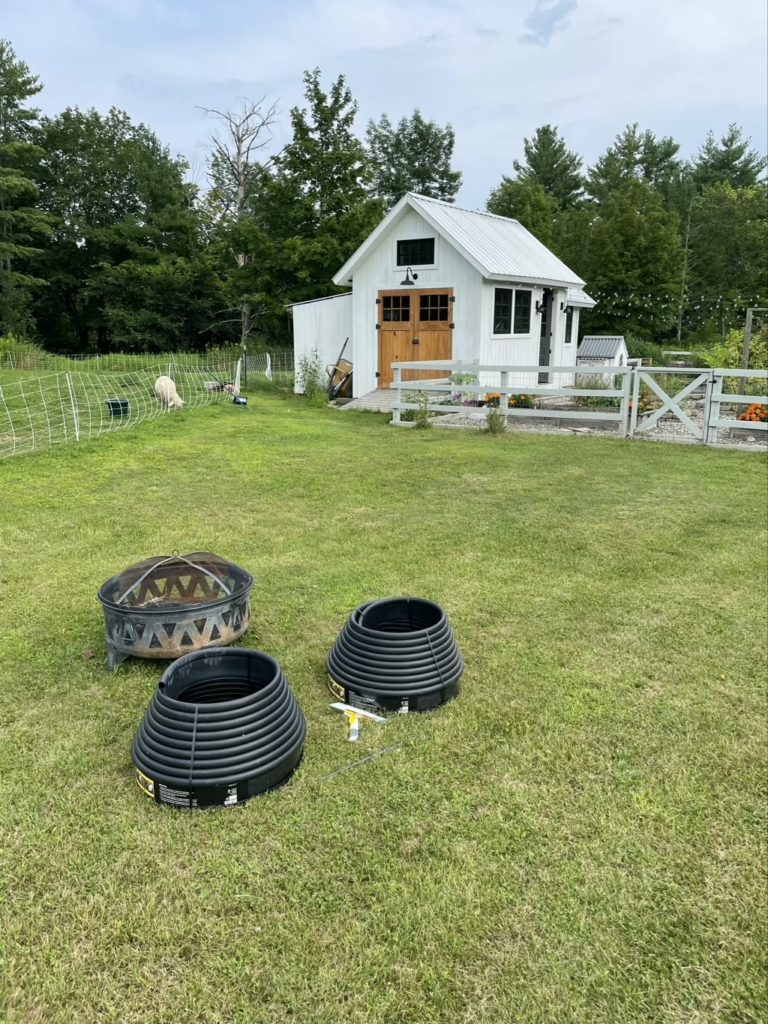
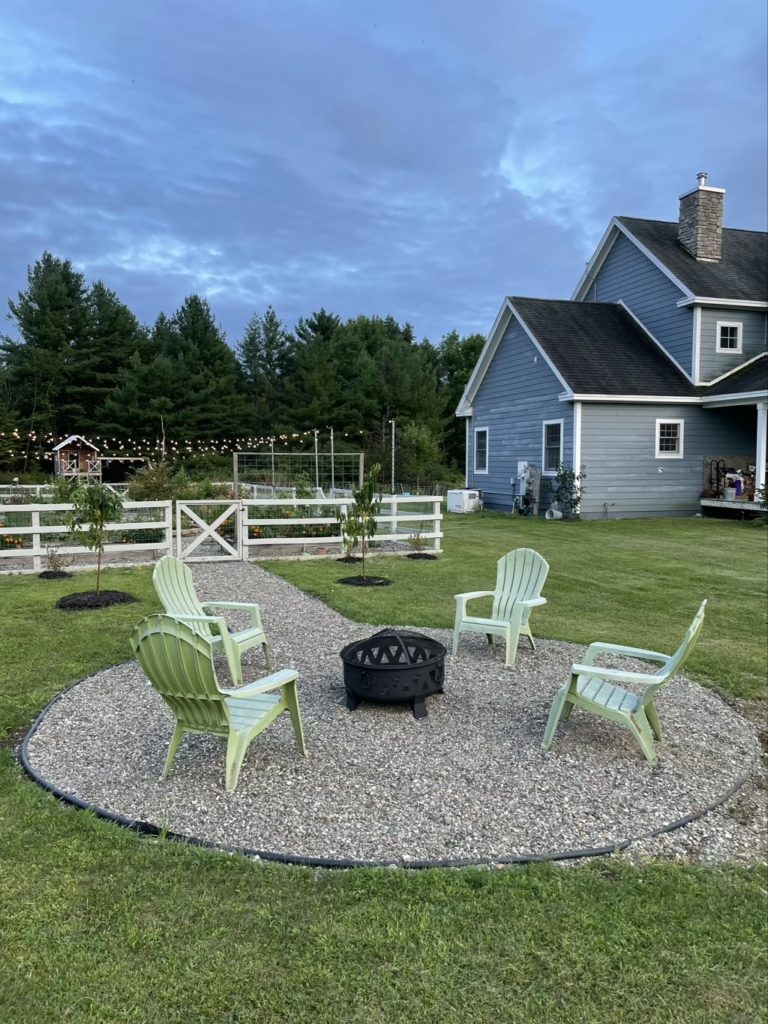
We already had a cheap firepit from Lowe’s that we had bought last minute before having some friends over. We already had the chairs (which desperately need to be replaced). The only material we bought for the project was some edging and a load of pea stone.
How much work was involved to DIY a cheap firepit area?
- First I read about how better DIYers tackled this project at the Yellow Brick Home
- Outline the shape
- Dig out for the edging
- Dig out the sod (unless the area was low)
- Put in the border
- Call it good enough
- Slap down some landscape cloth
- Fill with stone
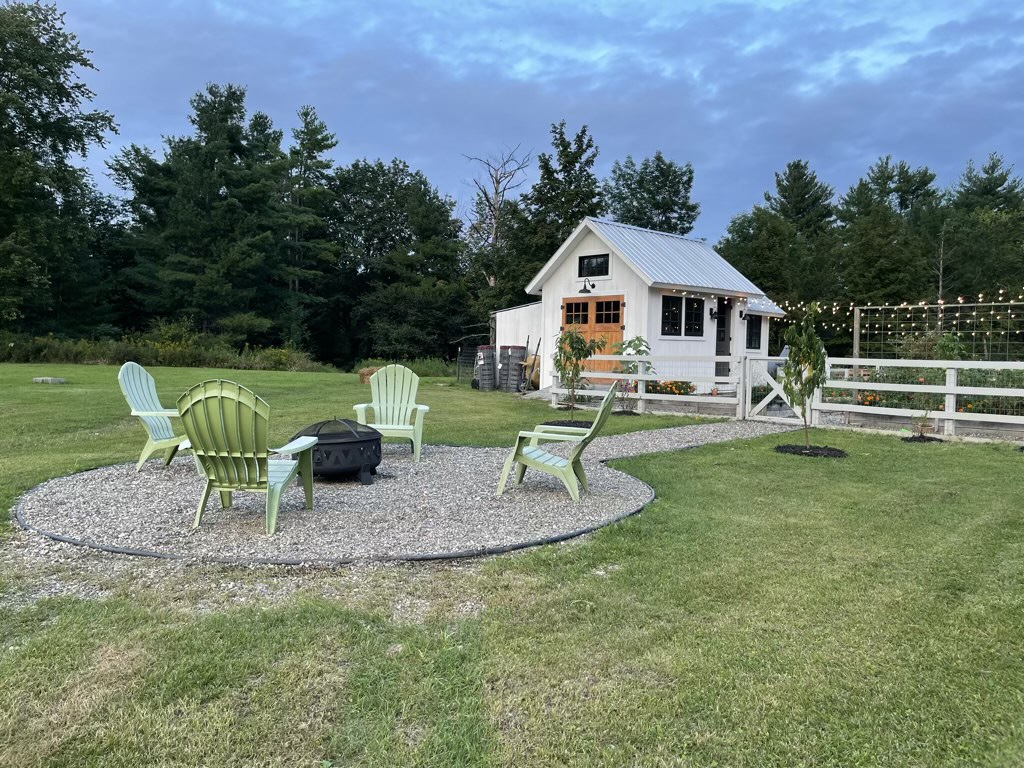
- Add peach trees because your wife has very patiently been asking for peach trees for years and you somehow have never gotten around to buying them.

How do you make the outline for the firepit area?
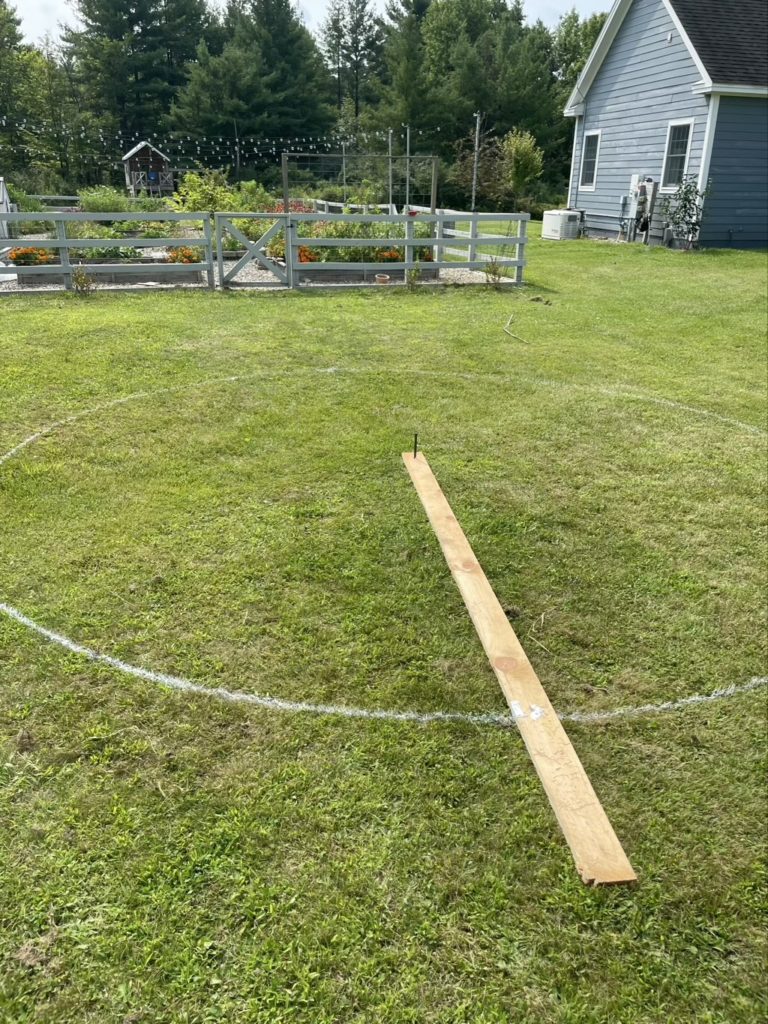
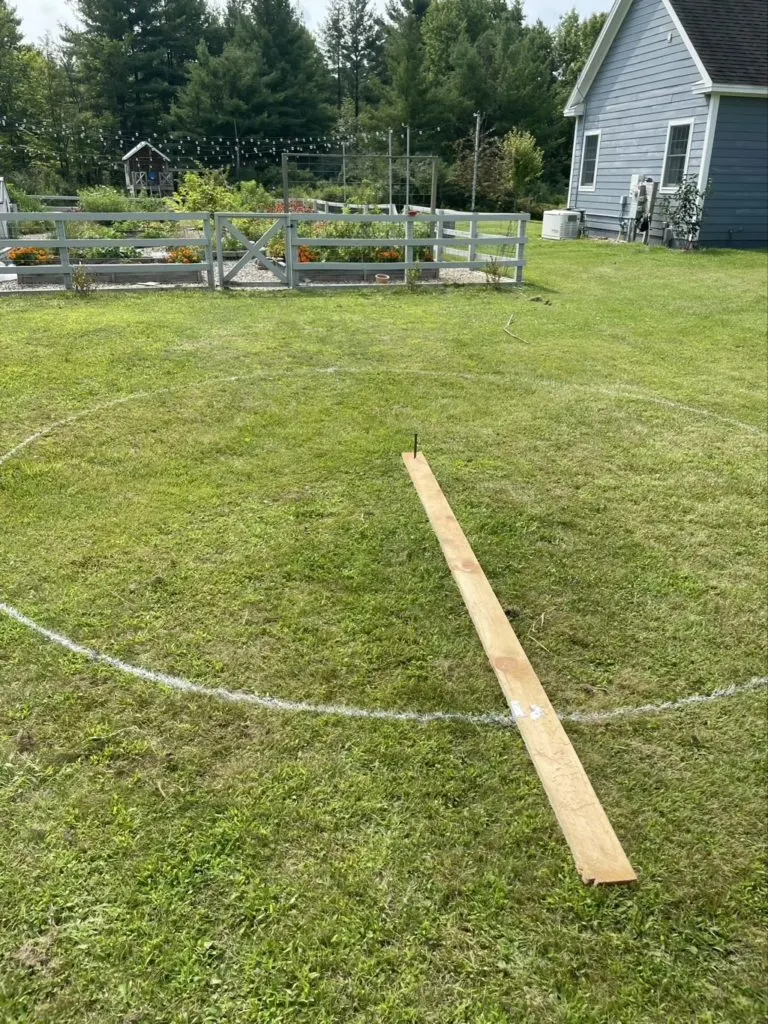
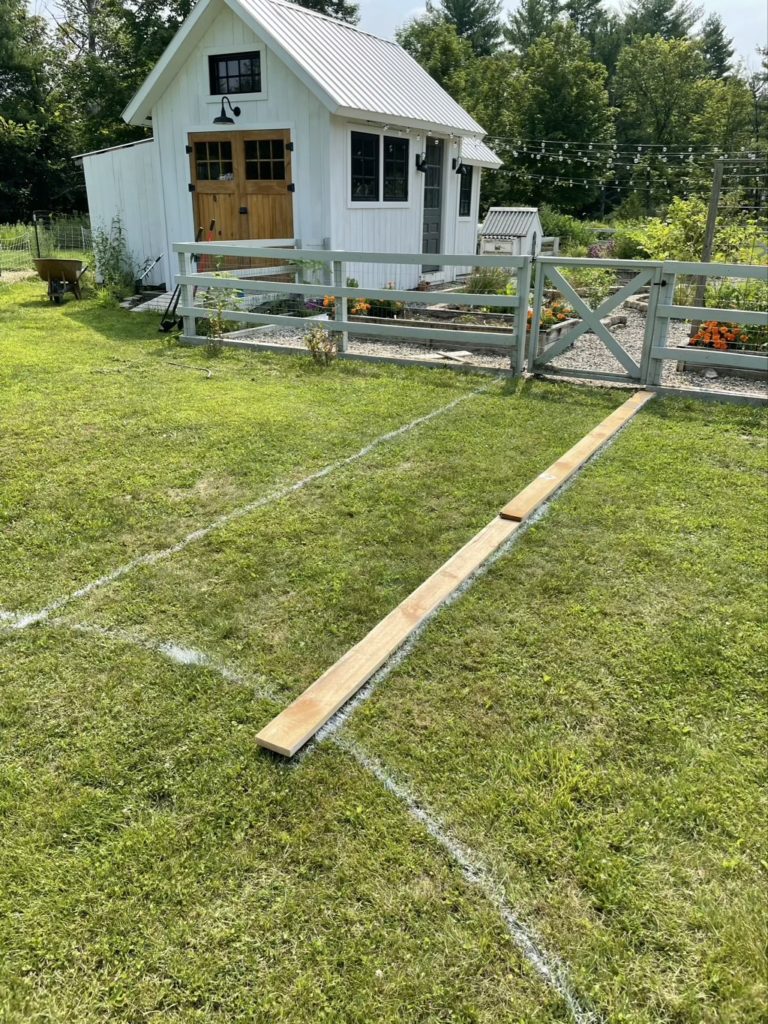
IT’S CIRCLE JIG TIME! There are other steps, but I love a good circle jig as shown here with the shed door and here with the garden expansion and kind of here with the garden gate. So I moved the firepit around until it was roughly aligned with the gate and then used math (Thanks Mr. Lagoy! (my very patient high school math teacher)) to make sure it was equidistant and square to the garden fence. Once I had that point I hammered in a piece of rebar.
With a center post in the ground, I drilled a hole in a scrap board and marked out my circumference from that hole. Spinning the board around the post and spraying at my mark I got a pretty darn good 16′ circle.
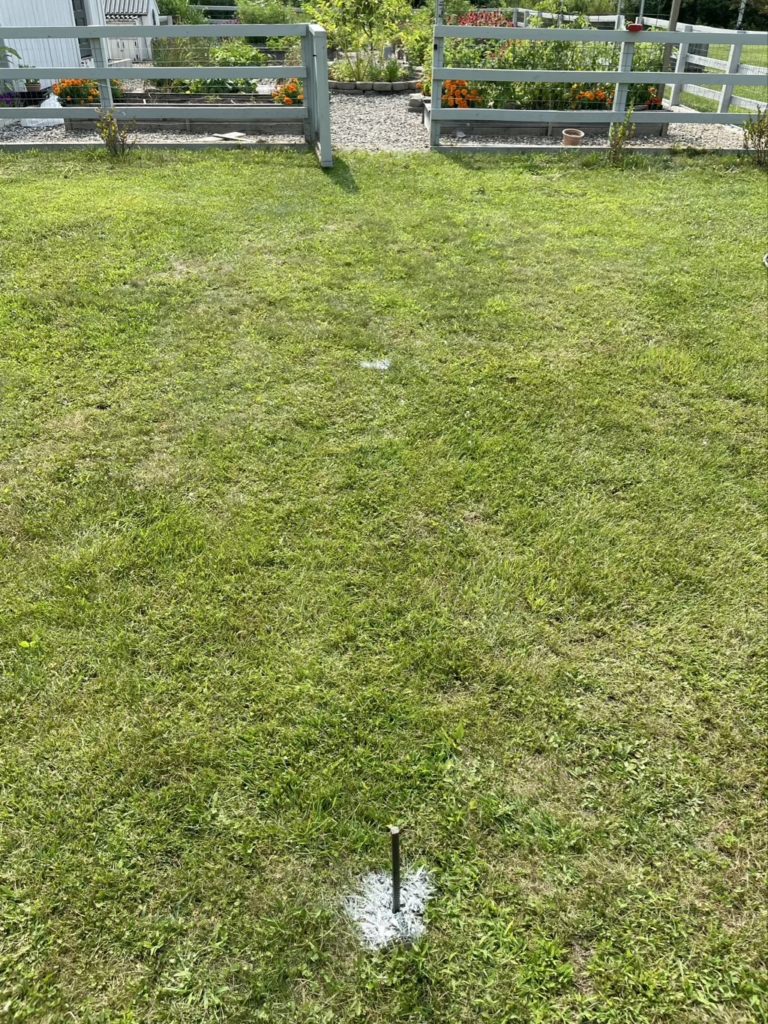
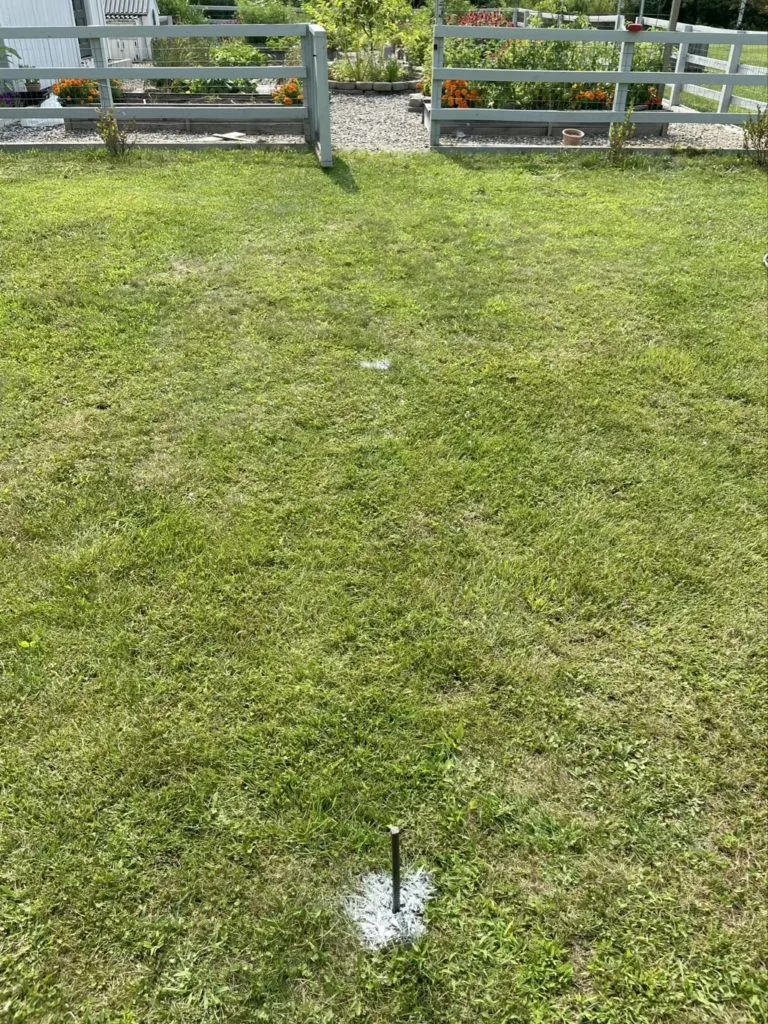
From there I needed to mark out the walkway, keeping it roughly even with the gate opening. I used the same scrap board to help me make a straight line with the marking spray.

How much digging is involved in making a cheap firepit area?
The answer depends entirely on how flat the land you are working with, how much you care about a perfectly flat area and how tired you are of digging.
In my case the answers were in order: not very, not much and very. As in the area was very slopey but I didn’t care to make it perfect and I really didn’t have the motivation to spend a ton of time at it.
We could have filled the area with top soil, leveled with my trusty circle jig and then compacted it. That was more effort than I wanted, particularly when I needed to have a few inches of stone.
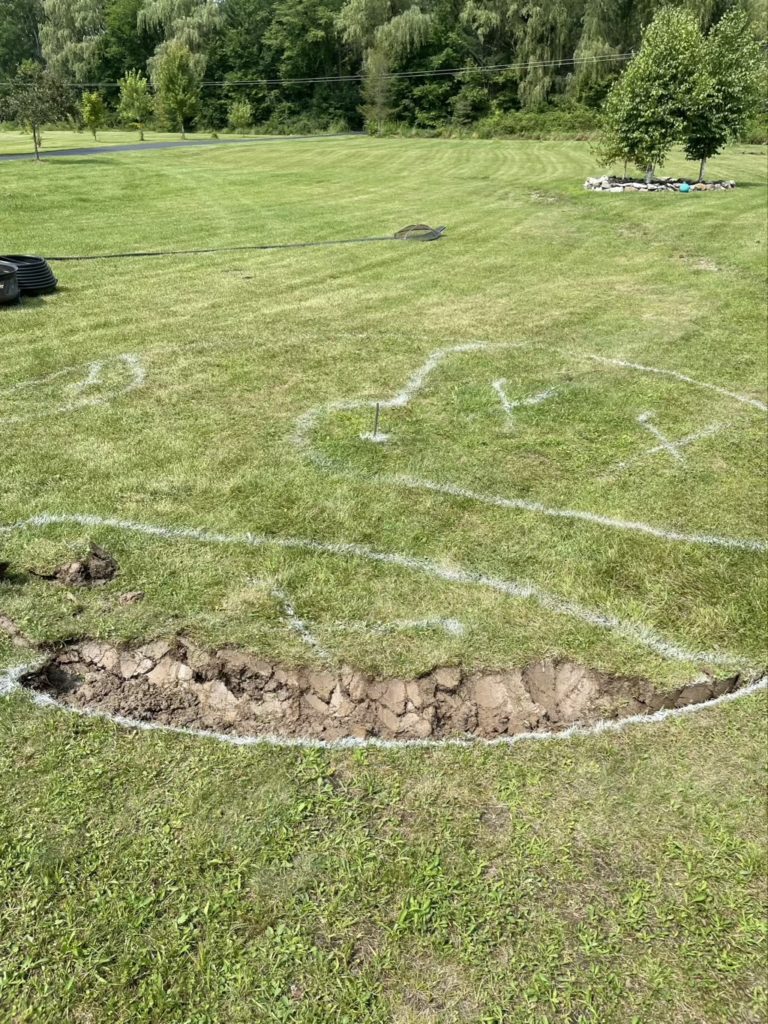
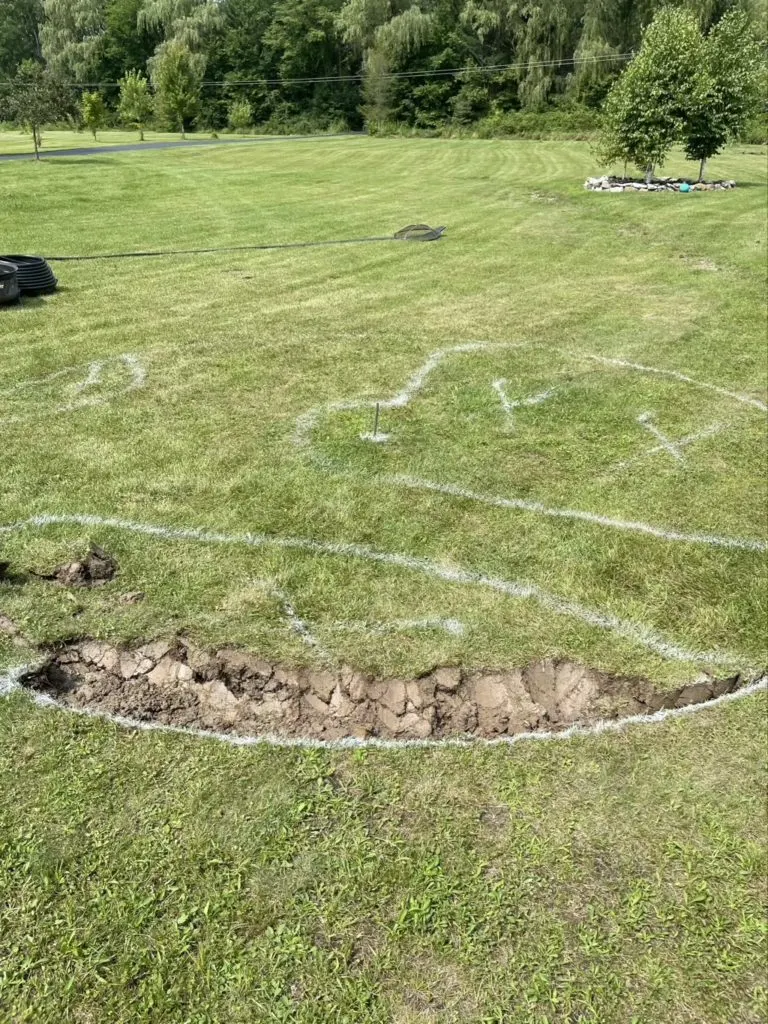
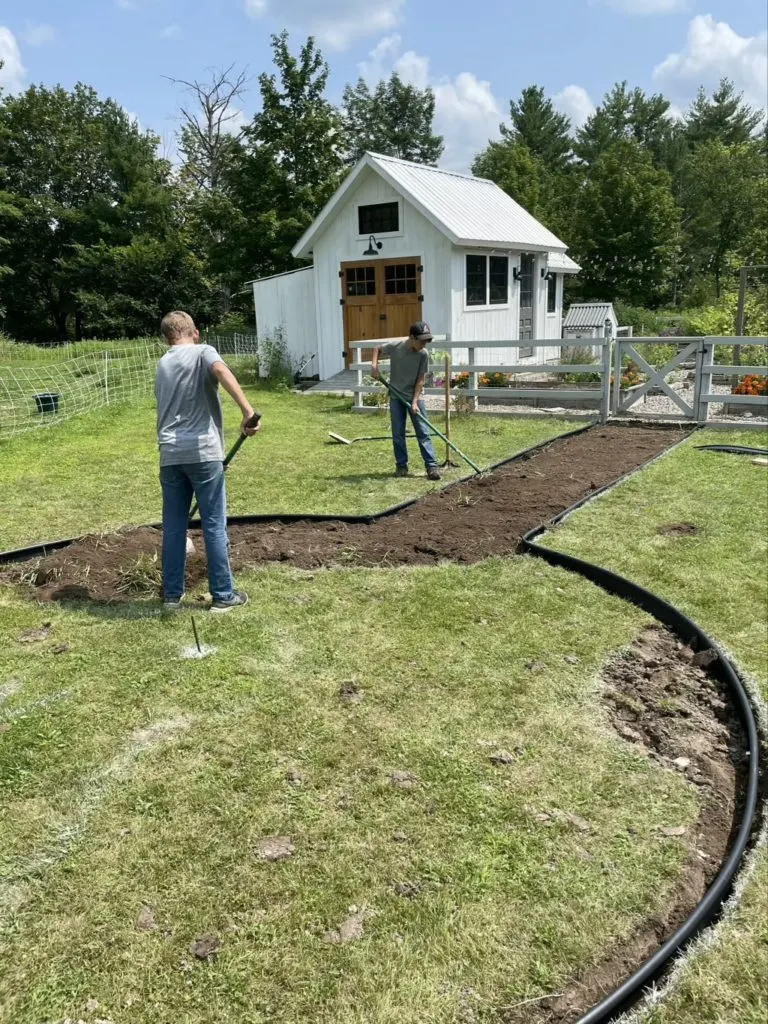
The Xs marked on the ground here are the areas that needed to be dug out, the other spots were already lower and would need to be filled. Unfortunatley because we have all clay, I can’t use the same material that I’m pulling from one spot to fill another. Clay is so fun.
How do you make it look like a firepit?
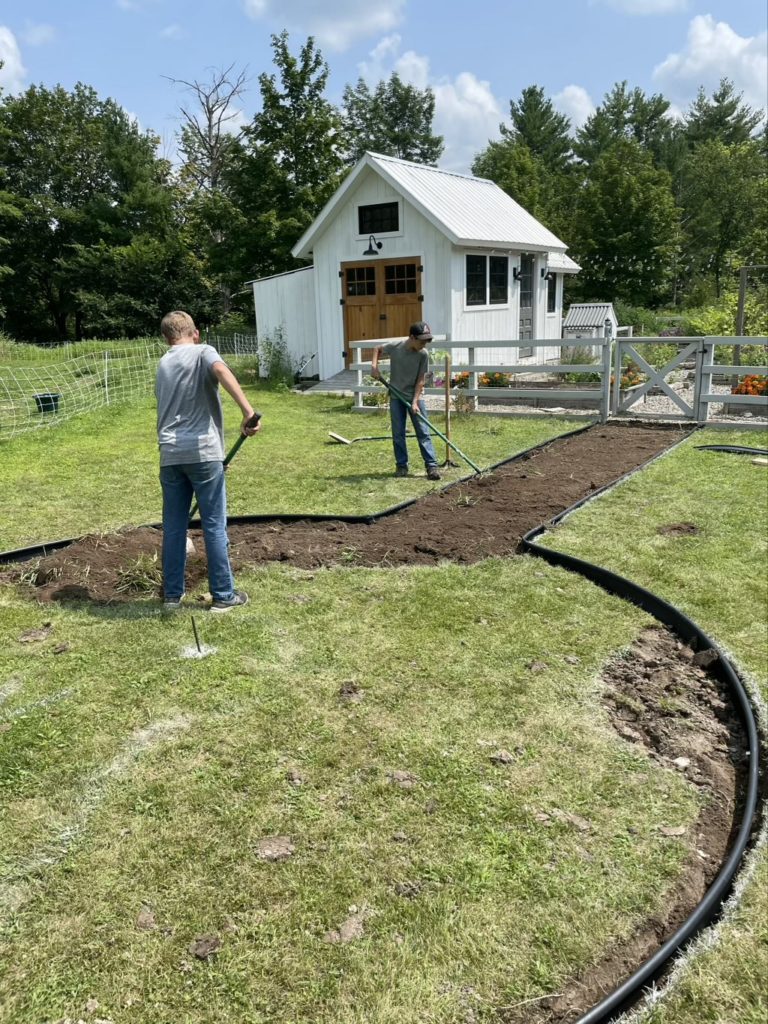
The area dug out and flattened and edged is a good start but in order to make it actually look like something you need to add landscape cloth and stone.
We used the landscape cloth that we already had on hand, which was in this case much higher quality heavy duty geotextile fabric from the sheep shed.
We had to order stone to fill the trenches and gutters of the sheep shed. With the field being a sopping wet mess, I was worried about getting a truck out there. We used the firepit area to stage the stone so it could be wheelbarrowed out to the shed.
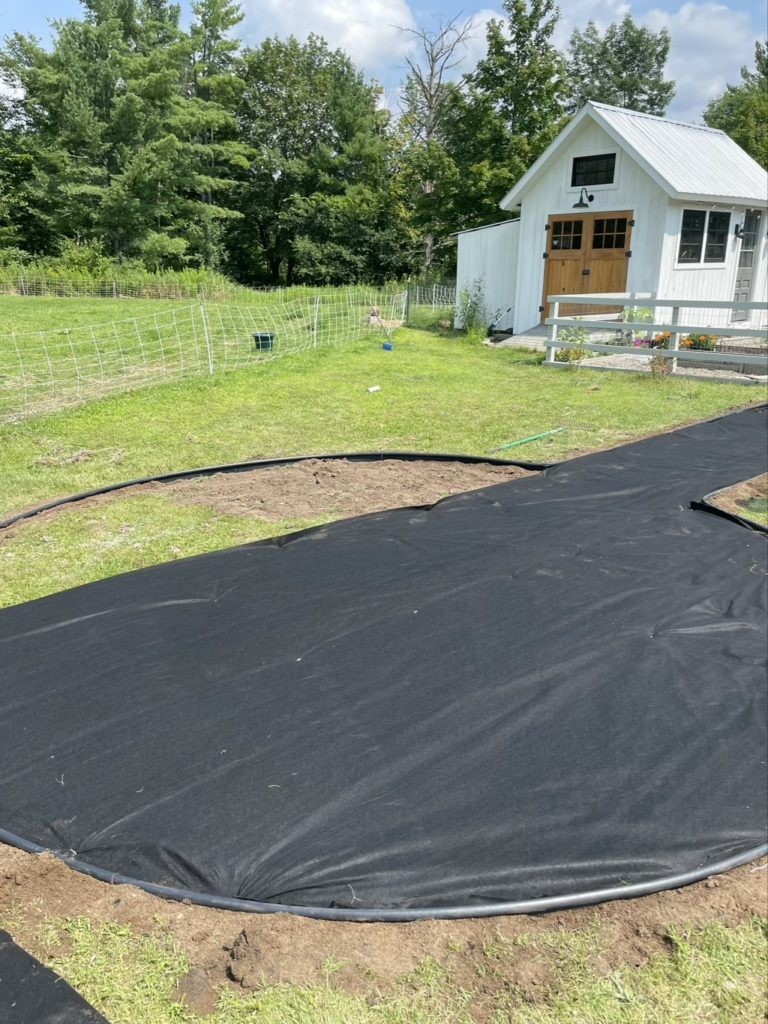
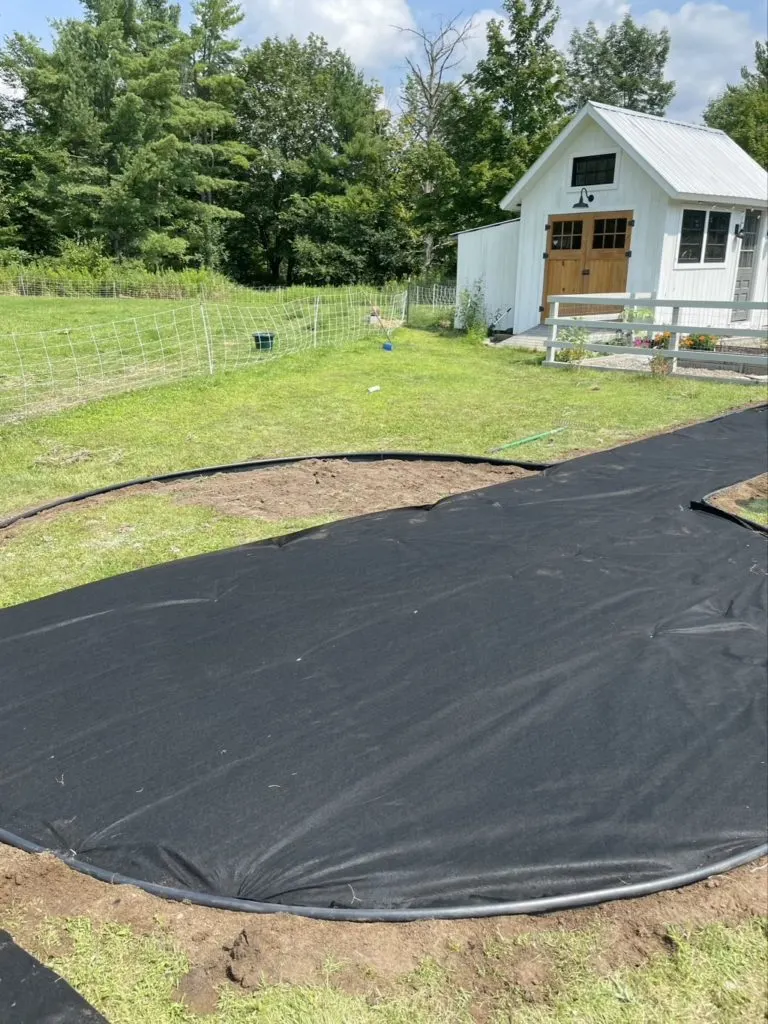
As you can see, we didn’t fully dig up all the sod. We are trusting the geotextile fabric and the stone to keep it from causing an issue later.

So how cheap is this cheap firepit area?
- Can of marking spray paint – $6
- 2- 50′ Rolls of Plastic Edging – $80
- 1 Load of peastone delivered – $160
- Firepit – had on hand from a panic get together planning the year early
- Chairs – had on hand from my parents who upgraded to nicer ones like we need to
- Topsoil – had on hand from filling garden beds and constantly needing to work around the clay
- Landscaping fabric – had on hand for sheep shed
- Landscaping pins – had on hand for sheep shed
- Child labor – had on hand from a happy marriage and they were glad to take a break from the sheep shed
Seriously? It was only cheap because you had that all on hand
Yes. The cost of all those things certainly helped but it’s still a very reasonable project for someone to take on. We plan to upgrade the chairs next year and maybe eventually put in a more permanent firepit with pavers. This is definitely a starter firepit area to see how much use it gets before we invest a lot more money in it.