In order to really give my antique reproduction door a vintage look I knew I wanted to apply liming wax over stain to make it look truly aged. I had already worked with liming wax on our pine buffet and had learned a few lessons there about what did or did not work.
The very first thing that I knew to change this time around was to start with a base of clear furniture wax.
I talk about the Minwax gel stain that I used in the antique door post and the materials for using liming wax in the original post about the pine buffet. As before I used Briwax Liming Wax for the actual liming wax, as I still had a lot left over from the buffet.

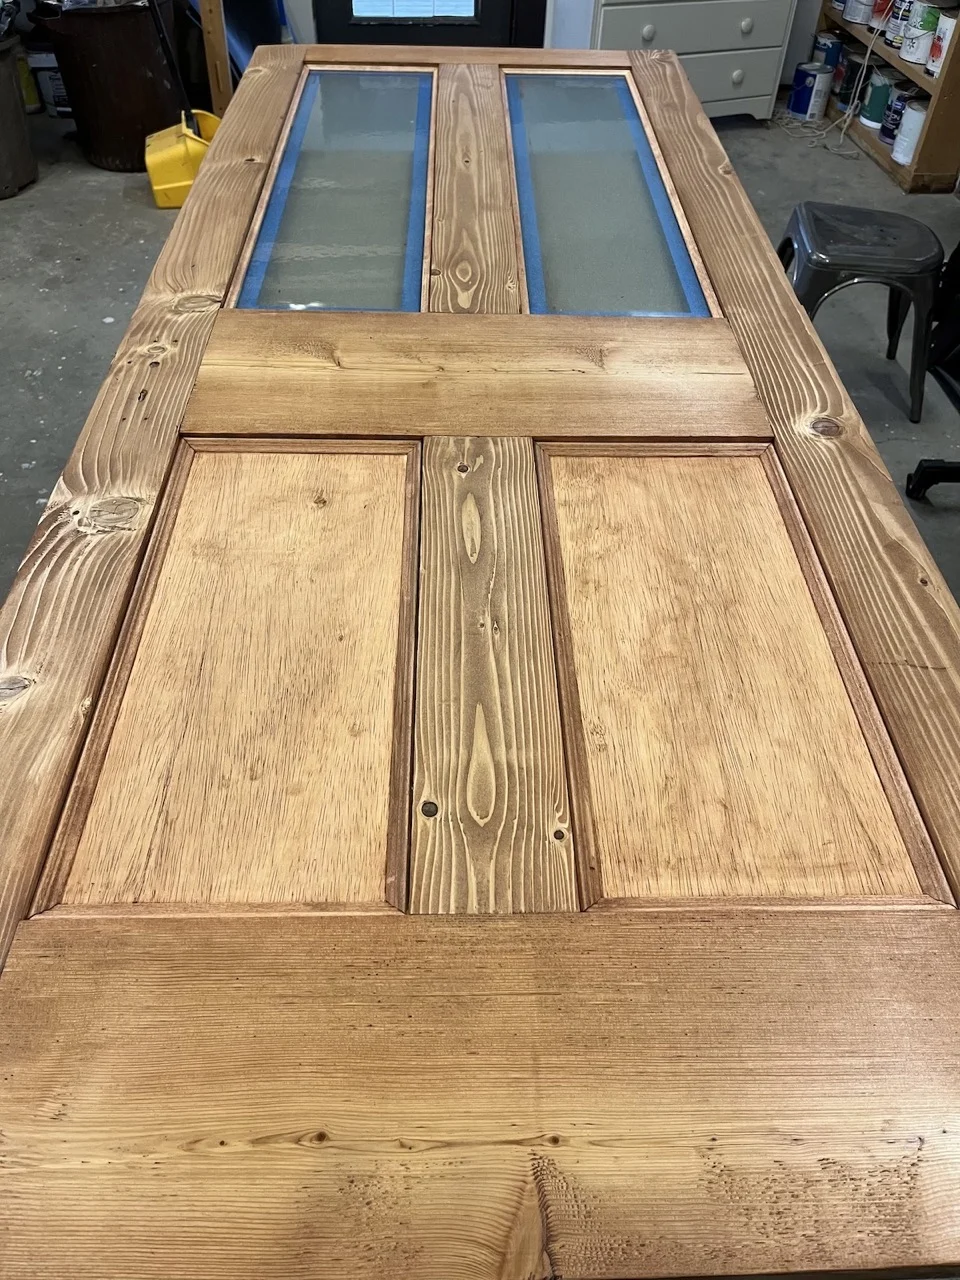
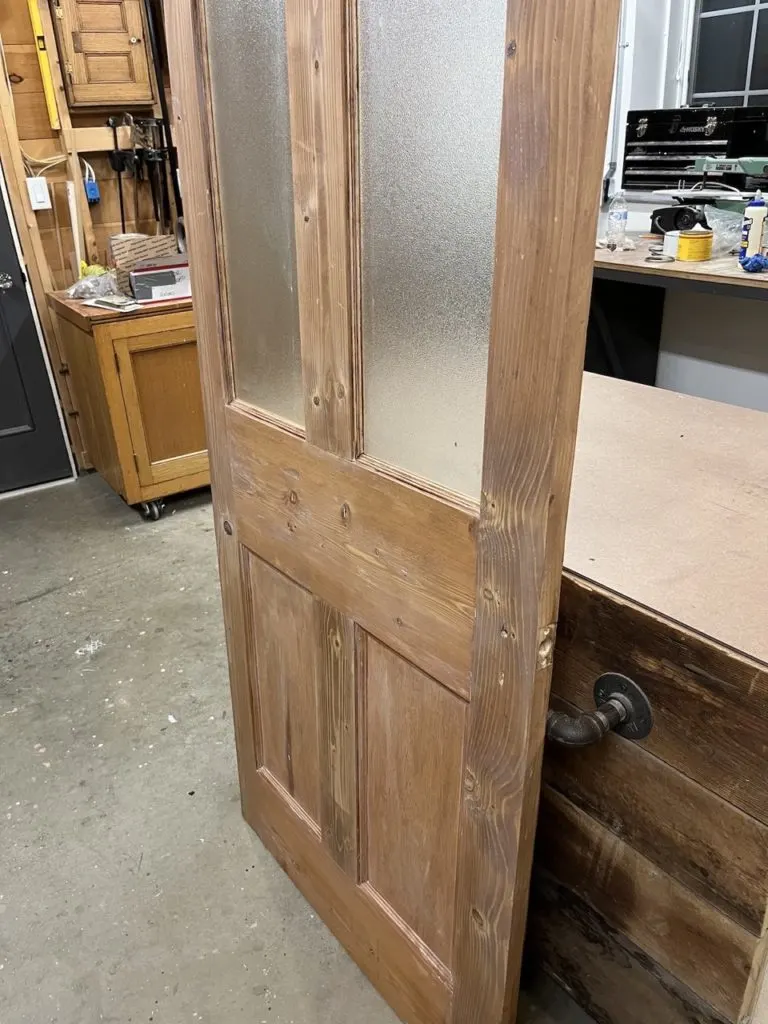
Applying the wax by dipping a rag in the can was taking far too long, so I switched to the method on the right. I scooped out chunks of wax and lined them up so that I could just move along the entire length of the door working the wax in as I went. It takes quite a bit of elbow grease to get the wax worked into the wood.
This time around I also changed both the brush and the method for applying the liming wax.
When I worked on the buffet, I used a round brush and applied it basically randomly in streaks across the entire surface. While I liked the look, it also ended up getting lost once I rubbed in the liming wax. It got even worse when the liming wax bleached out the wood.
This time I used a watercolor brush and applied it much more sparingly, hoping to avoid the bleaching issue from before. These brushes would work just fine.
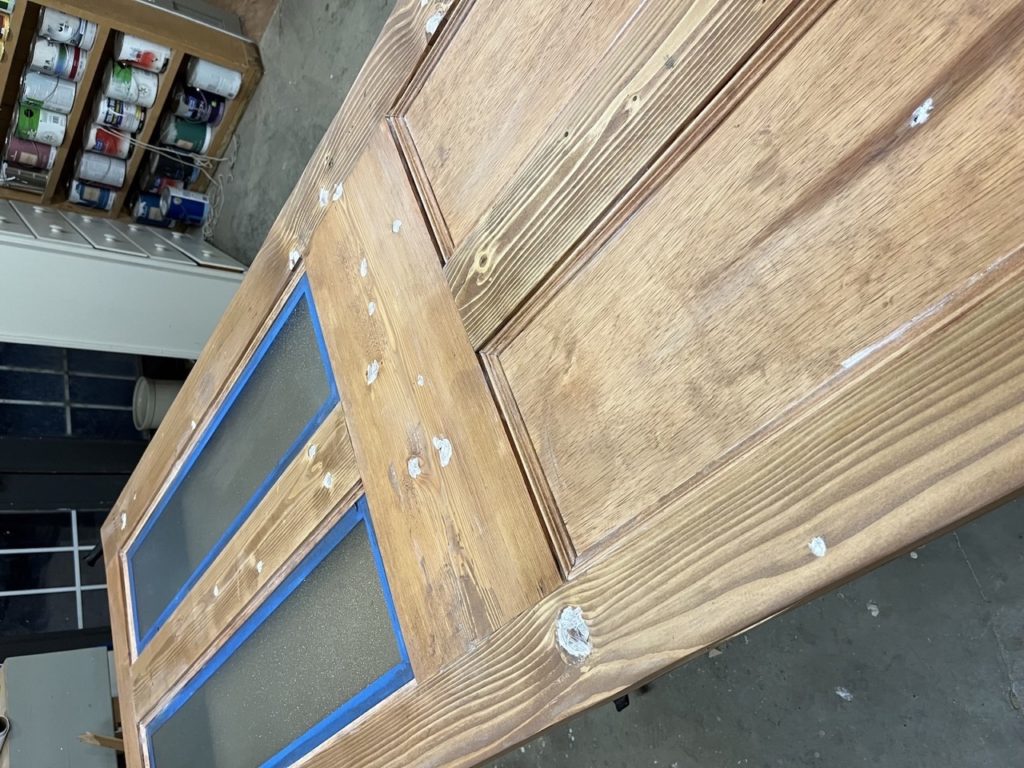

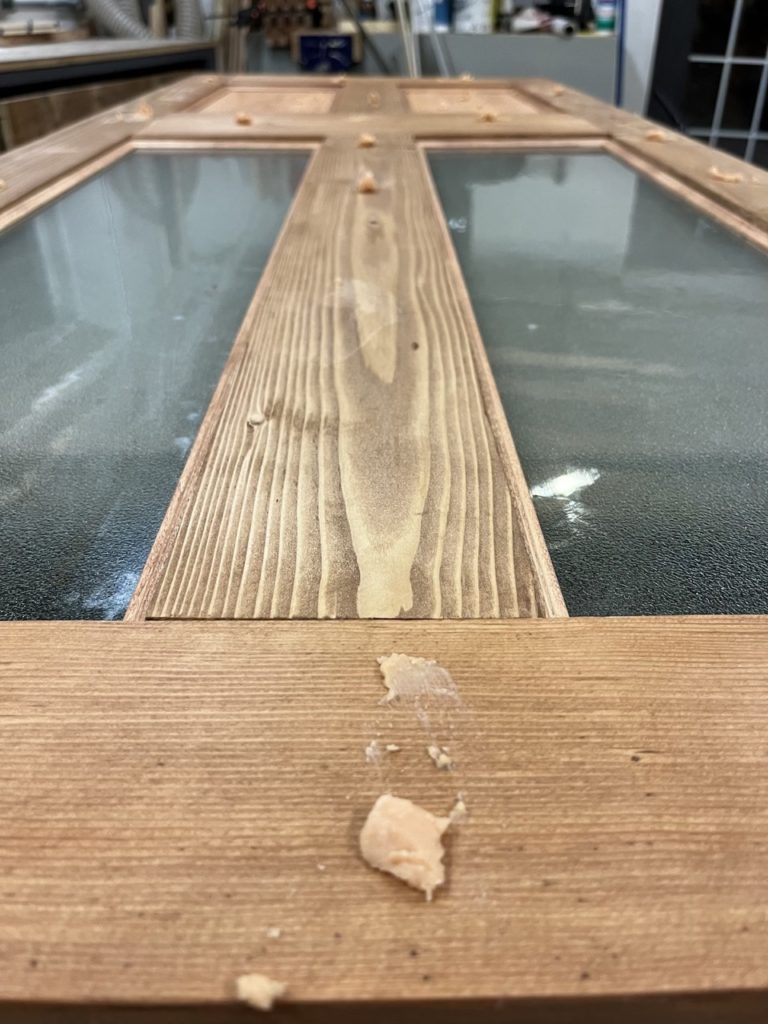
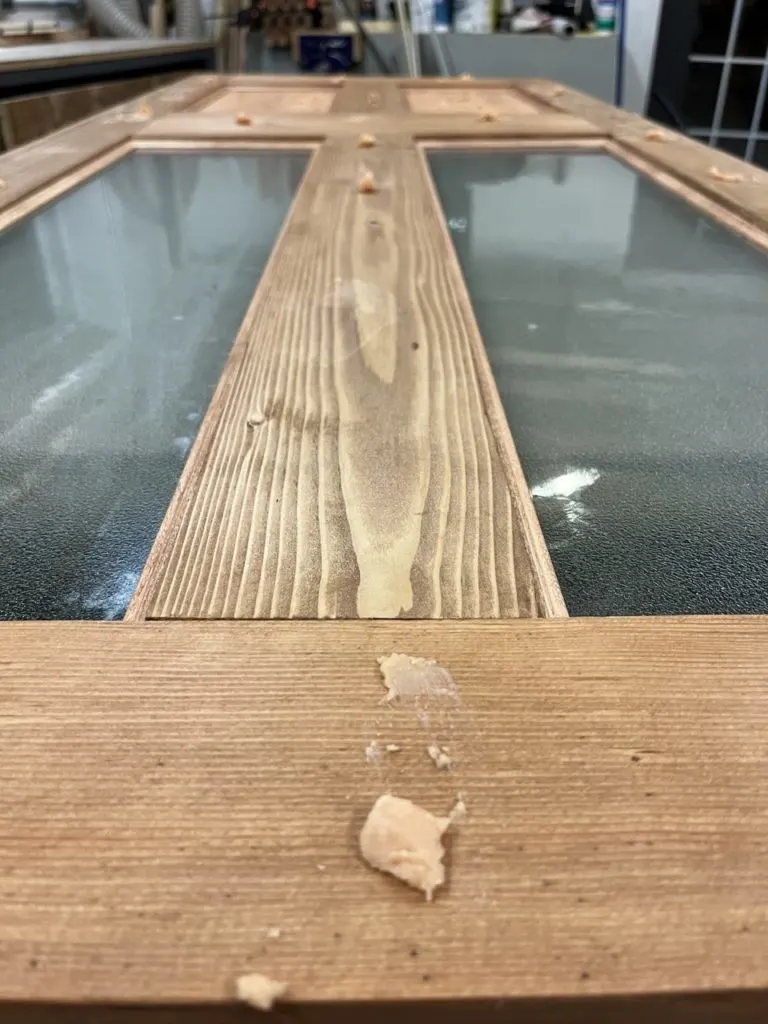
This time I worked to highlight the areas that I wanted the wax to stick in. I focused on the corners and especially the knots in the wood. The liming wax is great for highlighting the imperfections in cracks, knots and seams which help a piece look older.

Seeking out the imperfections to highlight made me think of Kintsugi, the Japanese art of repairing pottery with gold-dust infused laquer to highlight the cracks instead of hide them. I won’t get into anything too philosophical about it, but I do love accentuating the imperfections to make a piece more unique. And again it helps make a piece feel much less new and formal to bring out these areas.

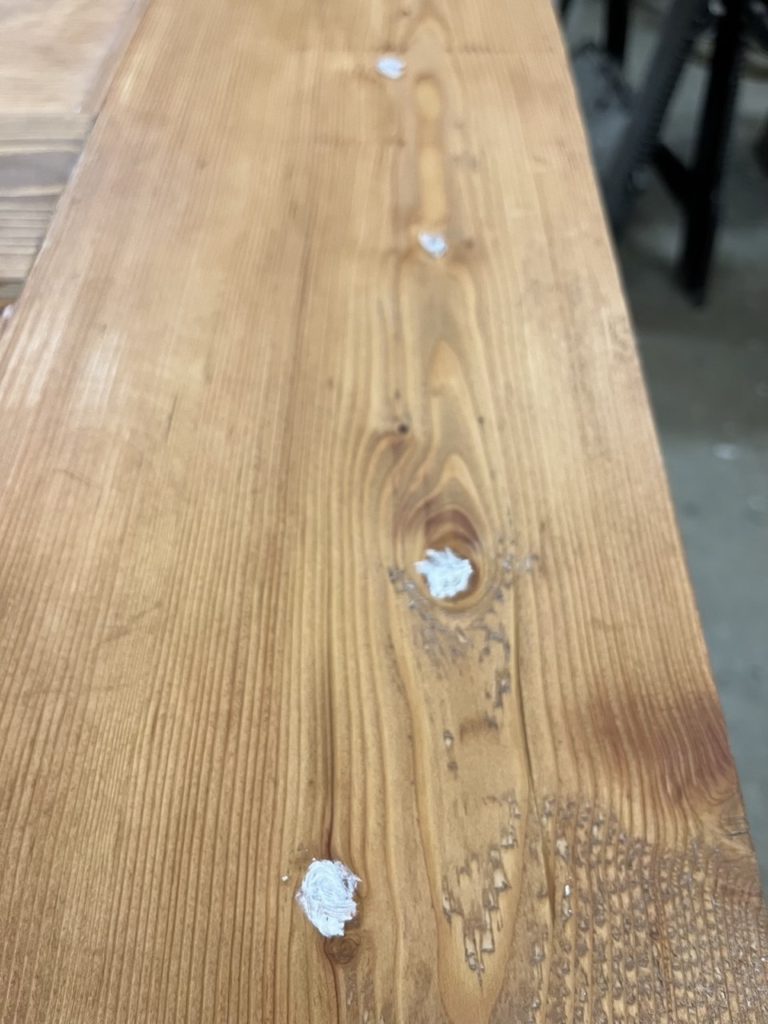
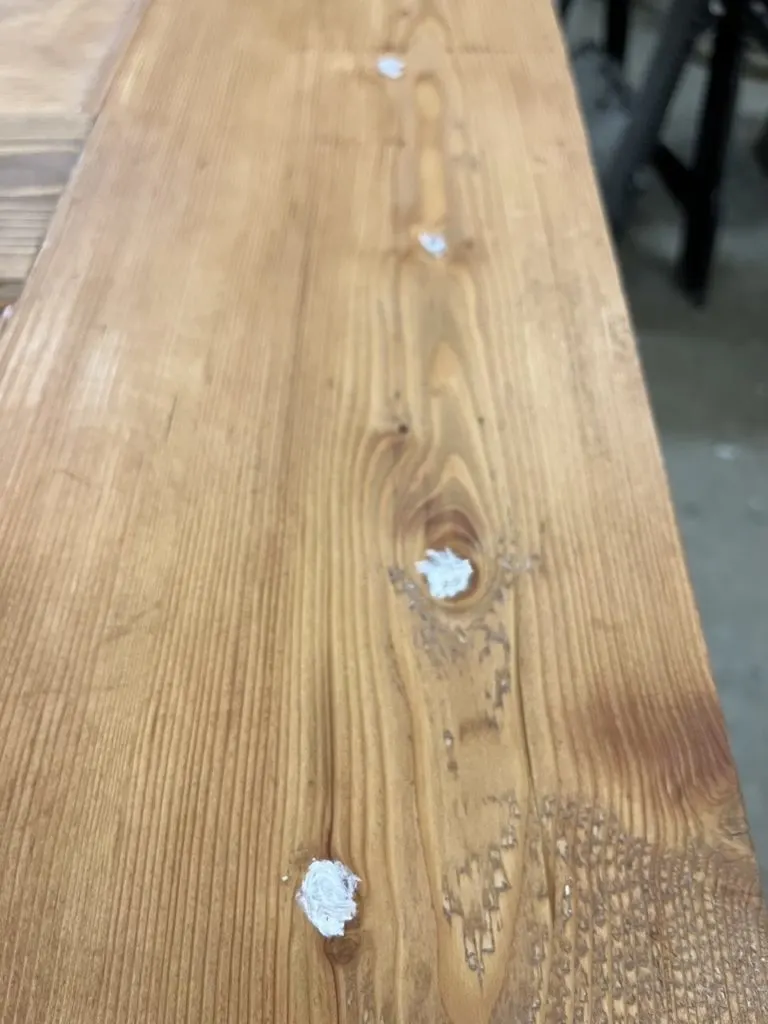
Some of the knots I went over more than once to make sure that I got sufficient amounts of the wax wedged in. Above you can see me adding more wax to these knots on the base of the door to make sure they catch it.
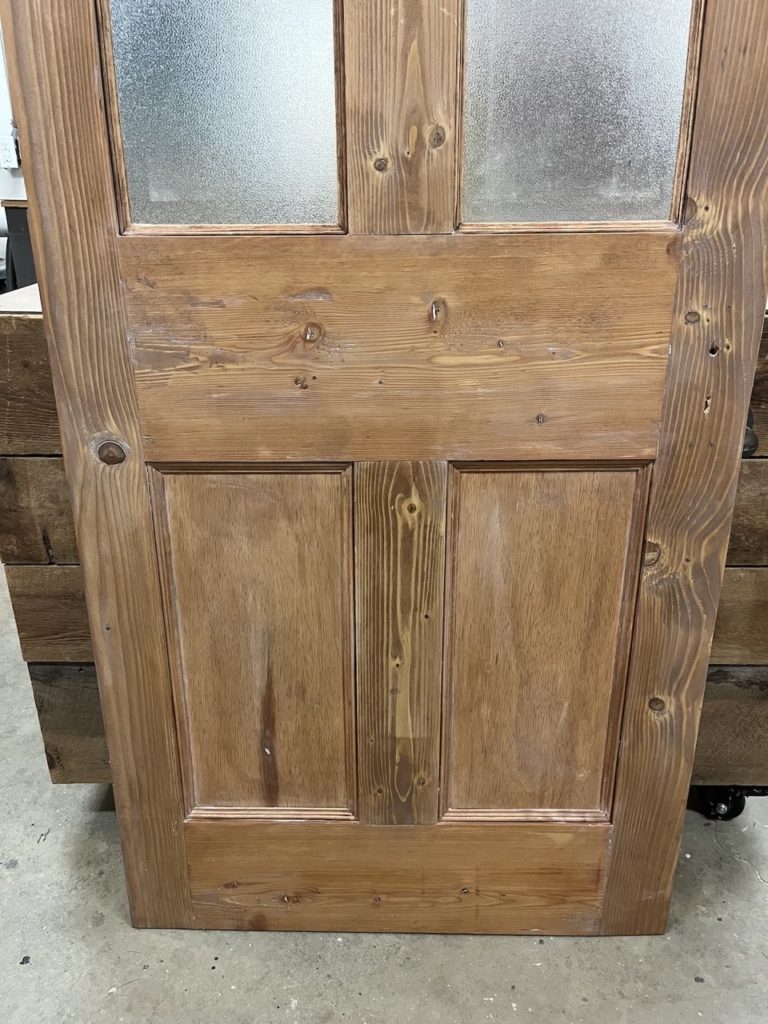
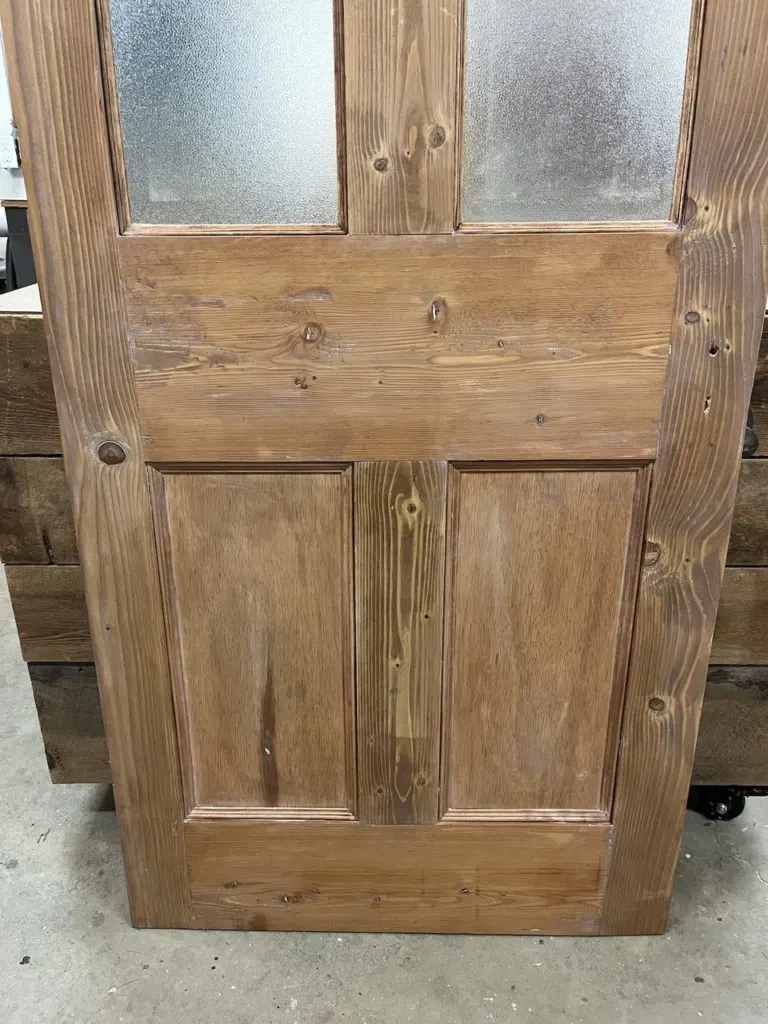

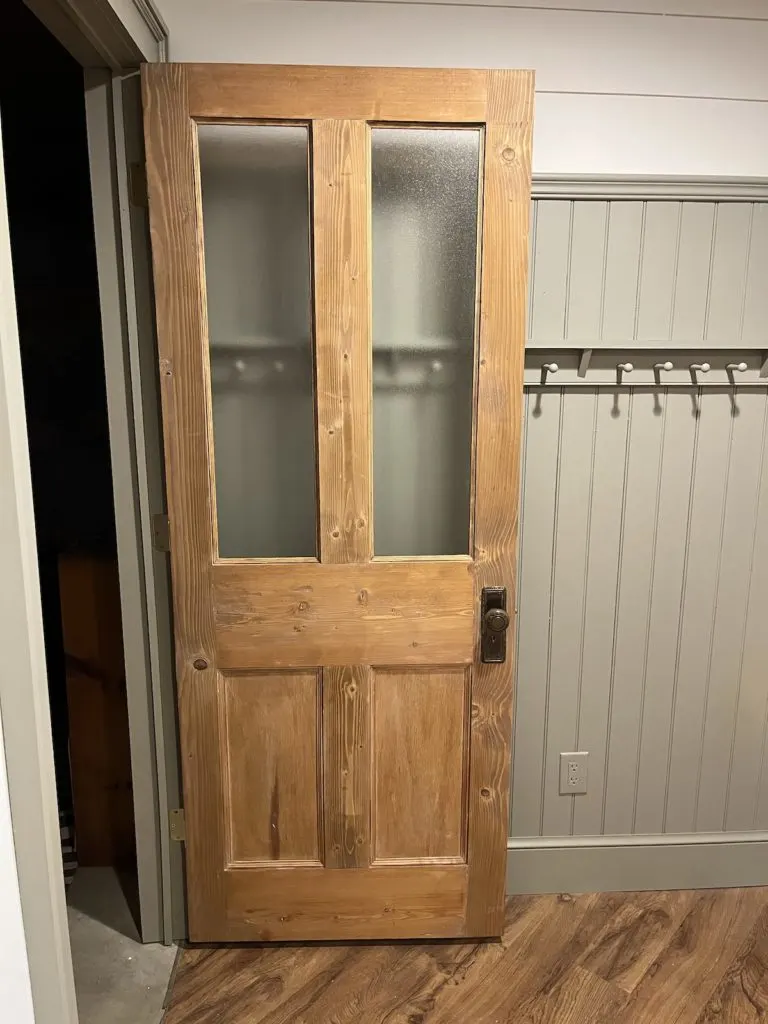
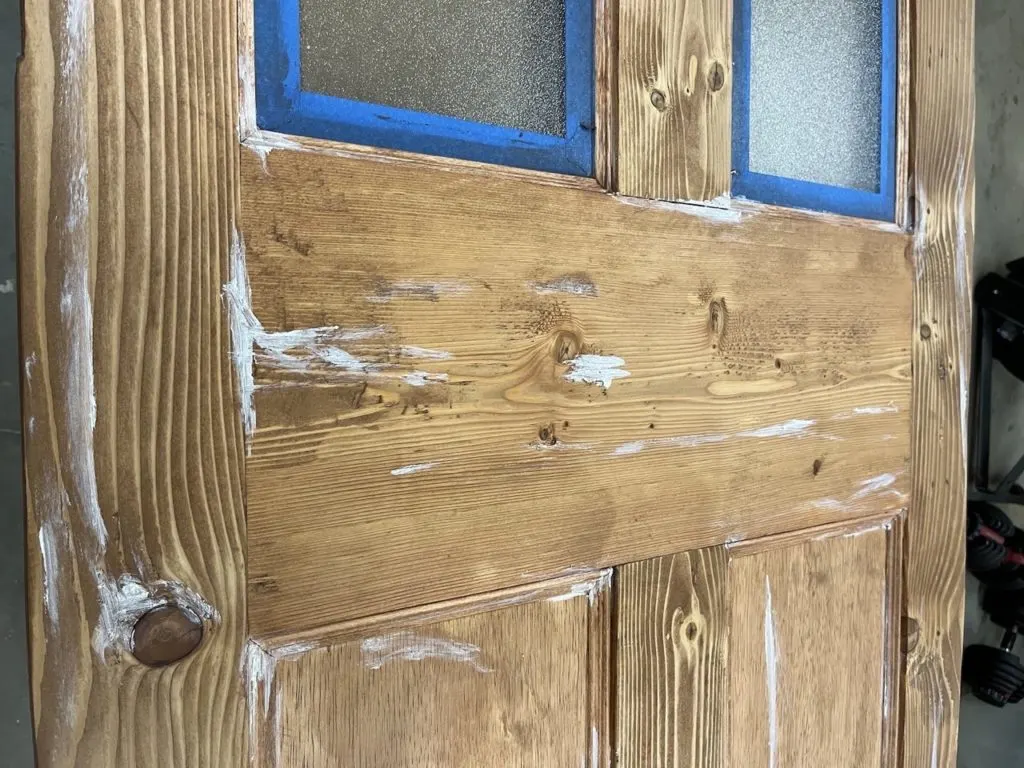
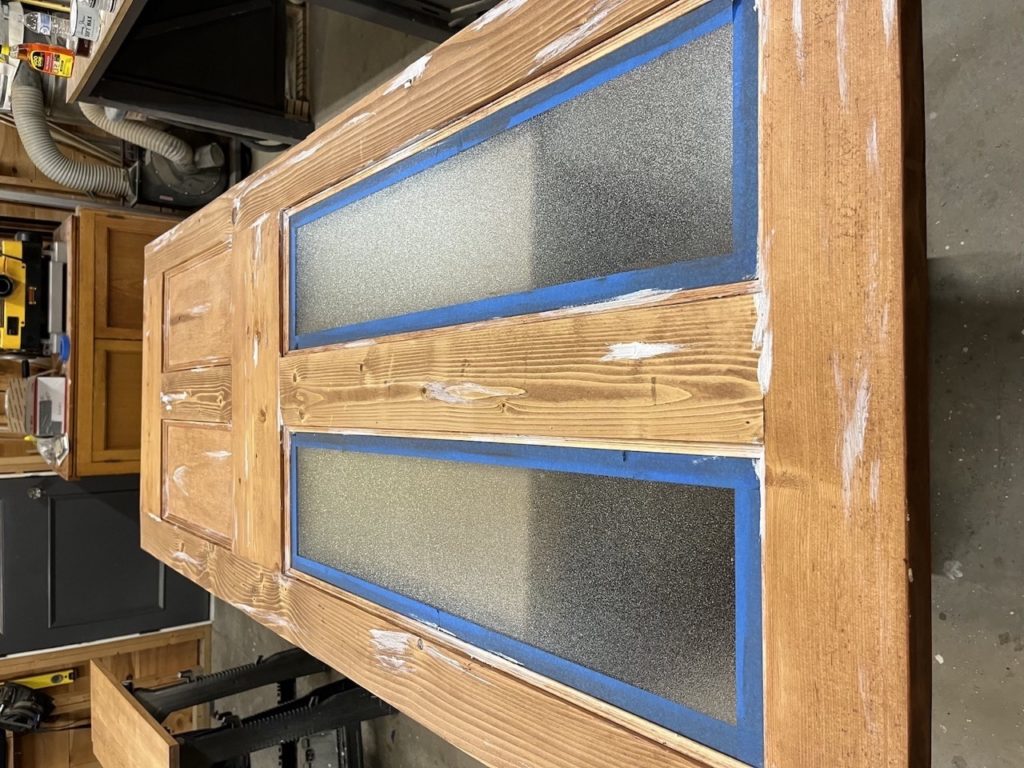
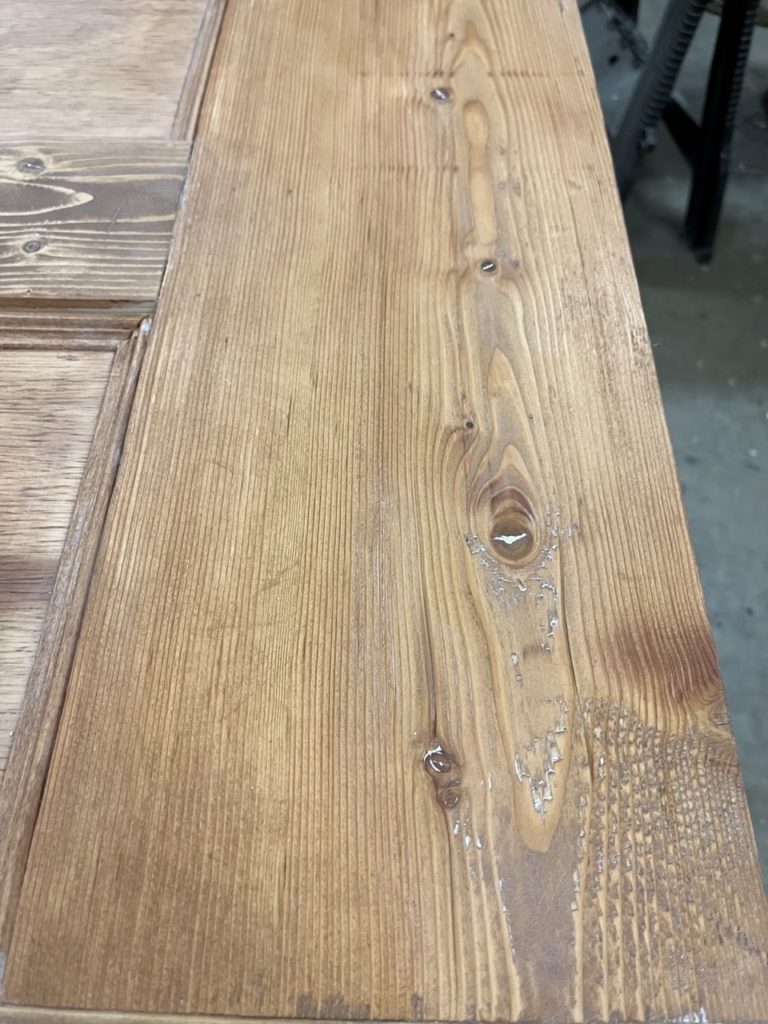
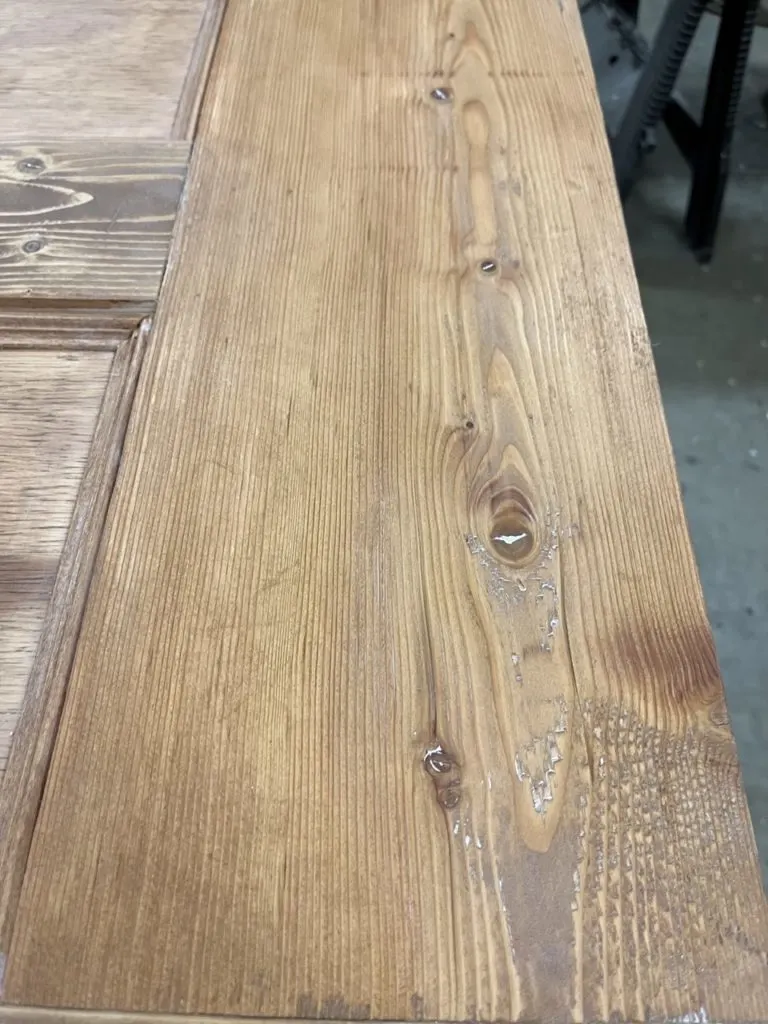
The end effect is that the door looks even older. It has a weather beaten look or the look of a door that was once painted and then stripped down again. The original door in my parents house that this one was based on had been stripped down at least once and the little flecks of leftover white paint added so much character to it.

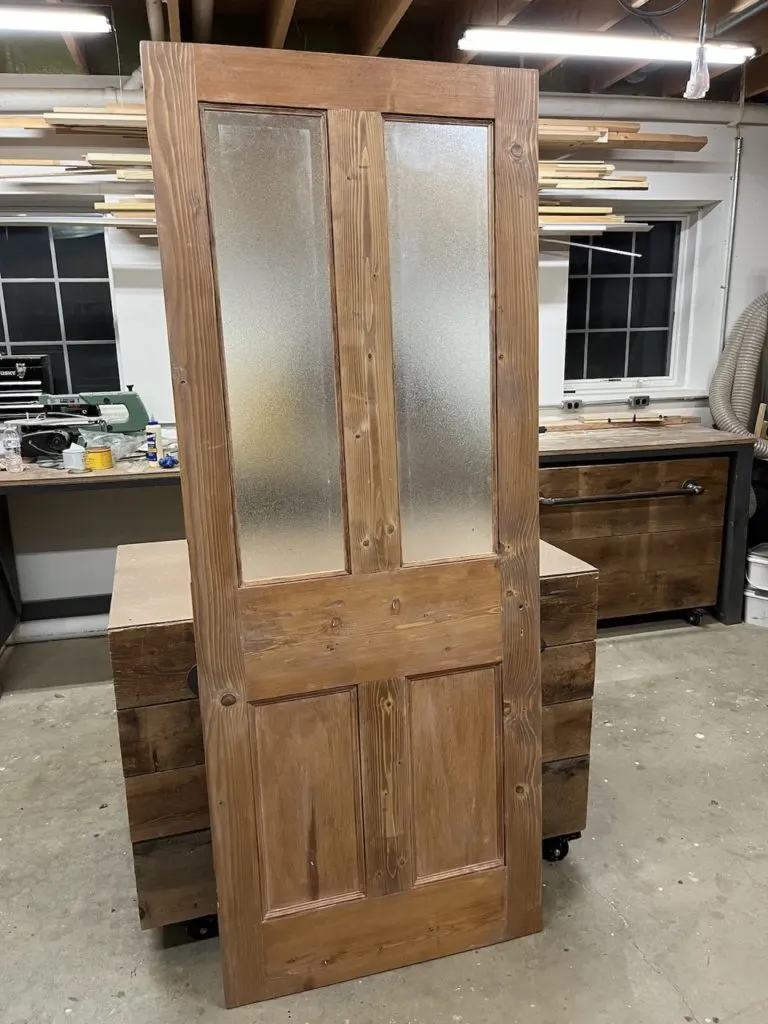
I am really glad I have liming wax a second shot here as I had learned quite a few lessons the first time around. I don’t know that I would have done anything differently here with the finishing. The liming wax over stain applied perfectly when done with a lighter touch and smaller brush. With the door itself I would have used different wood if I were building this for anywhere except the basement so that I could get the panels, trim and structure a better match.