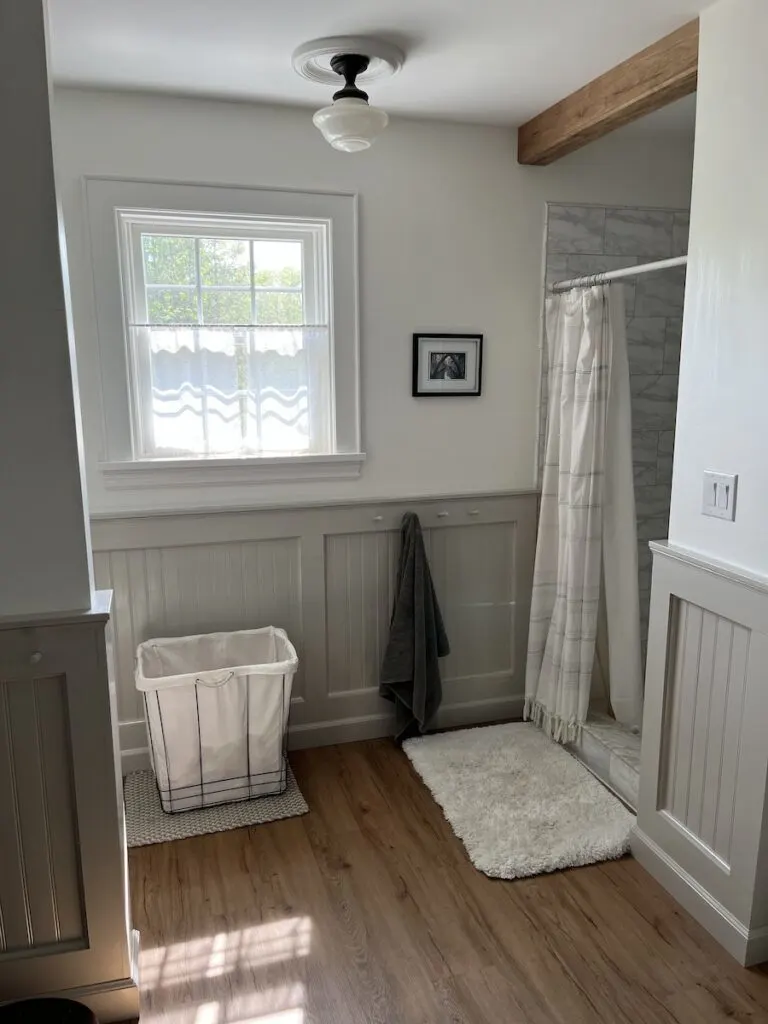
I didn’t actually plan to build an angled dowel peg rail. When I modernized the beadboard wainscoting in the bathroom one of Shannon’s asks was for shaker pegs for towels by the sink and by the shower. The first iteration of those pegs were too close together and didn’t really match what she had in mind.
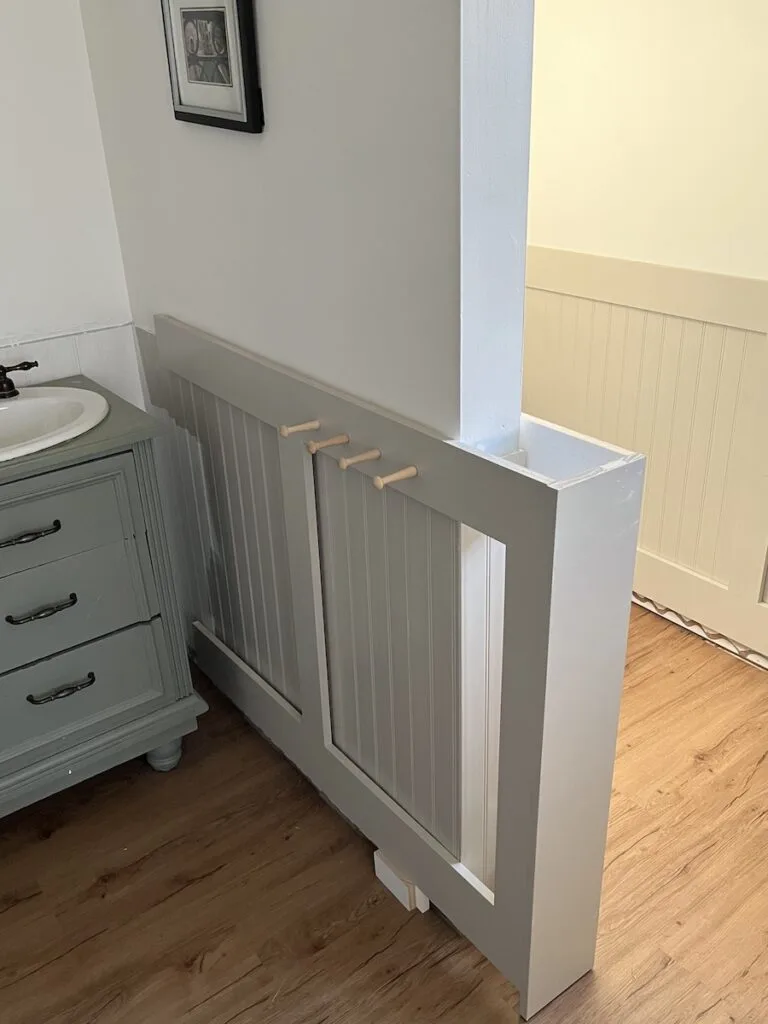
We ended up here.

We started with these though.

Even after they were painted, they just felt too crowded and out of place.
We have a little rustic peg rail with simple angled dowel pegs on the wall in our living room that we decided to use as a template instead.
My main worry with the project was how to keep the angle consistent on the peg rail without a drill press. After a little bit of googling I found this angle jig video by 3×3 Custom which gave me the basics.
What materials and tools do you need for a DIY angle jig?
- 1×4 scrap wood
- drill bit the same size as your dowels
- miter saw or table saw for cutting angle
- clamps
- drill
The first step feels a little too obvious but you drill a hole with a bit sized the same as your dowel rods. I used 5/8″ dowels so I used a 5/8″ bit.
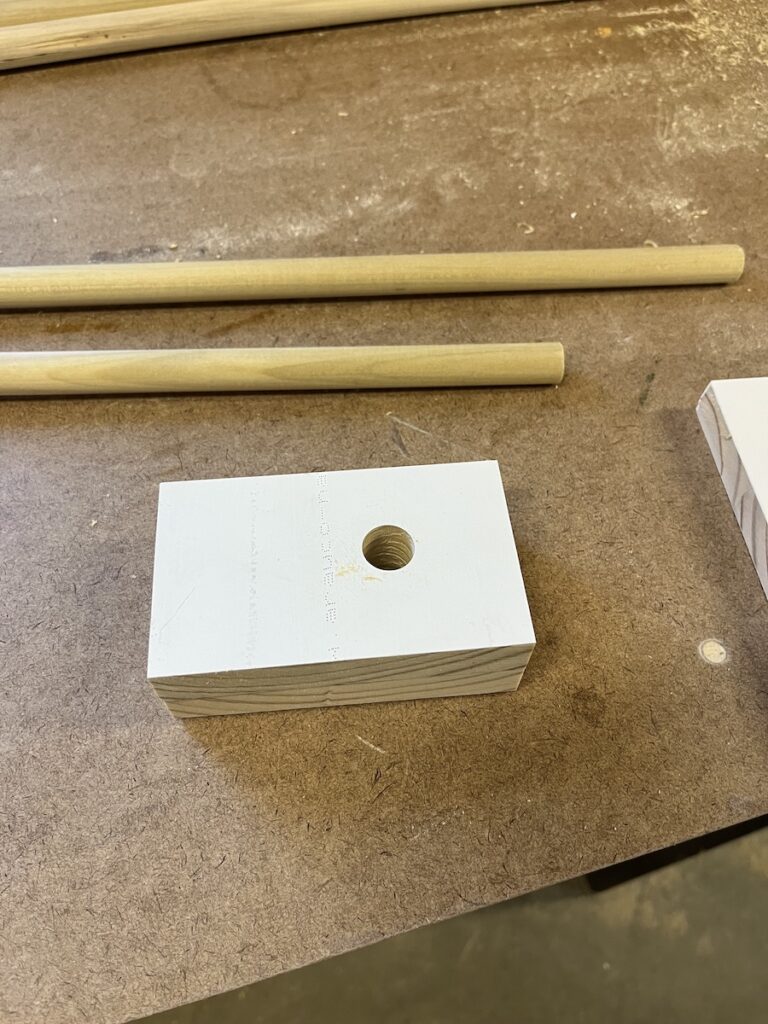

Once you have the hole in your scrap, then you want to cut the angle equal to the slope you want. I took about a 12 degree angle off the wood making sure to fully cut past the hole.
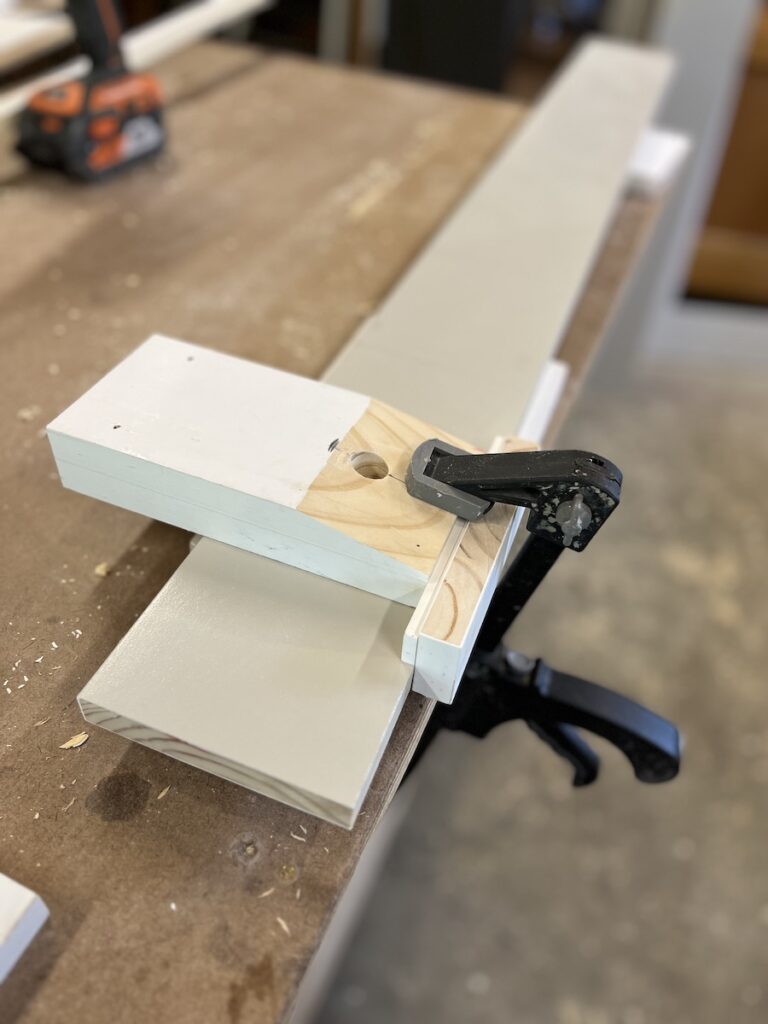
Because I wanted my dowels flush on the backside, I then used the jig as a cutting stop. I would cut the angle on the dowel and then put the jig and press the angled cut against it to get equally sized pegs.
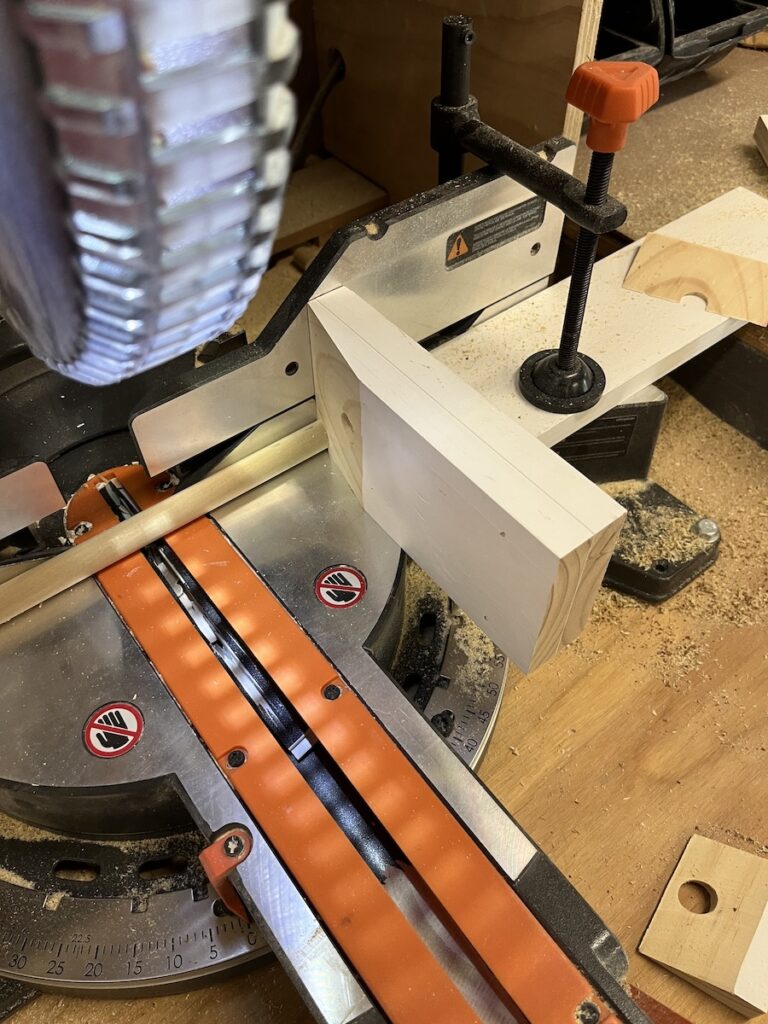
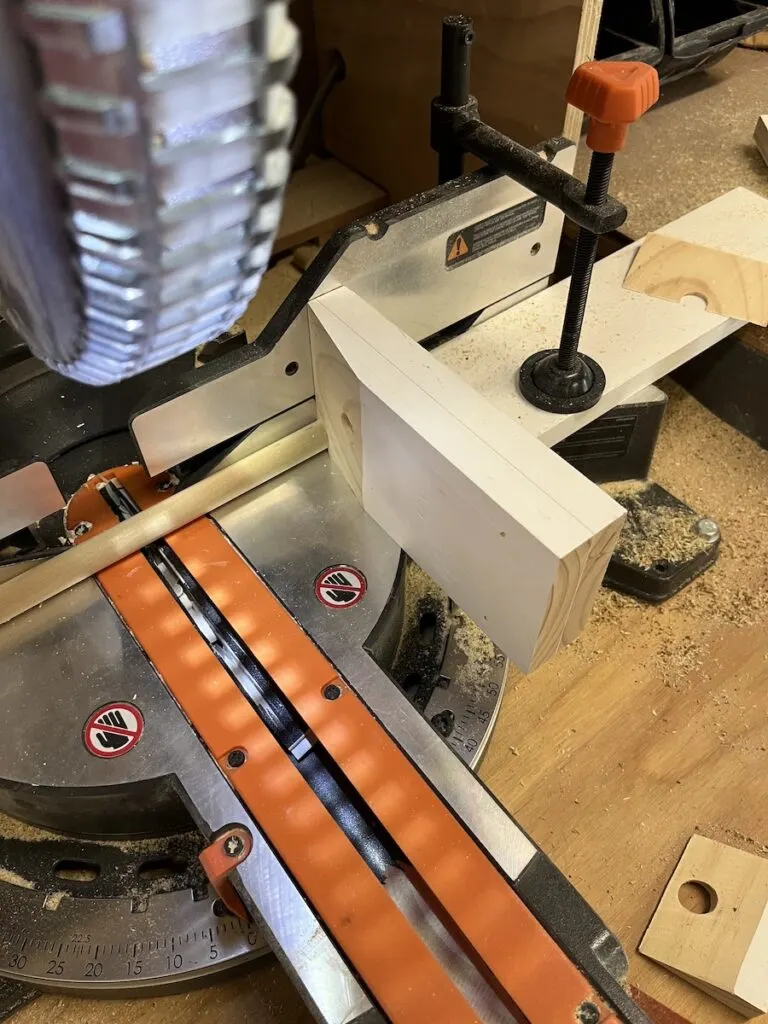
Placing the cut side of the jig against the finished piece and use a center mark to be sure you are in the right place. There was a little trial and error here with how high up the hole should be. I added a shim to the end of the jig to get it just where I wanted it.
Clamping the jig down securely is important to getting nice repeatable and consistent holes. I was unfortunately using a forstner bit which gave me a lot of play as the drill went in. In the end I only had 1 wonky hole out of 12 so I’ll take it.

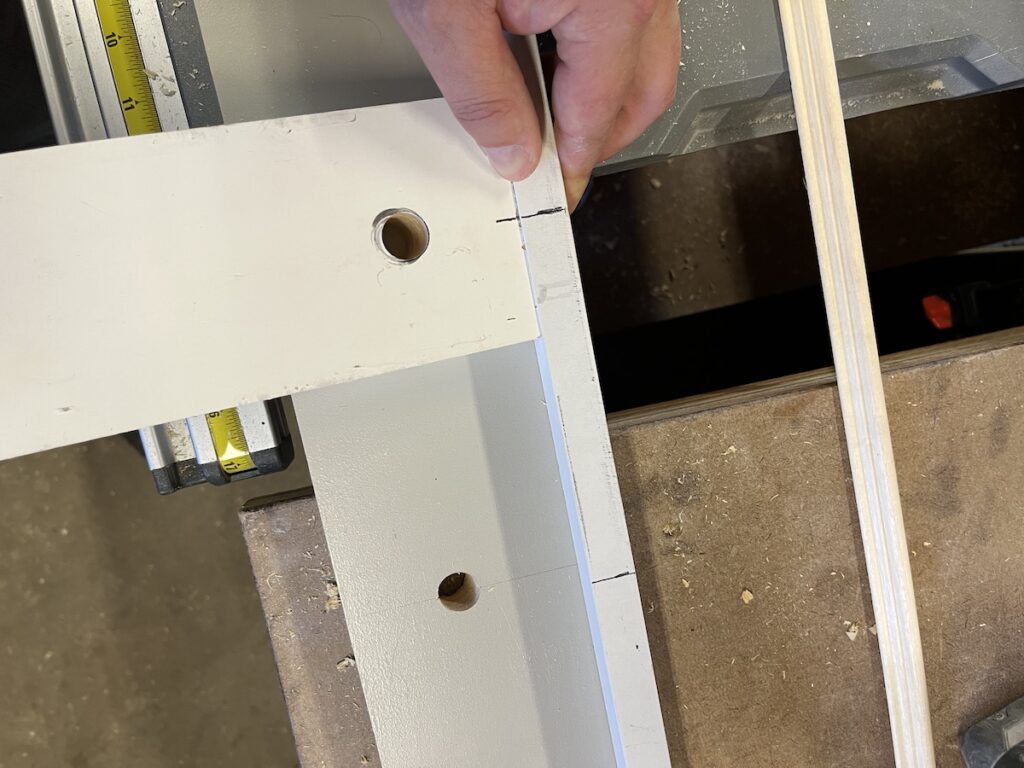
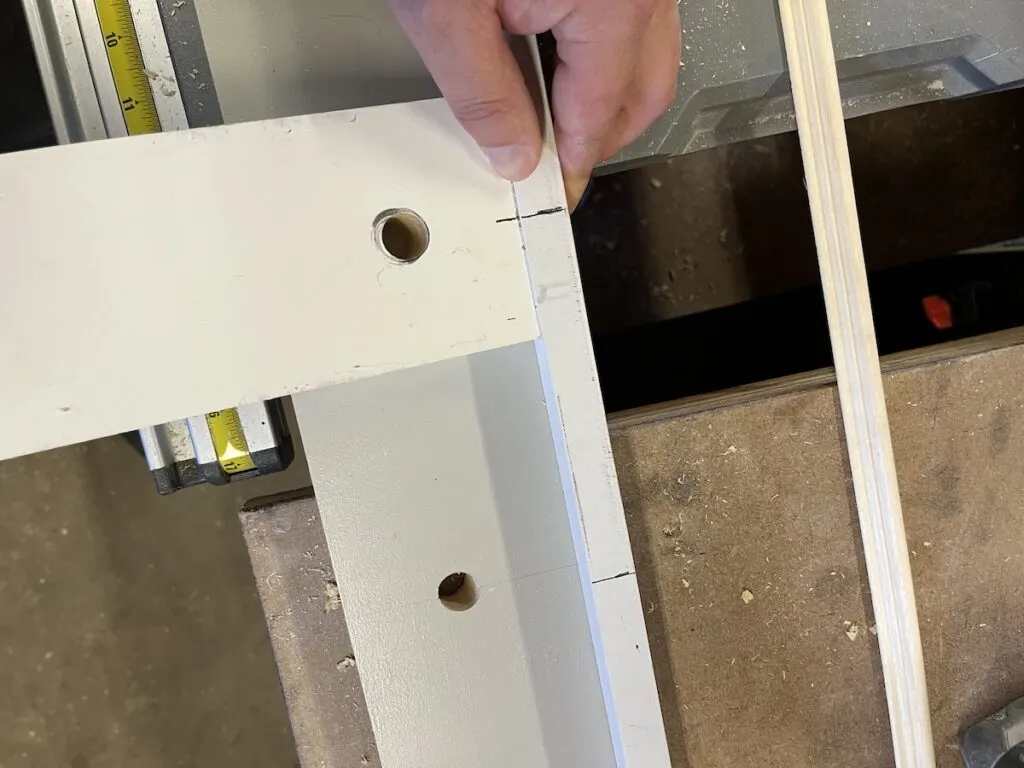
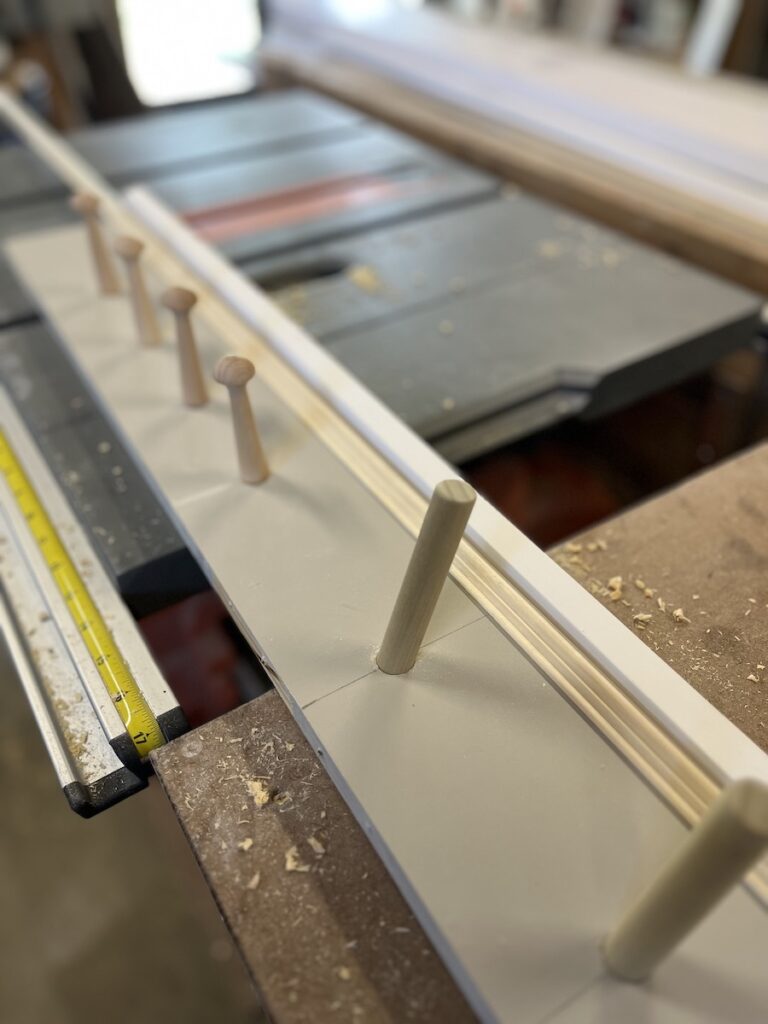
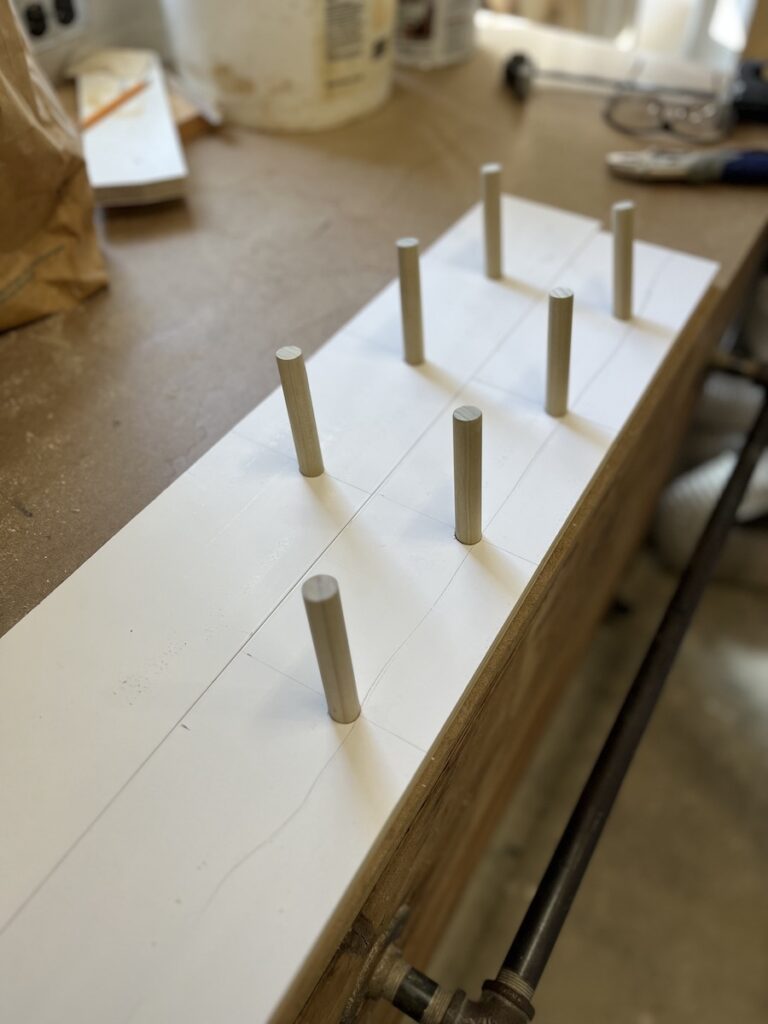
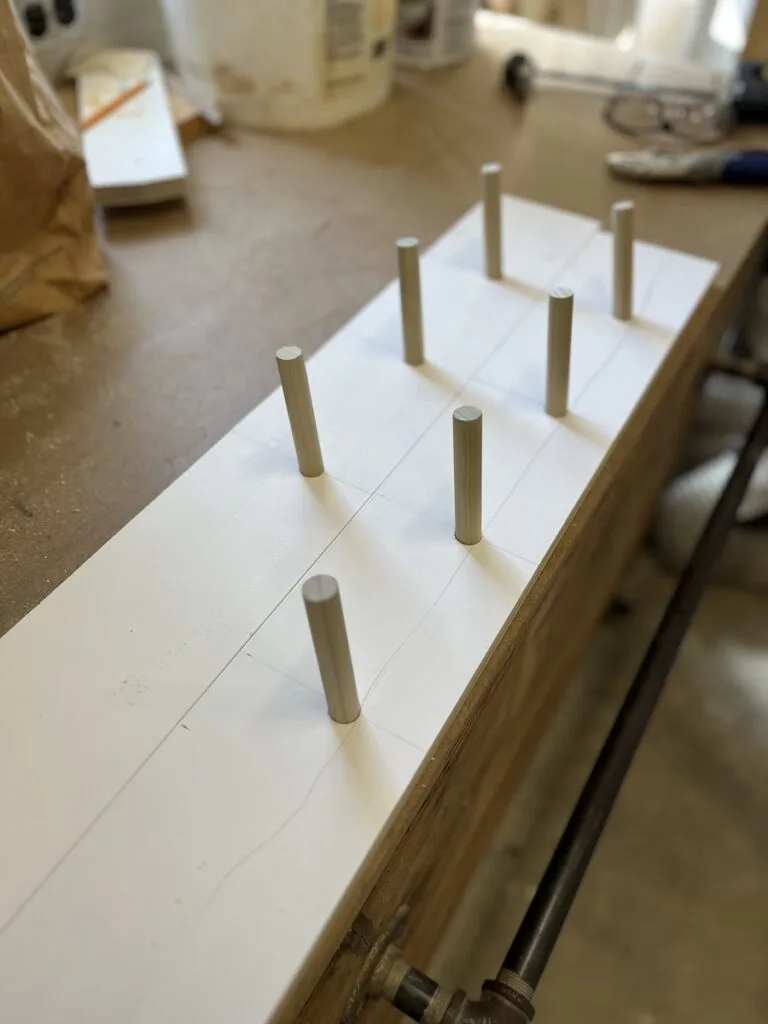
To make sure that I had the right vertical and horizontal spacing and that I could get a consistent angle I made some test pieces. You can get a sense here of just how much tighter the spacing on the shaker pegs was.


Here is where the angled peg rail ended up before we painted it. I sanded the tops of the pegs so that they wouldn’t catch on anything.
The finished product makes be very happy. It blends in well with the rest of the paneled wainscoting but helps keep it a little more rustic and simple.


Now I just need to do something about that vanity.