We had tile deck to our tub surround that was in rough shape so we decided to try laying laminate over tile and we couldn’t be happier with the result. This was just one of the steps in the big tub alcove makeover, but it was one I wasn’t sure we’d be able to pull off.
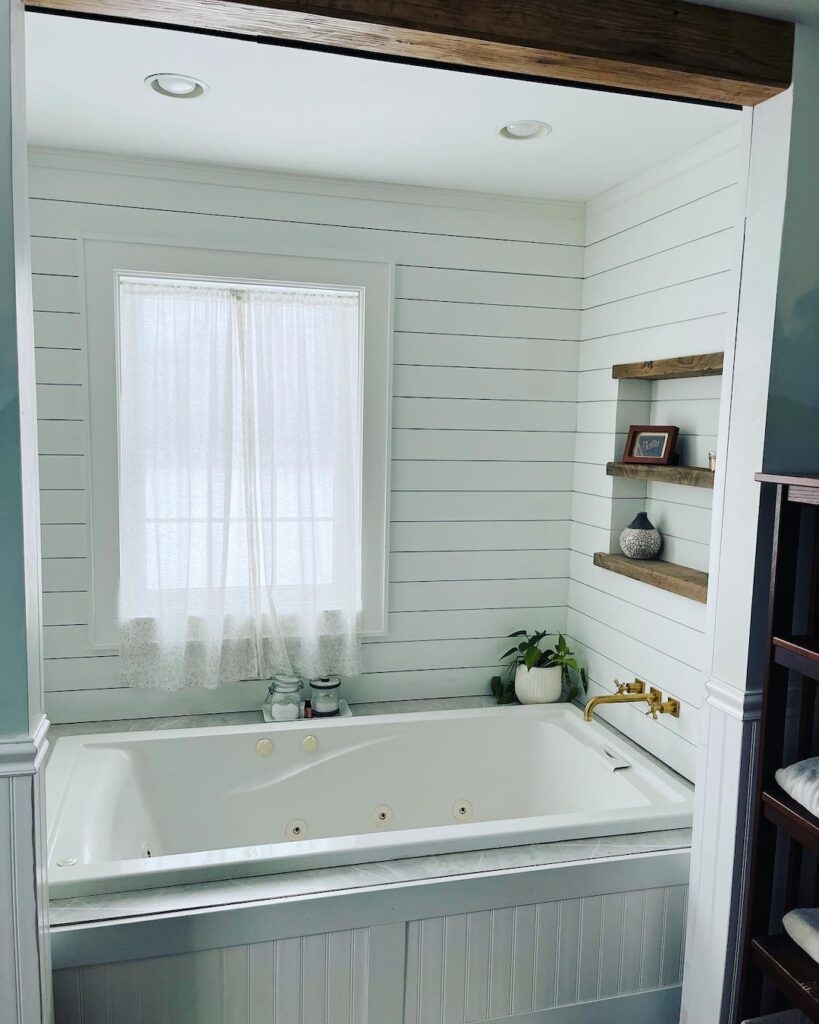

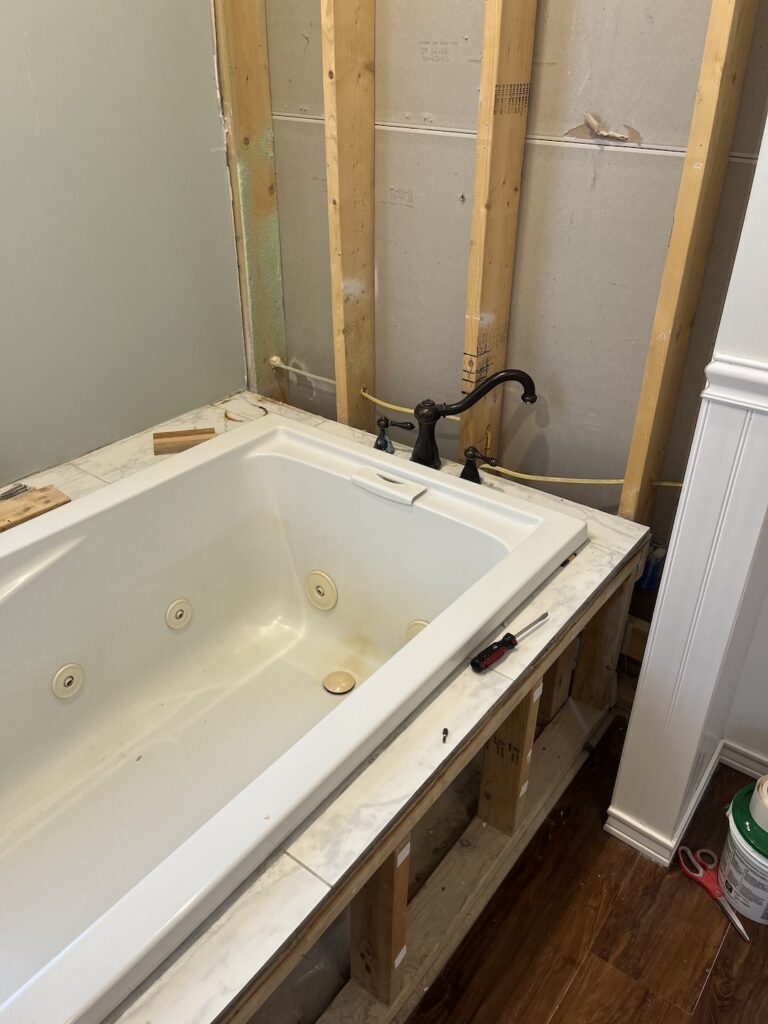
The main driver for the project wasn’t so much that the tile was in bad shape, it was that we wanted to switch from a deck faucet to a wall faucet. That obviously would leave 3 very obvious holes in the tile and having those covered up would be nice.
We considered doing the faucet hole covers but they would have likely looked very weird with the wall faucet directly above.
We also have always had too big a gap between the tile and the tub deck so fitting in a new deck material would also hopefully solve that problem. (Spoiler, it did.)

Materials and Tools needed for putting laminate over tile
- laminate sheet
- 1/4″ plywood or underlayment
- double sided carpet tape
- caulk
- mini-saw or jigsaw
- painters tape
How to prep for putting laminate over tile
The biggest prep for putting on the laminate cover over the tile was to thoroughly clean the tile, including all of the caulk used to attach the trim to (poorly) hide gaps. The tile was also scrubbed clean.
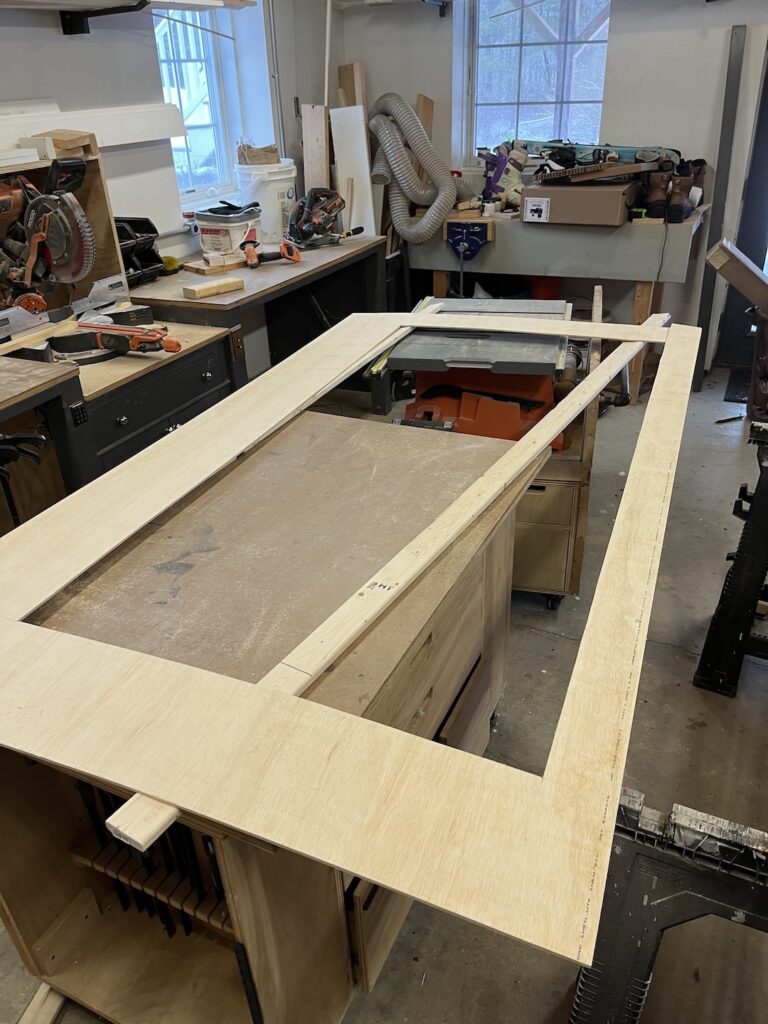
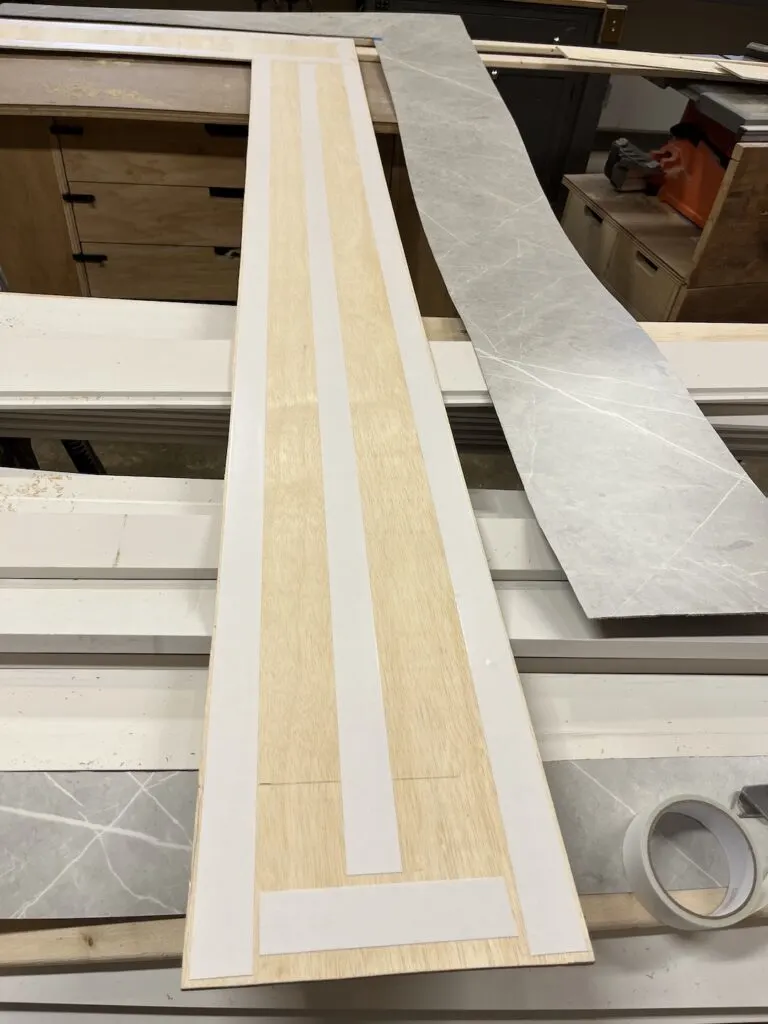
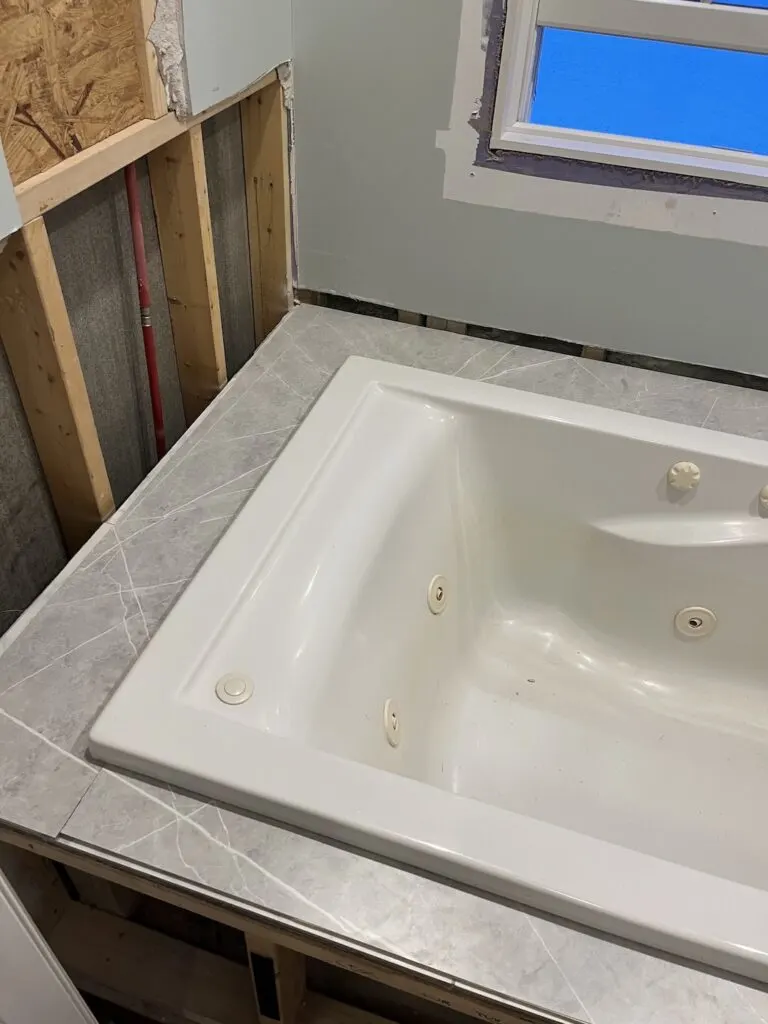
The I built a frame of quarter inch plywood that could slip under the gap most of the way around the tub. Some areas were already flush and would have to get pushed up, but for the most part there was at least that much of a gap all the way around.

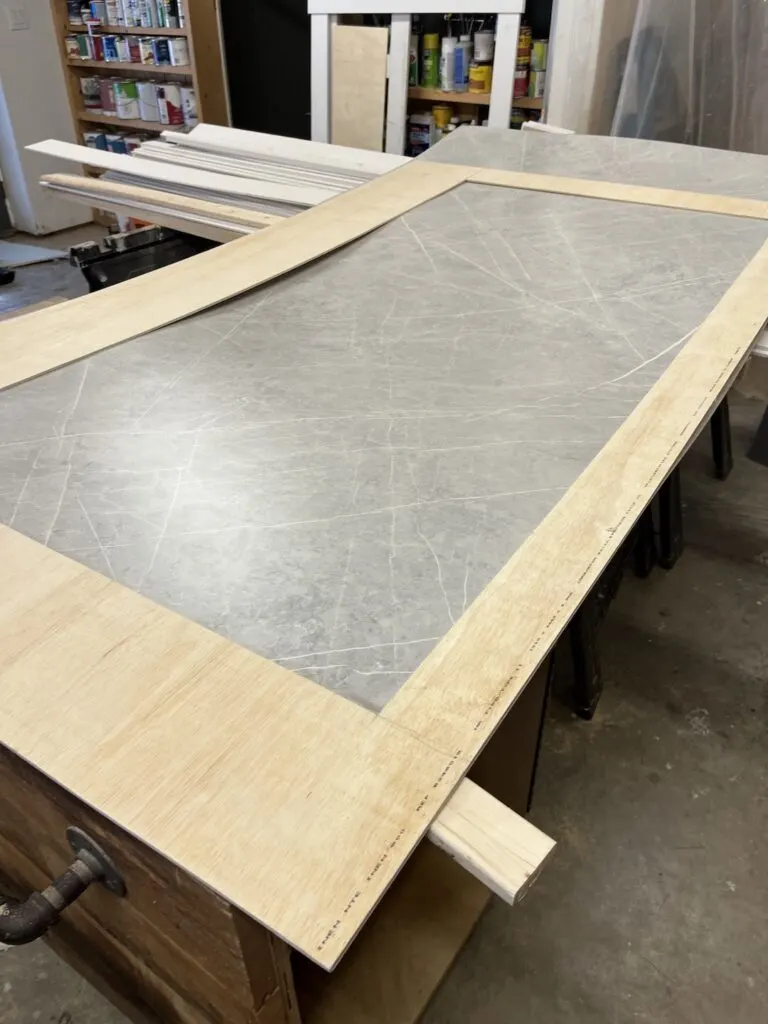
Once I had the pattern and I was sure that it fit, I went about transferring that template onto the laminate itself. I just transferred the corner marks, and then added painters tape before transferring the entire line

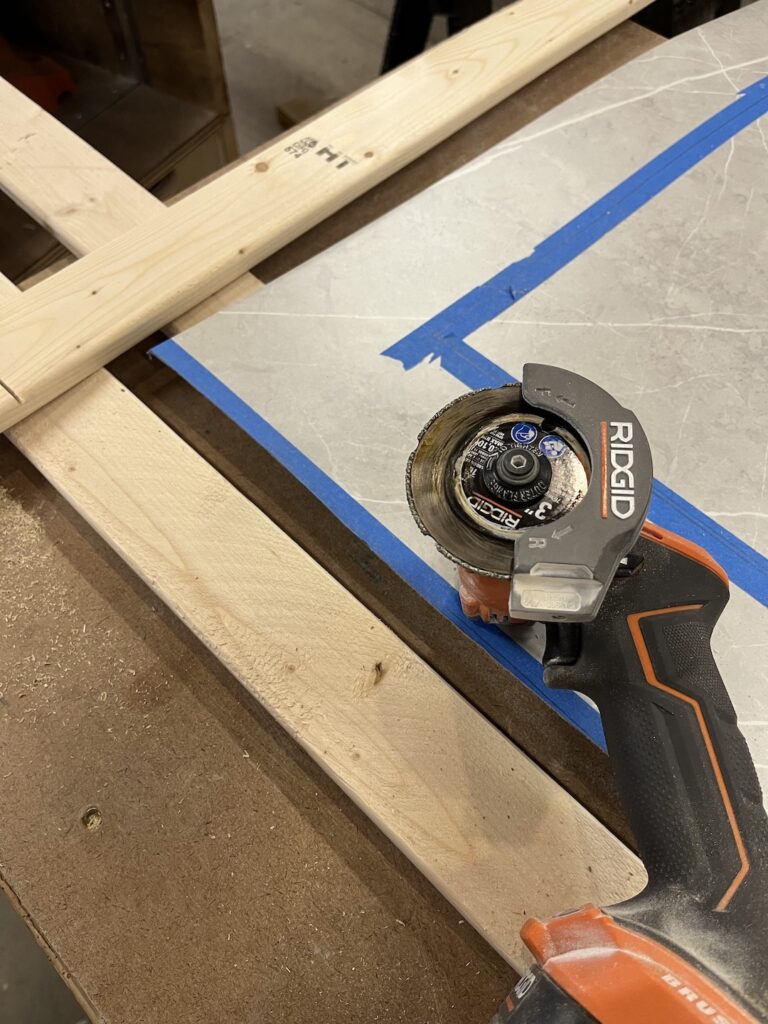
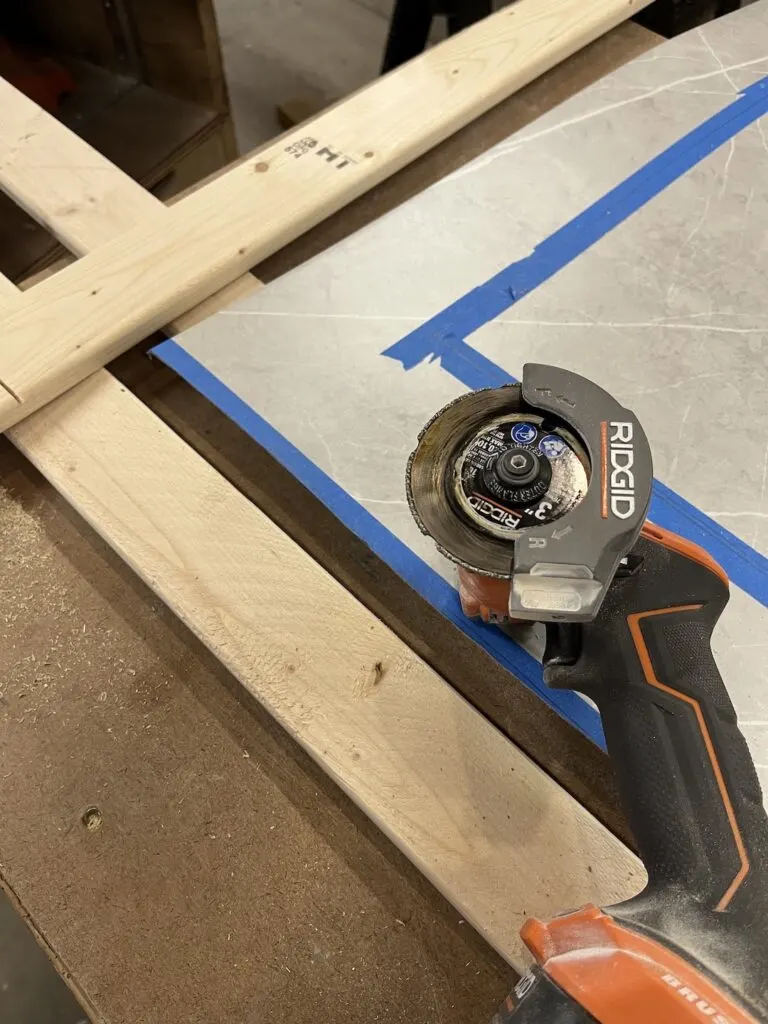
I wanted to use painters tape to hopefully get a cleaner cut on the laminate. It worked pretty well for the most part, but there were some areas that I was glad to hid under the lip of the tub. Using my rigid mini saw with a grinding blade to cut gave me a lot of flexibility.
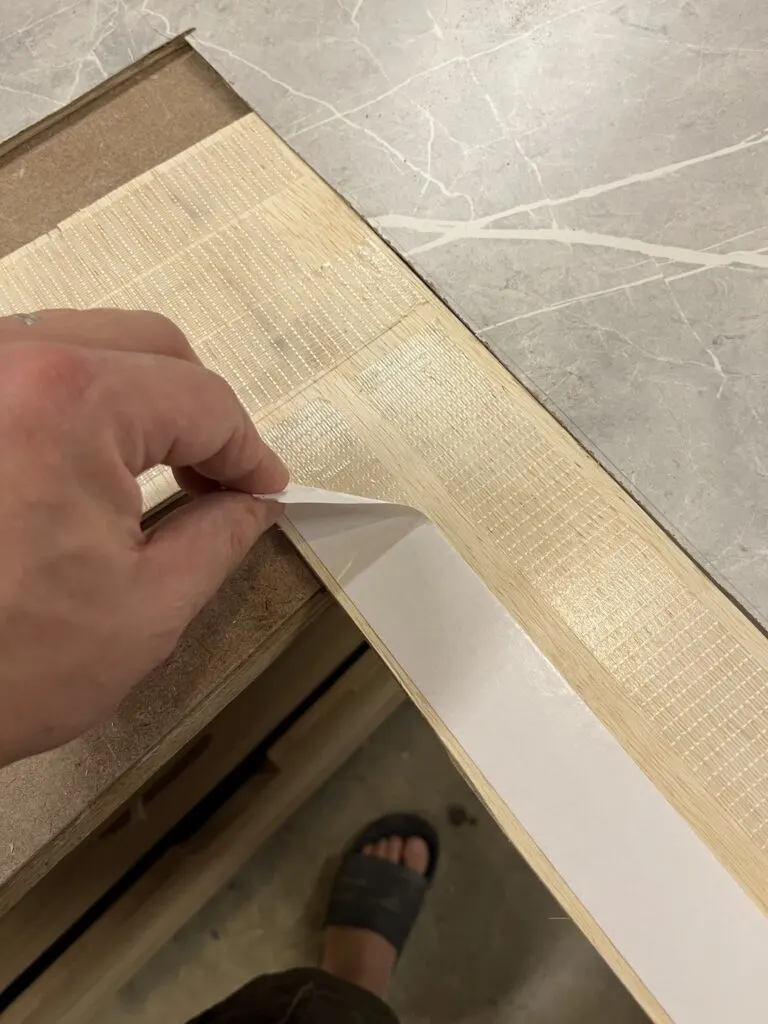
Once I had the pieces cut, I then used double sided carpet tape to stick the laminate to the plywood. I couldn’t find the glue I was expecting to use but this worked for me. So far this has given me a nice tight fit that doesn’t slide around or peel up at all.


How to apply the laminate
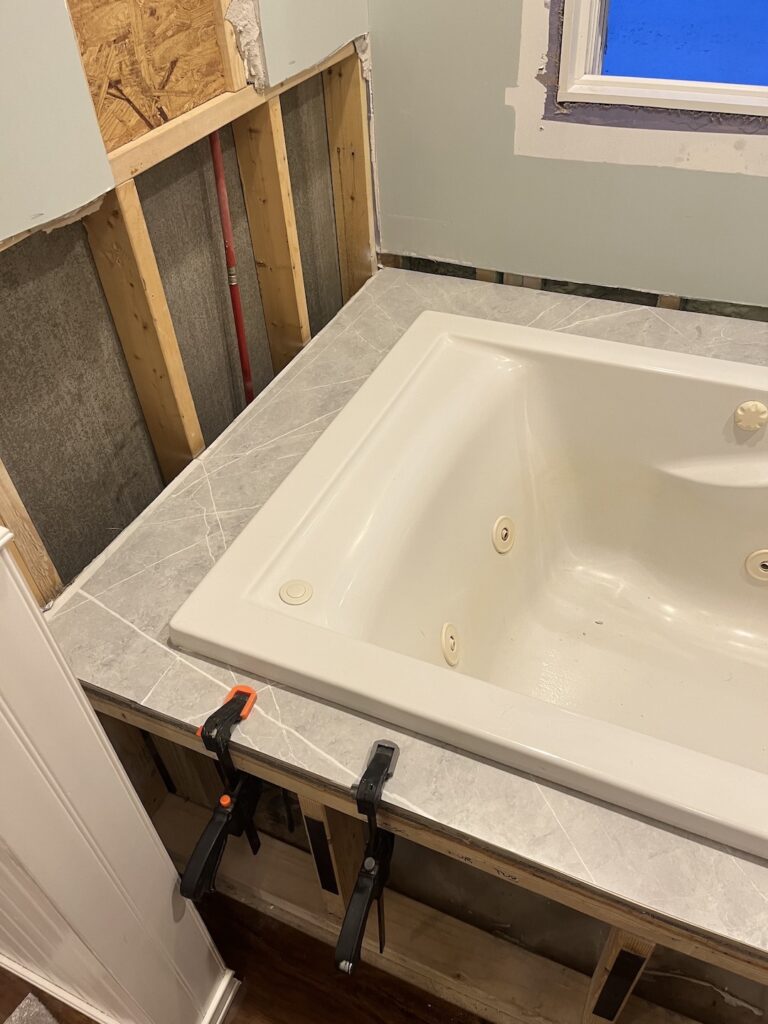
I ended up having to cut the pattern into two L shaped pieces. Thankfully because of the pattern in the marble like laminate at least one of those seams all but disappeared with a little white caulk. It looks almost indistinguishable from the pattern, even close up. It’s at the corner of the tub here toward the faucet wall and I still struggle to find it.
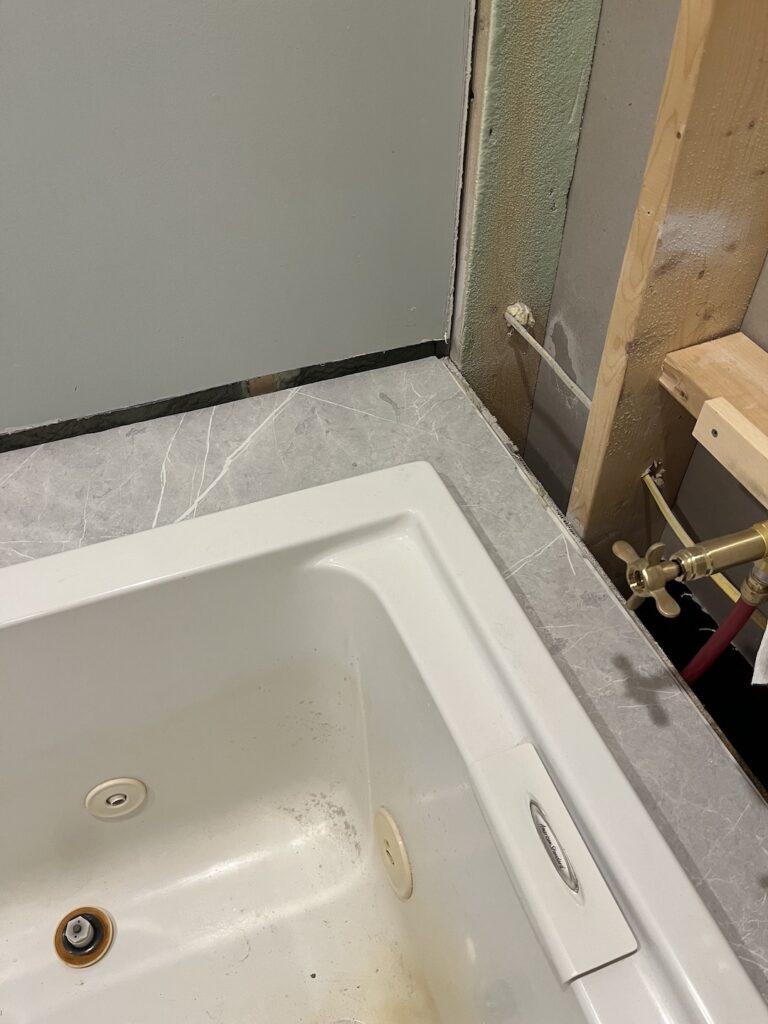
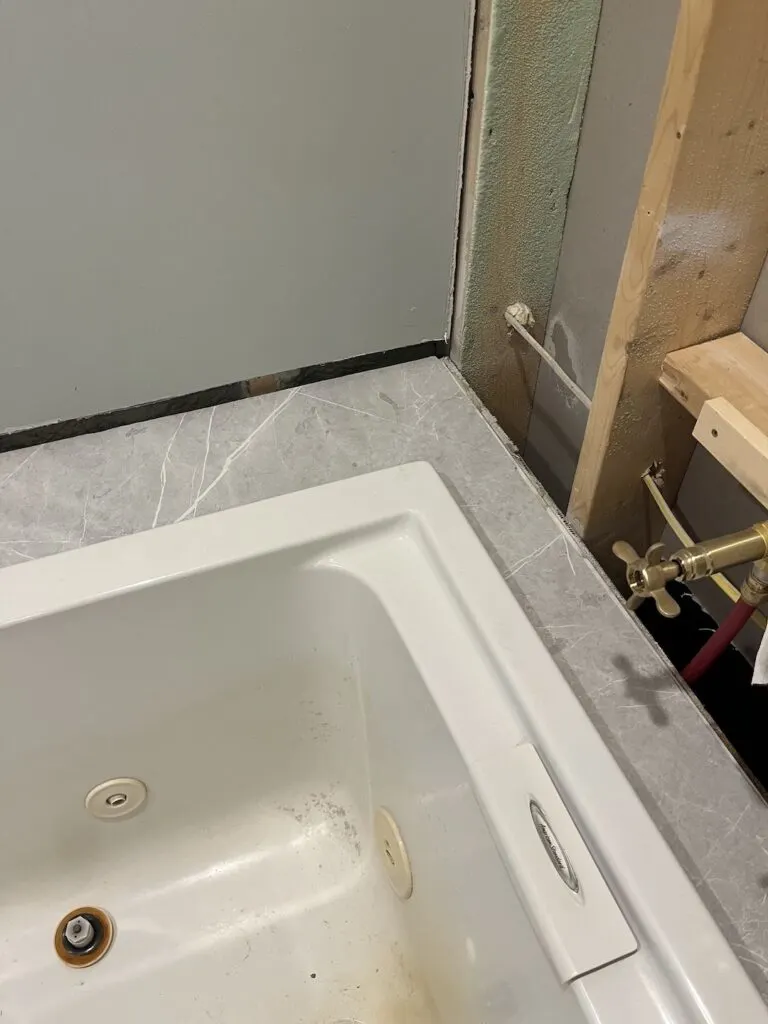
The other seam wasn’t quite so good. At first we had a pretty bad issue with the joint not even lining up so I had to glue down the plywood and clamp it in place for a few hours. Even then the joint is much more noticeable but with a little white caulk it still blends in fairly well.
So lesson learned, get a top with some veining.


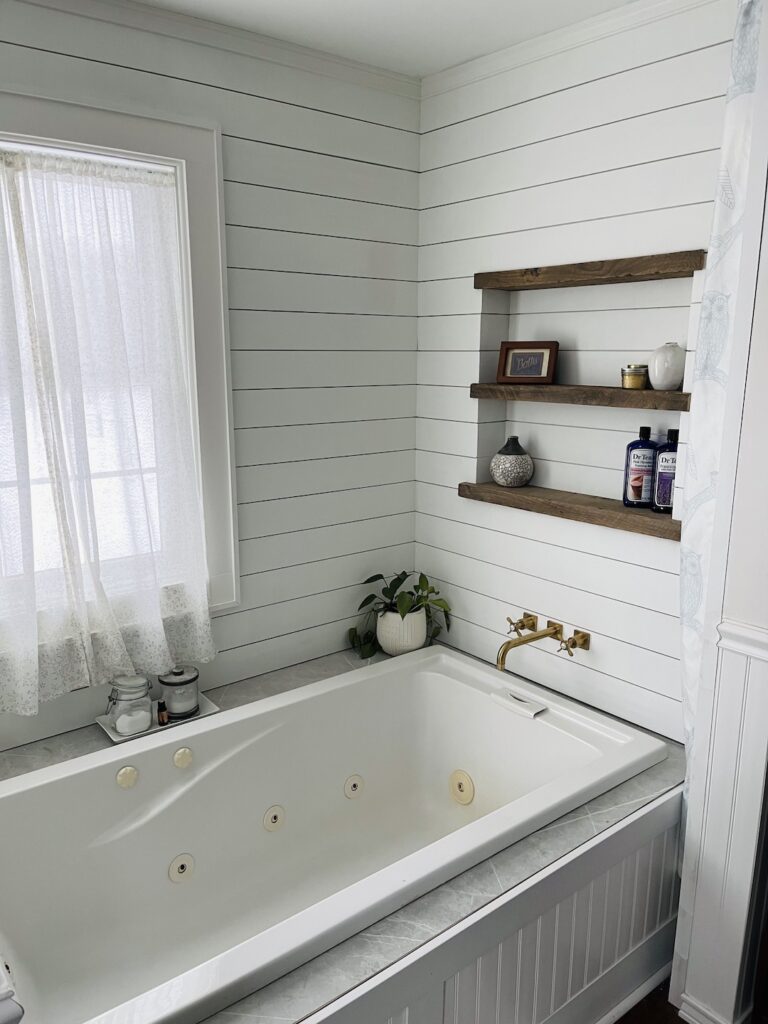
The laminate getting installed over the tile needed to happen before we could start the rest of the project so I was very excited to get this far. I also hadn’t been sure up to this point if it was going to even work or if we were going to have to abandon the hopes of a wall faucet to avoid 3 ugly caps in the tile.
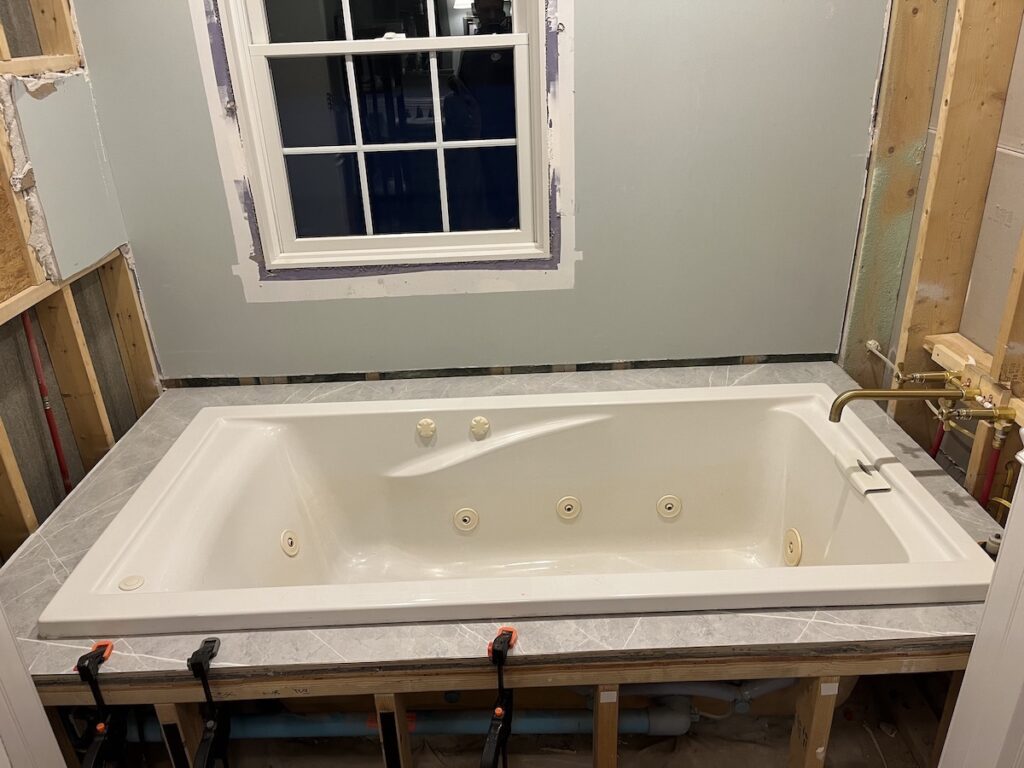

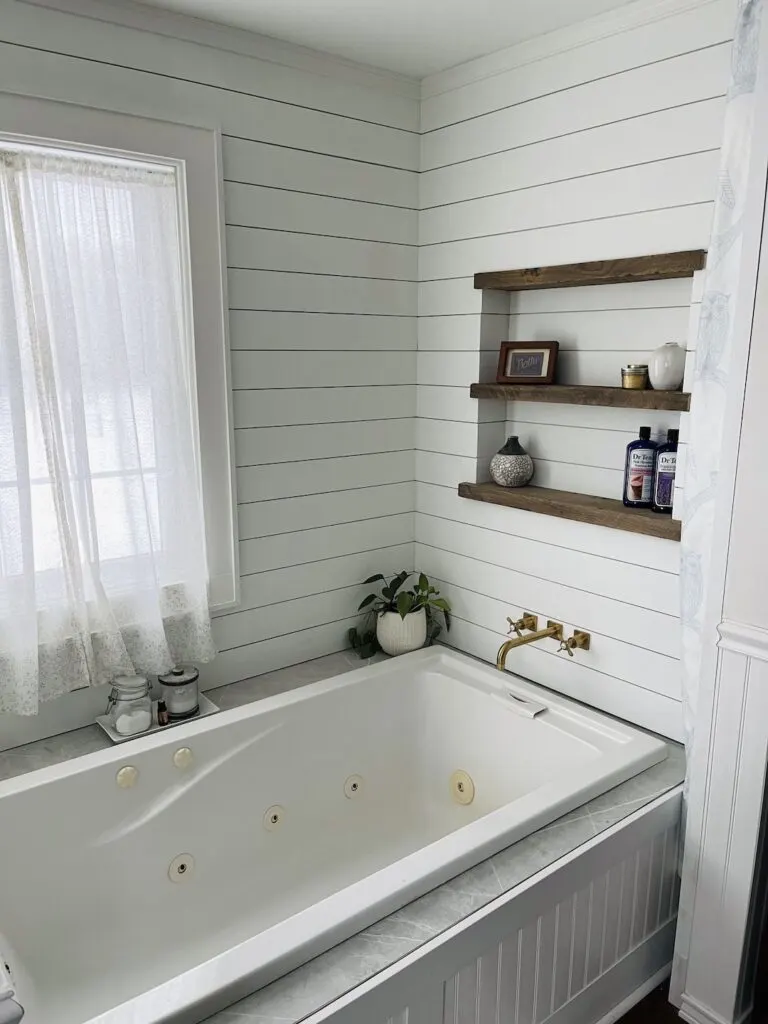
The laminate itself is pretty subtle, we didn’t want anything too flashy or loud in what is hopefully going to be a quiet, calm space. The tub alcove part of the renovation is done but there are still a lot of projects left in this upstairs bath.