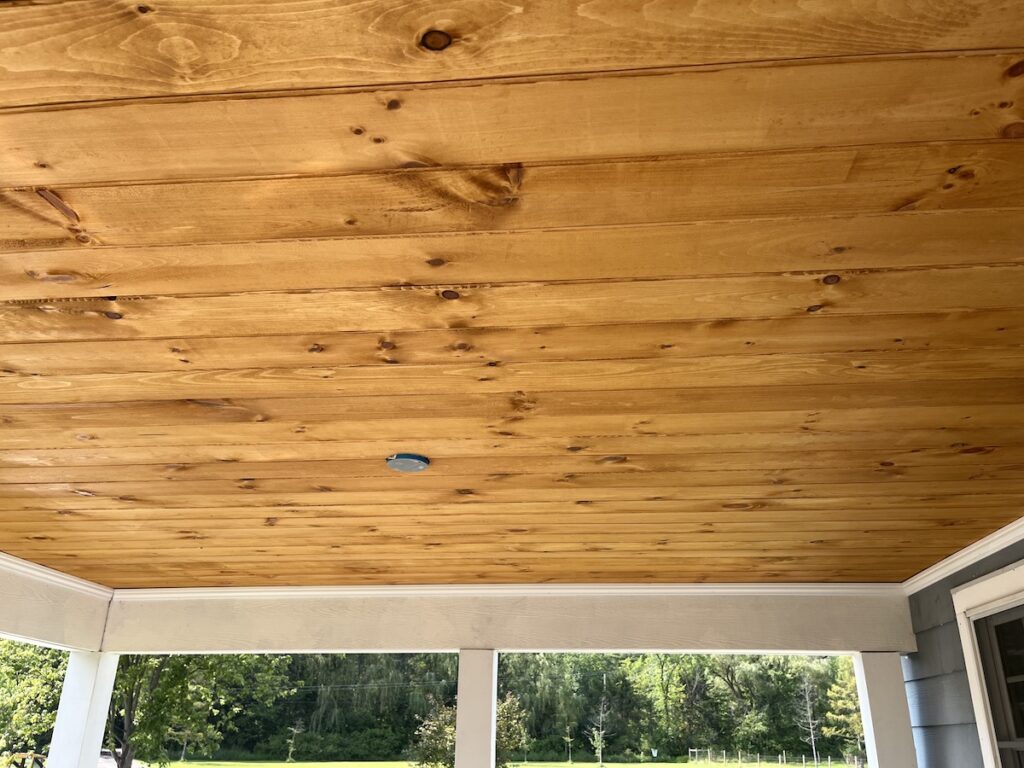
Last year we had a contractor friend extend the deck and add a covered area but decided to DIY the tongue and groove ceiling ourselves. I’m going to call getting it done in under a year a win.

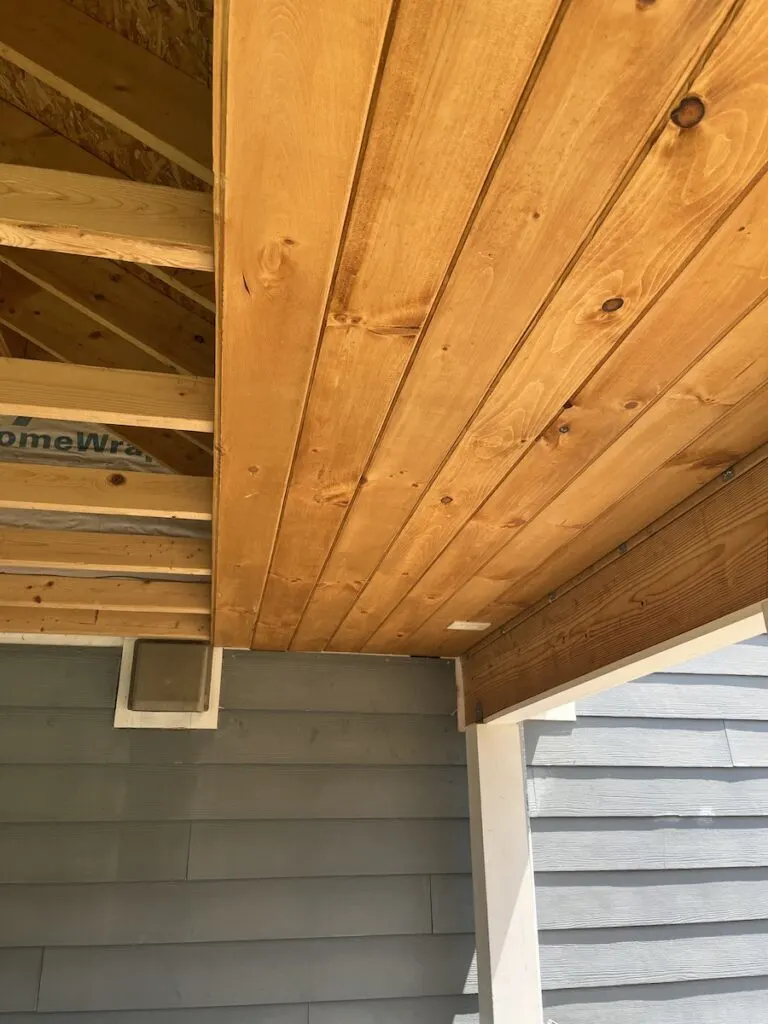
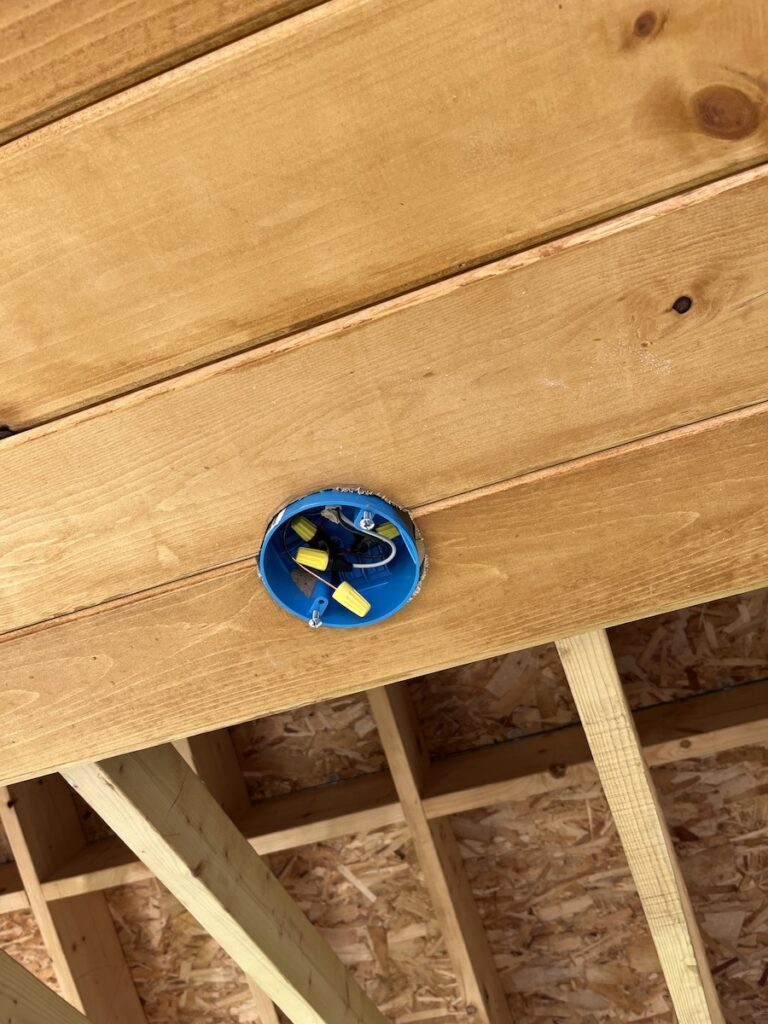
The first step in the process was adding a switched outlet in the ceiling and box for a ceiling fan. The switch box on column closest to the house thankfully doesn’t stand out too much. Unfortunately that was about as far as I made it on this project last year.
Materials and tools needed for porch ceiling
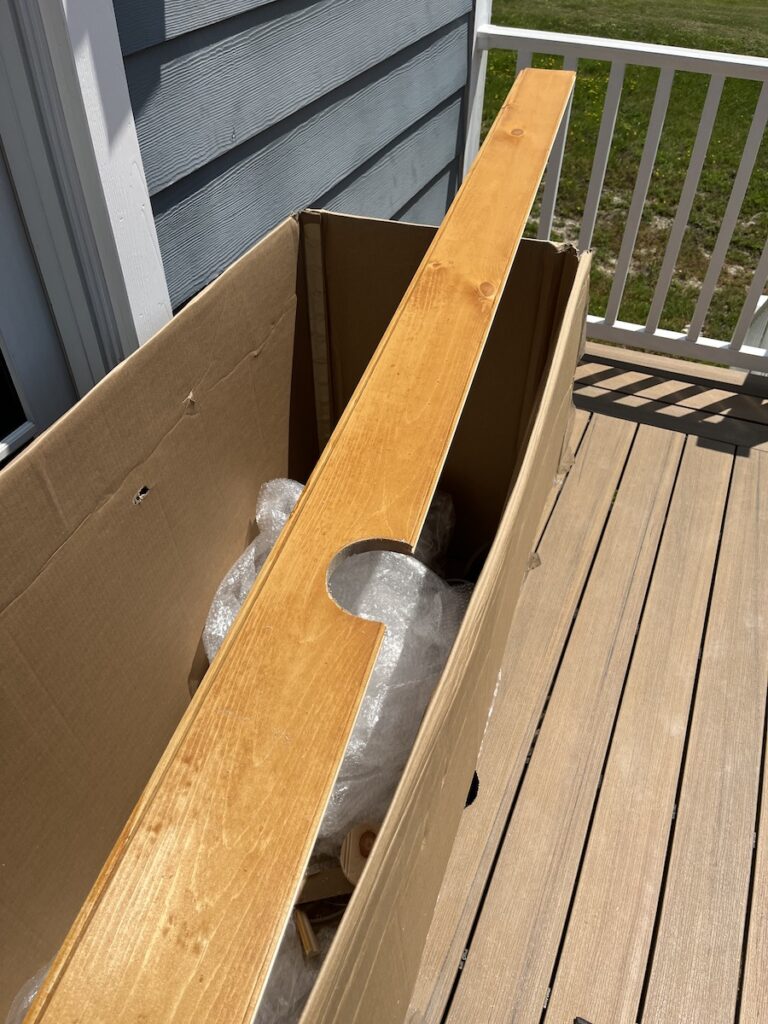
- 12′ tongue and groove pine boards (I ordered ours from Lowes)
- Outdoor finish nails
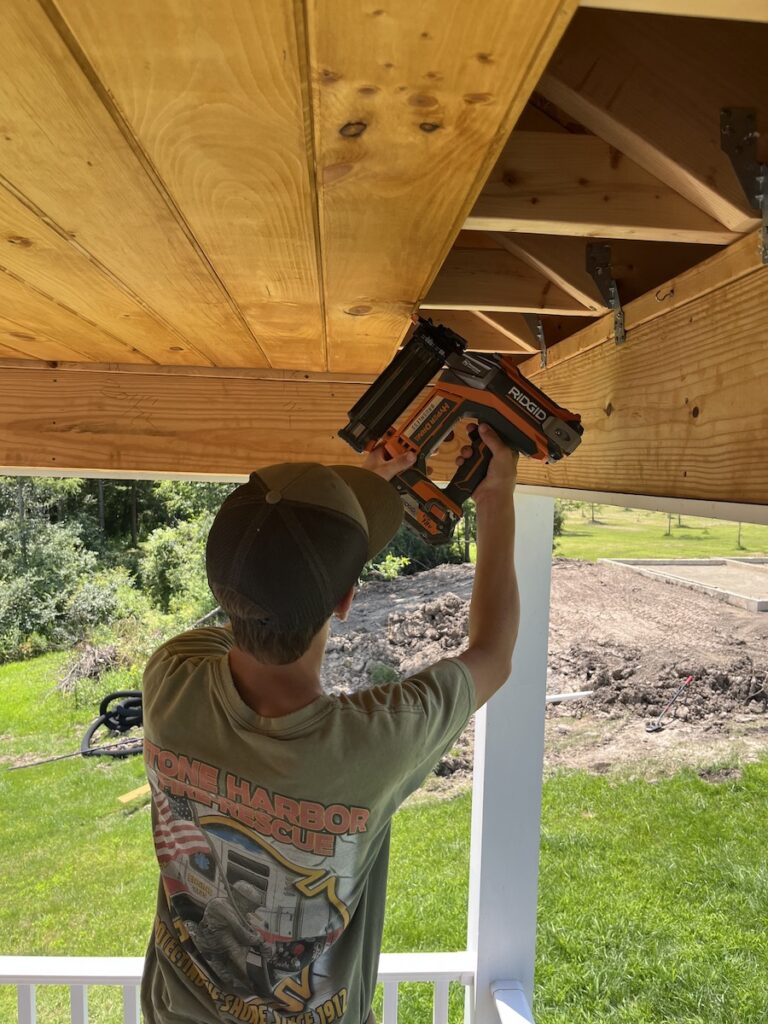
- Finish nailer (I strongly prefer cordless)
- Miter saw
- Jig saw
- Convertible clamps
- Rubber mallet
Staining a pine tongue and groove ceiling
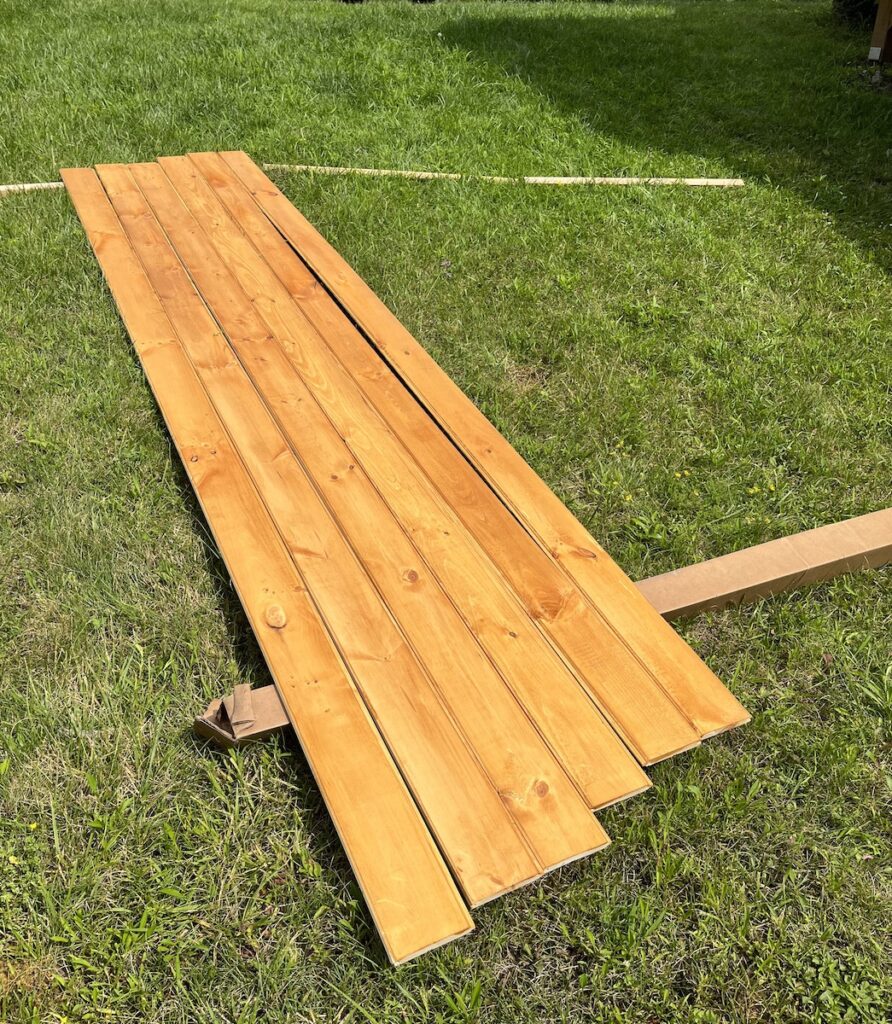
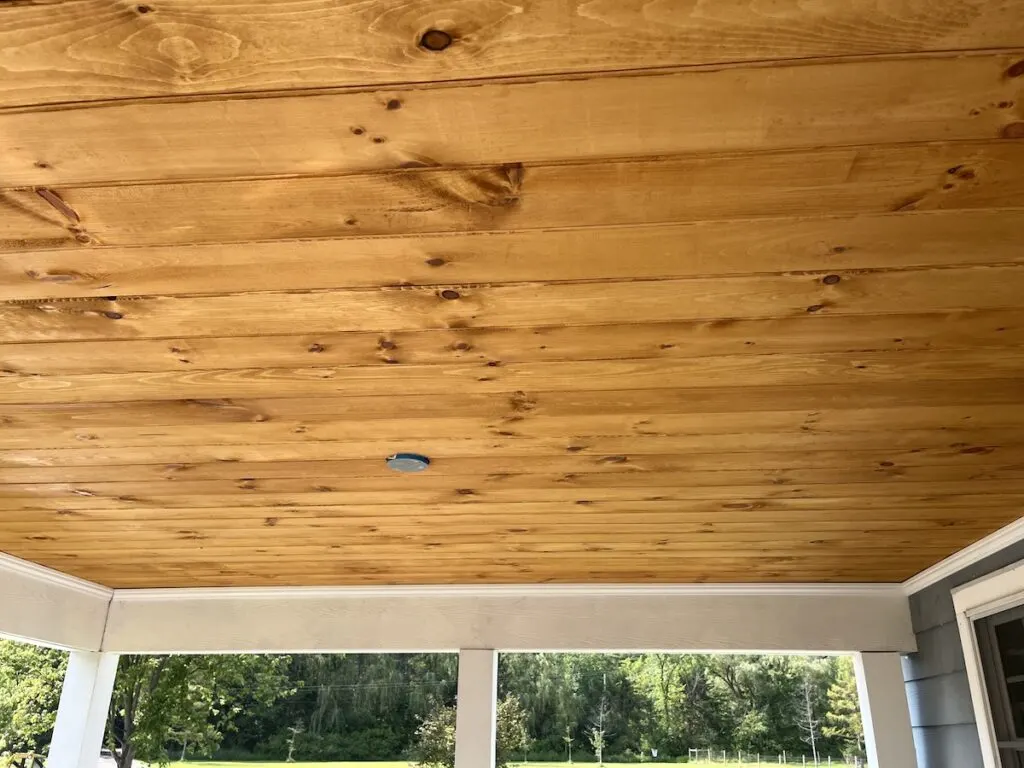
What’s the easiest way to stain a ceiling? It’s definitely not when it’s above your head. So the first step was to cut the boards to length and stain them. We used the same stain as our shed doors and the supports under the extended deck. The stain is Cabot Timber Oil in Honey Teak and even though it’s dangerously close to looking orange-y in some lights I’m very happy with it.
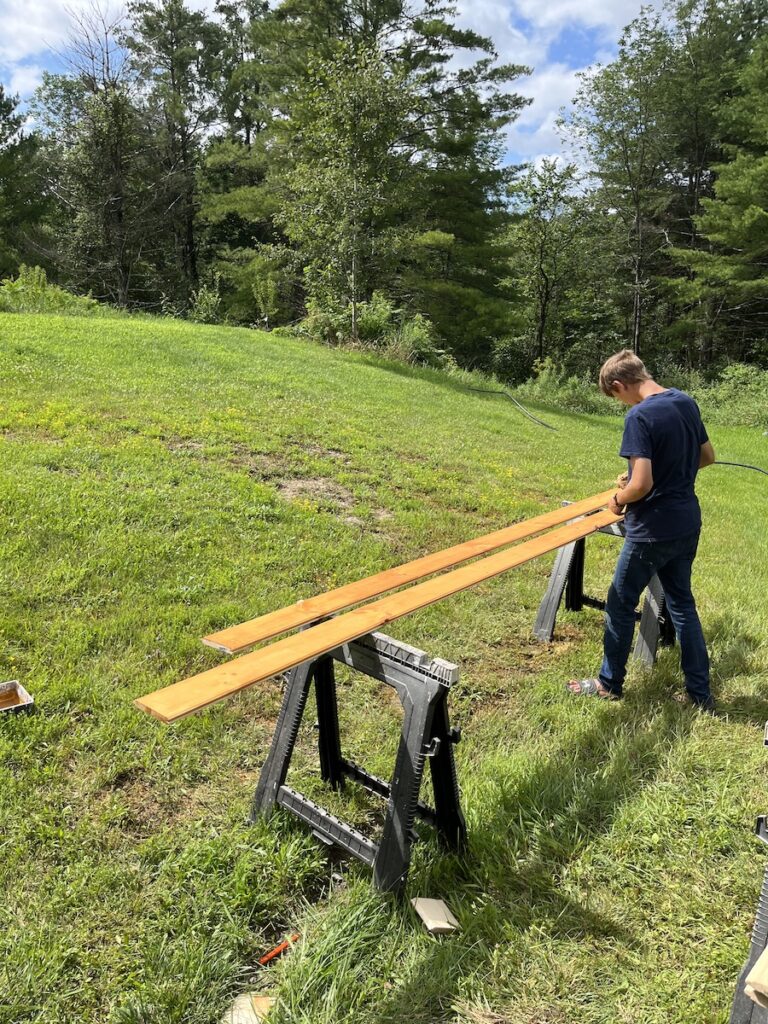
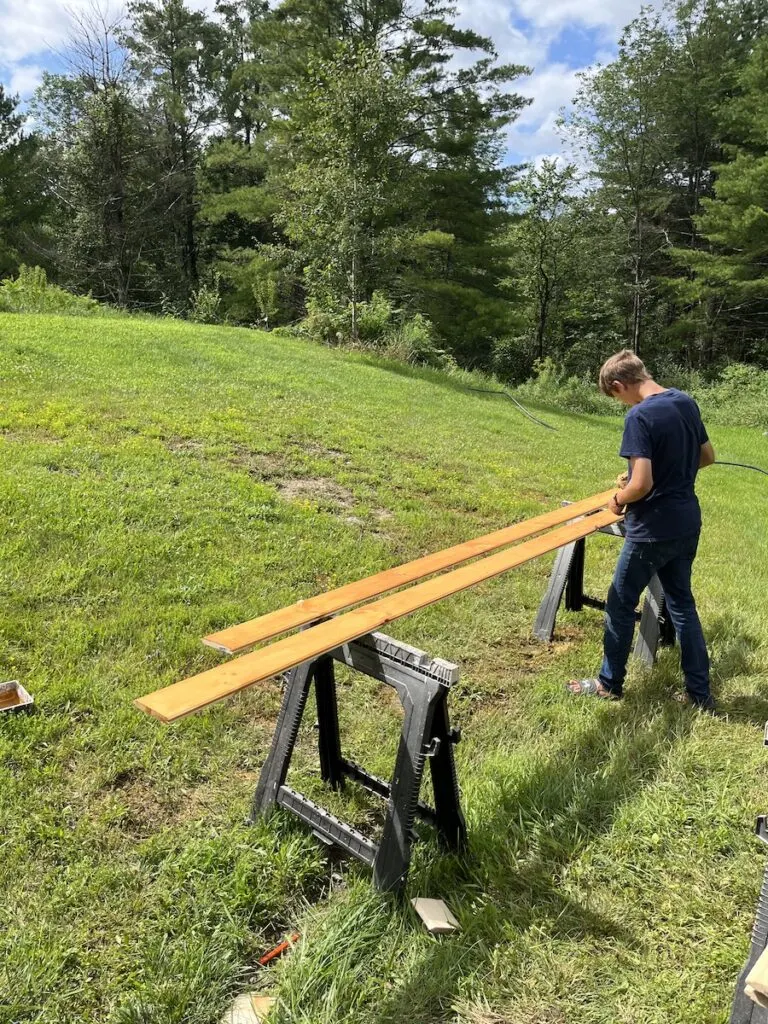
It is long since past time for me to upgrade my sawhorses but they still get the job done in a pinch. We stained these in groups of 8 and then laid them on some scrap wood on the hill to dry.

Hanging a porch tongue and groove ceiling
There are a couple very important tips to hanging a tongue and groove ceiling. You want to make sure that your first piece is square, just like any floor. And you want to put the groove side against the wall when you start.

You always should be nailing on the tongue. The reason for this is that if you nail in the groove and the nail doesn’t go all the way through it will stop the tongue from being able to go in.

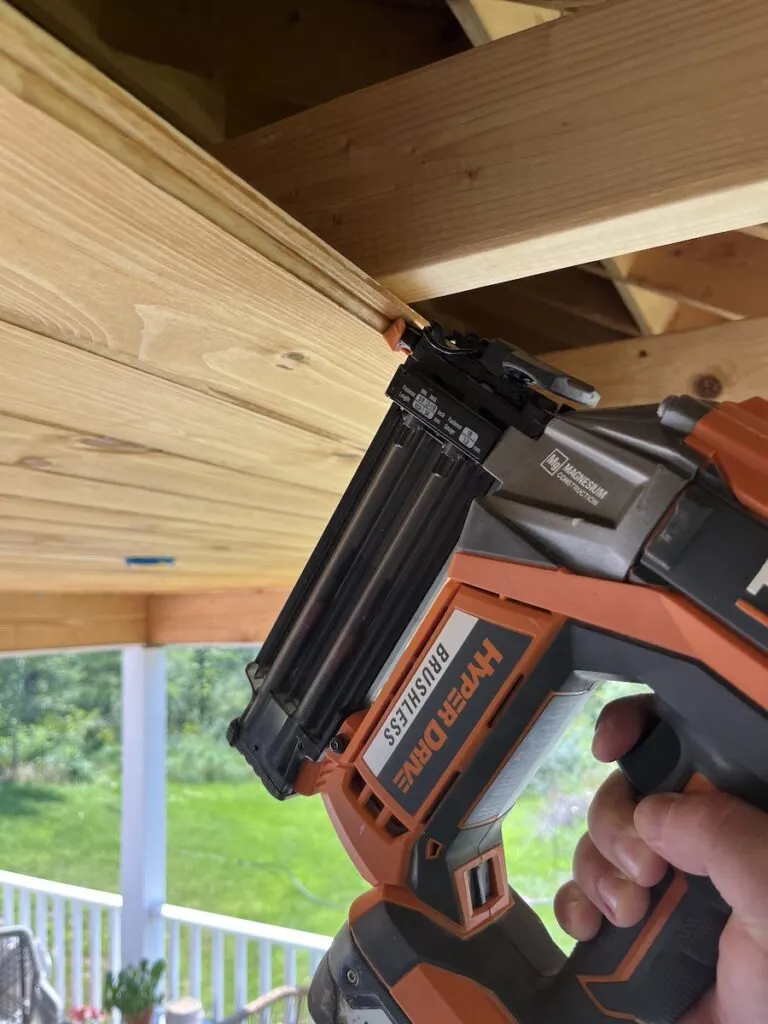
I promise this isn’t just some excuse to show my favorite cordless 18v finish nail gun. The photo hopefully shows the angle you want to use to get the most meat with the nail and keep it hidden. I kind of regret using the phrase meat there in terms nailing into things, but here we are.
Another tip that helps is when cutting shapes that cross more than one more board, it’s easier to cut those boards together. Ideally that means your cuts line up perfectly.
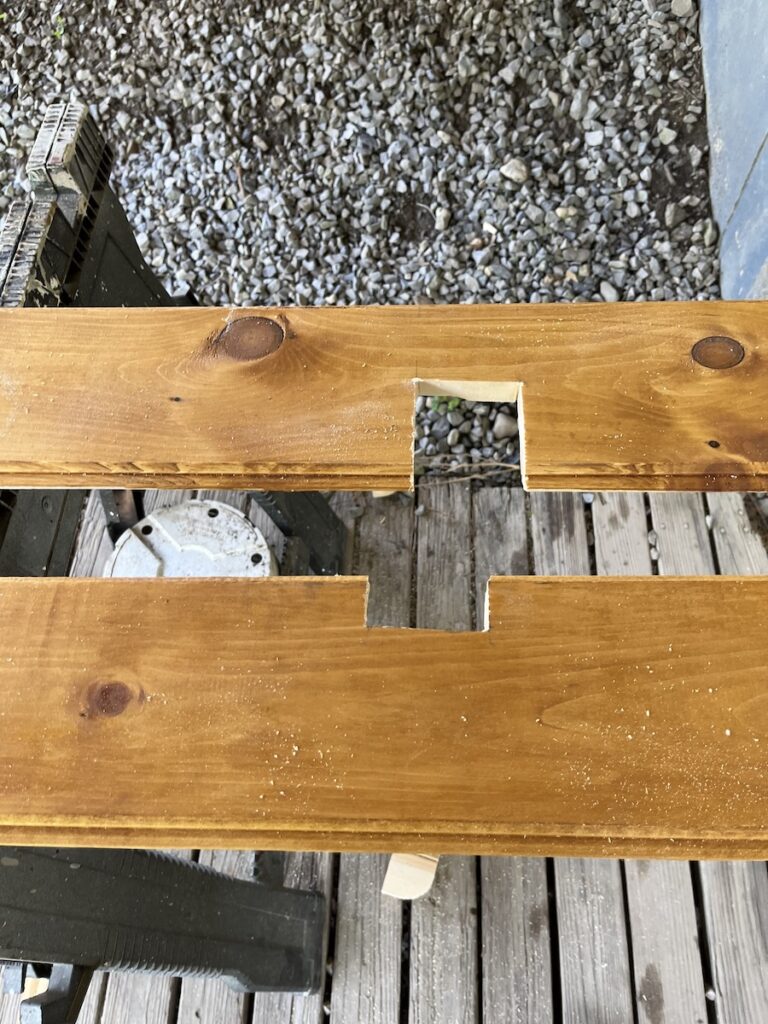

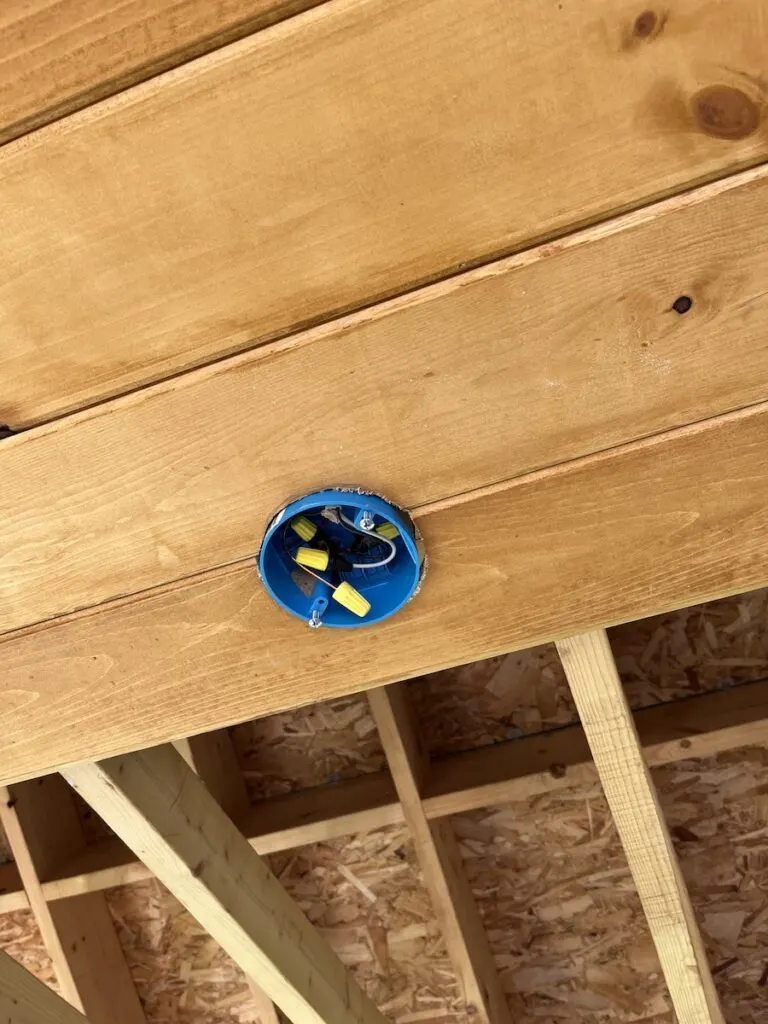
A ceiling box can be a little harder to measure for so what I recommend is putting up the board, marking the widest part of the box on the board and then measuring off the previous board. If you have a spare ceiling box to trace, great. If not? A quart paint can is pretty close.

How to get a tight fit in a tongue and groove ceiling
The tongue and groove pattern looks great. Unless there are wonky gaps and you go off square. To prevent that from happening you will want to use scrap tongue and groove material and a rubber mallet to pound the courses tight.

That falls apart when you get to the last few rows. Here’s where you want to have some convertible clamps. A convertible clamp is one that you can flip the top fixed jaw upside down to the bottom. That makes your clamp a spreader instead.

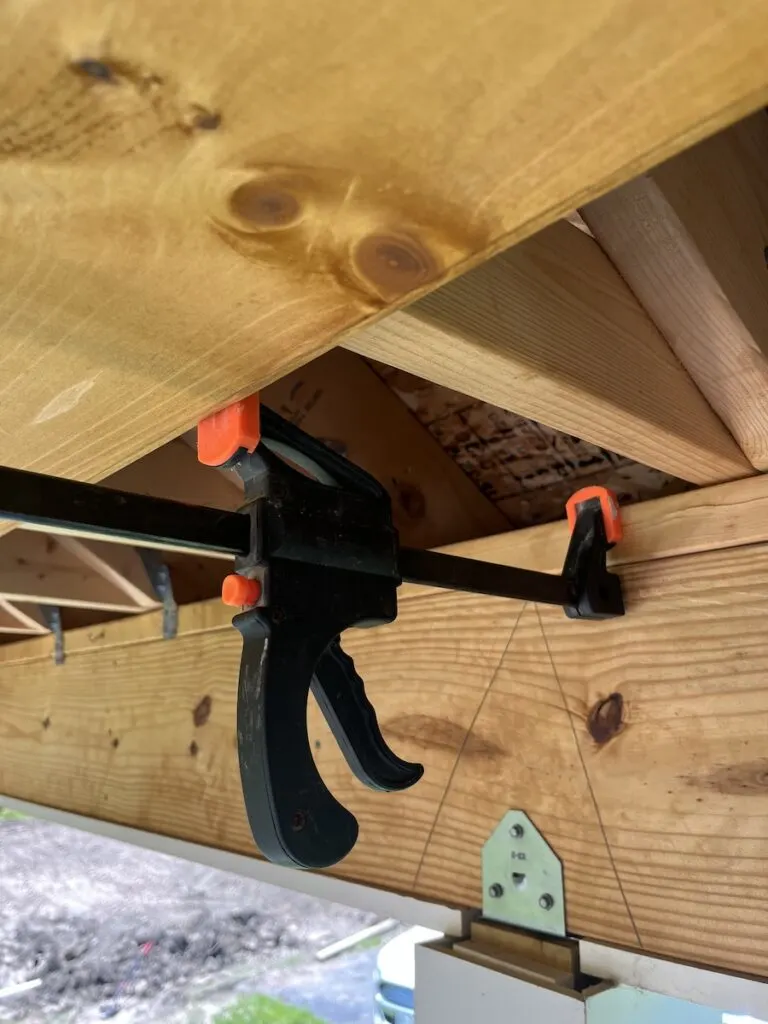
Having a few of these at the very end makes it easy to get a nice tight fit. The very last row might require some more creative solutions like a pry bar and some growling through gritted teeth. The growling is optional but it seemed pretty effective so I do recommend it.

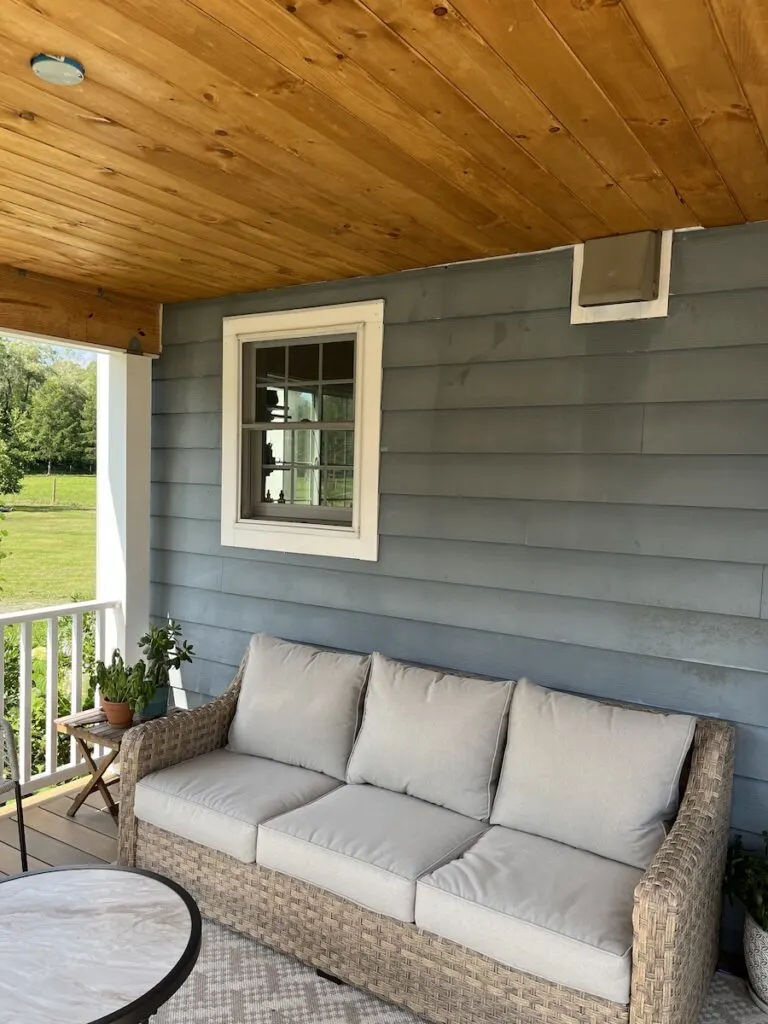
We can just ignore the staining on the siding that looks far more prominent in this photo than in real life thankfully.

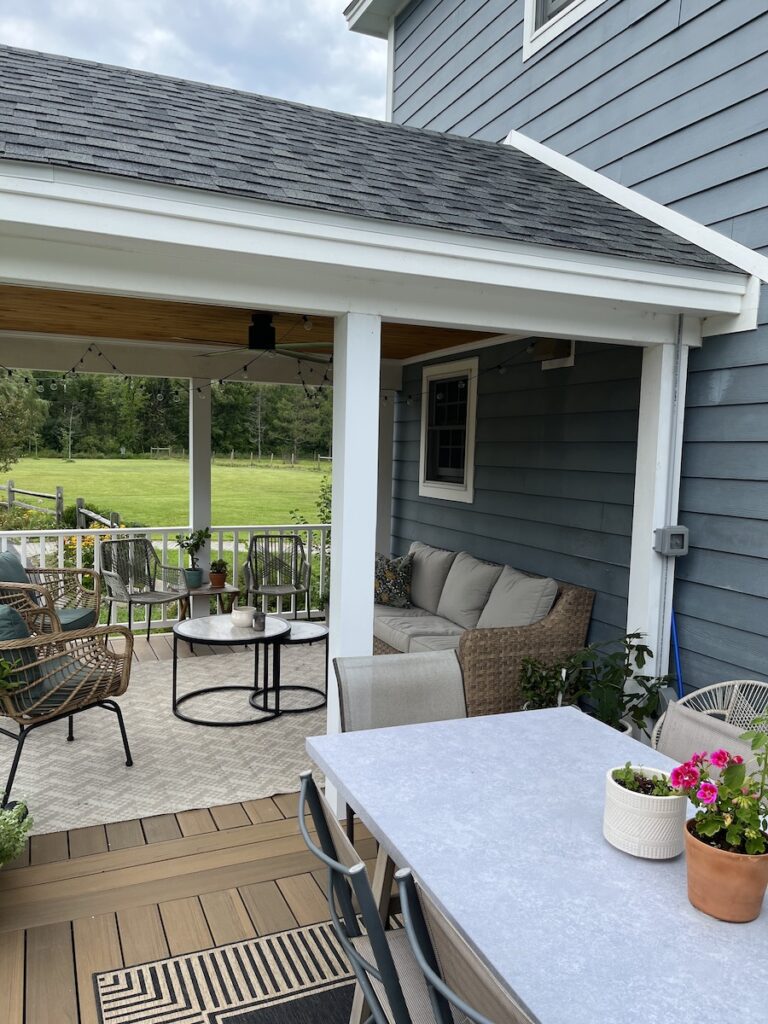
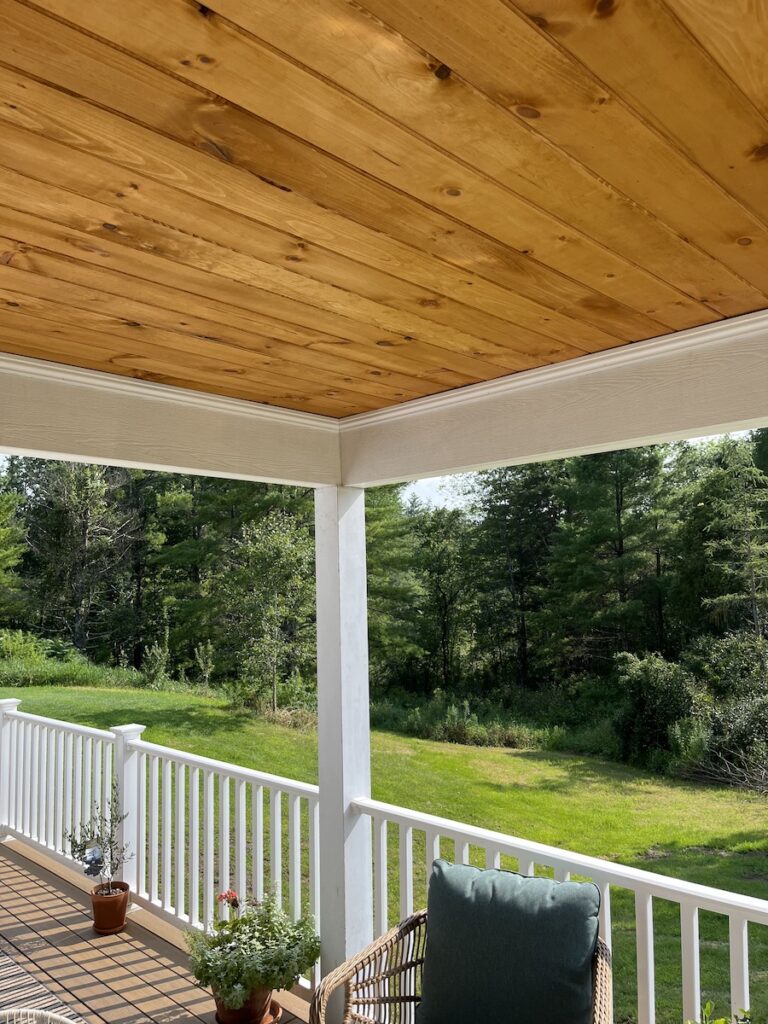
Finishing off the deck ceiling
In order to finish the ceiling, I needed to add trim along the inside to cover the framing and a crown molding to cover the gaps. I used a composite trim meant for outdoor spaces called miratec. It’s cheaper than PVC and having used it on the shed, I know it holds up.

Getting the corners right was rugged here. I added shims and did my best, but it’s definitely not my best work.
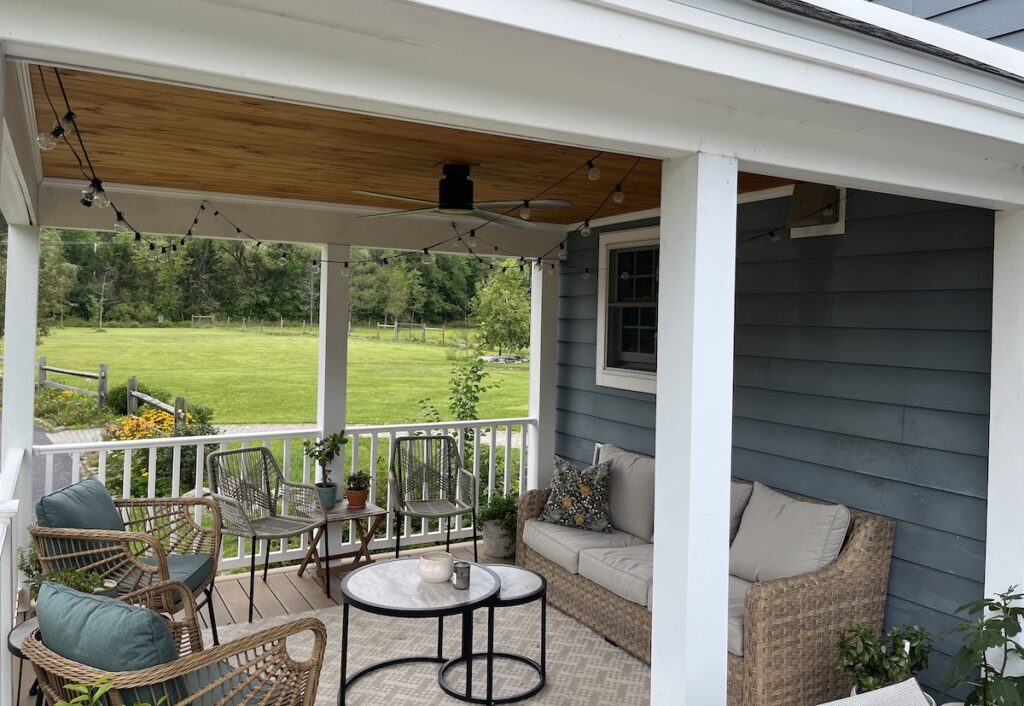
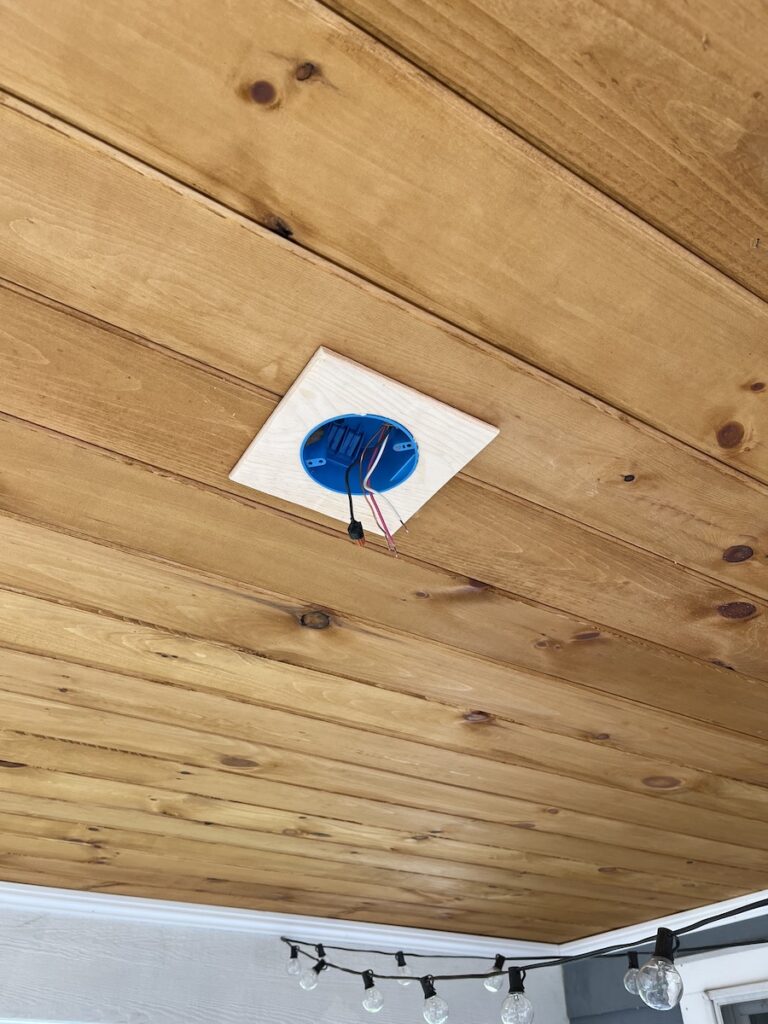
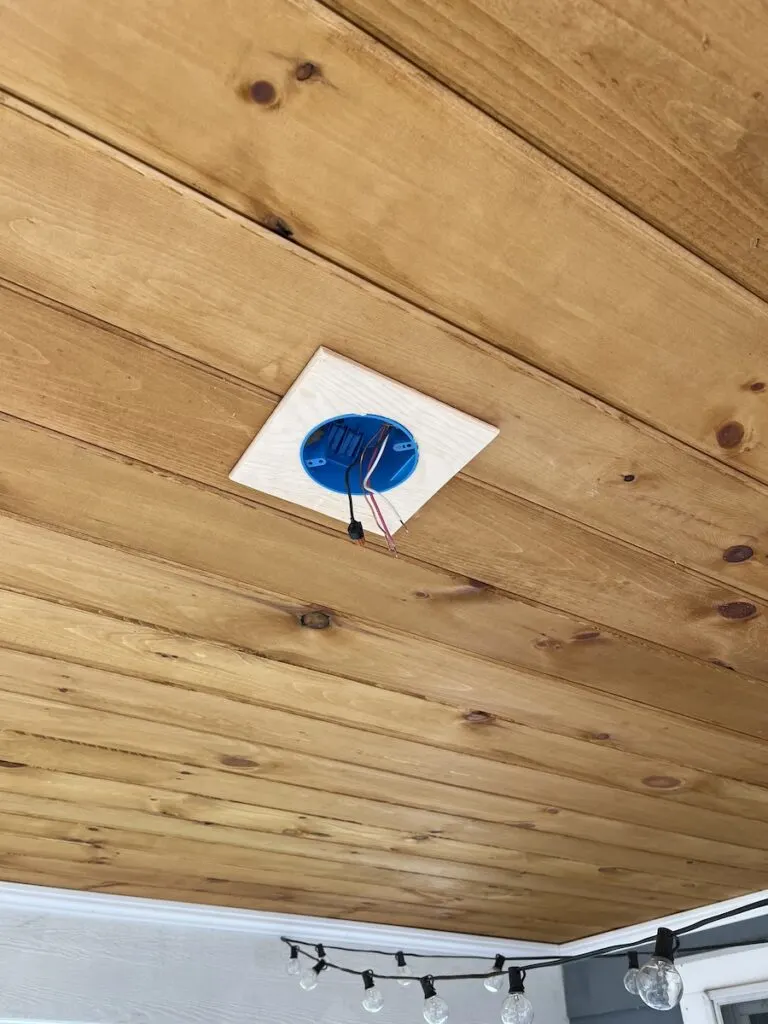
Adding back in the string lights and a ceiling fan were just the finishing touches. Of course because this is one of my projects there was a hiccup. The ceiling fan box was hanging down about 1/4″ from the ceiling. I had hoped the ceiling fan would cover this little snafu.
It did not.
So, I took to the shop and made a little trim piece to fit around the box using my table saw, a hole saw and more of the same timber oil stain.
The one tip for hanging the ceiling fan that I’ll mention is that it was important for the fan to go above the lights. If the fan were below the lights then if both were on you would get a terrible strobe effect.
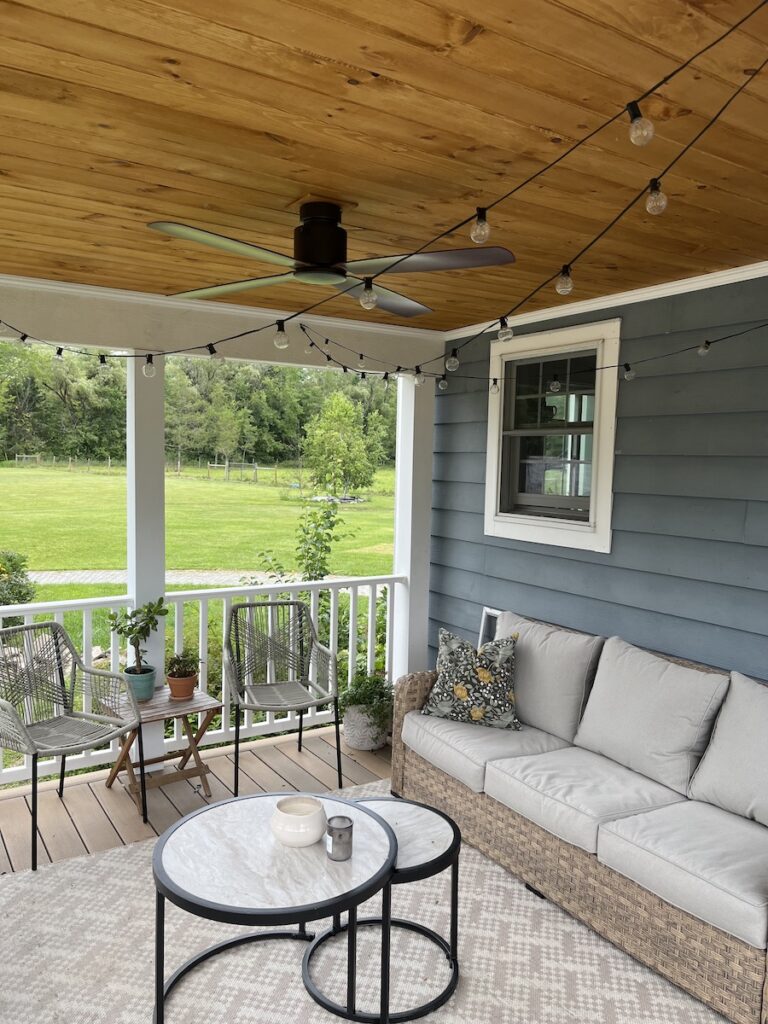

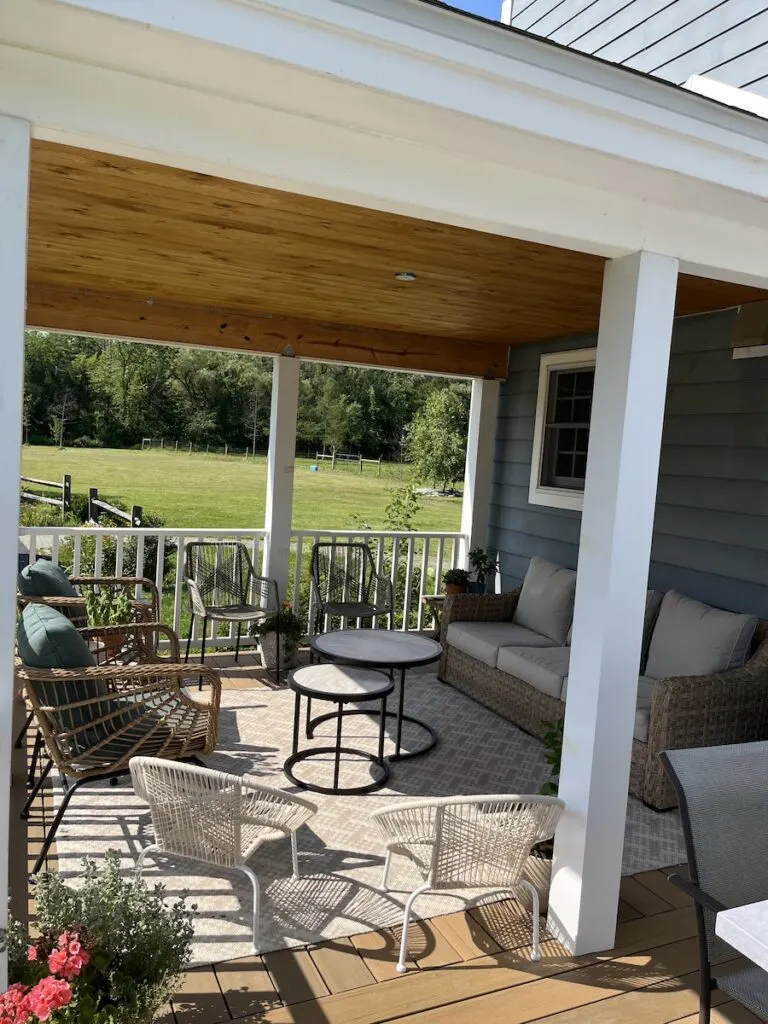
Right before we finished the ceiling we swapped the dining table out to the uncovered section and bought a sofa and chairs. We really can’t believe we didn’t do this sooner as we now use the deck more than ever.