When we first talked about sheep I had only a vague idea how to build a woven wire fence. I knew the basics clearly of stapling fencing to posts but honestly didn’t understand the difference between welded wire and woven wire or a hundred other things.
My boys and I learned a lot through this project. Maybe a little more than we’d like, so I wrote a review.

What is the difference between a woven wire fence and a welded wire fence?
The first thing I had to figure out for the fence was what kind of fencing to run as this would determining things like post material, sizing and spacing. It turns out that the welded wire I was used to from the home improvement or farm store was not up to the tasks. This makes sense since I often have had the welds fail and ended up with some wobbly weak fencing. It’s fine for keeping critters out of the garden but would do very little to deter a sheep or predator.
Welded wire fencing has cross strands lightly welded together where they cross.
Woven wire has the cross pieces wrap around each other at the joints making a much tougher joint.
The main benefit of the woven wire is the durability which also allows for longer spacing between posts which on even a small pasture makes a big difference.
The top and bottom horizontal wire of the fence is also extra thick to allow you to more securely wrap a post under tension as well as support the vertical wires.
What do you do without a permanent woven wire fence?
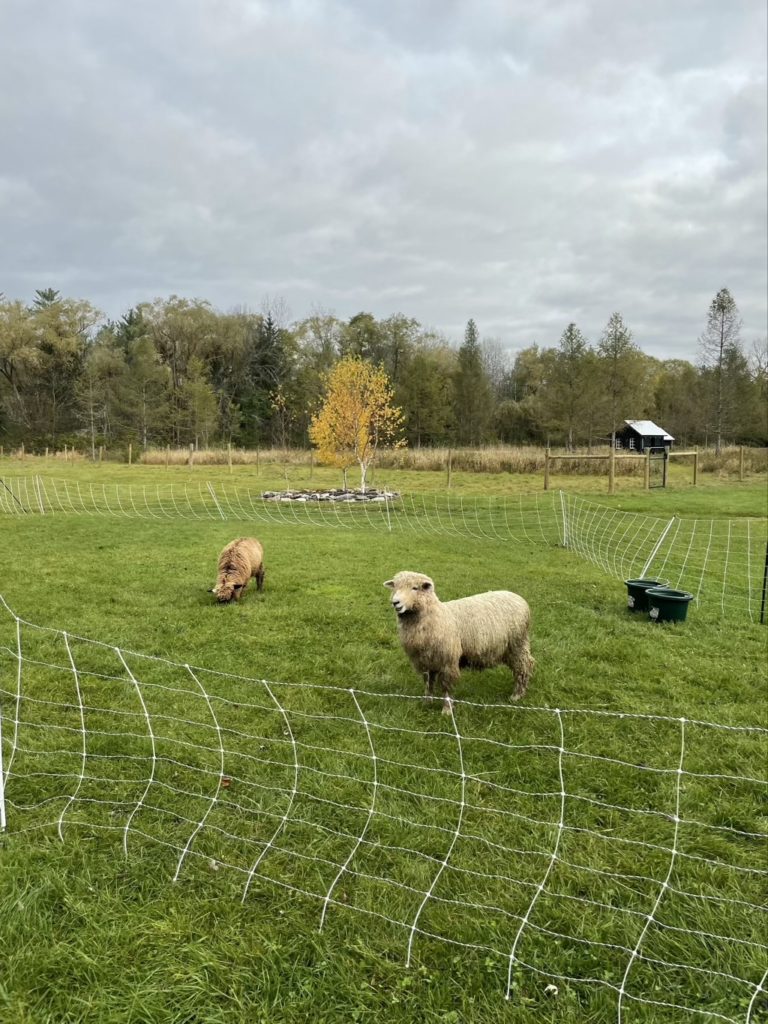
We ended up getting our sheep before the shed was done and before I had drilled a single post hole. Before we had a permanent place for the sheep to live, we used electric netting to move the sheep around the pasture. Okay, maybe a bit more around the front yard, but close enough.
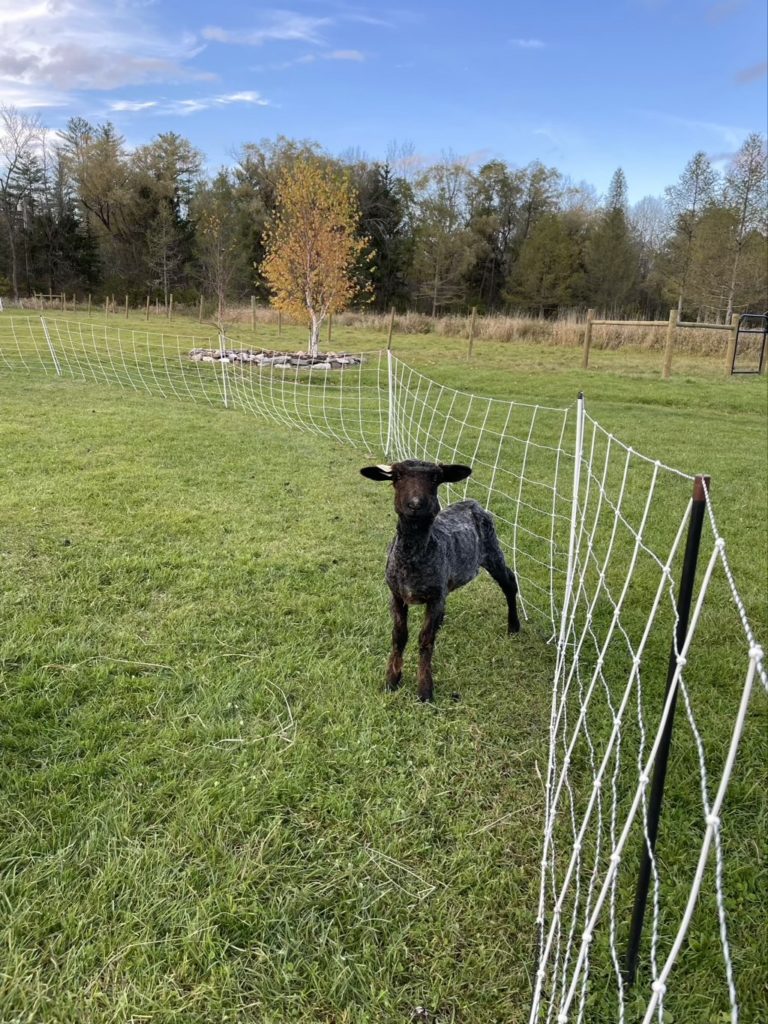

The electric netting can be moved around to make new mini grazing areas so that you can rapidly move the sheep between small areas. And thus ends anything positive I have to say about it. It’s kind of a nightmare to use long term. It gets grounded very easily. It gets tangled. The sheep’s wool often protects them from getting shocked. The sheep can knock it over. And it needs to be said again how easily it gets grounded and thus rendered useless.

So how do you start to build a woven wire fence?
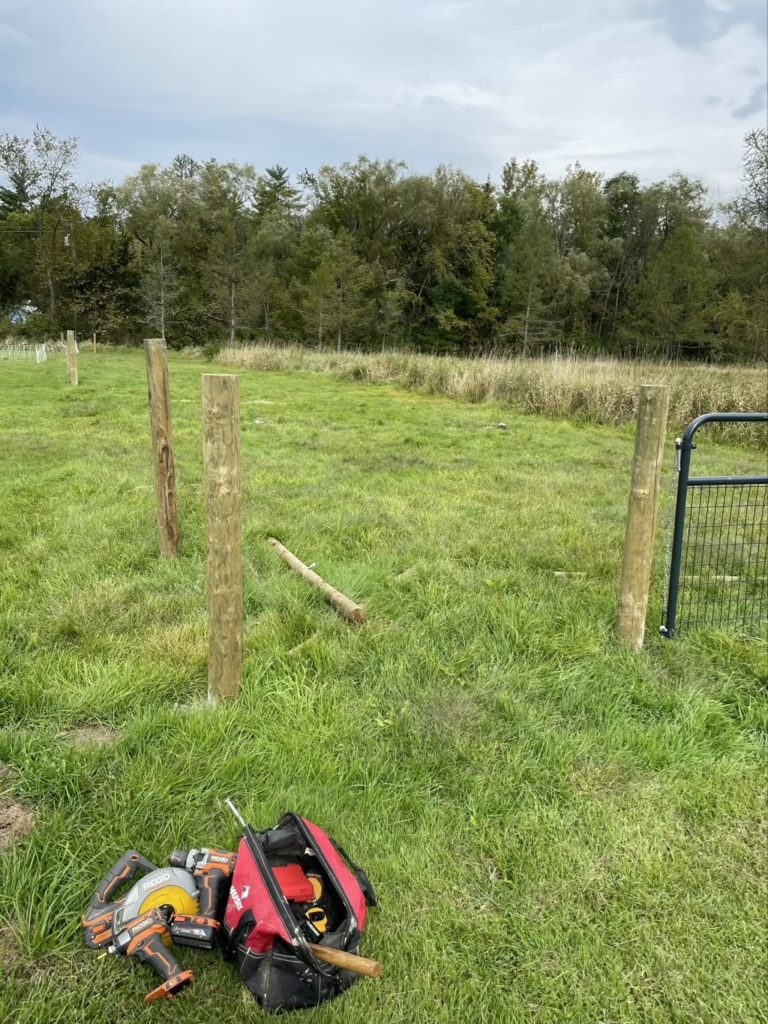
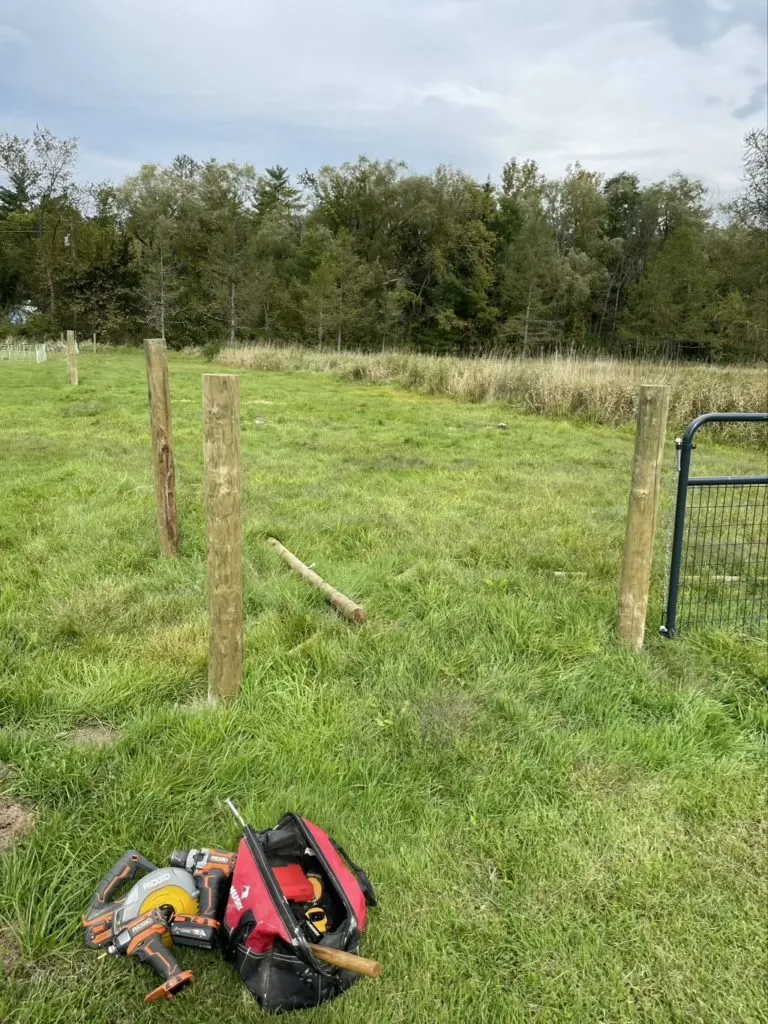
To start a fence you want to figure out your boundaries and set your corners. Some of the “corners” might be more or less than 90° depending on the shape of your pasture. Sometimes you will need a semi-corner to change directions. We ended up with a trapezoid like shape with four true corners.
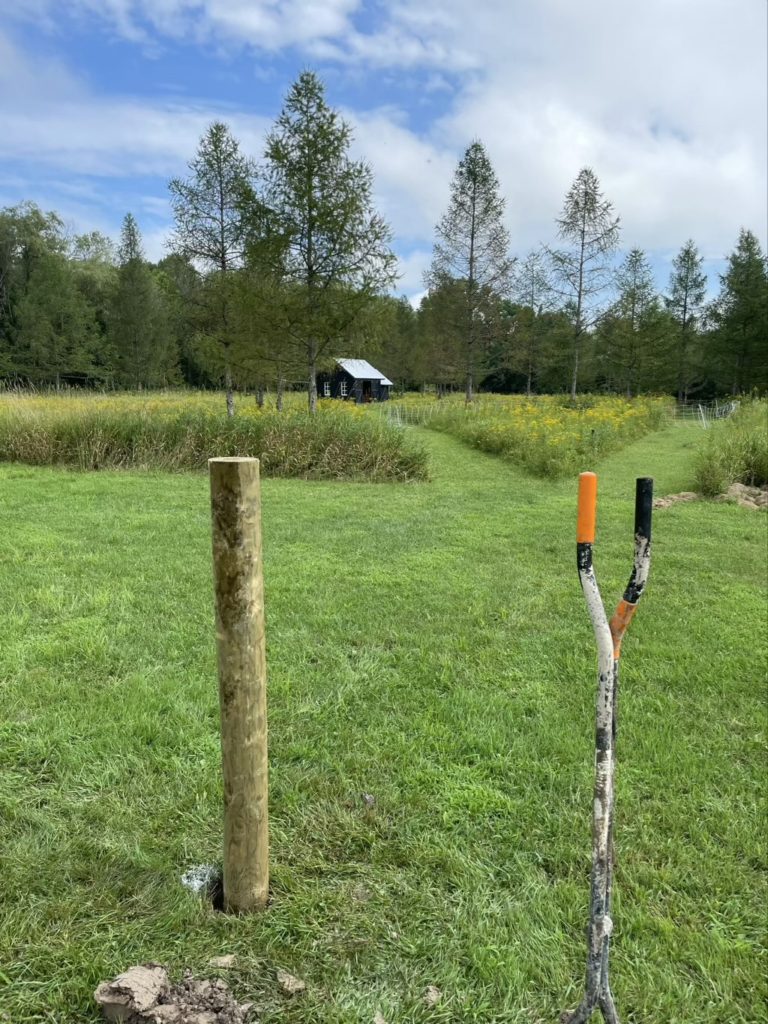

Marking the corners and putting in those posts is the easiest place to start. I was able to hand dig the four posts for the corners with these post hole diggers. These, like nearly every other tool I owned, became irreperably coated in clay during this build. I am still cleanign clay out of tools in my shop months later.
Once the corners are set you can run the lines to mark out your posts for H-braces and gate posts.

How do you handle corners on a woven wire fence?
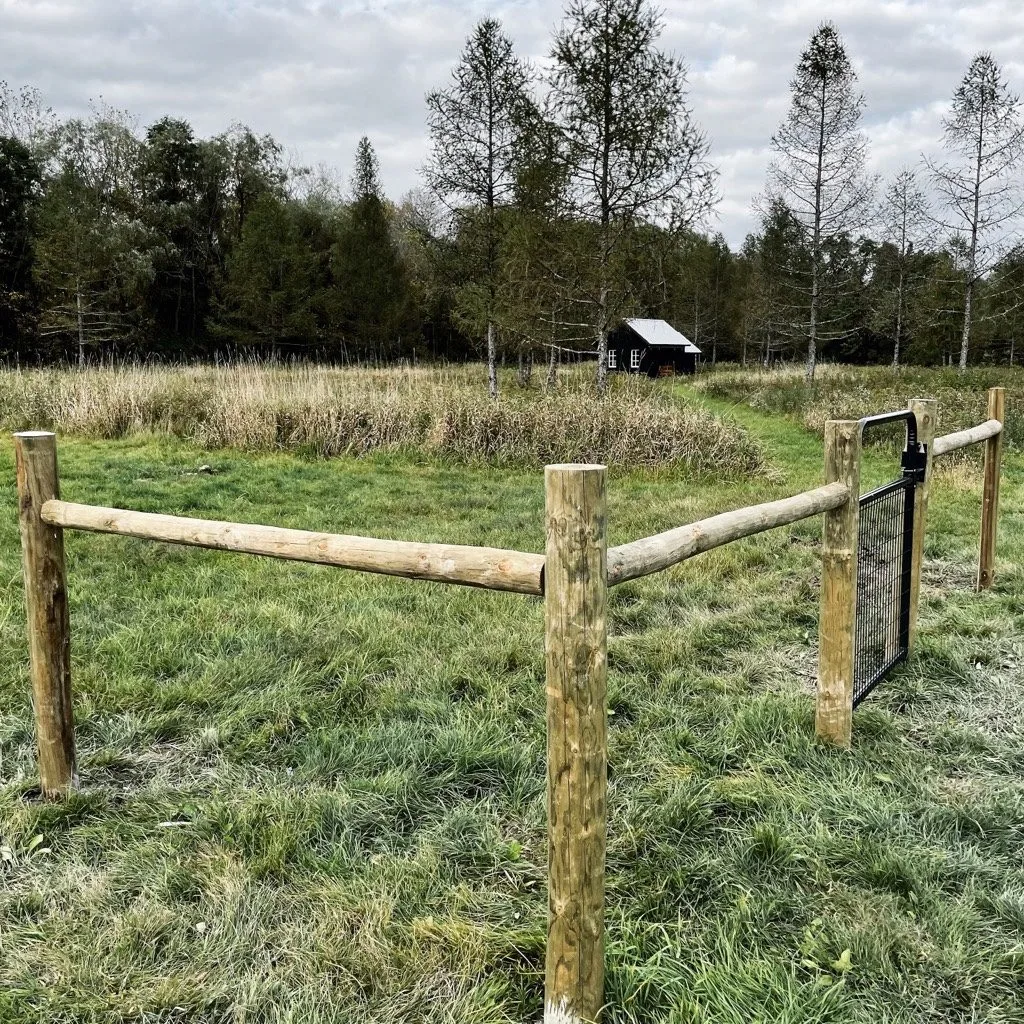
Corners are not single posts. There are forces pulling strongly on those posts from the fence being tightly stretched (we’ll cover that later) in both directions. To brace the corners you make what are called H braces on either side. I also used H braces on the hinging side of my gates to helps support those posts as well. Gate posts are also terminal (ending) posts for the fence so they are under pressure too.
The support post should be around 6′ away from the corner or gate post, depending on the size of your brace posts. I used 6.5′ posts which might be a standard size? Maybe? Once the support posts were in place you then drill holes all the way through the support post and part of the way through the corner. You also drill holes in both ends of the brace.

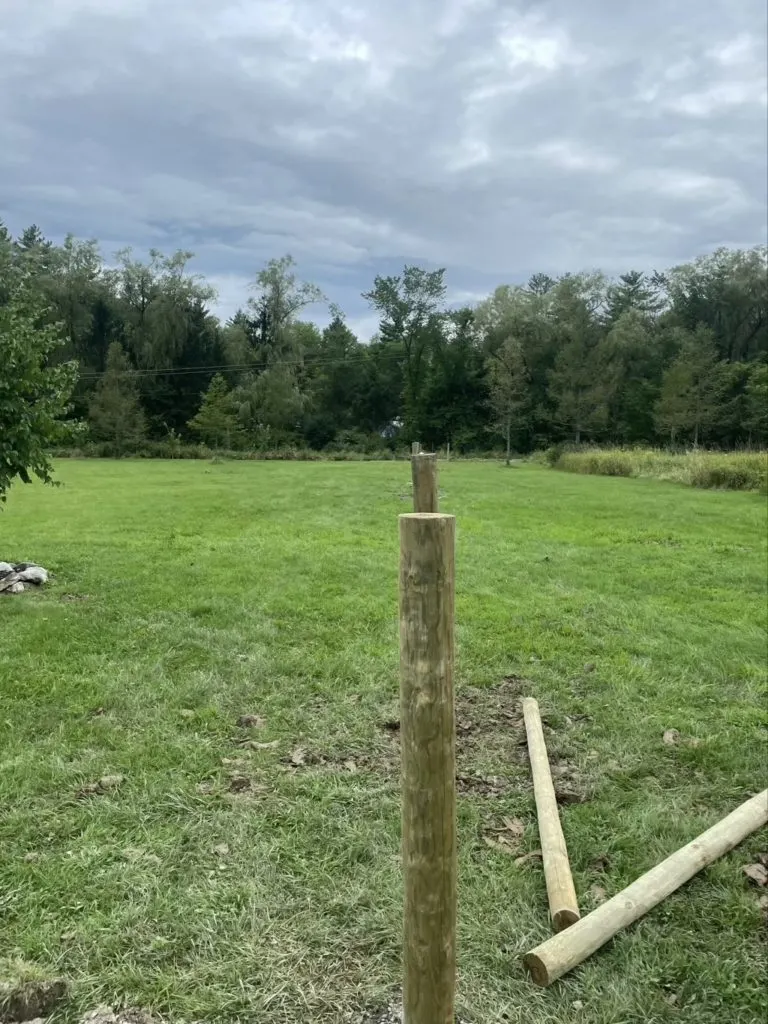
You then use pins in the corner post and large spikes in the support posts to hold the brace up. It can help to ratched strap these together while getting it tight.
The next step for actual H-bracing is to wrap wire around the bottom of the corner post and the top of the brace post and wrap until tight. I didn’t opt for this because I needed to concrete in my corners and support posts because of how wet the clay was this year. I am dumb.*
* Edited to add that yes, you need the diagonal wire to make an h-brace work. I added them later and wrote a post about how..

How do you plan for gates in a woven wire fence?
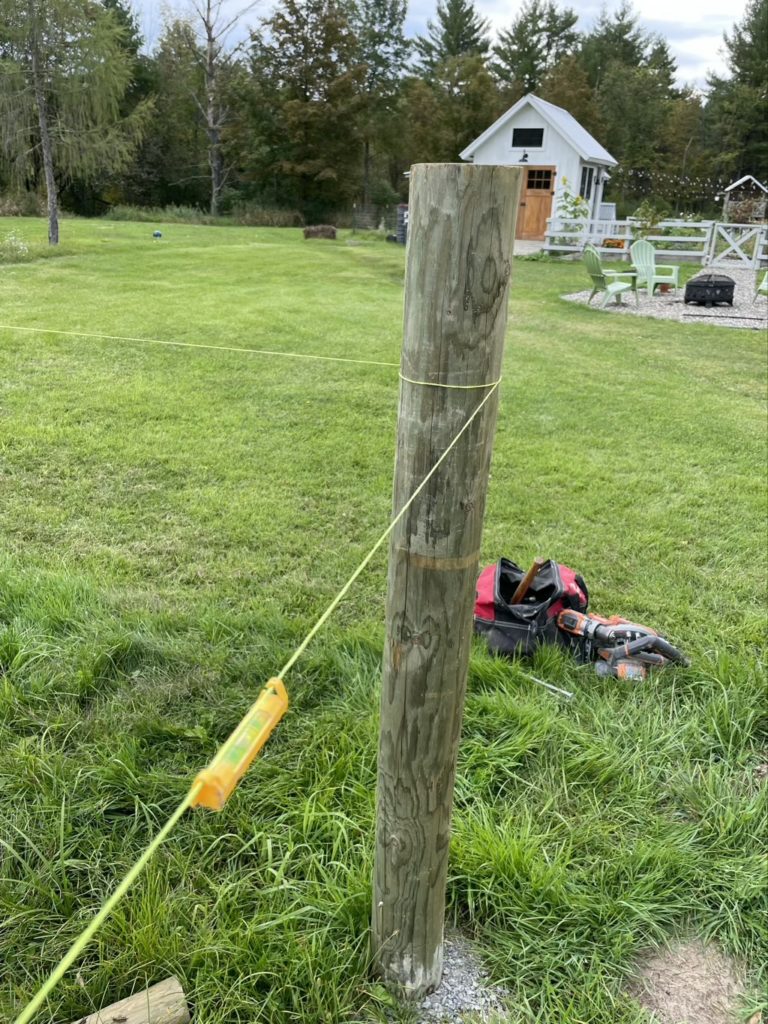
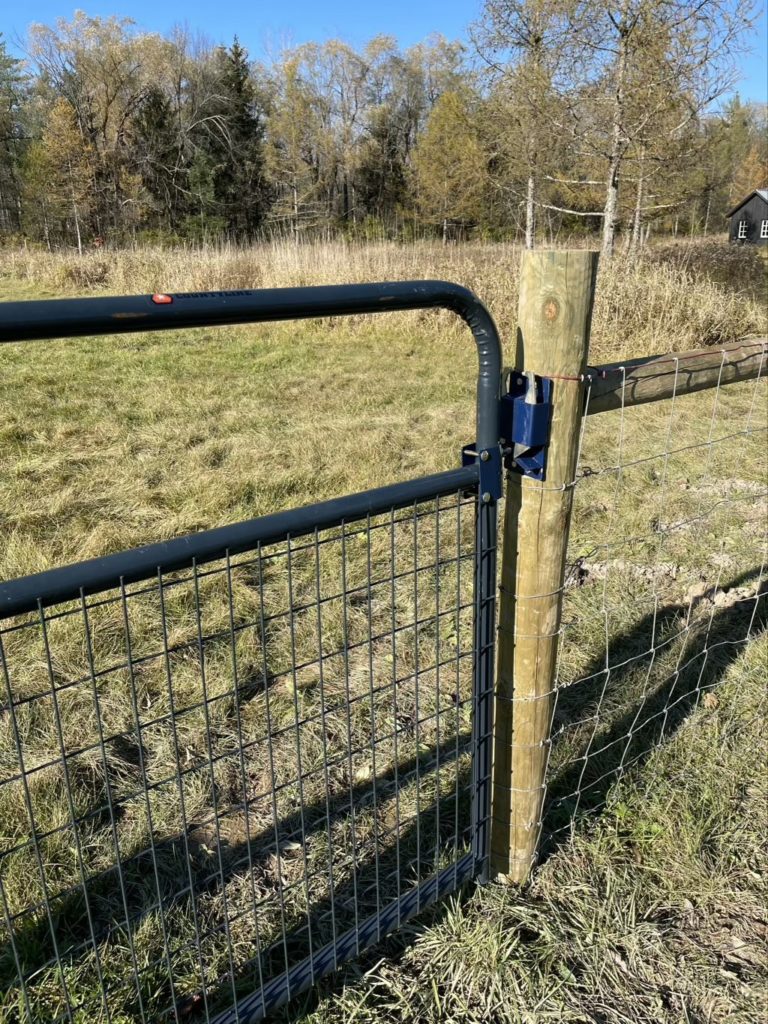
Once you have a line strung between your posts, very, very, very, (and some more very) tightly, then you can mark for posts. Some of the things to keep in mind with gates are that you might want different gates for different purposes.
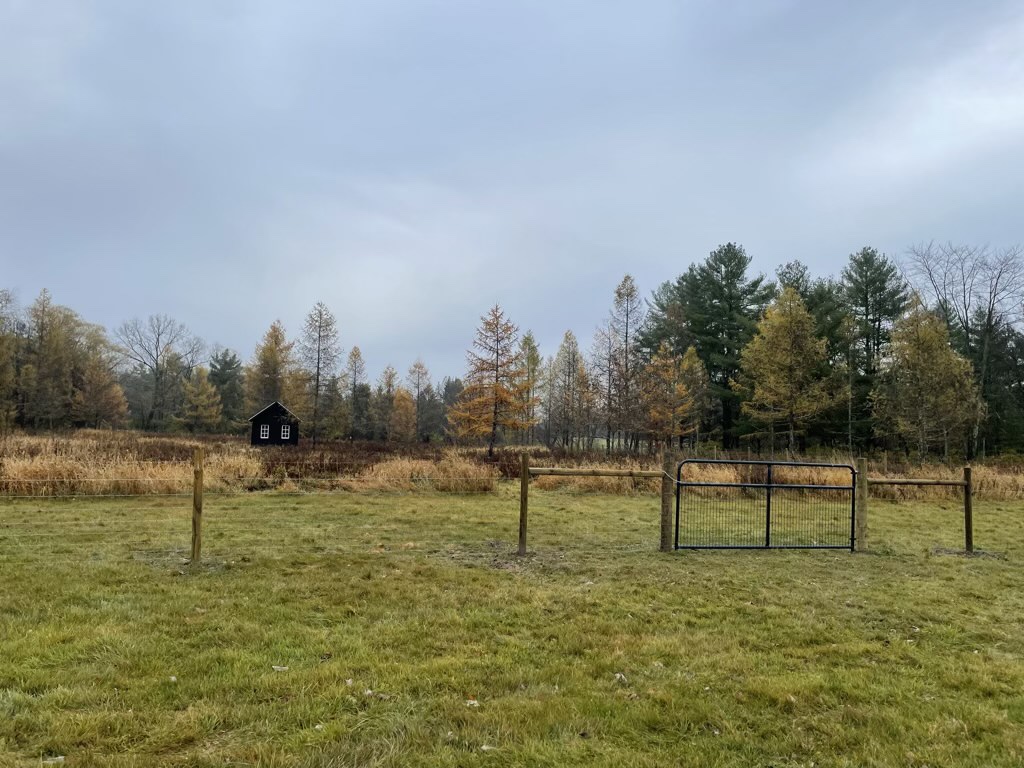
We have one gate just for people to come in and out of. It’s 4′ so we can bring in wheelbarrows if needed and has an easy access latch.

We have a twelve foot gate on the far end of the pasture for bringing in a trailer of hay or stray.
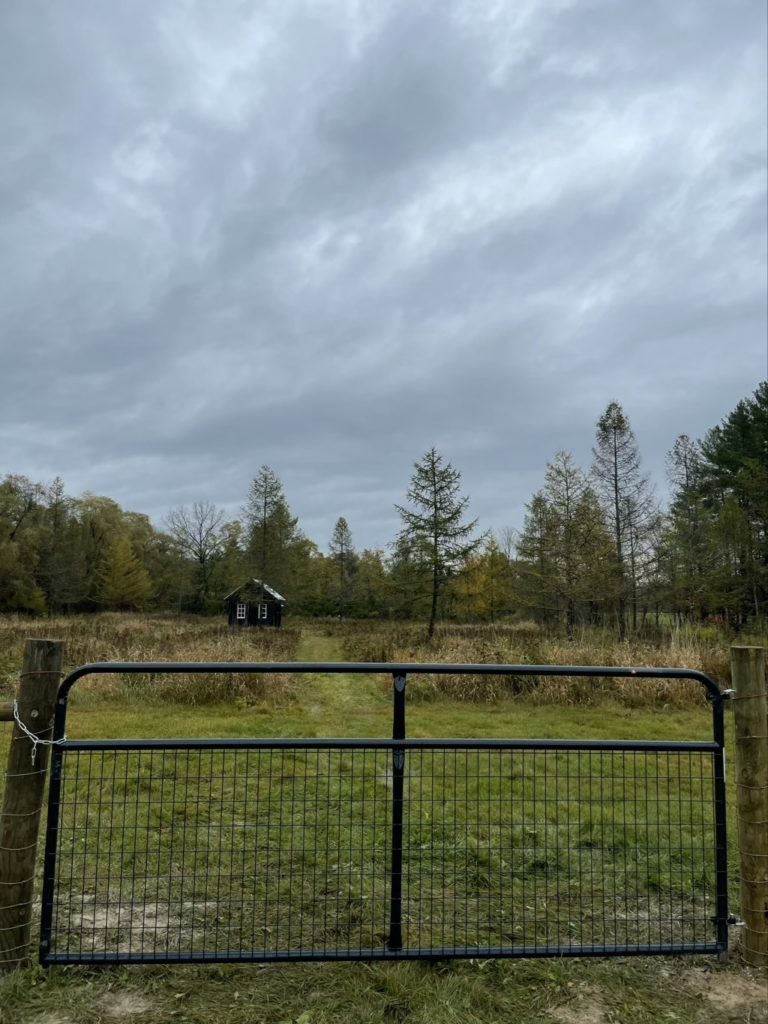
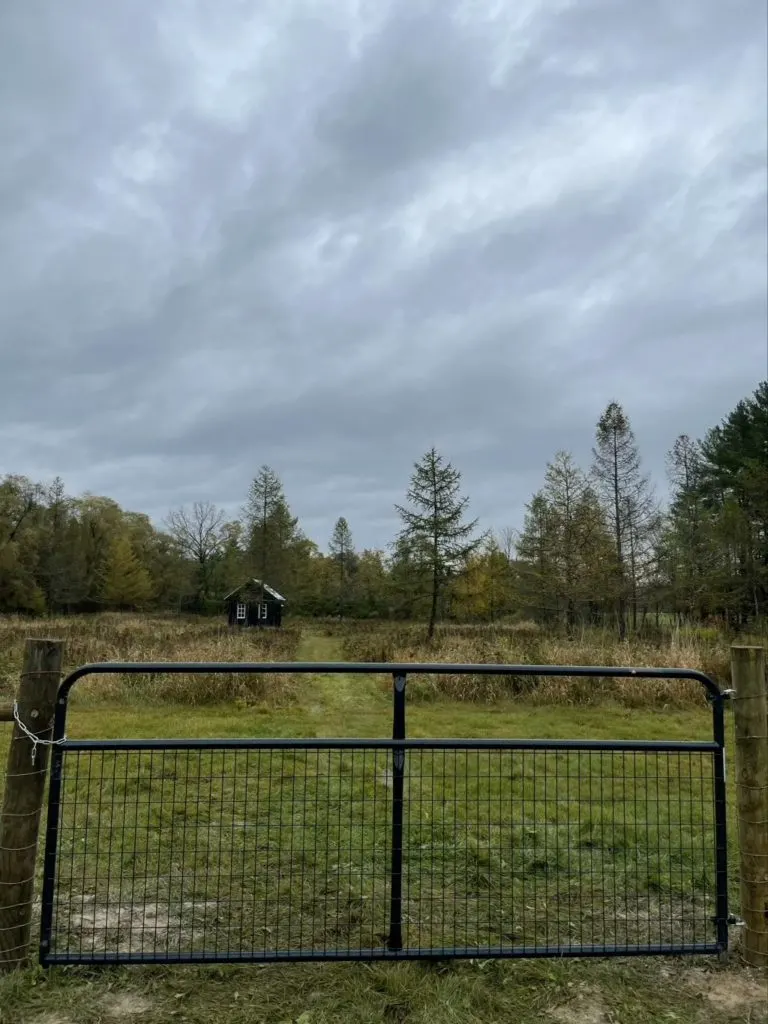
We have a ten foot gate on the near side to drive a lawn mower or car in if needed.
Gates are weirdly sized. A ten foot gate is a gate for a ten foot opening, not actually ten feet itself. This is handy so you don’t have to worry about rough opening versus door size (like in framing). This means that we were able to easily space our gate post holes far ahead of time.
What is a good spacing for the posts for a woven wire fence?
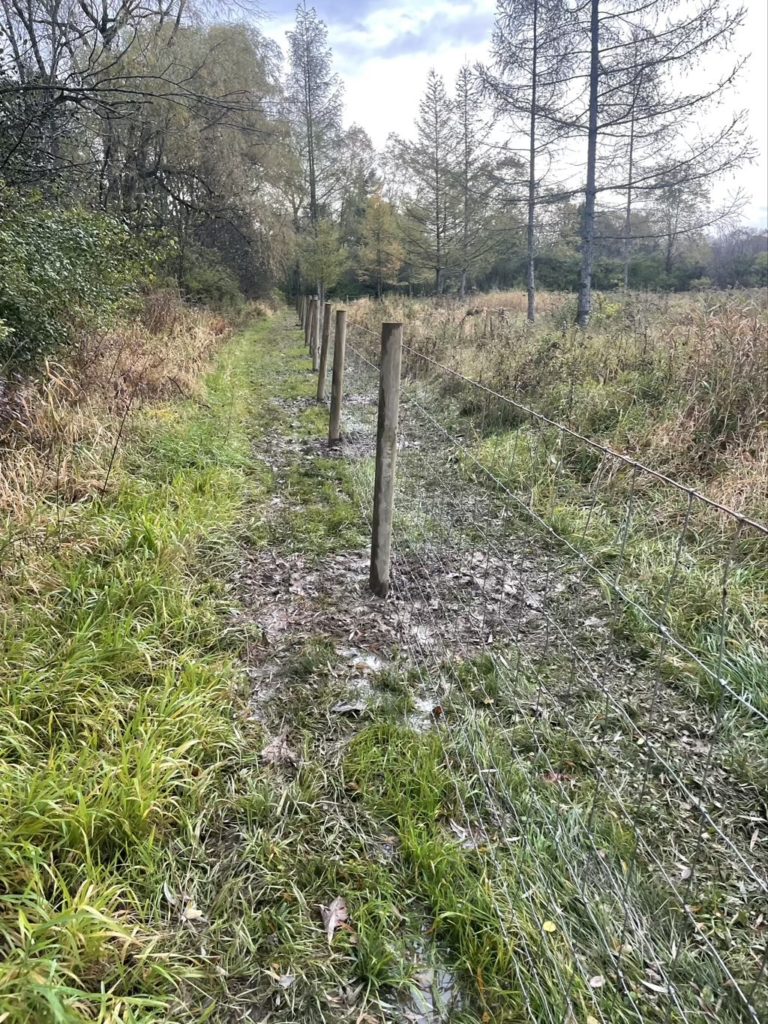
As far apart as you can safely put them. Seriously the closer the posts the more material you have to buy, the more stapling you have to do and most importantly the more holes you have to dig. We were able to get away with twelve foot on center posts thankfully.
How do you drill that many holes?
We used three methods for digging holes
- Manually digging them with a clam-shell post hole digger
- Renting a one man post hole digger from a local hardware store
- Drilling them with an auger on a tractor’s five-point harness
We have 100% clay on our property so digging by hand is not actually as miserable as in other soil types, but gets tiring very quickly. I have these Fiskers offset diggers and if you are going to do it manually you want the offset. They are easily 10x better than the straight style. Sadly one of the grips as been shoved down past the handle. Hey Fiskers want to send me a new one?
The holes needed to be at least 40″ to get below the frost line here and sadly the post hole digger we rented could only do more than 24″ by using an extension. Using an extension meant digging the hole down to 24″ with the initial auger and then pulling it up and attaching the extension.
It took us 9 hours to dig 15-17 holes for the corners, supports and gates and set those posts with a combination of manual digging and the rented post hole digger.

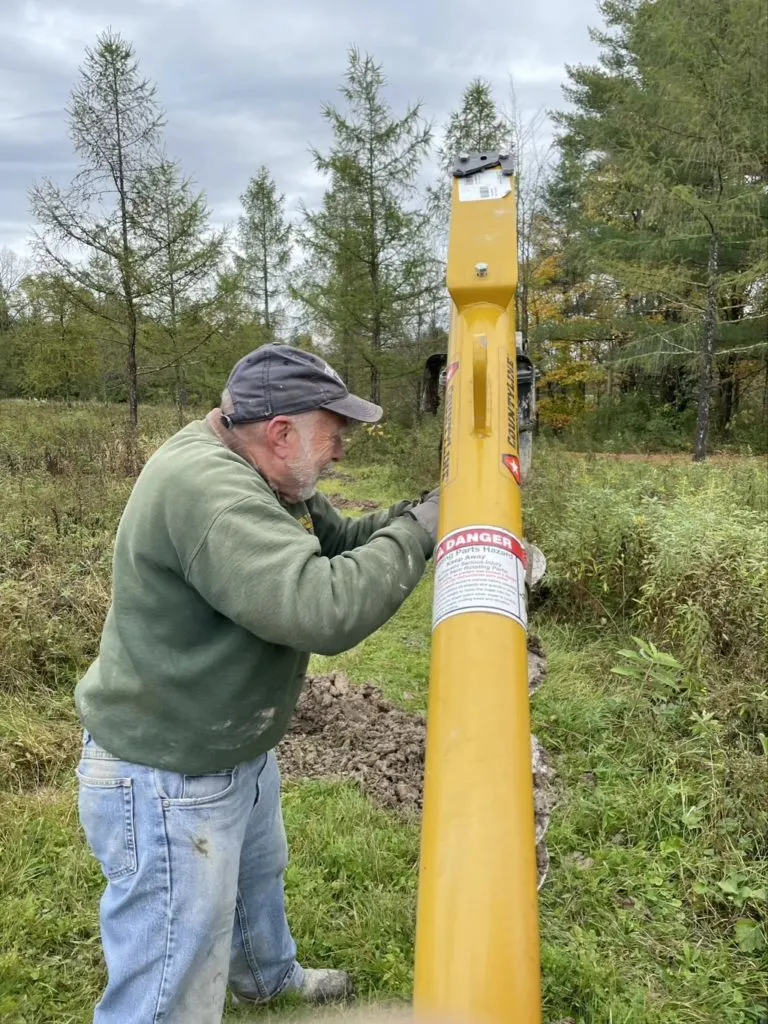
Enter a generous uncle. My wife’s uncle let me borrow his tractor with the post hole attachment to dig the rest and it was a world of difference. My dad, the boys and I dug 100 holes in under 6 hours. We were able to set posts on the two short sides that same day.

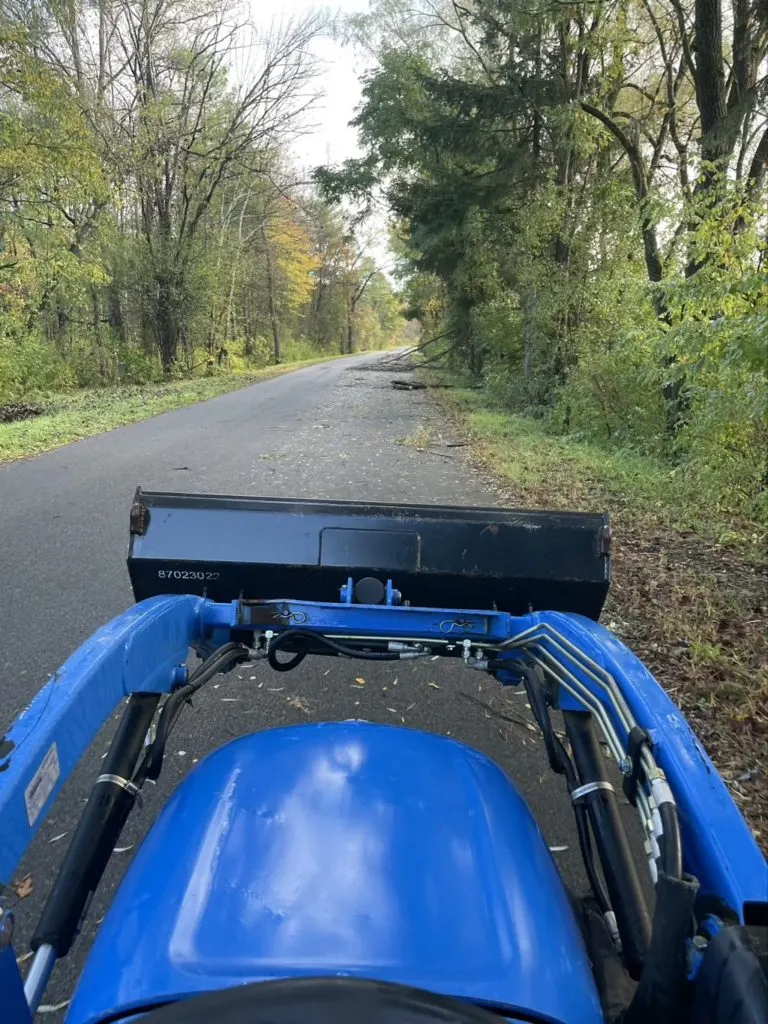
I also got to use the tractor to move some trees that fell down in a storm and as soon as I have a place to actually put one, I’m pretty sure I’m getting a tractor.

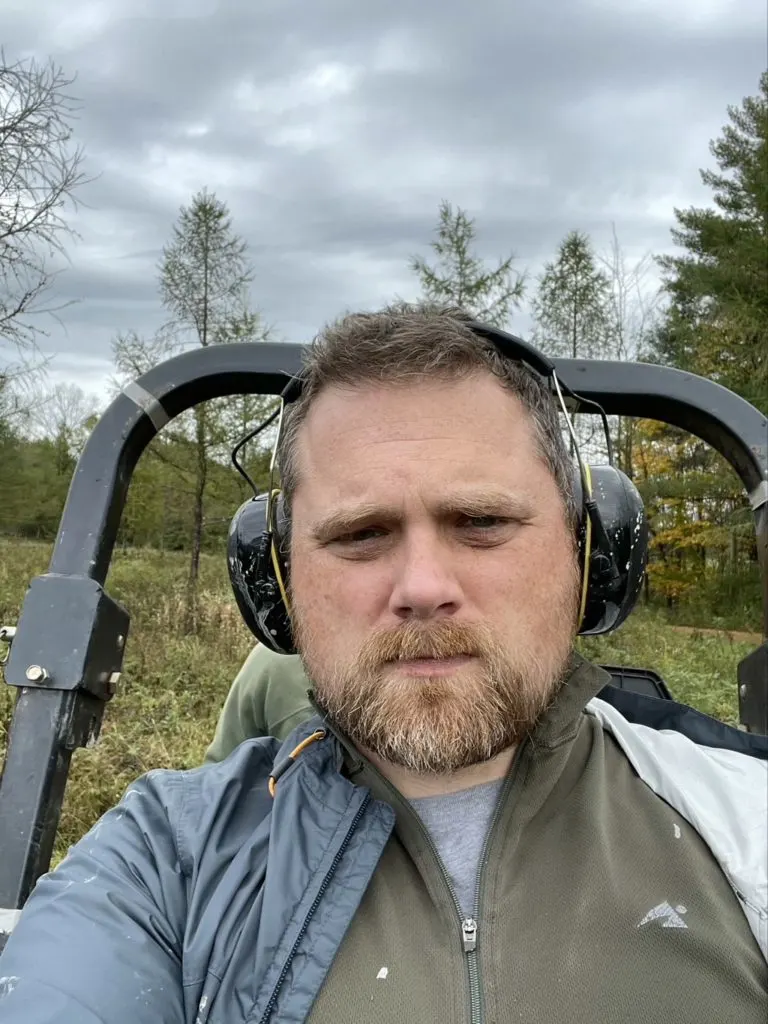
The joy is written all over my face. I know. It’s actually there it’s just under the fatigue and all the clay.
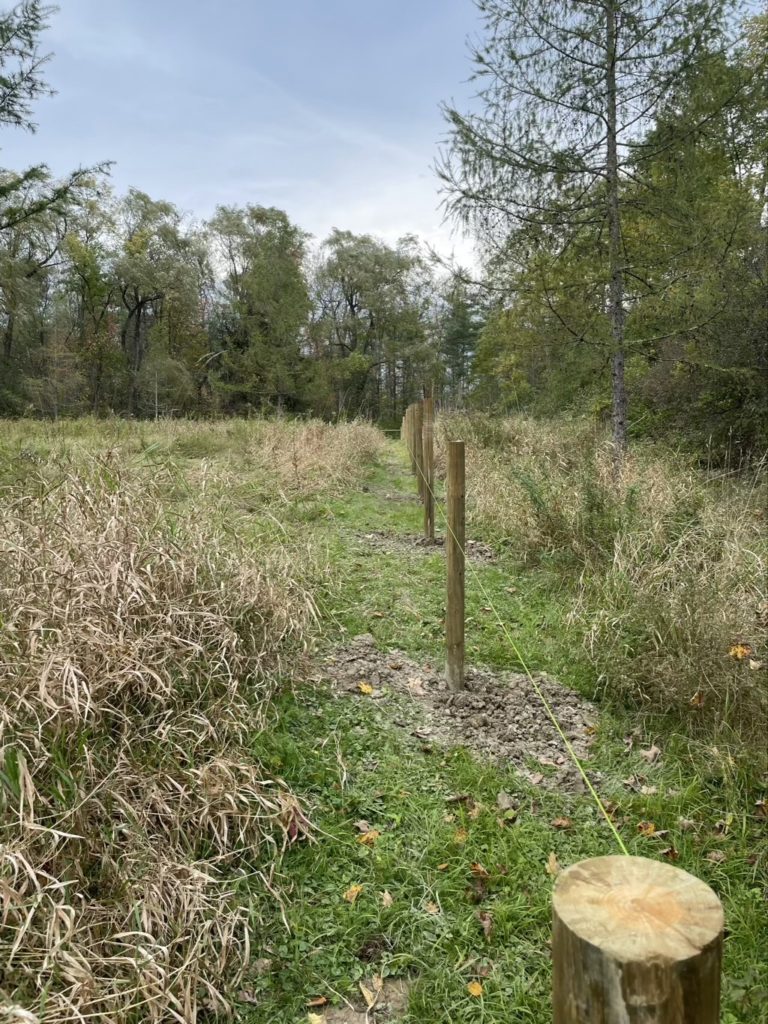
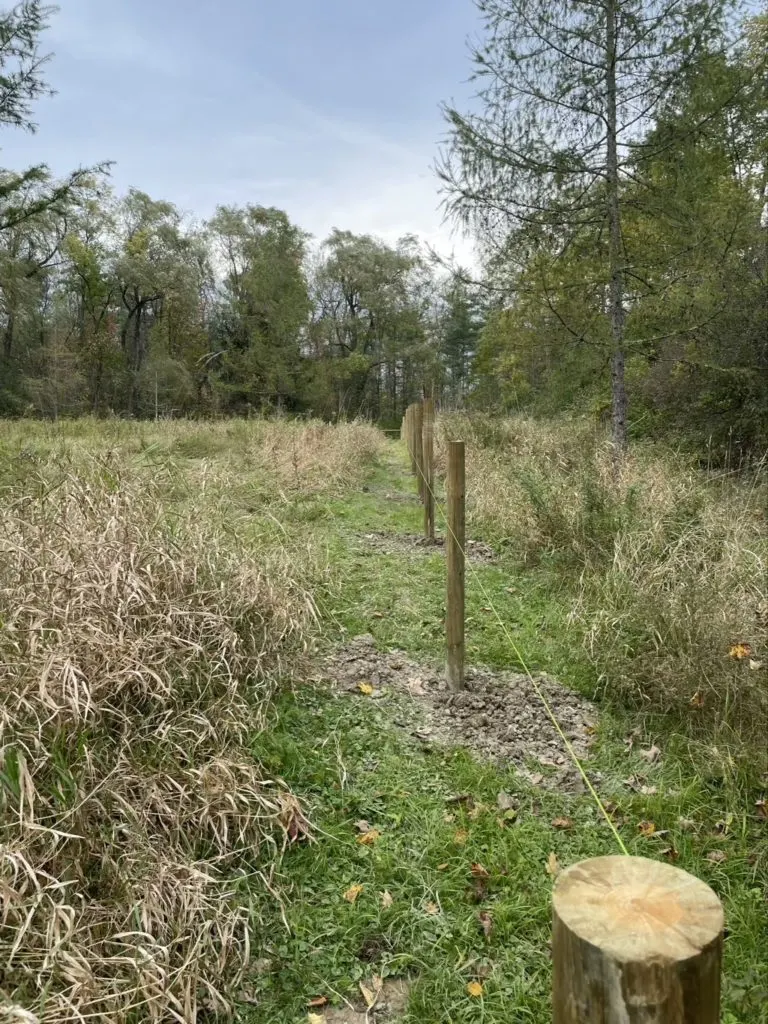
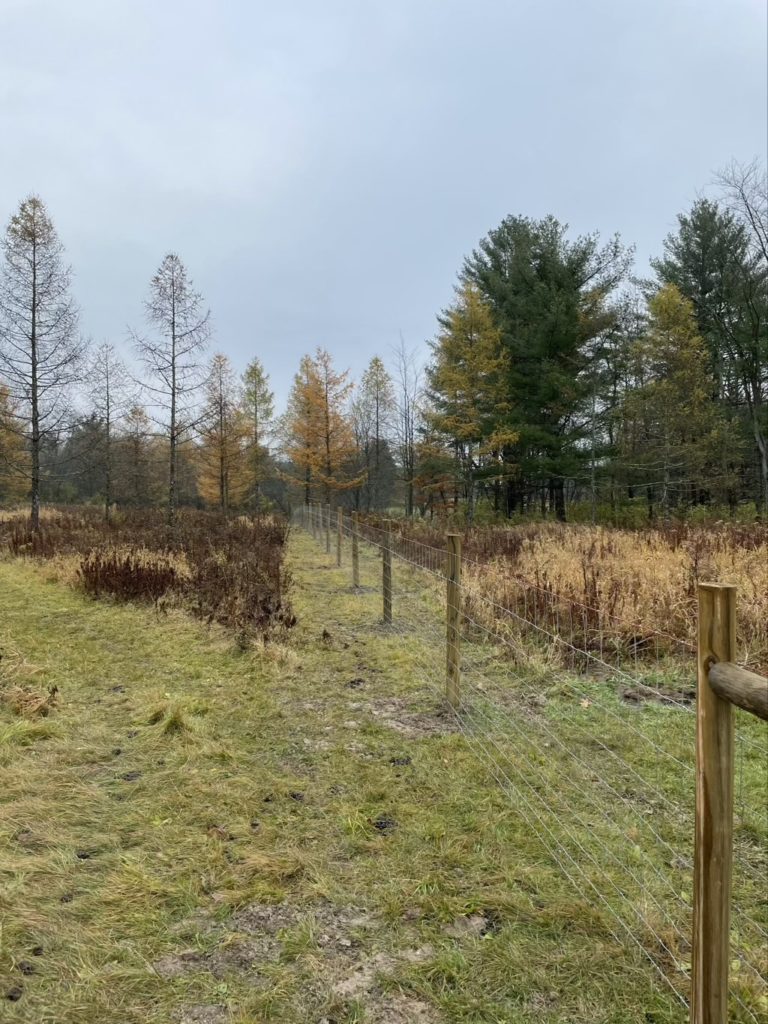
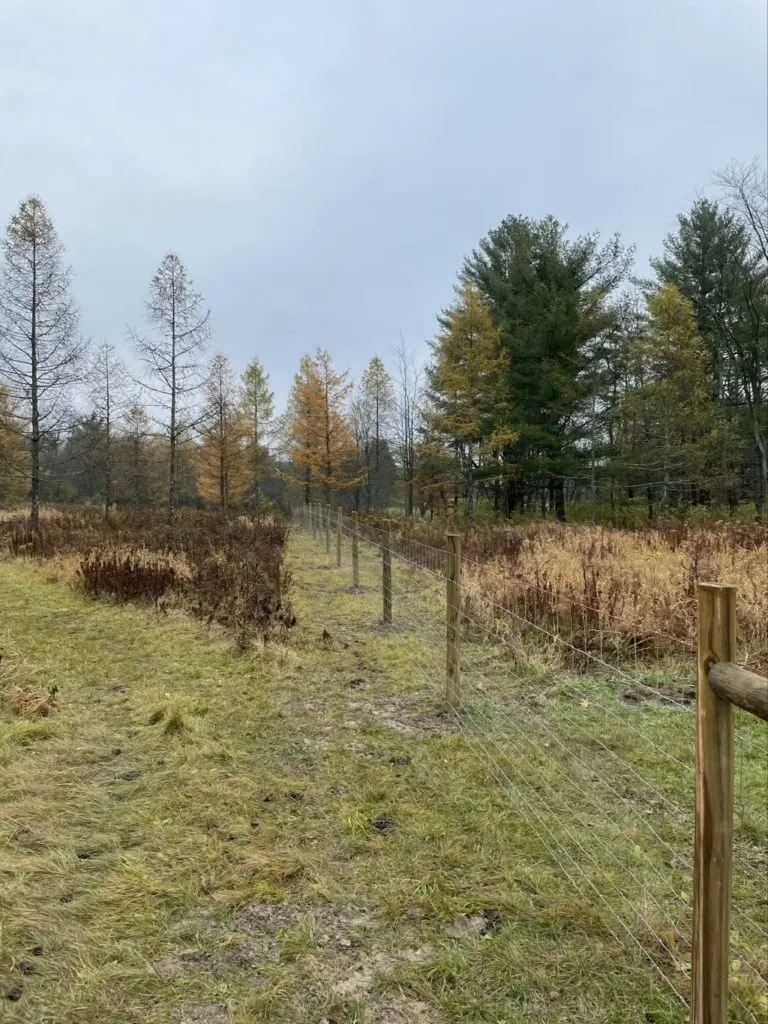
To set the posts we re-strung the very tight line and lined up all of the posts keeping careful track of inside and outside. For the corners the string ran on the outside, for the run of the fence it ran on the inside of the posts. The posts in the line were filled with the same clay we dug up that we tamped down with a tamping bar.
Unfortunately when we came back the next day to set the front line of posts the rain had filled them all up. We tried to use the wet clay but it was ridiculously not firm enough to do anything. We unded up having to use rock or post set to fill almost all of these holes (~35) to get a firm enough line.

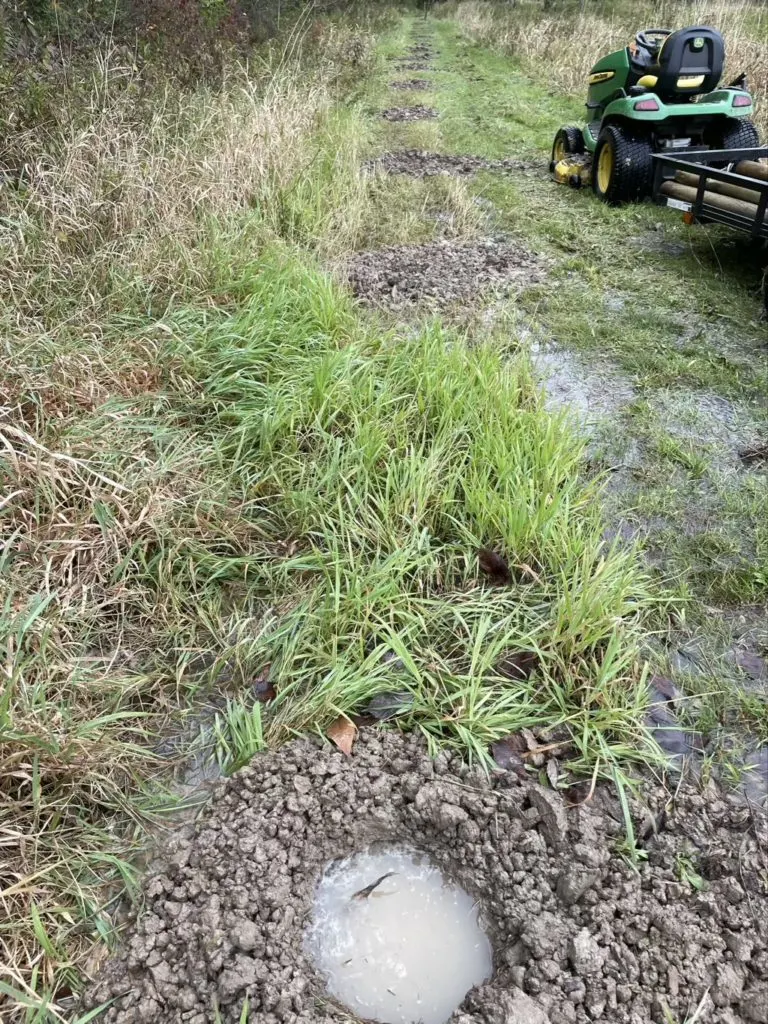
The rain literally filled some of the holes to the top. That’s a 40″ column of rainwater right there.
How do you stretch a woven wire fence?
I hate that the answer to this question is a fence stretcher, but here we are. We bought one from Tractor Supply but a fence stretcher is really just two boards to sandwich the fence with and keep tension even up and down while you winch it with something else.
You start by cutting the horizontal wires free on the end of the roll and wrapping that tight around one of your corner posts. You then roll out the fence on the inside of your posts. This is actually very important. The corners are wrapped on the outside because the pressure holds the fence against the corner. The actual runs are made with the fence on the inside so that if an animal pushes against it, the post stops the pressure, not just the staples.