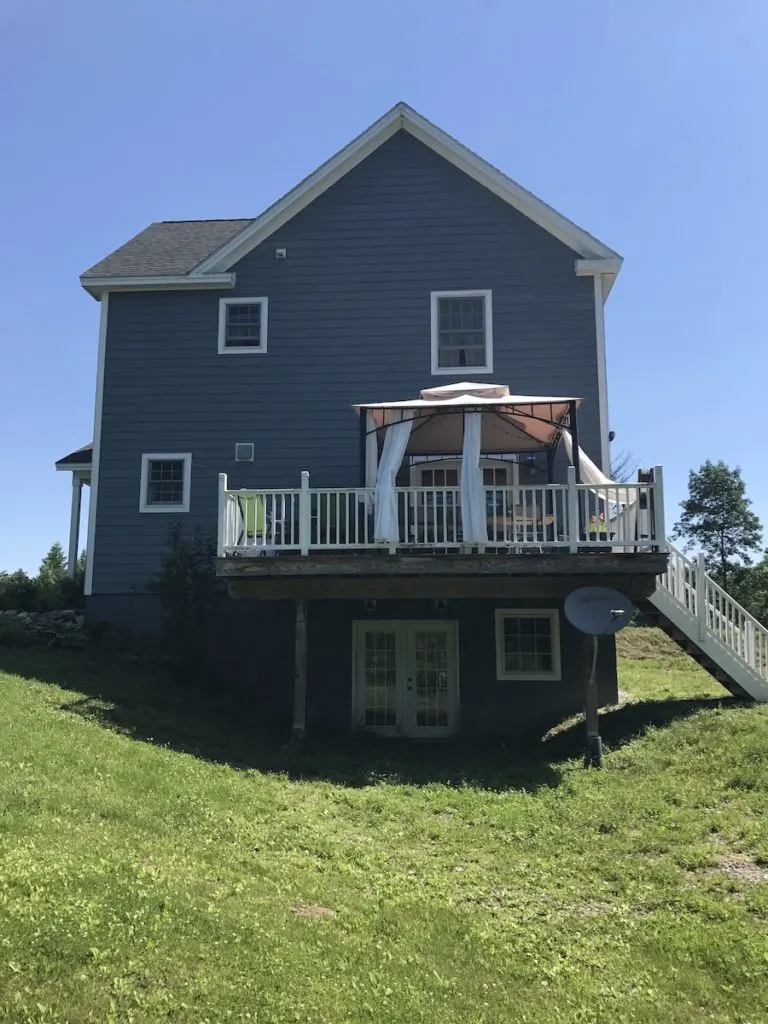
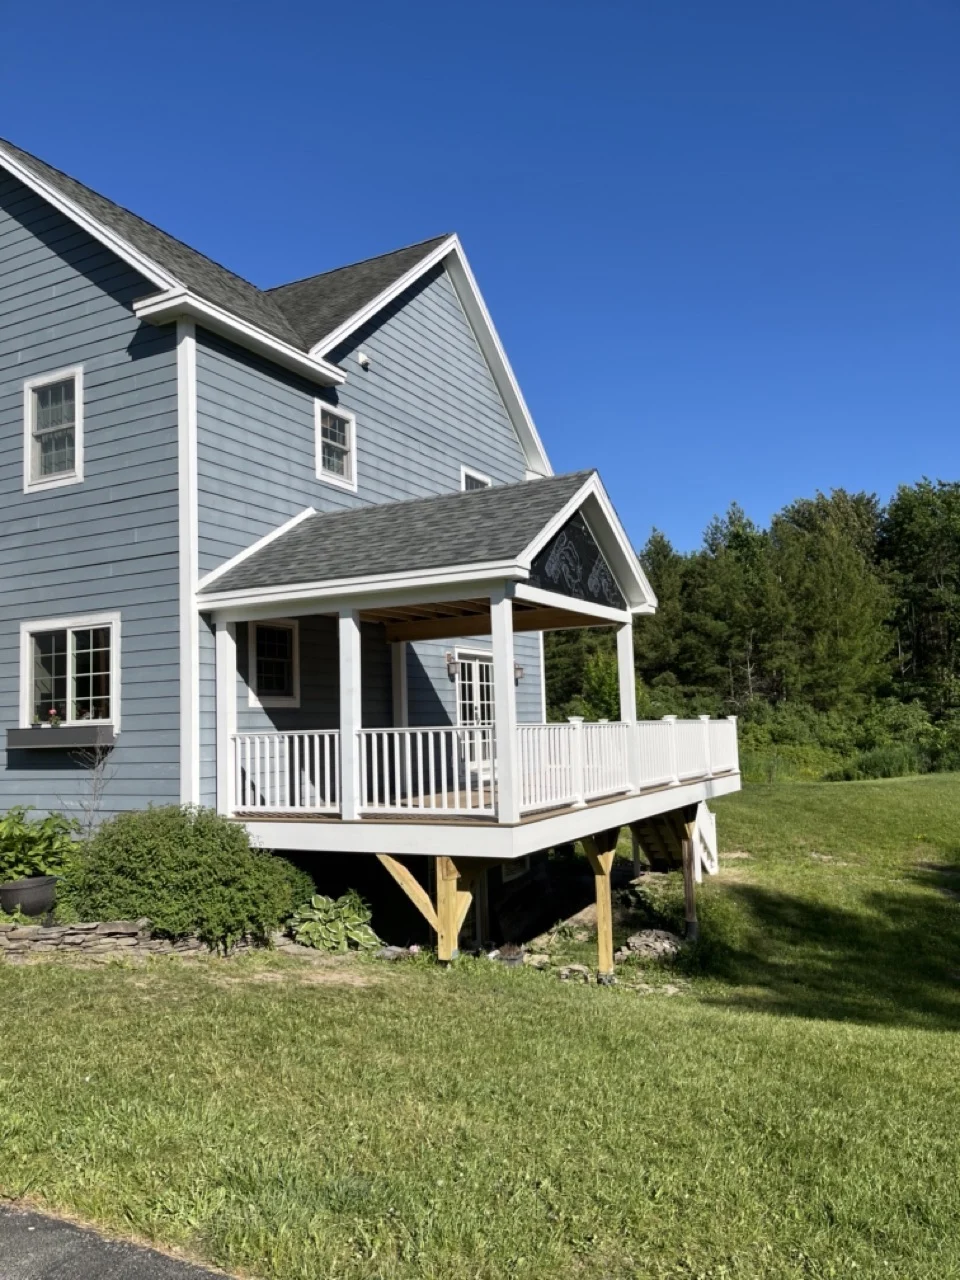
Our deck needed help. Even at just ten years old it was already rotting and a thick plastering of deck restore was failing after two years. Thankfully I was able to hire out the deck rebuild but it left us with a problem, how to blend the old and new wood.
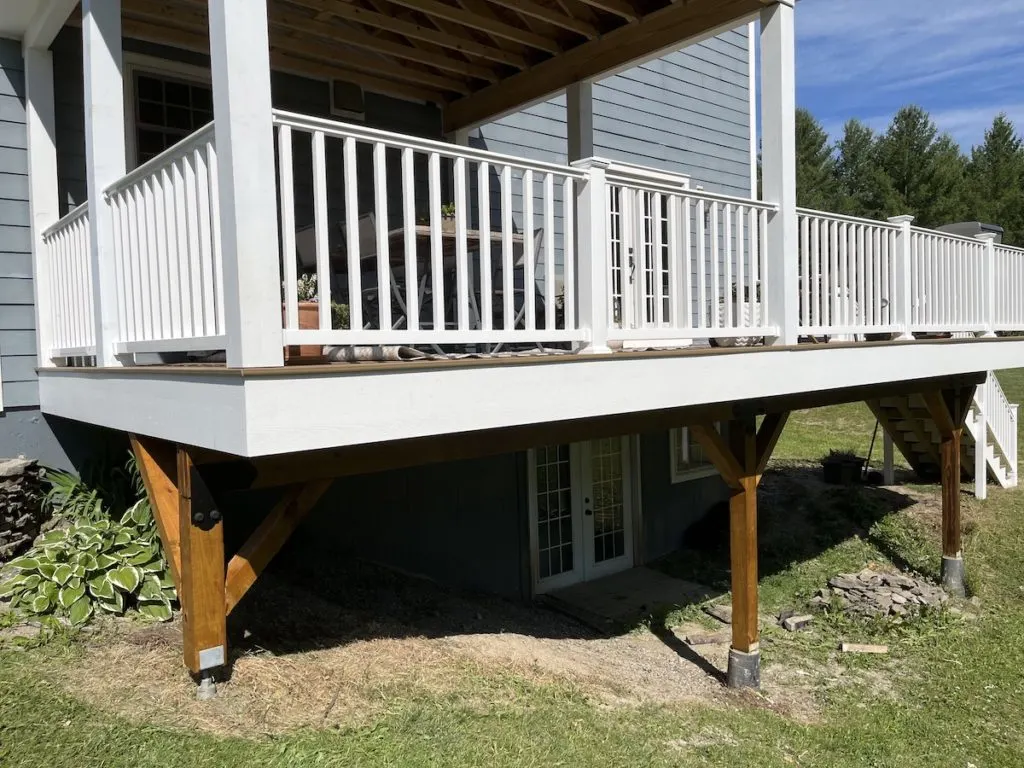
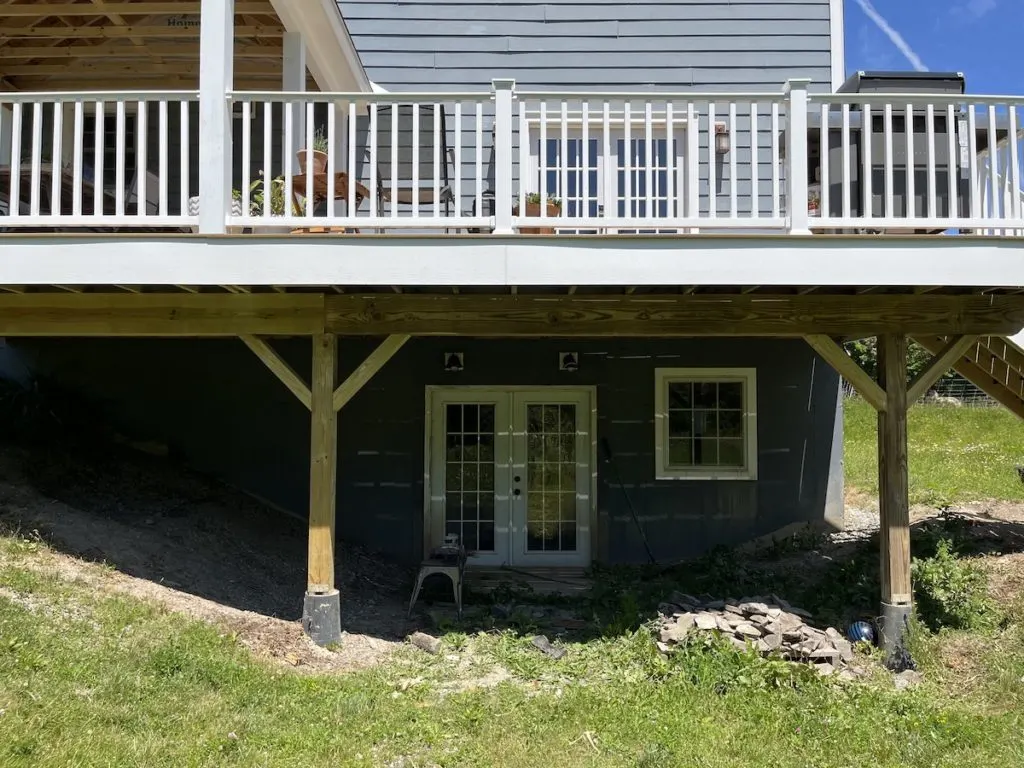
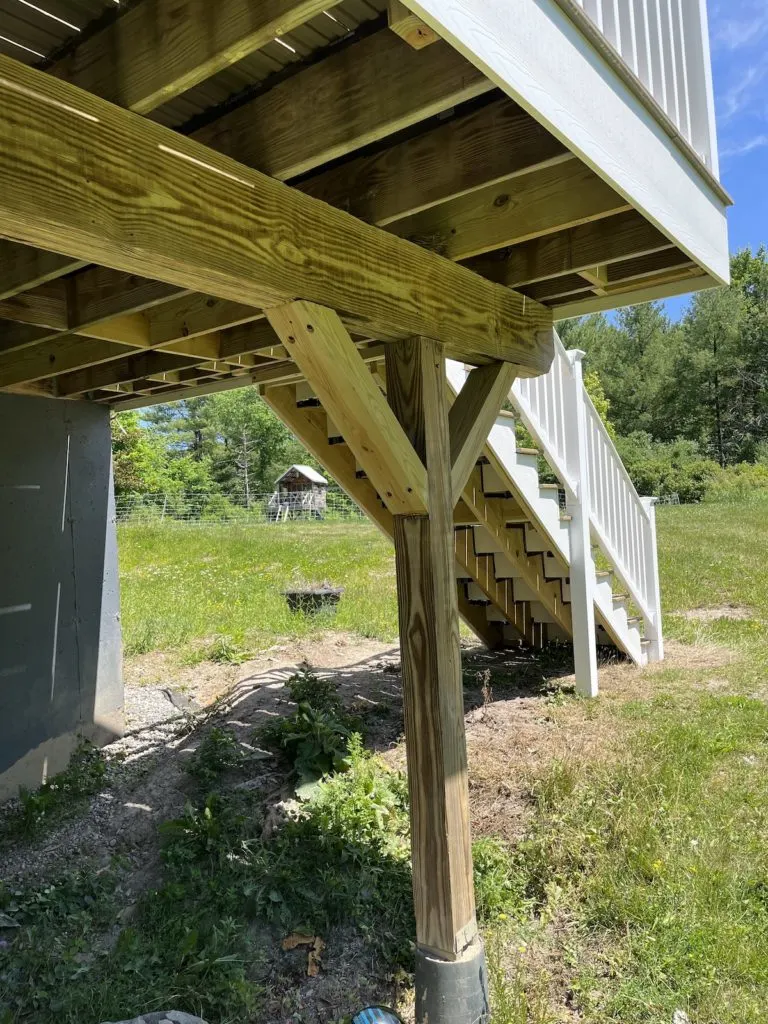
We had to add a new post to support the extended deck and replace one of the existing posts that was squirrelly to say the least. The new supports at least had matching diagonal braces and were straight but they stood out like a sore thumb.
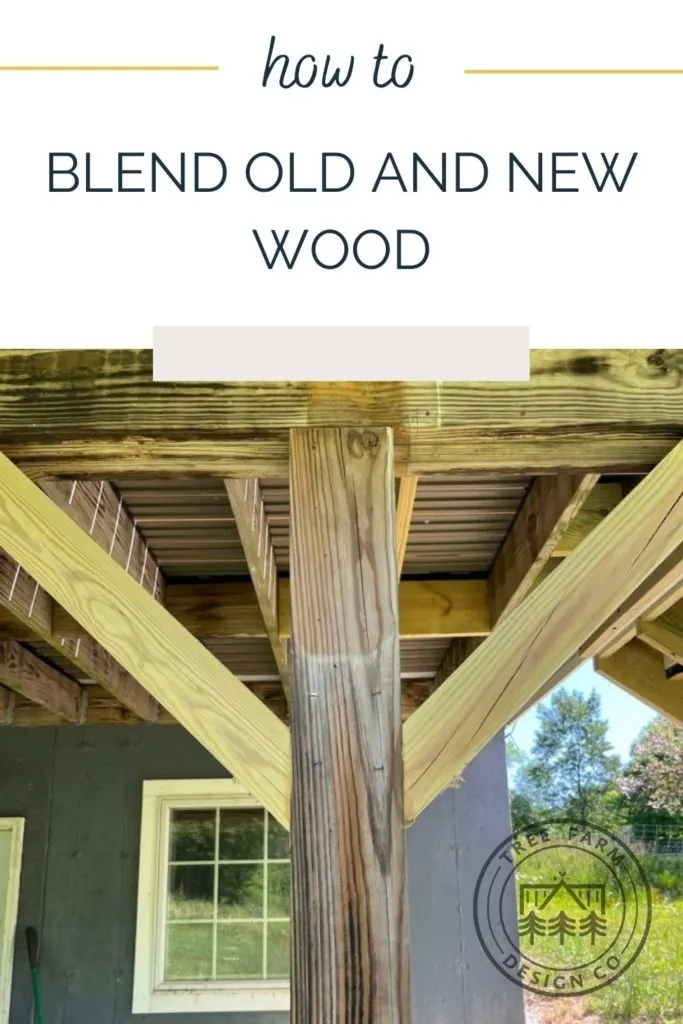
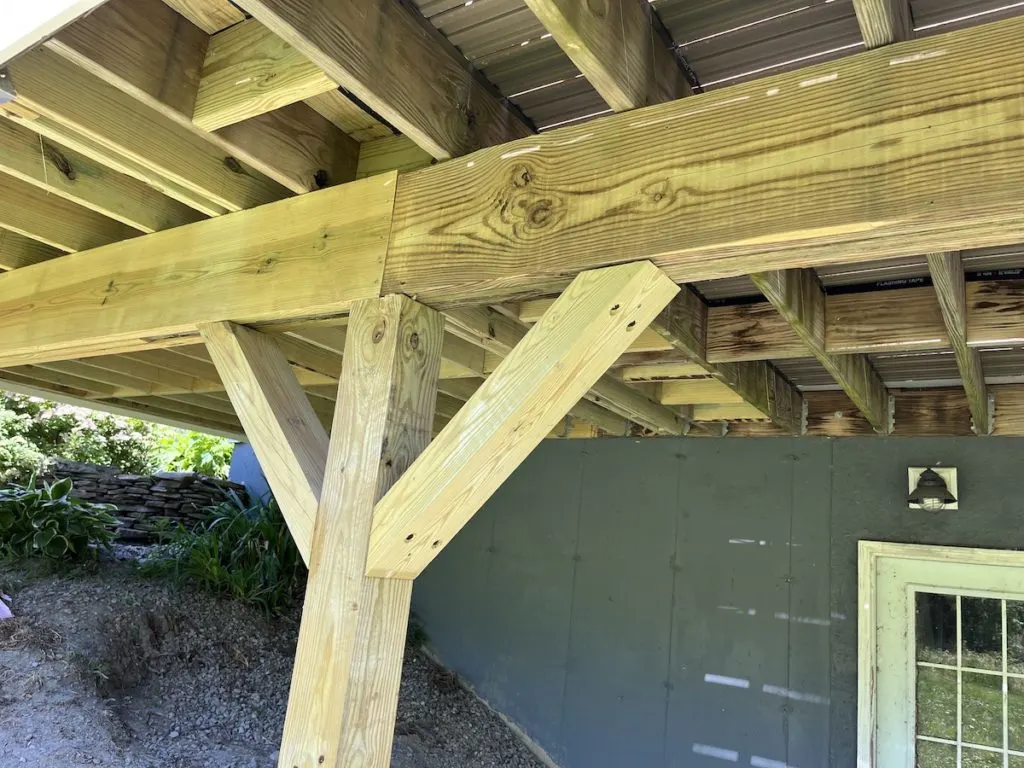
Here you can see the new braces, post and header compared to the old weathered post and header. The supports were never treated under the old deck. This is mostly because I couldn’t make up my mind about what to do with them. I thought about wrapping the bases with stone, adding pvc column wraps, faux timber-frame details, adding googly eyes, nothing felt right.
So obviously I did nothing.
What tools and materials are needed to blend old and new wood?
Materials Needed:
- Sandpaper (60 grit, 80 grit, 120 grit)
- Semi-transparent stain
- Decorative hardware (specific to this project)
Tools Needed:
- Random orbital sander
- Paintbrush
What other options did we consider?
We thought about painting the supports but I’m still team stain when it comes to outddoor wood, especially vertical surfaces. Even though the paint would definitely blend the difference in the old and new wood, the thought of chipping paint annoys me to no end.
In the future, I still might wrap the bottom of the two main posts to hide cement supports. This project doesn’t impact that thankfully.
I considered doing pvc wraps similar to the ones we used on the front porch. I didn’t want to have to deal with the varying heights and it might limit future options for under the deck.
Why did we stain it this time around?
Originally we had left under the deck un-stained because we hadn’t decided on what we would do underneath. This time we have a bit of a better plan in place and we have a much more beautiful deck up top to match it to.
What was the actual process to blend old and new wood?
The reality is that most of the process is in picking a stain. We went with Cabot Australian Timber Oil in Honey Teak. I had experience with it blending various shades of wood when we built the shed doors. The hard part is sanding down the older wood.
It was heavily stained from water and silvered from the elements. Hitting it with 60 grit sandpaper on my cordless 18V Ridgid sander took care of most of it. Not having a cord here was a big advantage. I honestly don’t love it as much as a corded sander when working in my shop, but for this it was great.
I followed it up with a round with the 80 grit on the old wood and then a quick sand with 120 grit on the entire thing. The 120 pass was probably half-hearted at best. If anyone rubbed there hand along these beams I’d be so ashamed at how rough they are and weirded out, but mostly ashamed.
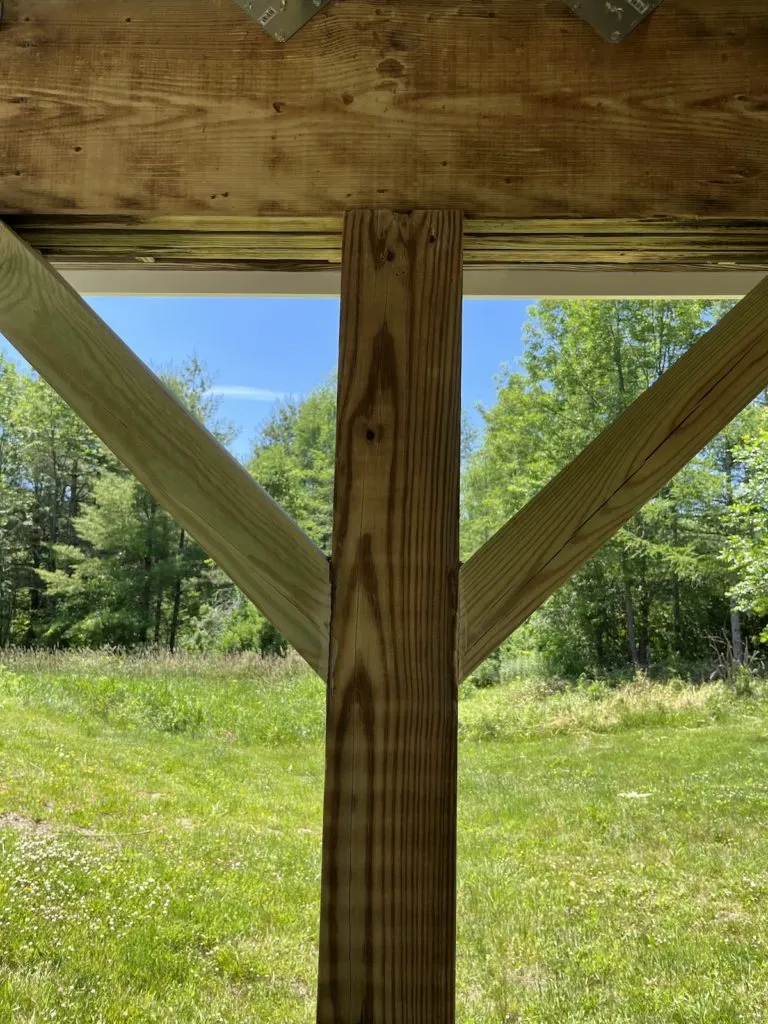
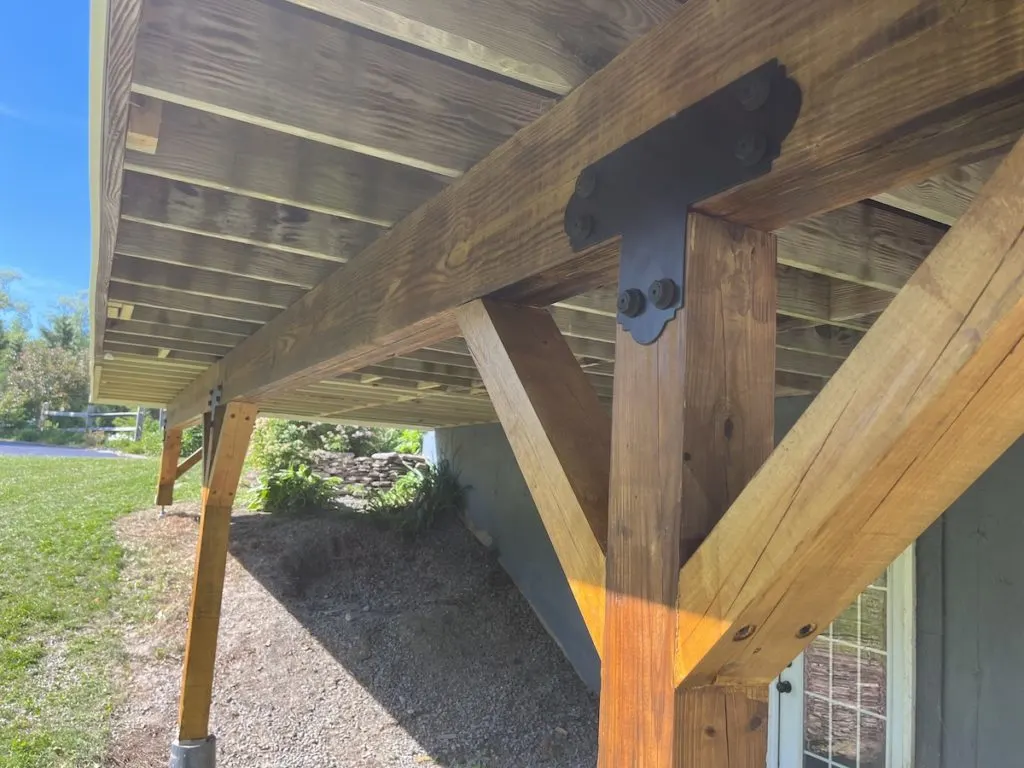
Once it was all sanded down, it was already looking much closer in tone. From there, I just stained it with a brush. There were bits of construction glue and some stubborn bits that didn’t stain up perfectly. Considering it’s just the underside of the deck I’m not too worried about it.
The stain really evened out the difference in the old and new wood. There is still a visible difference even after the sanding and staining but it’s way less noticeable. I also know from experience with this stain that it will hold up well for years. When it does fade, touching it up should be no issue.
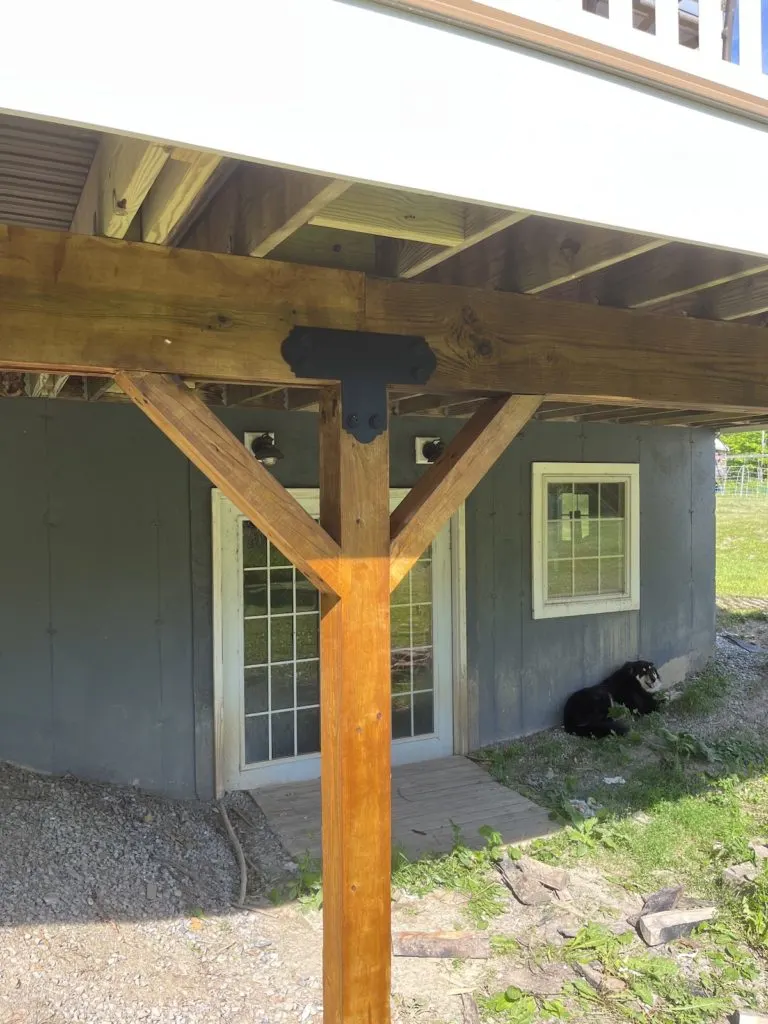
Why add the brackets?
Originally our builder has put up some 2x4s that were chamfered that were ‘decorative’. I didn’t hate them so much as just want them dead. I considered hiring a hitman on the darkweb and paying in bitcoin, but it turns out paying a contractor in cash was much easier.
Getting those gone didn’t help with my old and new wood problem, it actually made some spots look worse.
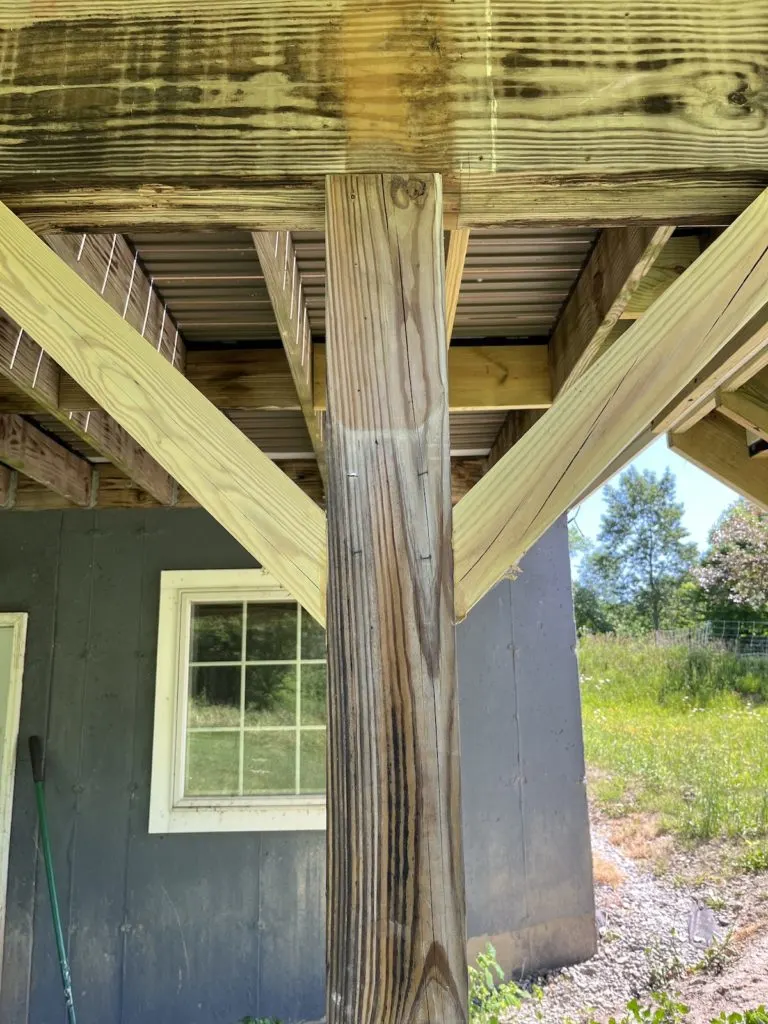
But I had already scoped out these Simpon Strong Tie decorative hardware braces and knew they would work. They were definitely better looking than my builders solution and would keep the all the joints lined up nicely.
