I’ve talked a lot about the renovations for the multi-purpose workout / mudroom / office in the basement. In order for that space to be a workspace though it needed a desk, specifically a folding wall desk.
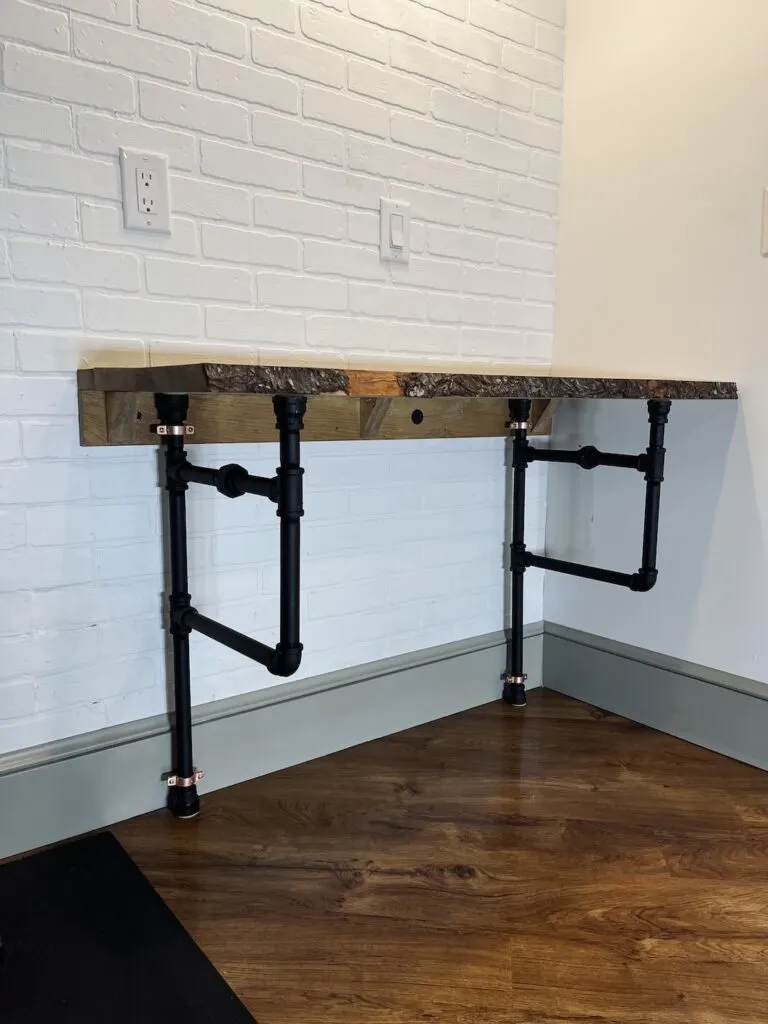
And in true me fashion I decided to take a shot at some behind the times trends that I didn’t get a chance to use elsewhere. Live-edge furniture? Check. Iron pipe project. Oh yeah.
Materials and Tools for a Folding Wall Desk
- Desktop (here I used a ready to assemble live edge top)
- 5/4×3 board for desk support
- 1×4 pine for ledger board and supports
- t-nuts for attaching leg supports to wall
- bolts matching in size to t-nuts
- copper split ring pipe holder
- Iron pipe (or project pipe)
- 1 1/2″ Felt pads
- 1 1/2″ Rubber pads
How do you know a trend is past prime?
First, I could care less about what is or is not trendy in DIY. If you like something and want to give it a shot, you should. If you are trying to be on trend though, once something is showing up in the blue or orange big box store for DIYers, that ship has sailed. This includes pipe shelves, shiplap, barn doors and countless other things.
In this case Lowes had live edge boards that can be joined with pre-routed slots to make tables or desks. It also had “iron pipe” project pipe without threads and dedicated connectors.
Easiest way to make a live edge hanging wall desk top?
Yes their existence in big box store means they are past their prime, but it also makes it dead easy.
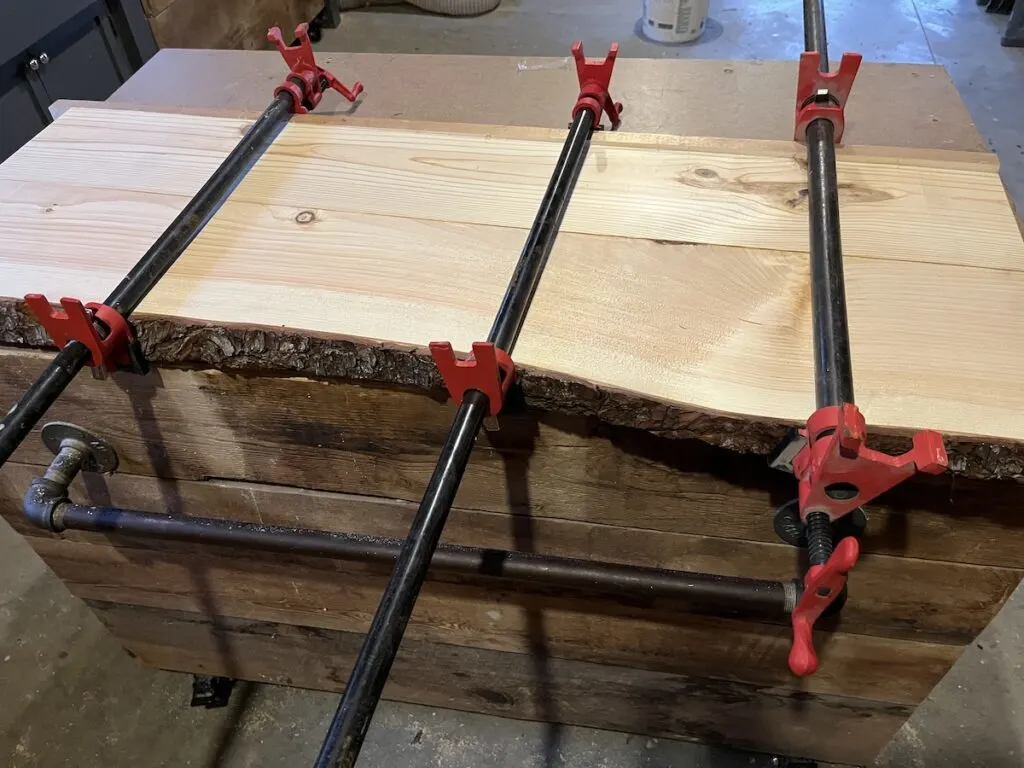
I used the live edge boards with the pre-routed connections. The non-live edge board’s width was trimmed to get the right overall desktop size. I also cut these both down to roughly the finished length.
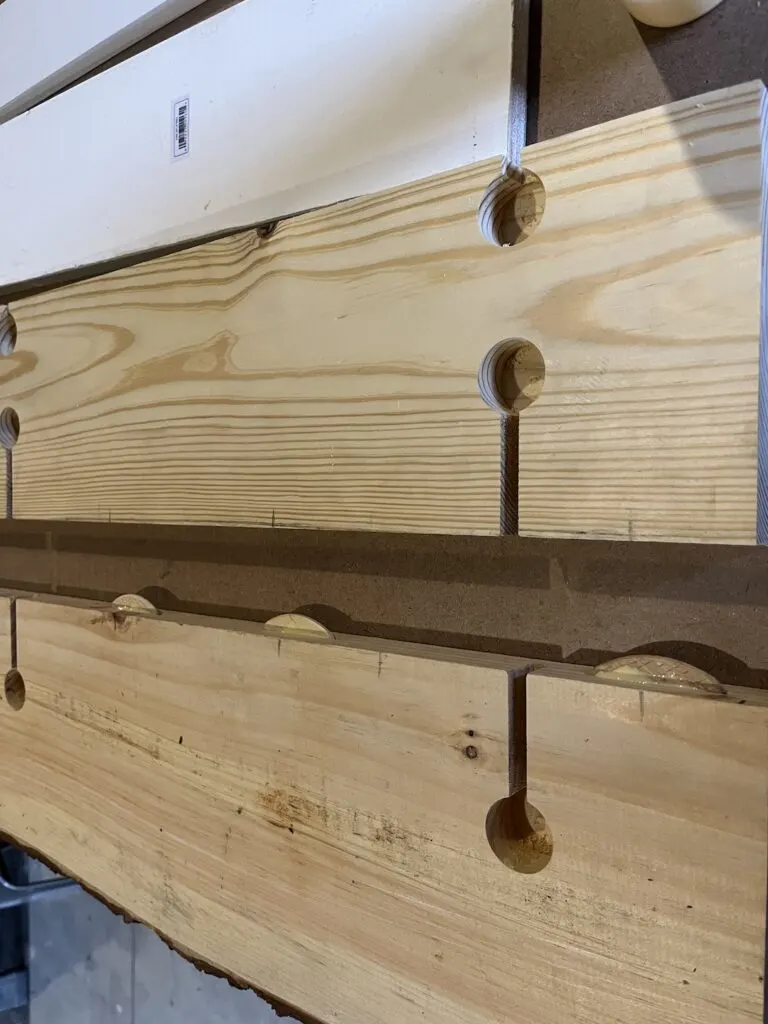
In order to strengthen this up I also used glue and biscuits to get a better joint. The connectors worked okay but with the hanging mechanism and movement I wanted to be sure these would remain tight.
How to make pipe legs for folding wall desk?
Confession time. It took something like 5 trips to Lowes to get all the right pieces in the right sizes to make the legs.
Somewhere around trip number 4 I found the project pipes that have all the connectors and can be easily cut to size. Had I used those pipes and connectors the legs would have cost maybe half of what they did. But I was committed at that point and finished it out.
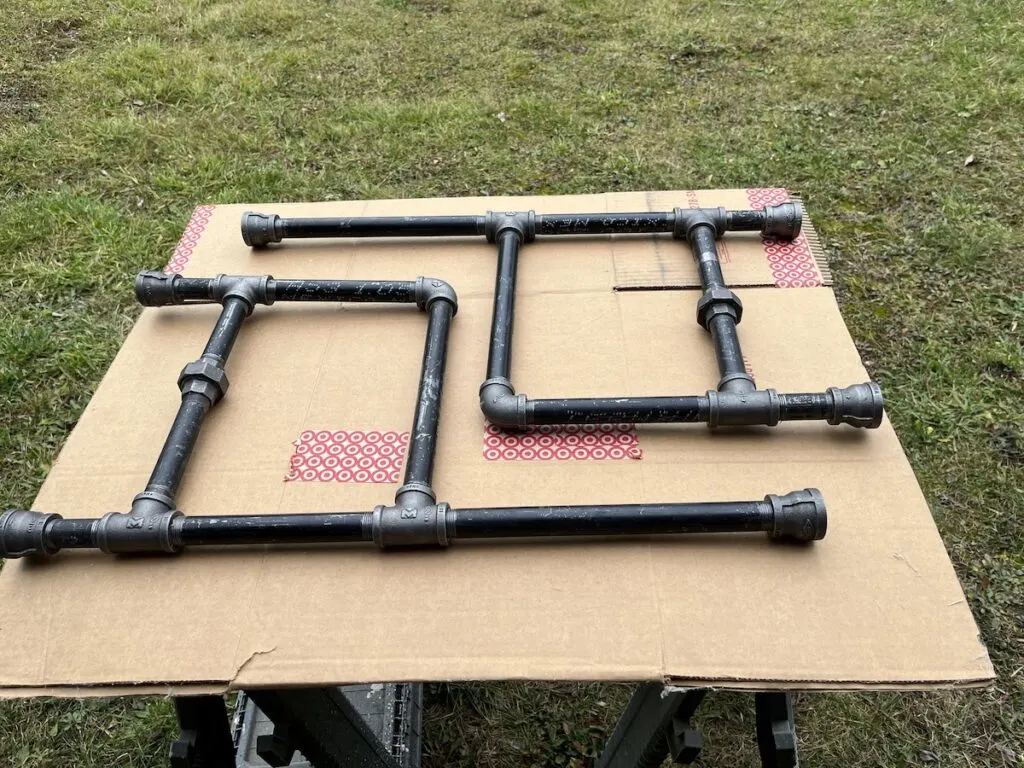
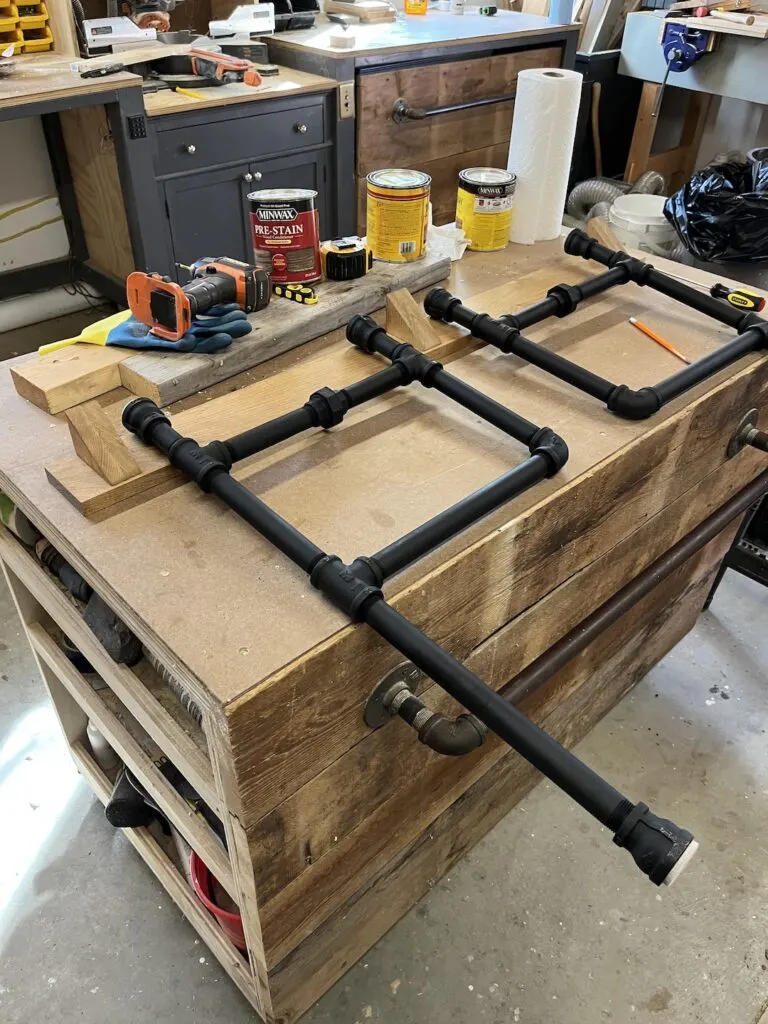
How do you make a square shape in threaded iron pipe furniture?
The only tricky part is that threaded pipe can not be naturally attached in a square. Yet another thing I did not realize when I started this project. I believe that was what caused trip 5 to buy shorter pipe and some union joints.
A union joint allows two pipes that need to be threaded in opposite directions to be tightened in the center.
I had originally hoped to keep the natural pipe color and just spray a flat finish on it after cleaning. Once I had it together the pipes were a little too beat up so it was time to (as always) paint it black.
How do you attach the folding wall desk legs to the wall?
I really wanted my legs to spin freely. I had thought originally I would use some pipe clips to just directly attach to the wall. The issue was I needed to have the same offset at the top and at the bottom. I also needed to have enough space for the connectors I used as “feet.”
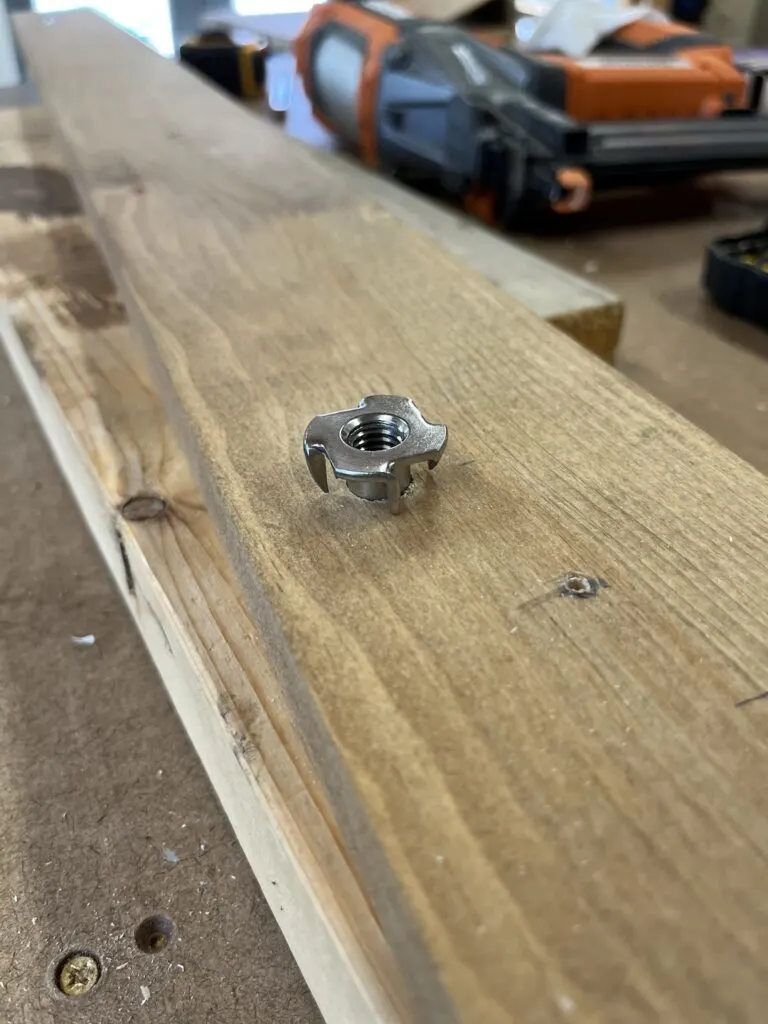
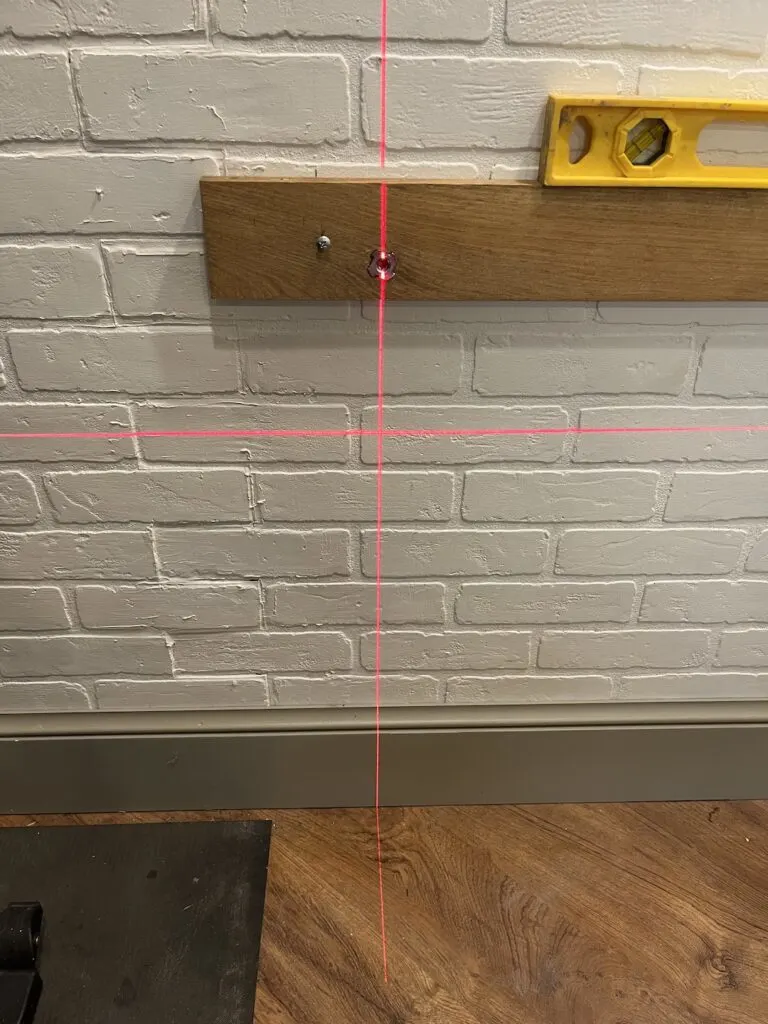
I decided to use some copper split pipe clamps attached with bolts to the wall support and baseboard. In order to attach the bolt I drilled and hammered in t nuts. To line up the top and bottom I temporarily attached my wall support and used a laser level to mark the baseboard.
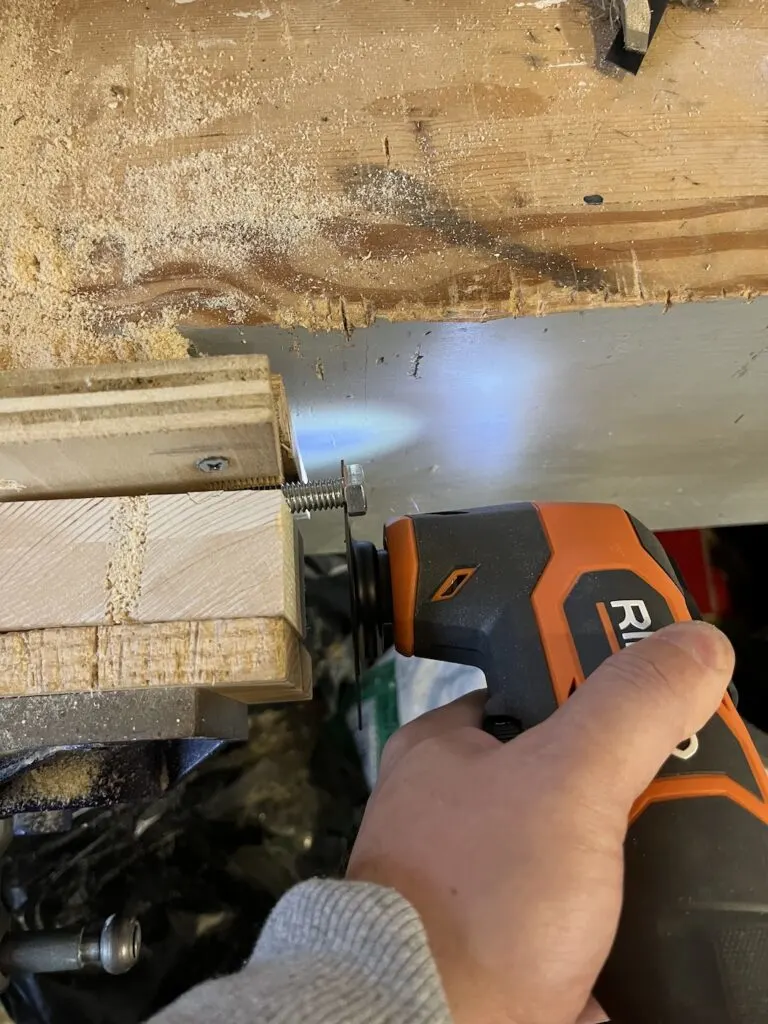
To attach the copper clamps to the t-nut I used stainless steel bolts and cut off the hex head with a multi-tool. Originally I thought putting the bolts in the wall first and then cutting them was the way to go.
Spoiler, it was not. At all.
You need way more pressure on the bolt than the t-nut can provide. Attaching the cut side to the copper clamp also required the bench vise. Slicing off the top messes enough with the threading that you need a good deal more force than the factory side.
How do you attach the folding wall desk desktop to the wall?
After I had all my material for the top cut to size I was ready to start assembling and figuring out how to hang it.
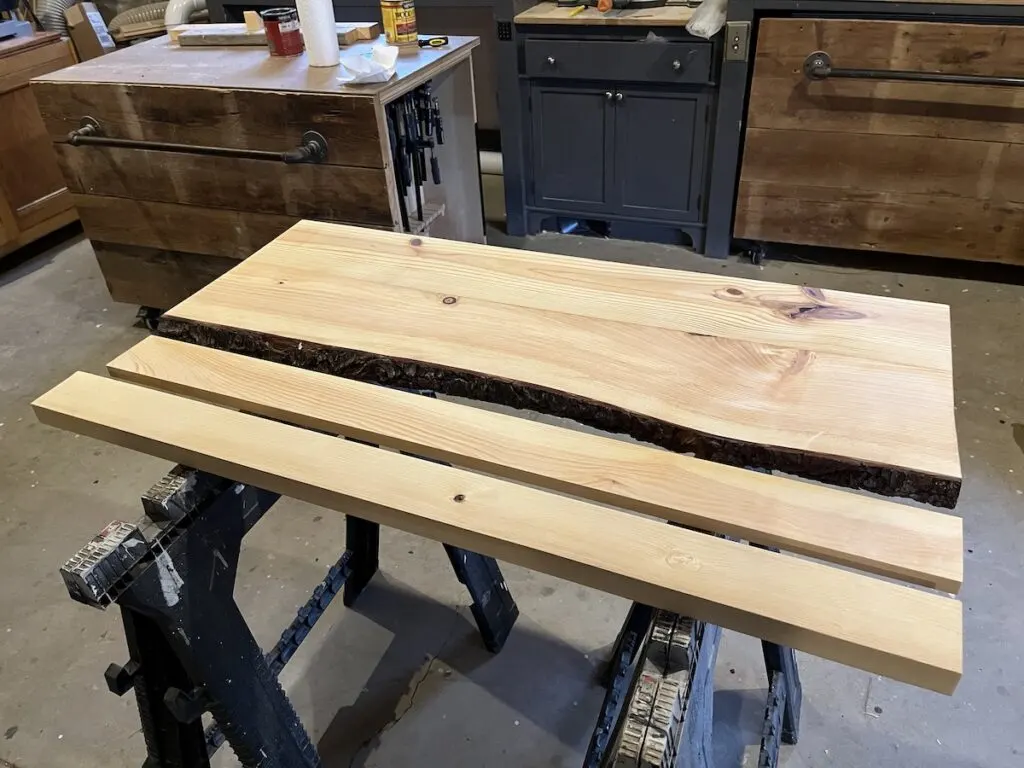
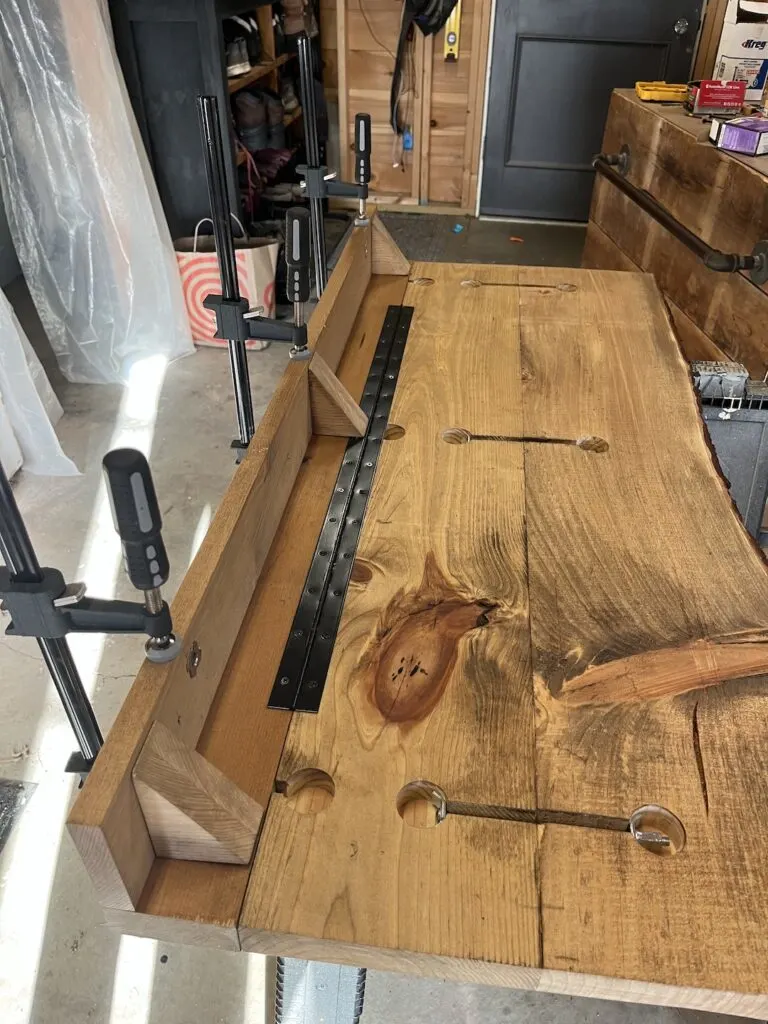
Because I went with a nearly inch and half thick top there is some serious weight involved. In order to have that fold smoothly and evenly I used a piano hinge attached to board wide enough to cover the tops of the legs.
I made some triangle shaped support pieces that would help bear some of the weight of the hinged piece back to the ledger and the wall. It’s super important to bookmatch the grain that no one will ever see.
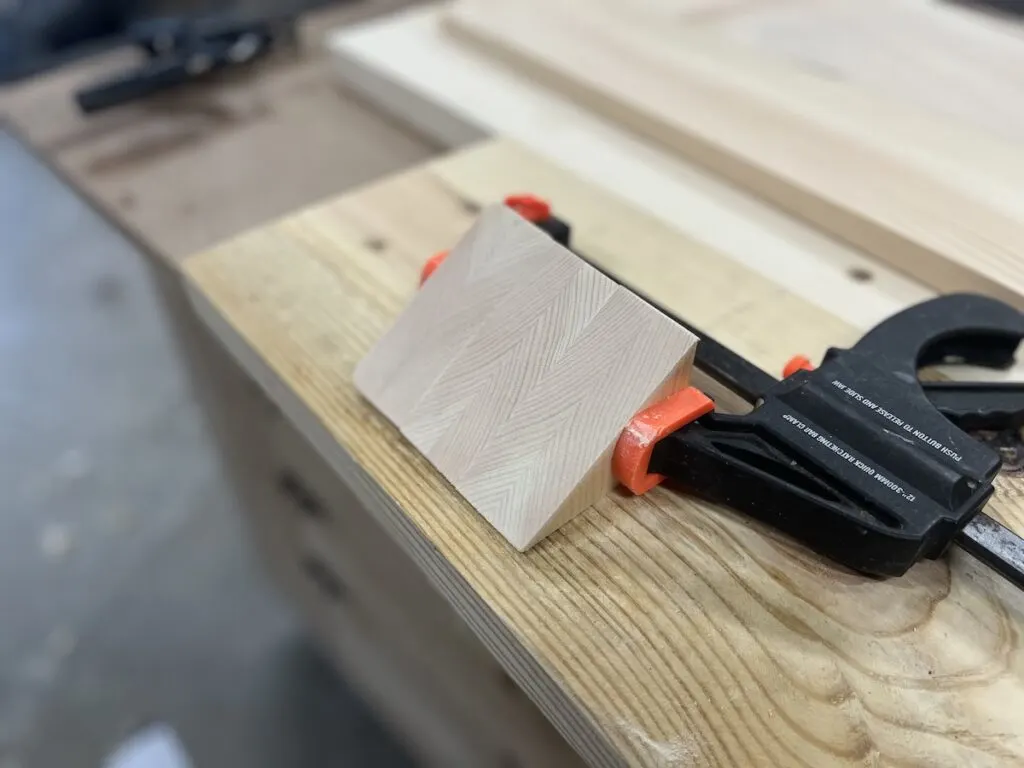
With all the pieces cut and sanded smooth I stained them up with my usual mix of Minwax Provincial and Ipswitch Pine.
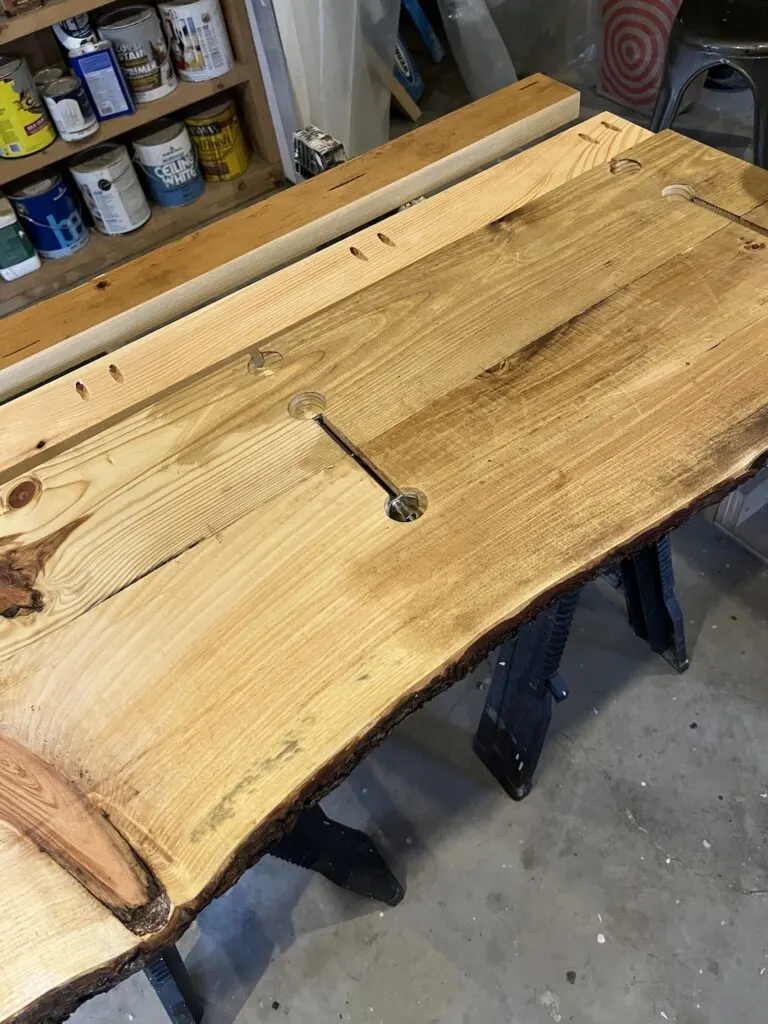
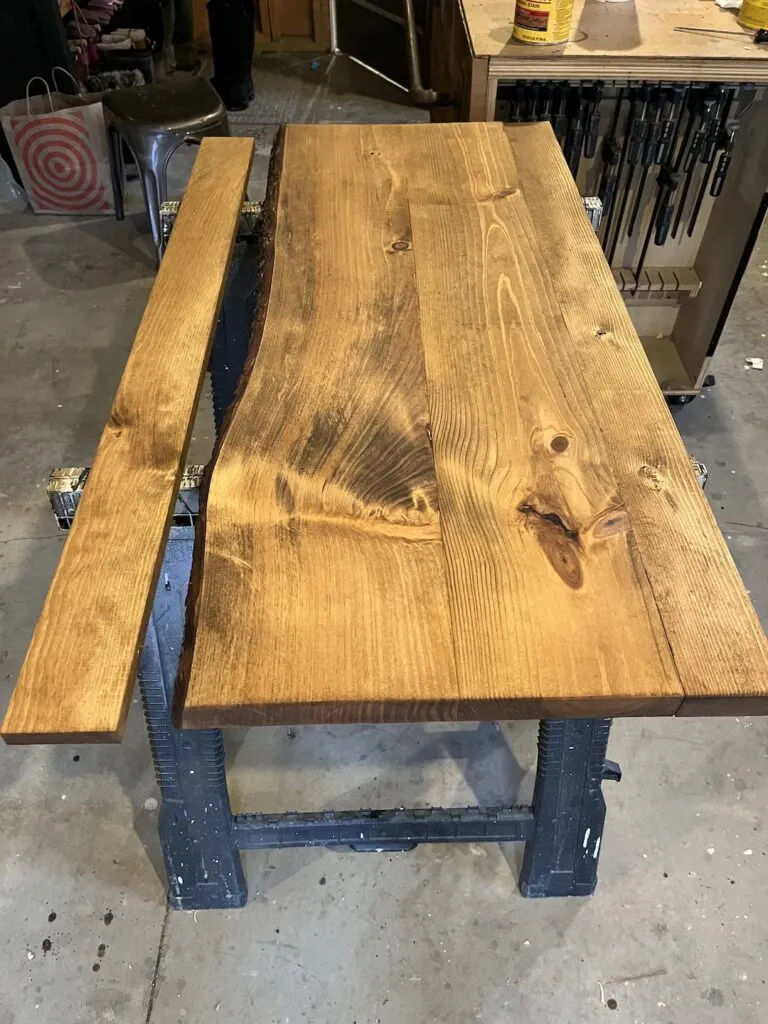
In order to space out the supports, the t-nuts and the legs I mocked up all the pieces. I probably could have figure this all out with measuring but it’s a lot faster to just do it visually.
With the top all stained and the spacing sorted out, I attached the piano hinge. The support piece was clamped to the main desktop so that the gap would be minimal when in a fully upright, flat position.
The ledger board had pocket holes screwed in on the back and support pieces glued and nailed in place. I attached that to the top support piece with pockets screws, gluing and nailing the supports as well.
Using the legs to support the weight of the top, I attached the ledger board with lag screws on studs and one sheetrock anchor on the end that didn’t fall on a stud. In the end I needed to drill my holes out a little more to allow for more precise leveling.
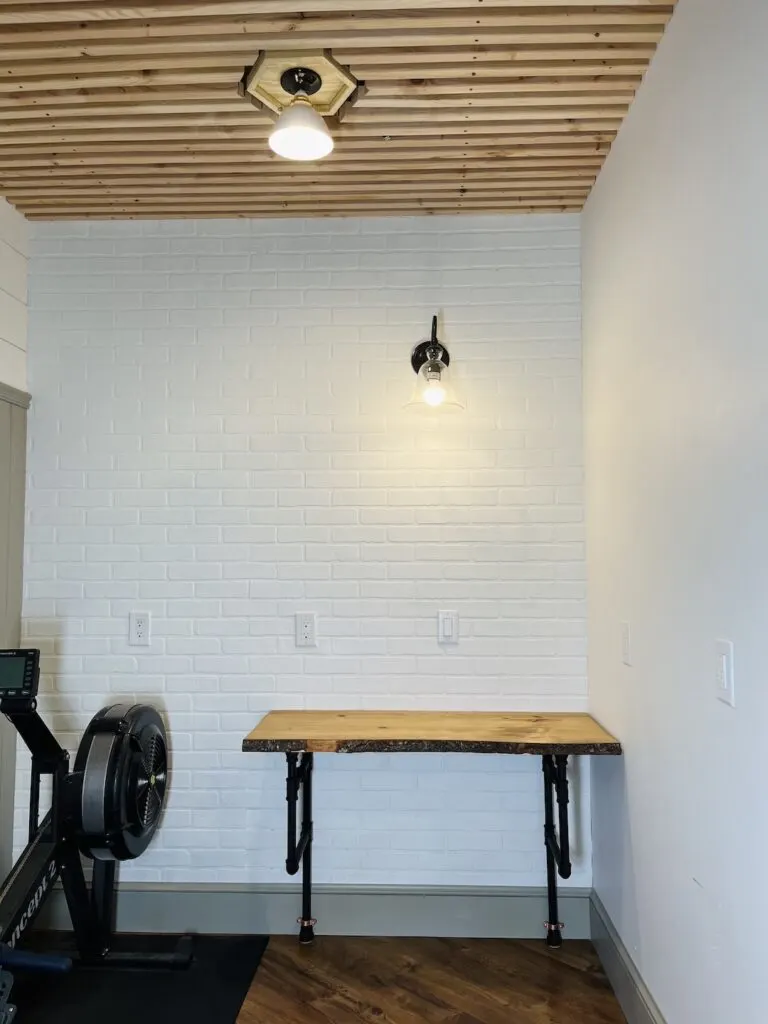
But how does the folding wall desk fold down?
The legs are loosely held by the copper clamps and are free to swing in or out. When you swing the legs all the way in, the top can drop down over them.
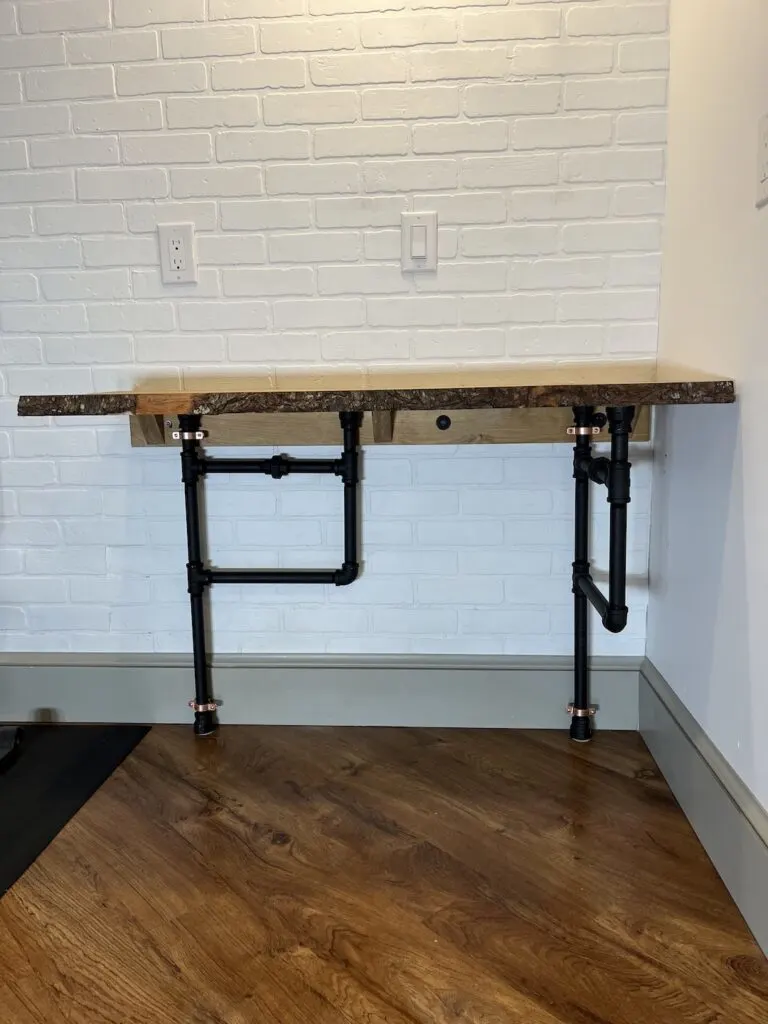
You put your left leg, you put your left leg out.
Well actually you put your left leg in and then your right leg in. It’s not nearly as catchy but that’s how it actually works.
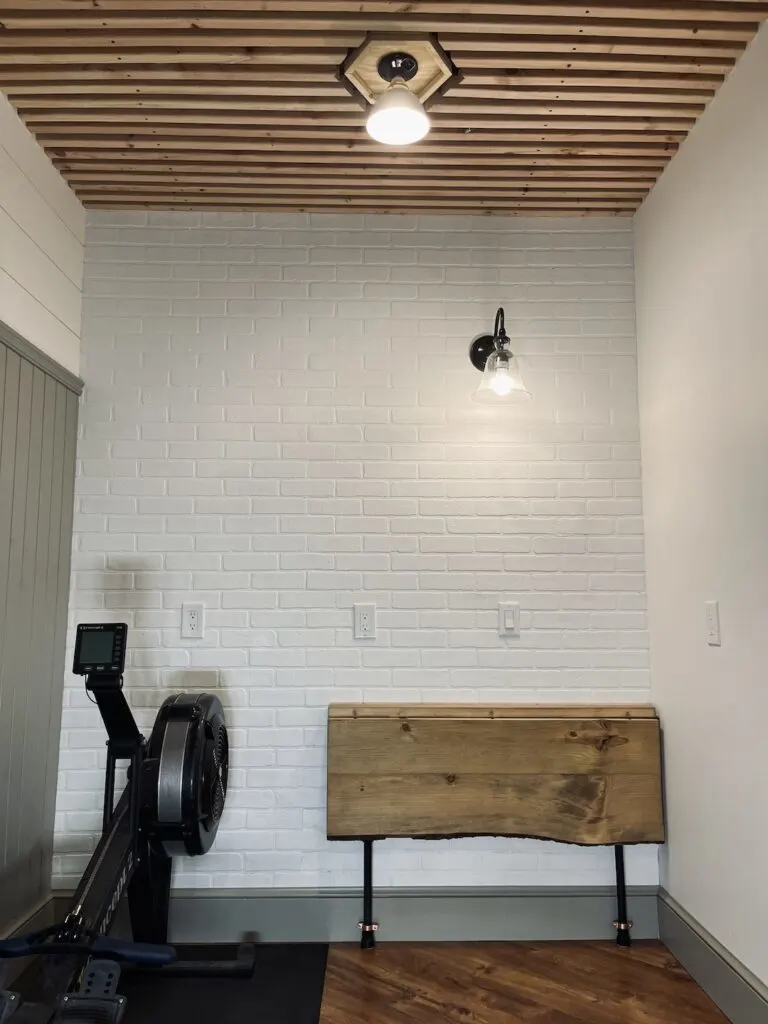
In an effort to keep this little office area from encroaching too much on the funcionality of the room I’m experimenting with a very home gym appropriate chair. So far, it’s going well.
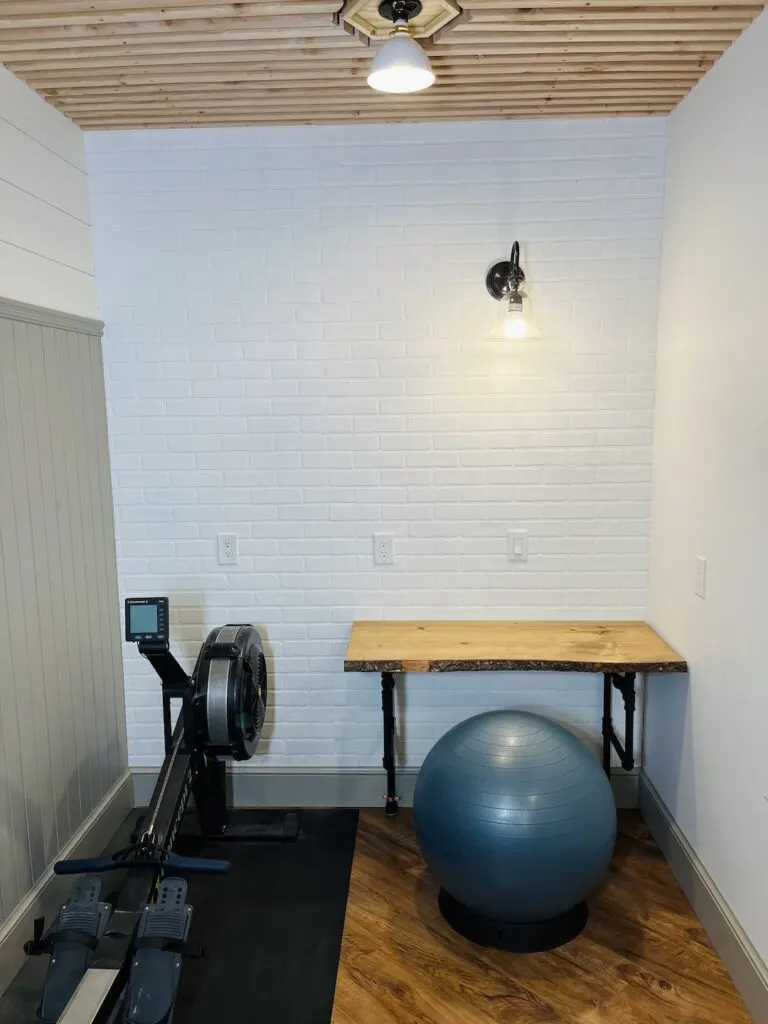
Lessons learned from building a folding wall desk in my basement gym / mudroom / office
- You can’t make a square with off the shelf iron pipe
- I should have used the project pipe from Lowes to save a bunch of time and money
- I don’t love the contrast of the copper clamps nearly as much as I thought I would
- Working next to my rowing machine does not in fact motivate me to row more (sadly)
- I need to work on my core (that ball is unforgiving)
- I need a pair of office slippers (the floor looks nice but it’s chilly)

Oscar morataya
Saturday 7th of January 2023
Love the idea. 1. What do you use the desk for? I have a computer monitor on my desk. If I fold it, where would the stuff go? I am honestly curious what the use of a foldable desk is?
2. I love your removable ceiling. Would you mind if I can add that project to my app, ezdiyremodel.com?
Thank you.
ben
Saturday 7th of January 2023
@oscar I use the desk for working from home when I need to. I have a laptop that I work off that is usually in my bag. I also have a second portable screen that I can setup as needed to. My plan is to add a file cabinet for storing desk things between the rower and the desk in the future.
So long as you credit my site and link to the post you can feature that on your site, sure.
Aaron
Wednesday 28th of December 2022
Is the ceiling 2*2s ????
Ben
Wednesday 28th of December 2022
@Aaron yup! Well technically 2x4s ripped in half, you can read more about it here: https://treefarmdesignco.com/how-to-diy-a-removable-basement-ceiling/