When we first built our house, we used pvc porch column wrapping from a box store that were undersized for the space and had awkwardly proportioned top and bottom trim. The column wraps were not the worst but they always felt too skinny and gangly, like a bunch of gawky teenagers holding up our porch roof.
What we wanted was to get to well proportioned farmhouse porch columns that look like they belong.
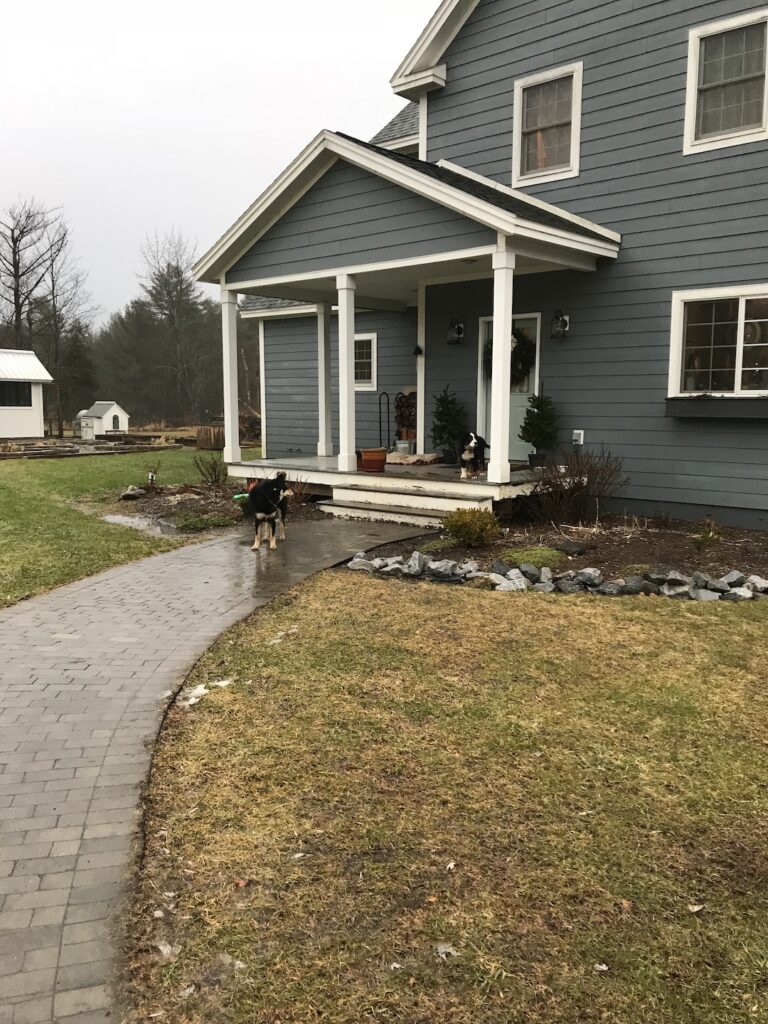
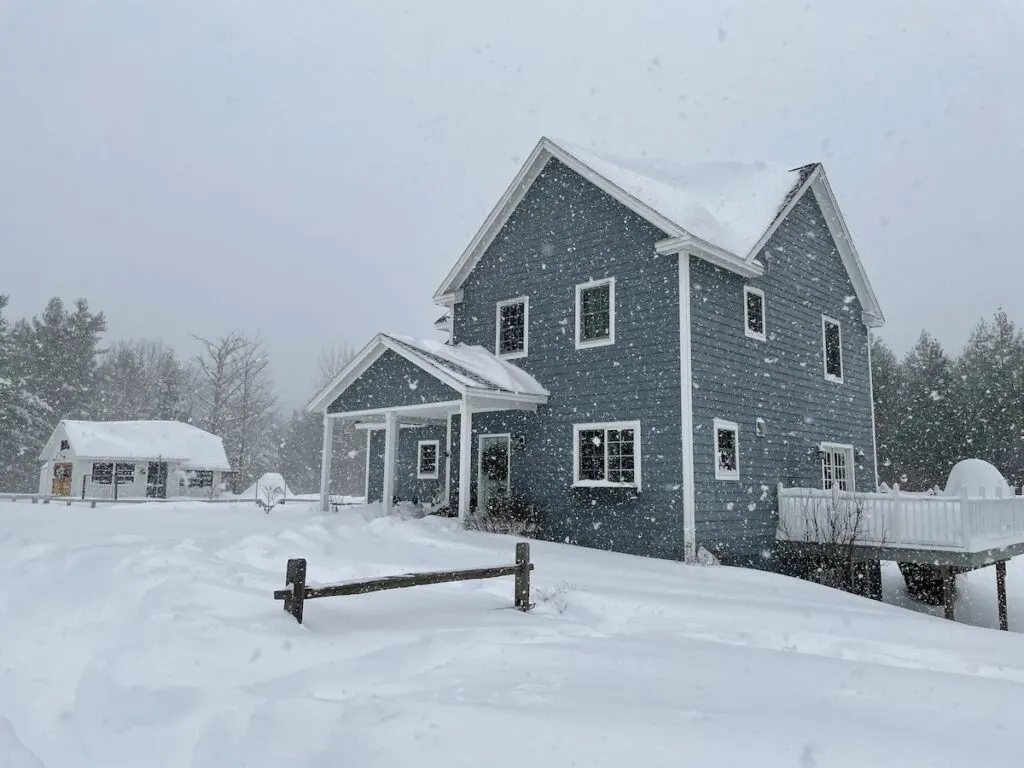
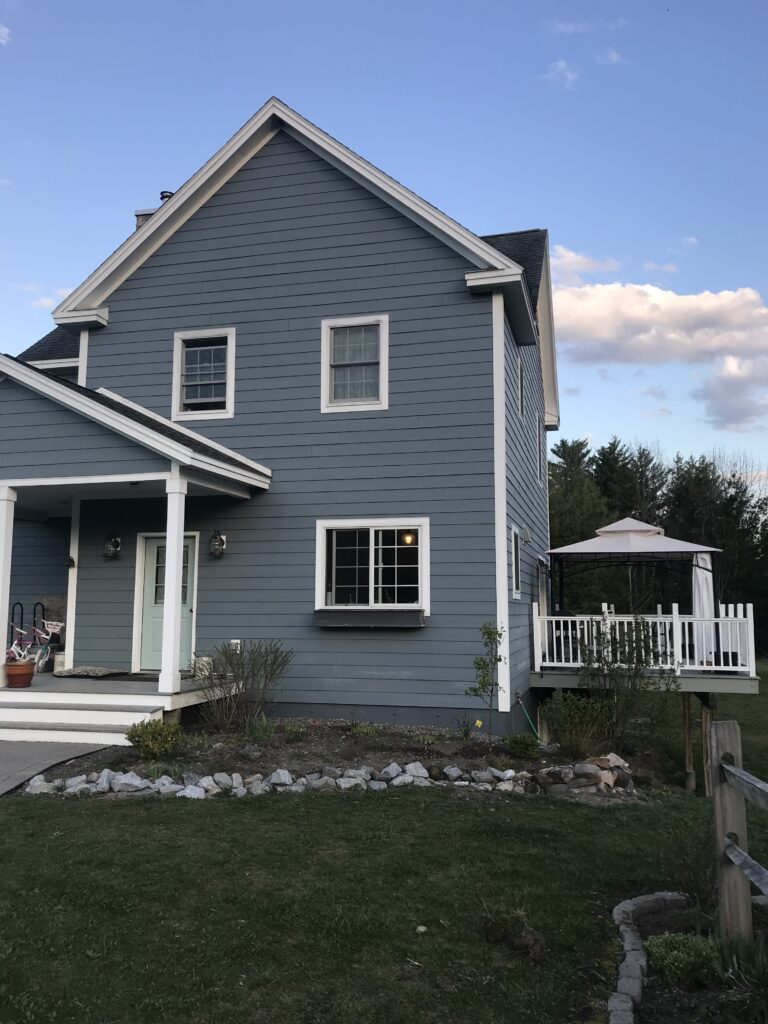
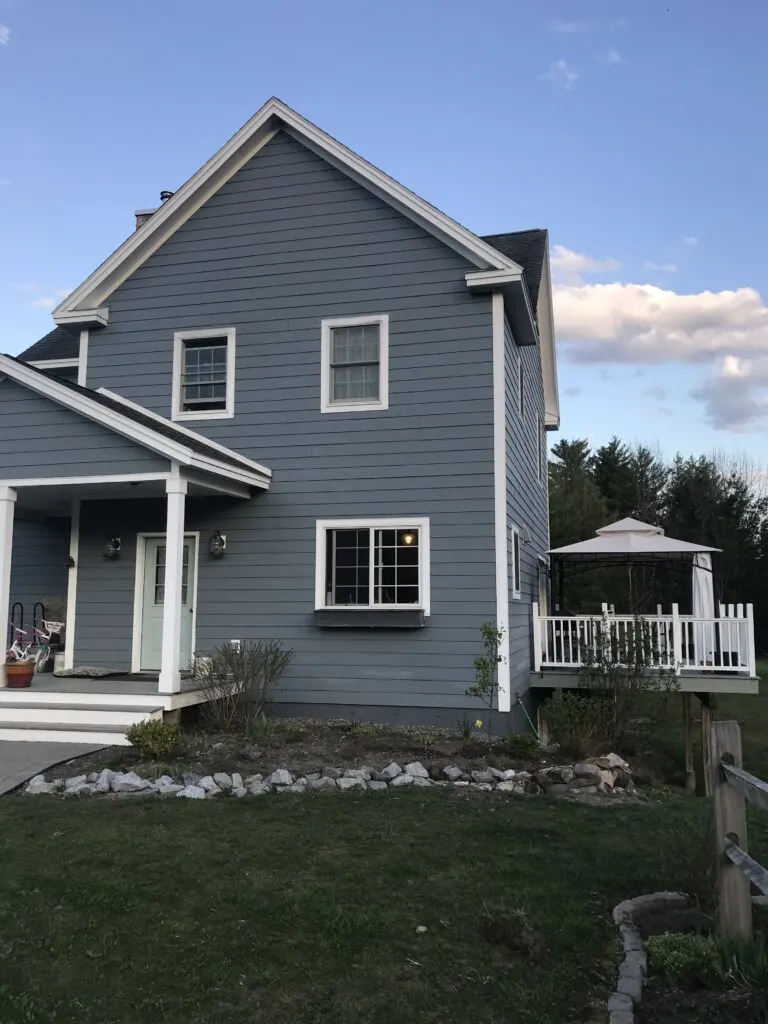
For some reason I only have pictures of the before in very dramatic weather, above is rainstorm that flooded our entire front yard and cast that very gray-yellow light. And below is a snowstorm that dumped feet of snow in a single day.

When we decided it was time to refresh the front porch and side deck beefing up those columns was one of my main goals. I also wanted to be able to reuse the columns we had on the side porch which would have a railing and not need as substantial looking columns.
Materials and Tools for installing PVC Porch Column Wrapping
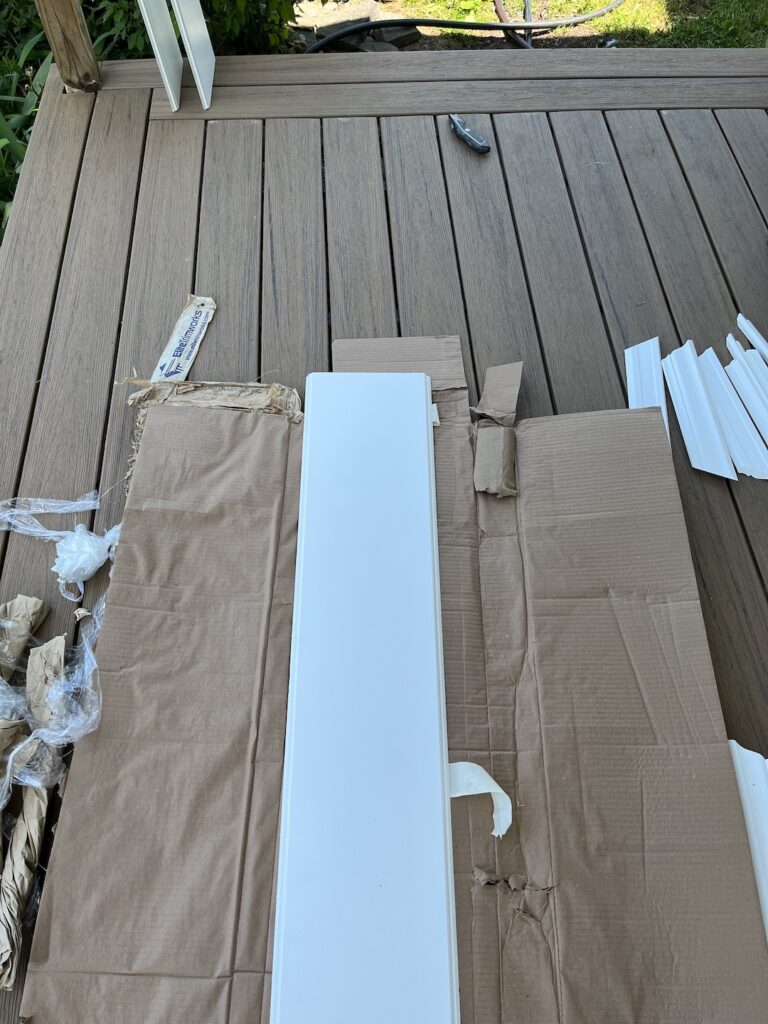
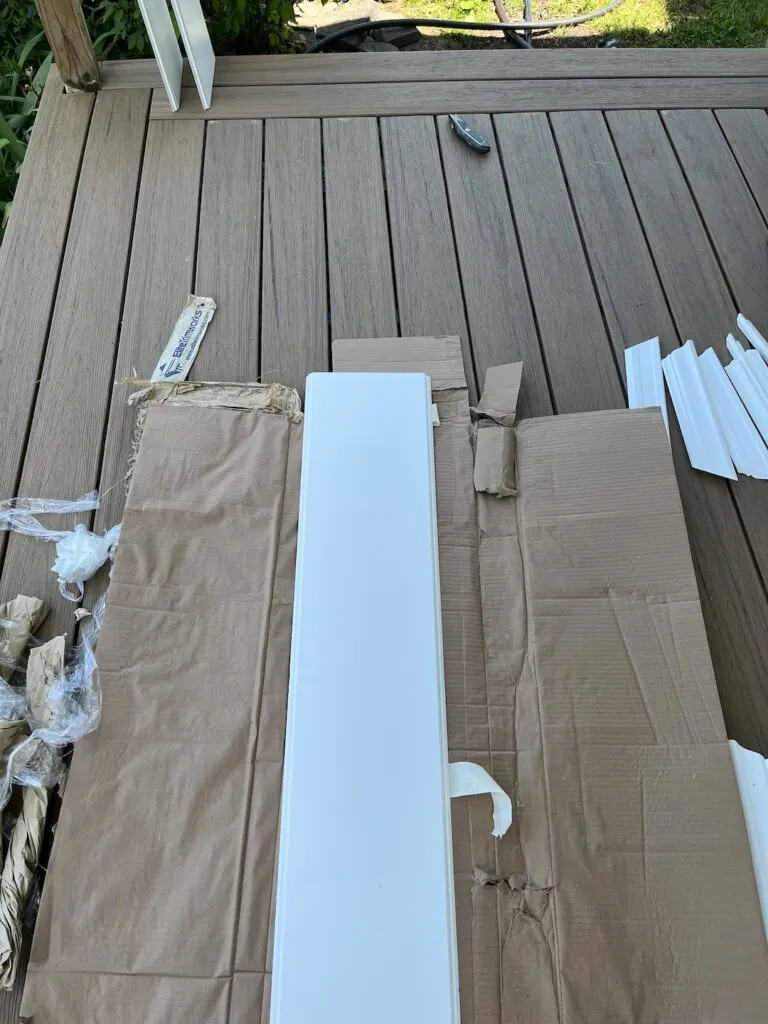
- PVC Column wraps
- Finish nail gun
- Blocking material
- Masking Tape or Painters Tape
- White Ourdoor Caulk
- 4′ (or longer) level
- 6′ (at least) ladder
Removing the old porch column wraps
Pulling off the columns was a bit nerve wracking as we wanted to save them if possible. We removed the top and bottom trim and threw that out, because honestly it was one of the things I liked the least about the columns.
Taking the columns off involved using a knife to cut the caulk in the seam, inserting a flat pry bar and opening up one side of the column. Using progressively bigger pry bars, we were able to pull the column off like a husk.
Our contractor who did the deck was able to re-use them and with the railing and the lack of top and bottom trim they look much more purposeful.
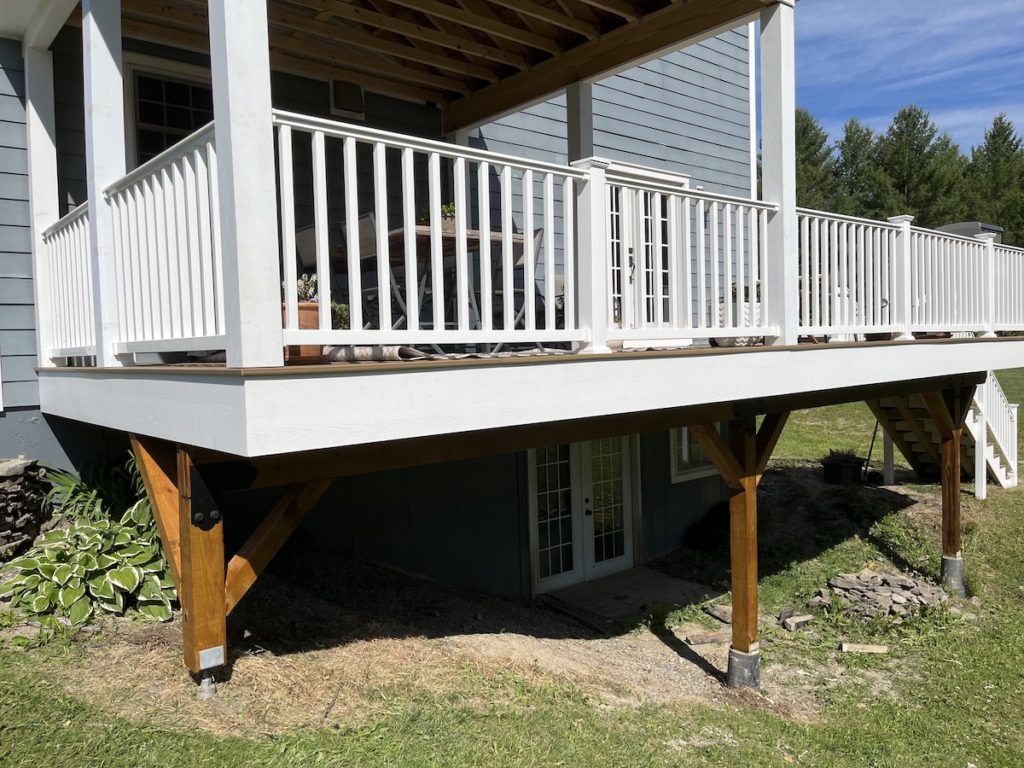

Replacing the decking
The pressure treated wood on the front porch wasn’t in as bad as shape as the side deck. The biggest issue was that the stain lasted maybe a month at best before being scuffed off. The stain was also a lot closer to the house color than we intended.
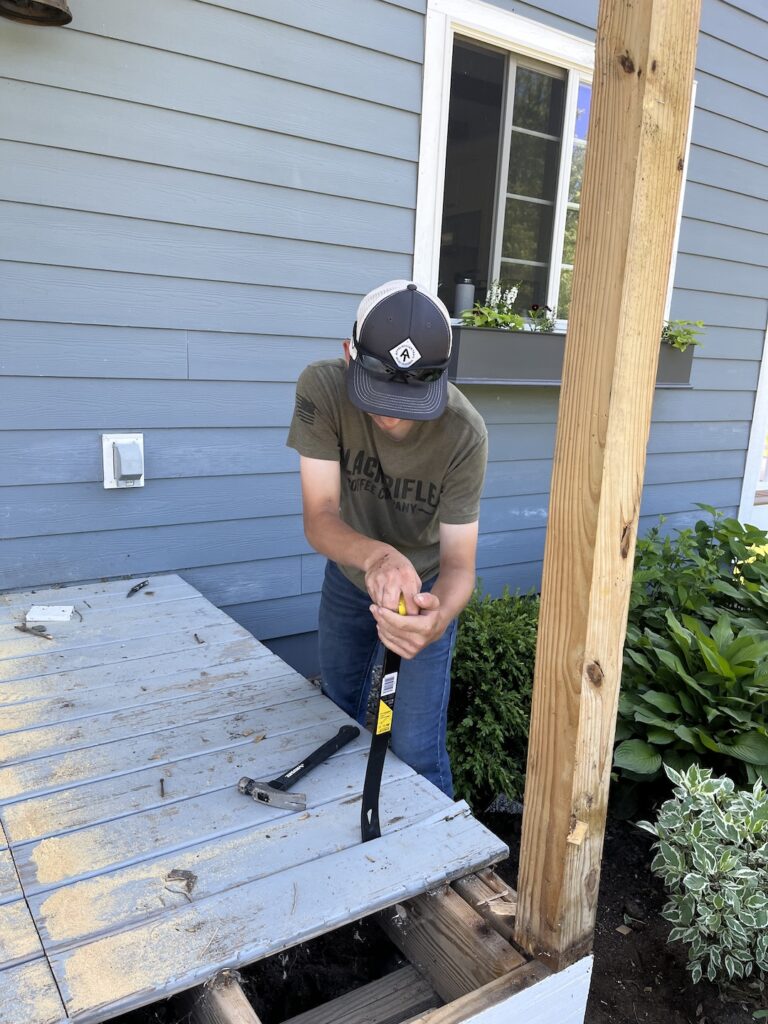
Ripping up the boards was painful. The screws used were all but disintegrated at the heads, but plenty solid underneath. That meant we couldn’t just pull the screws.
We had to cut the boards into pieces, pry them off and then pull the screws manually. The boys helped a ton but it was still a full day to just get the deck boards and screws up.

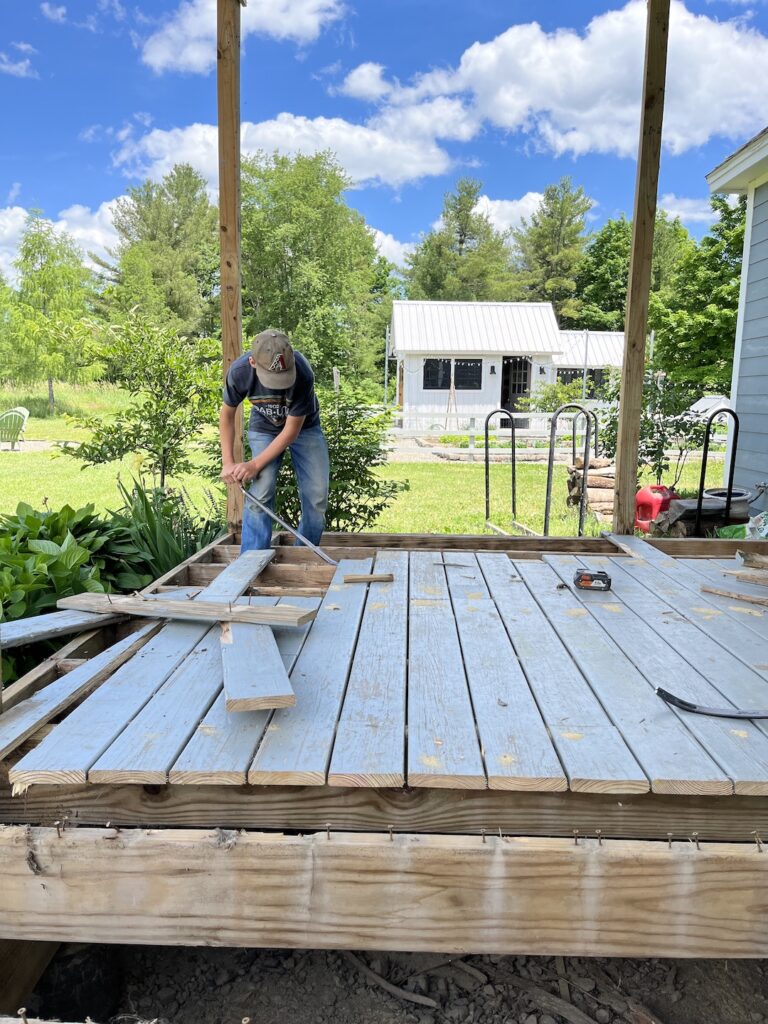
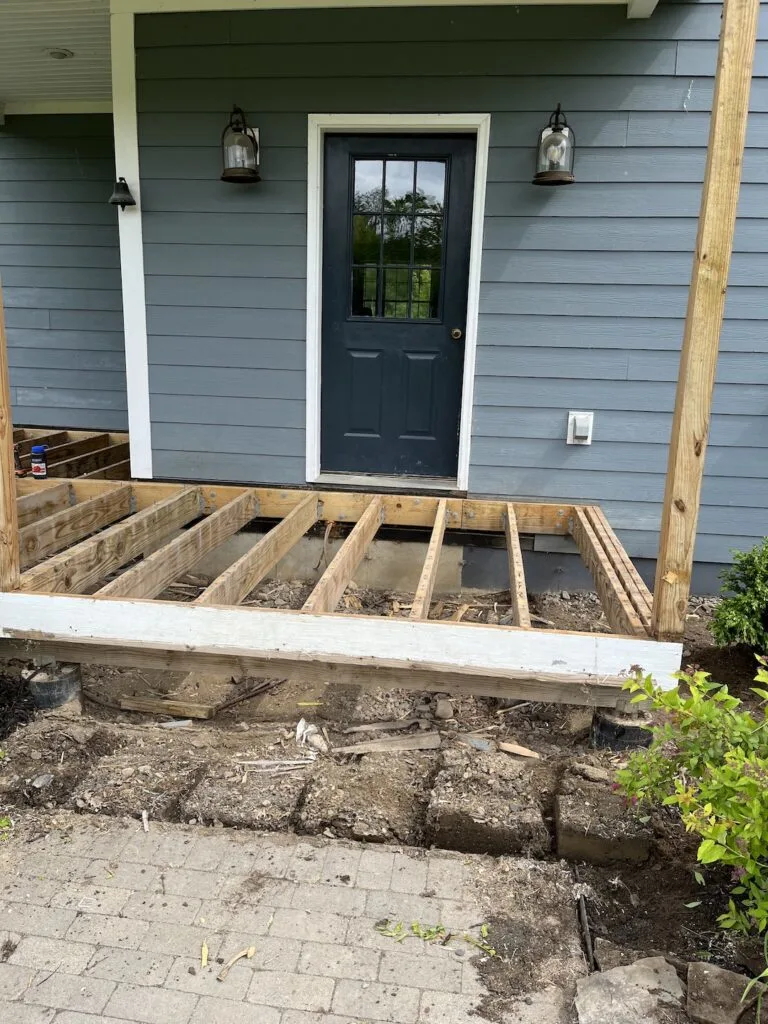
Getting the deck down to it’s bones we were very glad to see that it was still in great shape. The framing members were all solid and nothing really needed replacing. For new decking we chose TimberTech Antique Leather and couldn’t be happier with it.

We hired that work out though so I don’t have a lot of photos of helpful hints about the process.
Adding blocking for PVC porch column wrapping
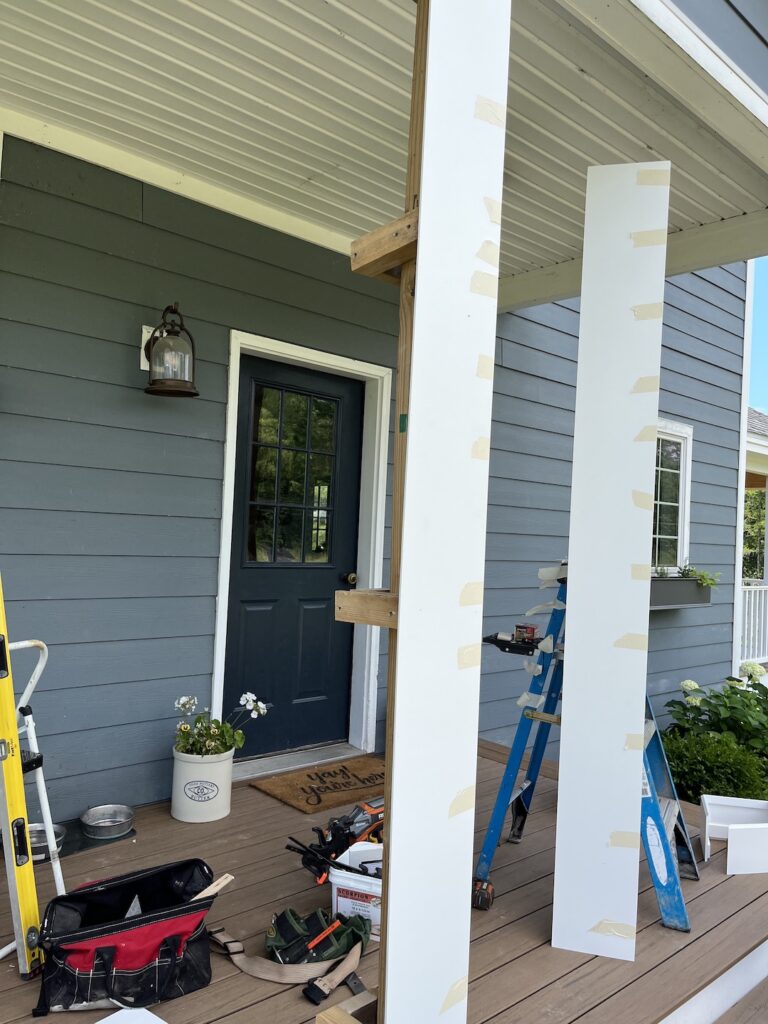
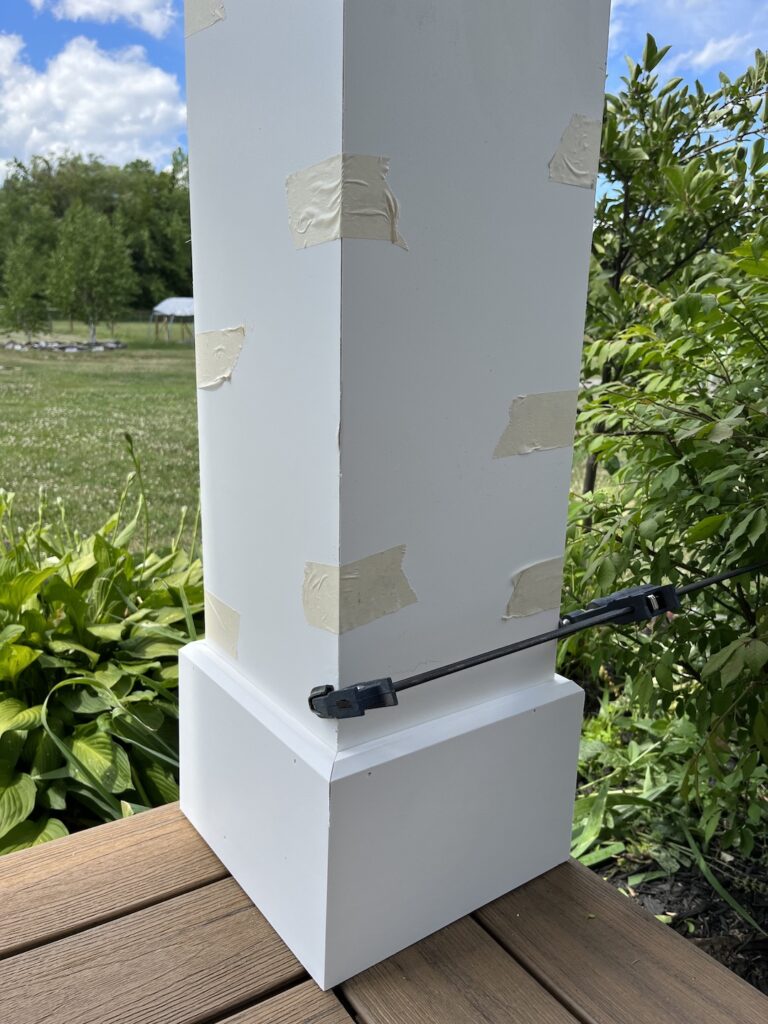
We changed from 6″ columns from a big box store to these 10″ columns from Elite Trimwork. That meant that we had a lot more shimming to do to make the 4×4 columns a good base. I used a variety of scraps to shim out the columns.

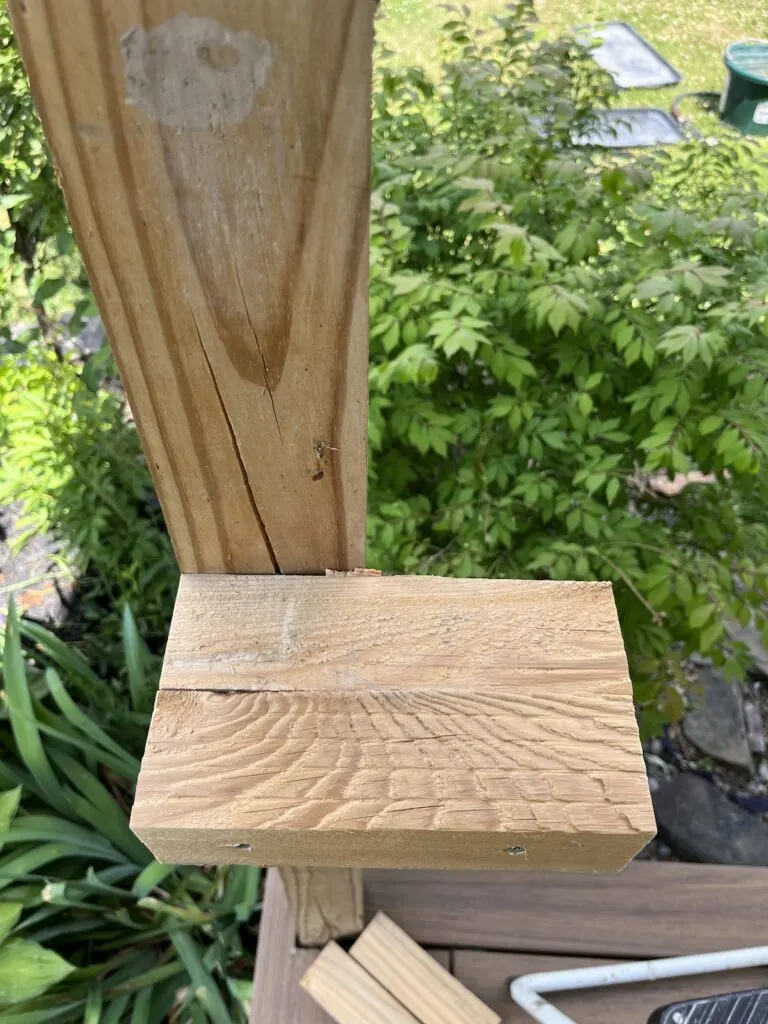
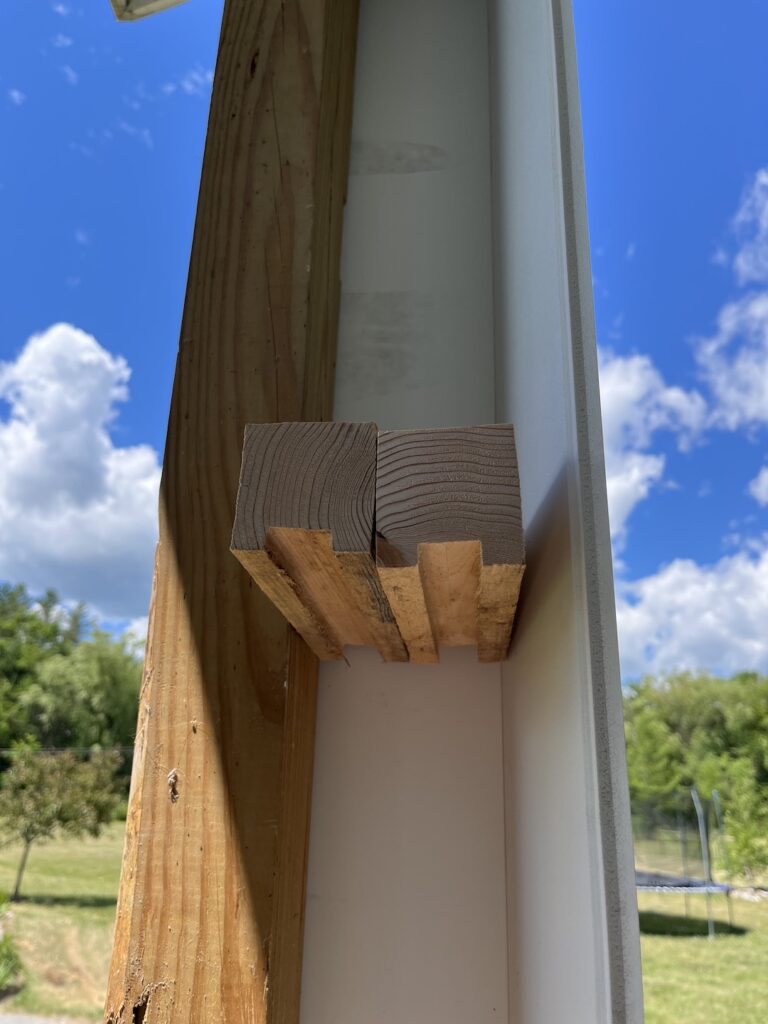

For the corner columns I tried to just attach the shims on one side. Because many of the posts were twisted it was an adventure to get the columns squared up. There was a lot more adding shims, removing them, cutting them than these photos show.
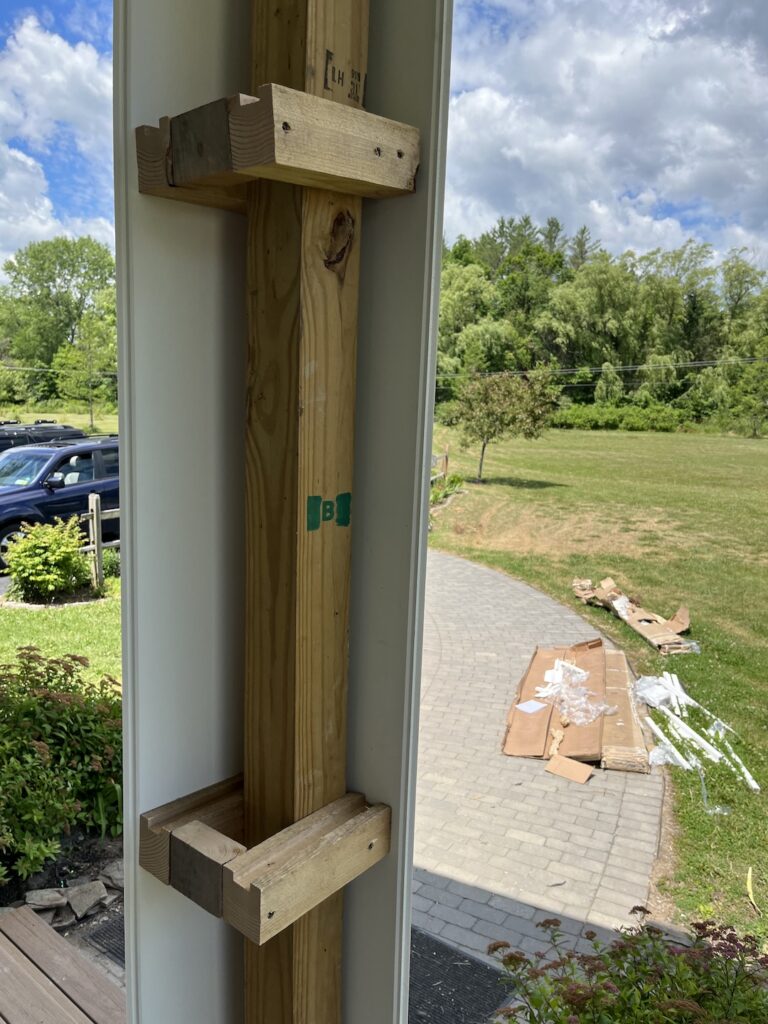

There was also at least one column that had to be taken down altogether after I failed to leave the right amount of gap at top and bottom. Because the columns were 96″ but the space they are filling was nearly 9′ I needed to use every inch of crown and base.
Attaching the PVC porch column wraps together
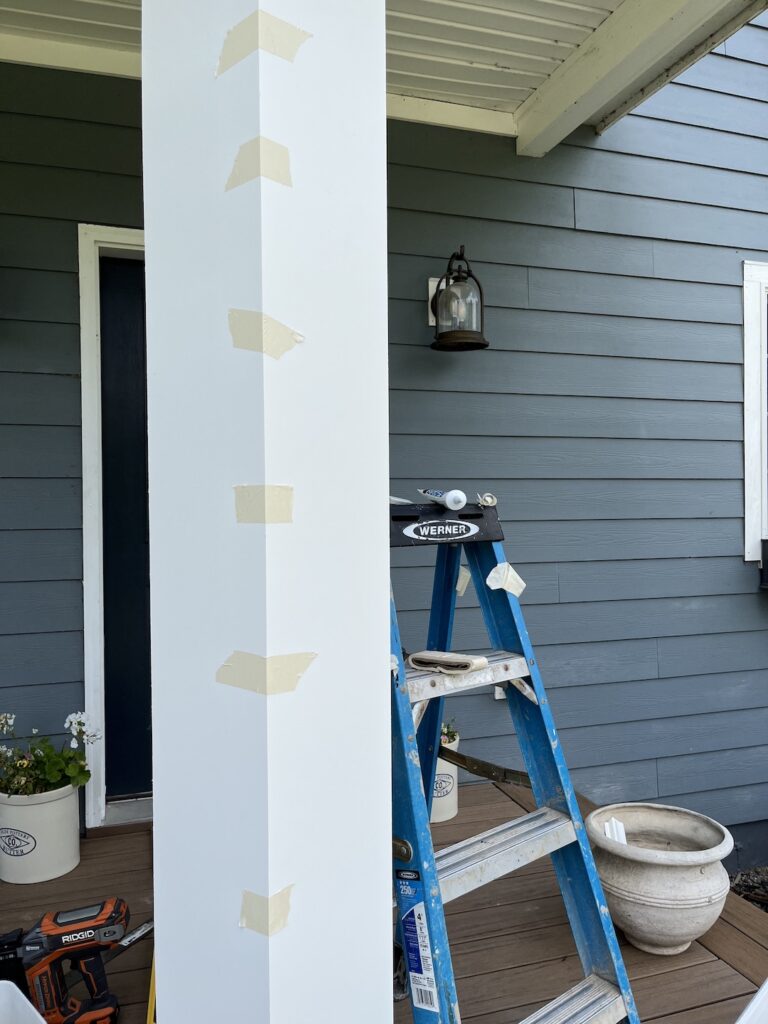
The columns come beautifully flat packed with all the molding you need including an optional collar molding that we decided against. The method that I used was to lay two pieces flat, with their outside up and tape them down the seam. Then I flipped that pair over and caulked all the way down the joint and brought them together.
We then repeated that step again so that I had two half columns.
Putting up half the column, we made sure to align the most important corner at the top and bottom and check for level. I thought about runnign the tape lengthwise but wasn’t sure I’d have enough meat on either side to hold it fast.
I regret using the word meat there but I’m leaving it. Sorry.

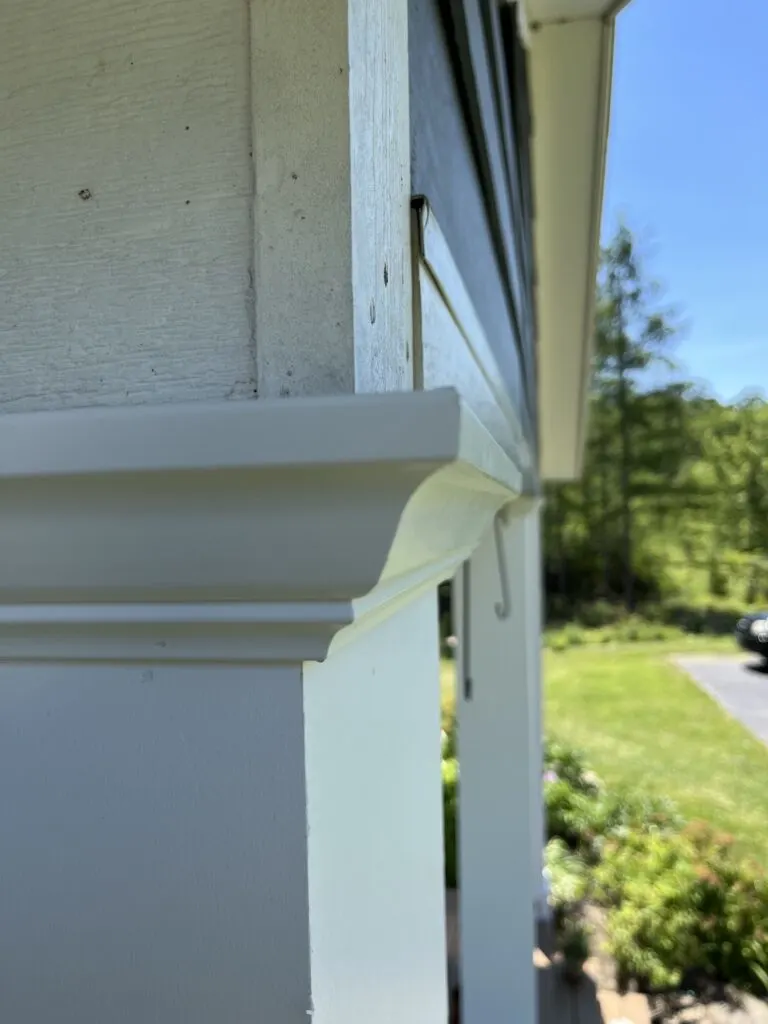
Adding crown and base trim to porch column wrapping
Crown molding is hard. Thankfully everything here was pre-cut to the exact size and angle which takes a lot of the pain out.
Not all of it mind you. I still struggled to get it all lined up and the corners nice and tight. Most of that was due to working on sketchy ladder setups though, not the columns themselves.

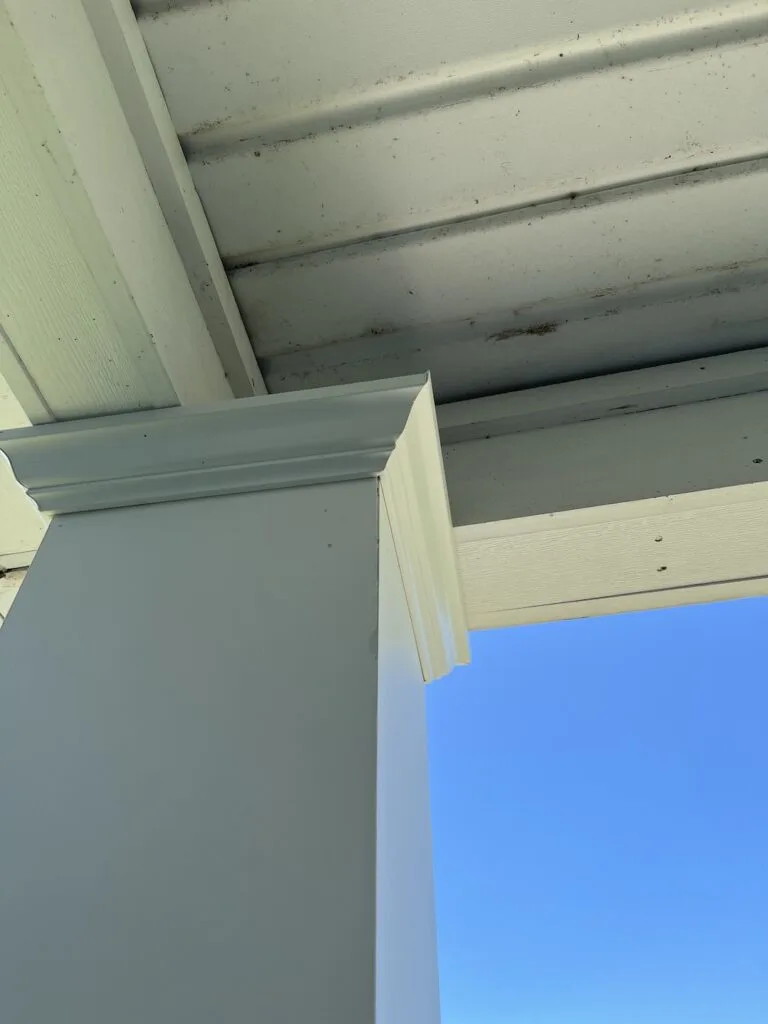

Adding the base trim was much more straightforward. I did have a few columns that needed to be clamped tight to make all the seams disappear and the trim fit. That was thankfully not a big deal and didn’t involve me leaning too far off too small ladders.

Peeling all the tape off the next day was a bit tedious but also very satisfying. There PVC column wrappings didn’t budge thankfully and looked much more substantial.
The last step was to caulk in all the trim seams and nail holes which went very quickly.
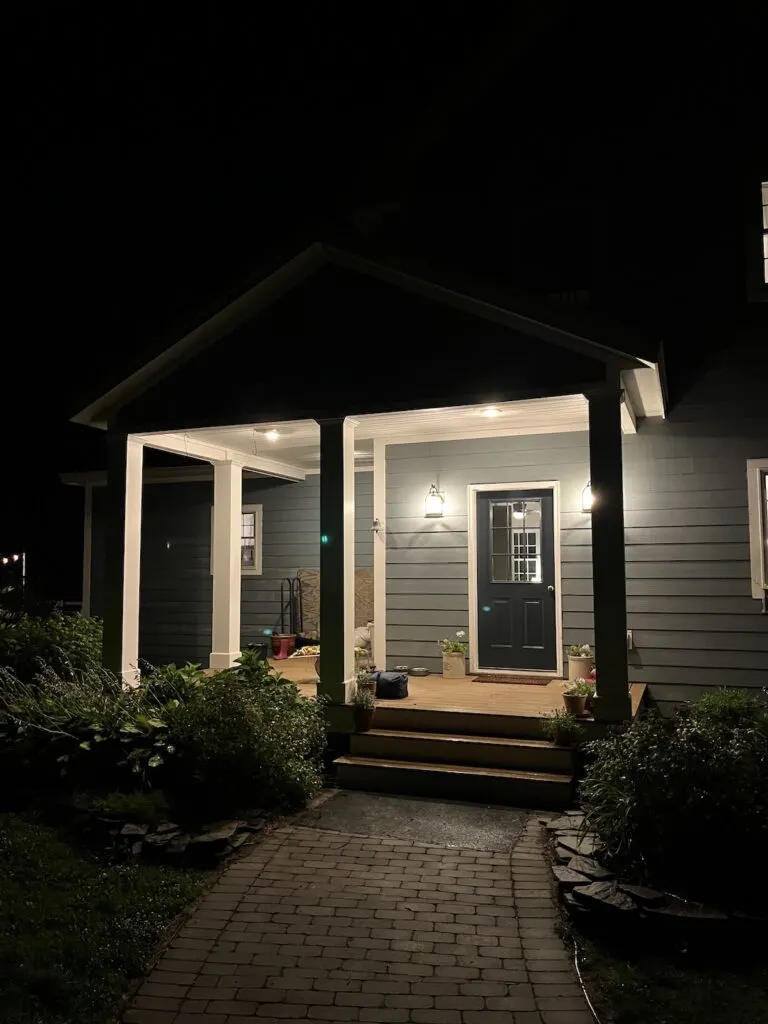
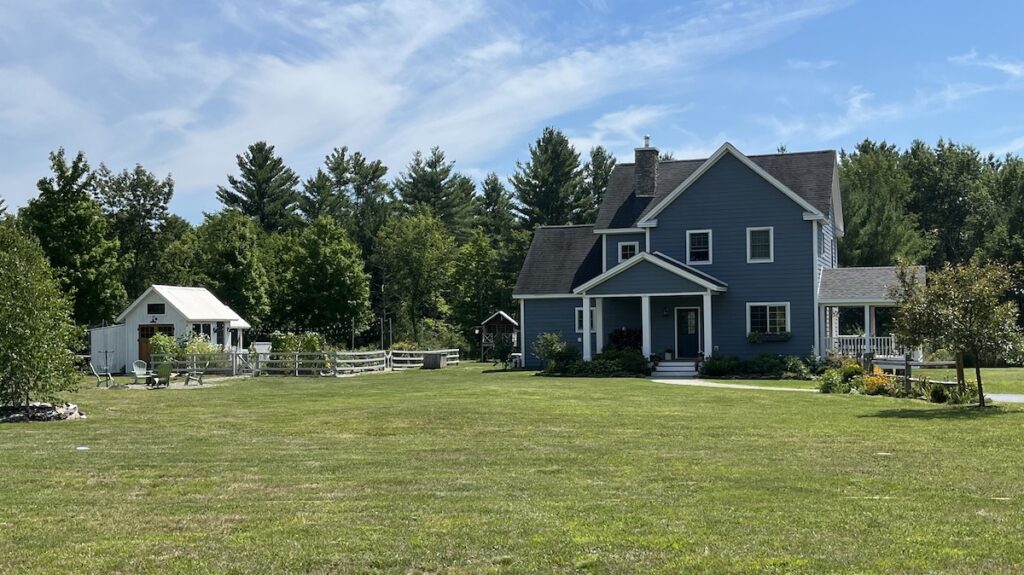
How do the new porch columns look?
It’s not a dramatic difference honestly. The columns even though they are nearly double the width just look very normal with the house. To me it’s more about making the house look like it always should have. They do look more like traditional farmhouse porch columns to me though, so goal accomplished.
The addition of the covered portion of the side deck also balances that side of the house in a way it really needed. I knew it felt too ‘open’ before but until we talked through the deck plans I didn’t know what to do about it. Again that feels like the house should have always looked that way.
And I say that as the person who designed the house. Heh.

The porch columns in close up look a bit more substantial. And the crown and base trim now looks much more intentional than the oversized clunky blocks that were there before.