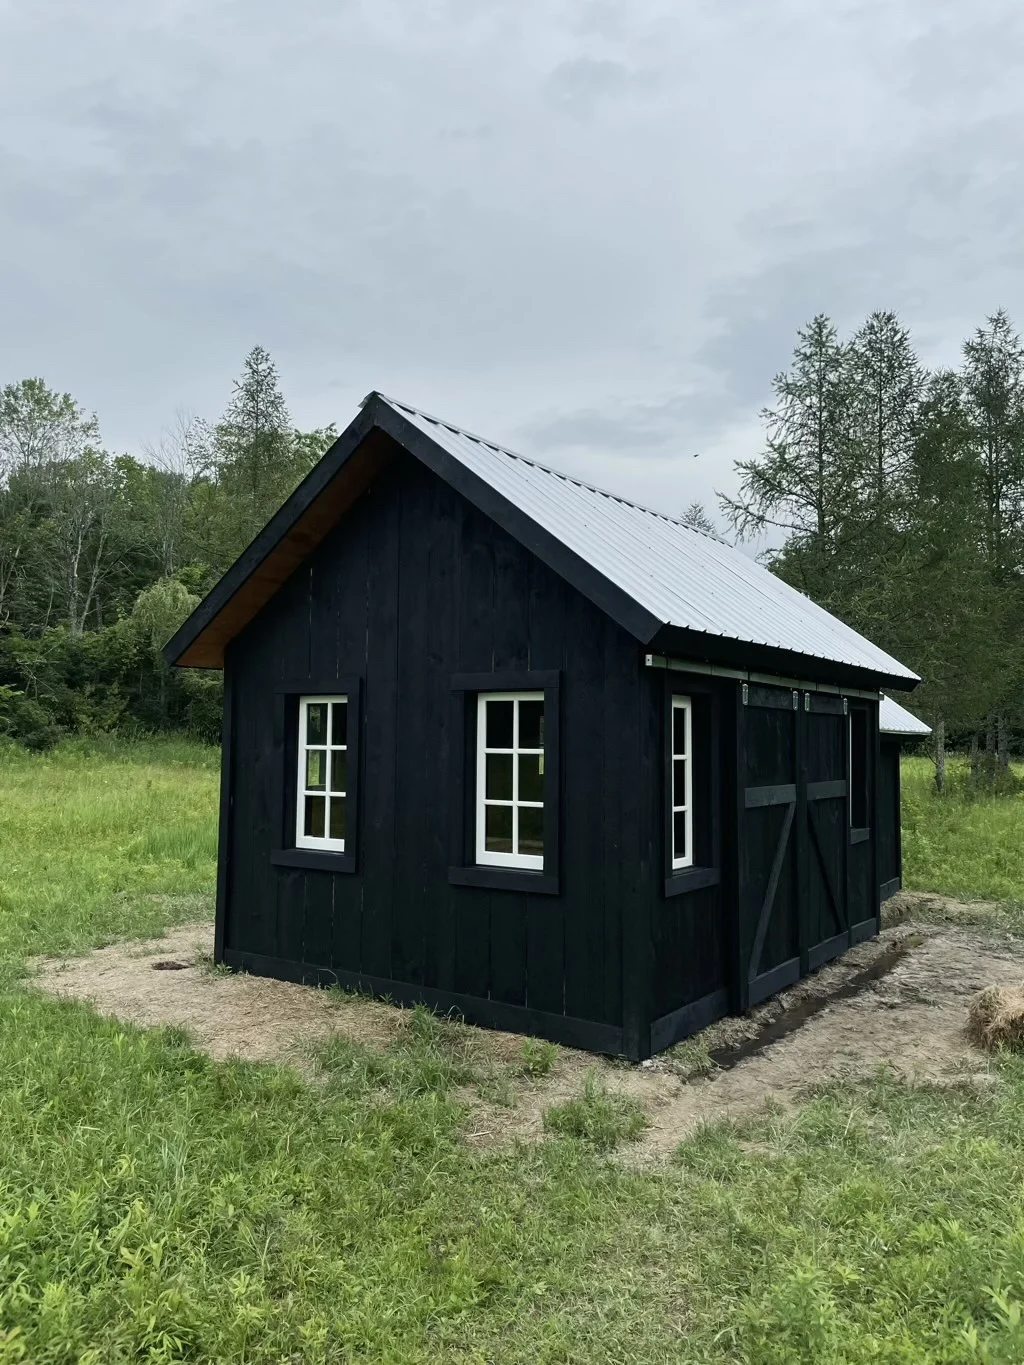
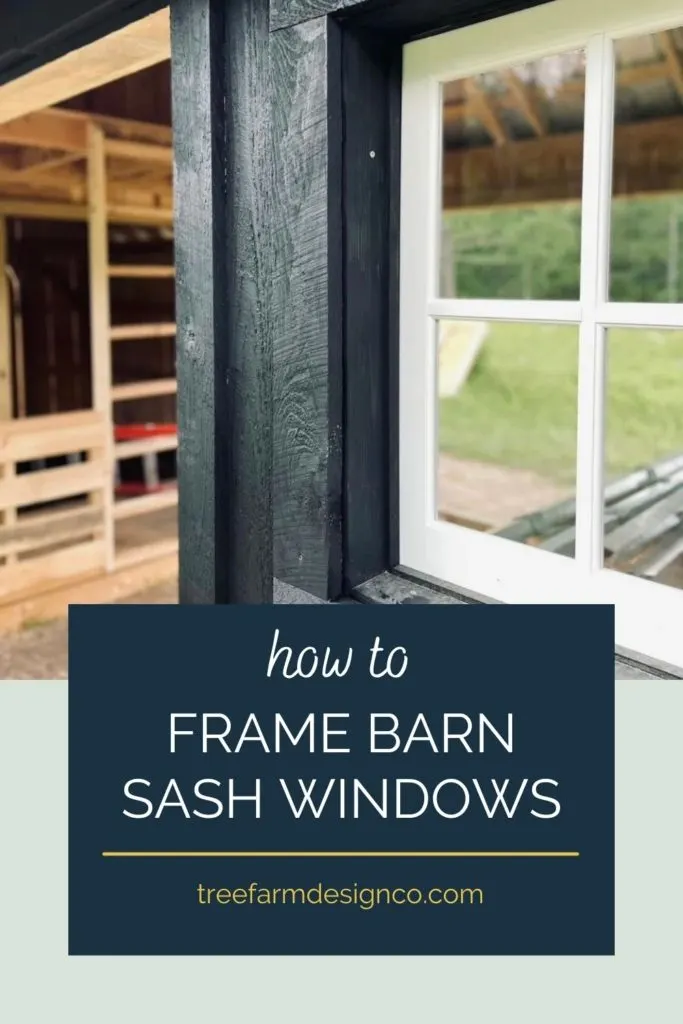
Figuring out how to frame barn windows that open really shouldn’t have been this hard.
I built an entire shed!
But sometime during the planning process, I realized I didn’t really have a plan for how to install the windows. We could have bought pre-hung windows but I didn’t really want to blow $100+ on a basic window that didn’t even fit the style I wanted.
Also, our sheep were getting a fancy enough shed without insulated windows. We also skipped the waterslide, that was just a bad idea all around. I mean yes, I did build a round top hay door, but that was for me, not the sheep.
What are barn sash windows?
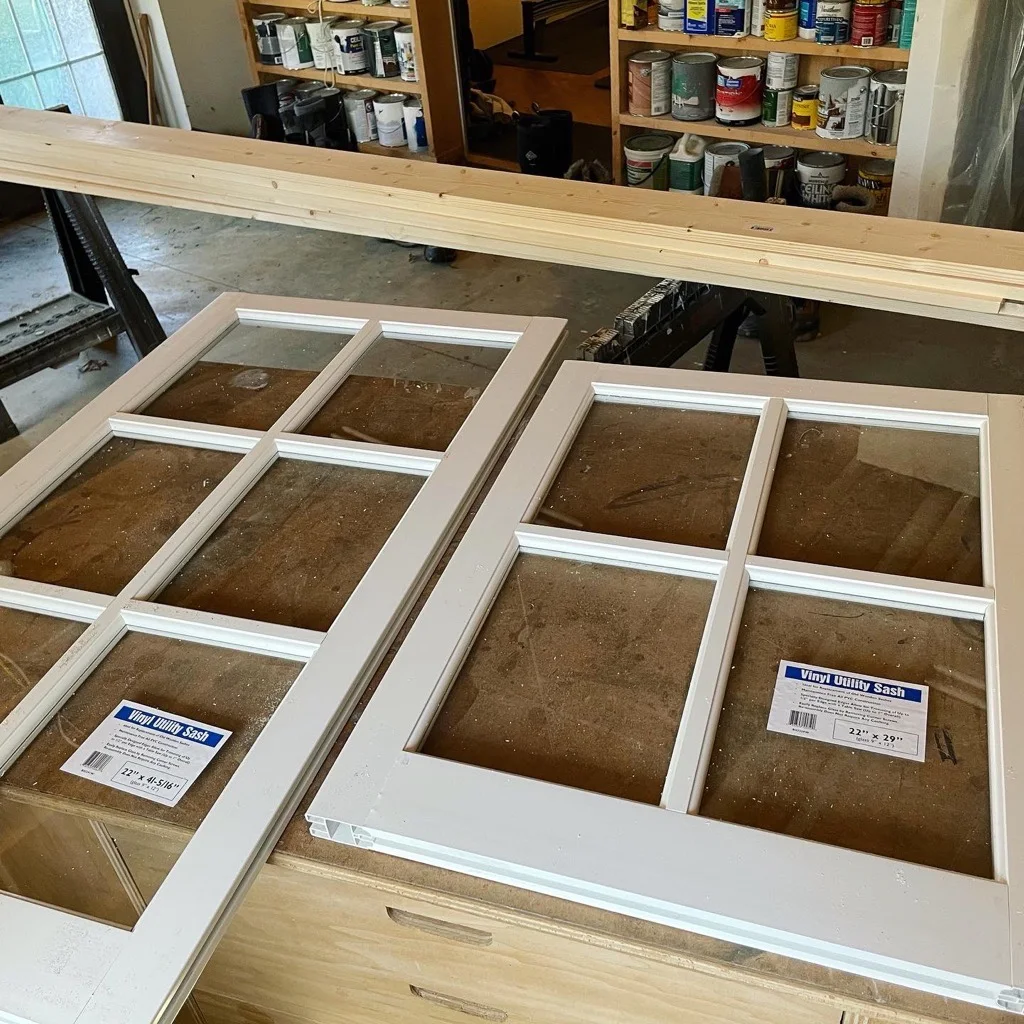
A sash window is really just an single window pane (or set of panes) in a frame that you can mount usually in a fixed frame or on hinges. Double hung windows are just two window sashes where one slides up in front of the other. Casement windows are window sashes that swing out. A sash window however is literally just the sash part that then needs to be framed or hung.
Why use sash barn windows?
Well according to the labels I apparently used Vinyl Utility Stash windows, but I’ve always heard them referred to as barn sash windows.
The point of using these is that they are much cheaper.
A barn sash window is between $25 and $40, and a hung window is much pricier. They are usually available in wood or white vinyl. I plan to use some of the wood sash windows for a future project so I can stain or paint them. I bought my windows through Menards because my local box stores are incredibly unhelpful.
How do you frame barn windows?
You build a box. Now I know, if it’s really that simple why on earth would I bother writing about it? Well, it kind of is that simple but there’s a few things to it.
One you want to build a box that has about 1/4″ clearance on all sides of the sash, and use some trim to make a stop all the way around the frame on the non-opening side. I attached my hinges directly to the frame and screwed into the window.
Because the windows are hollow vinyl with open channels, I first glued in some wood to make them sturdy enough on the hinge side. 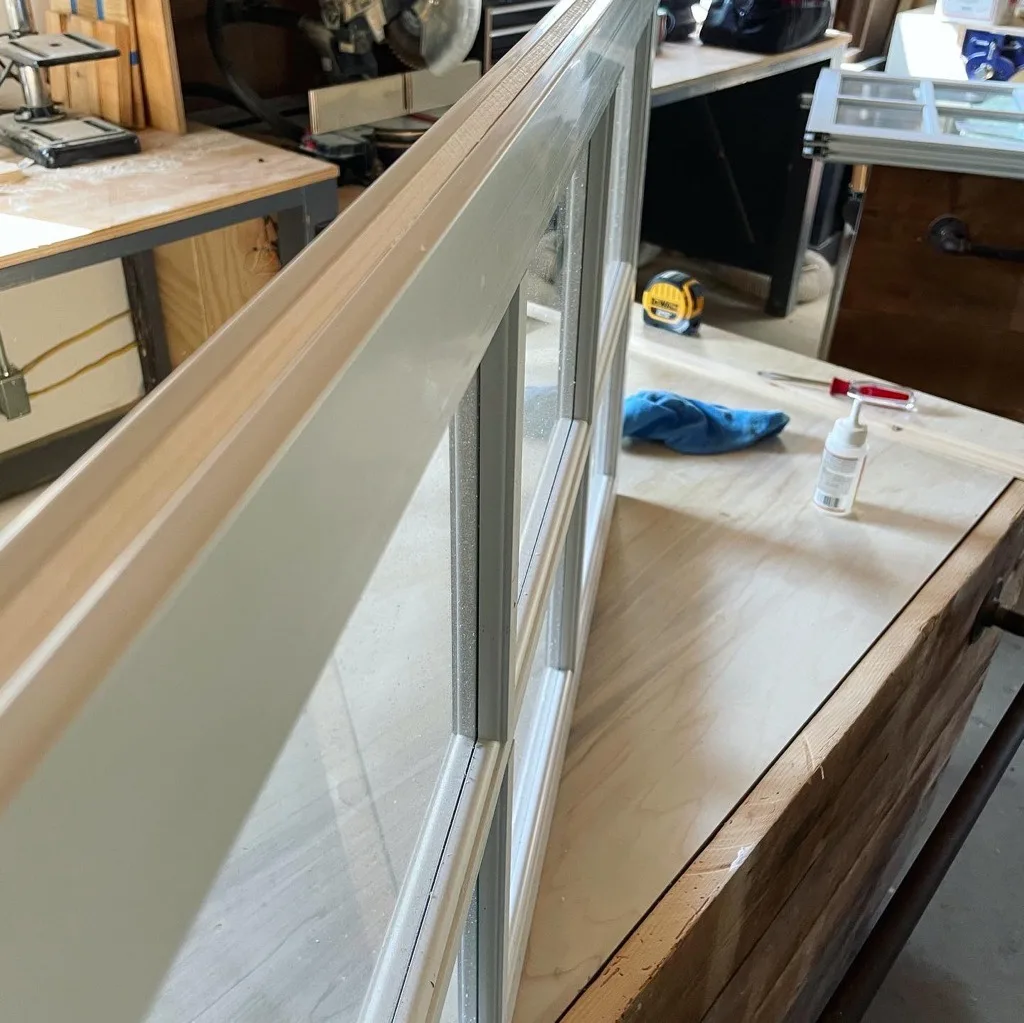
The boxes here have the stop trim already added. In order to get the spacing right, I fit the box over the window sash and then attached the stop so that the sash was flush with the outside of the frame. This is key for making sure that the window doesn’t swing in too far or have an uneven stop, which will make it rattle or possibly even break.
The width of the frame depends on the depth of your walls, ideally it will be the thickness of your siding plus your wall depth, mine around about 5″. I ripped 1/2″ off of 1×6 material and used that for my stop material. I used some 2 1/2″ decking screws to assemble the frames and then glued the stop material in and fixed it with some finish nails.
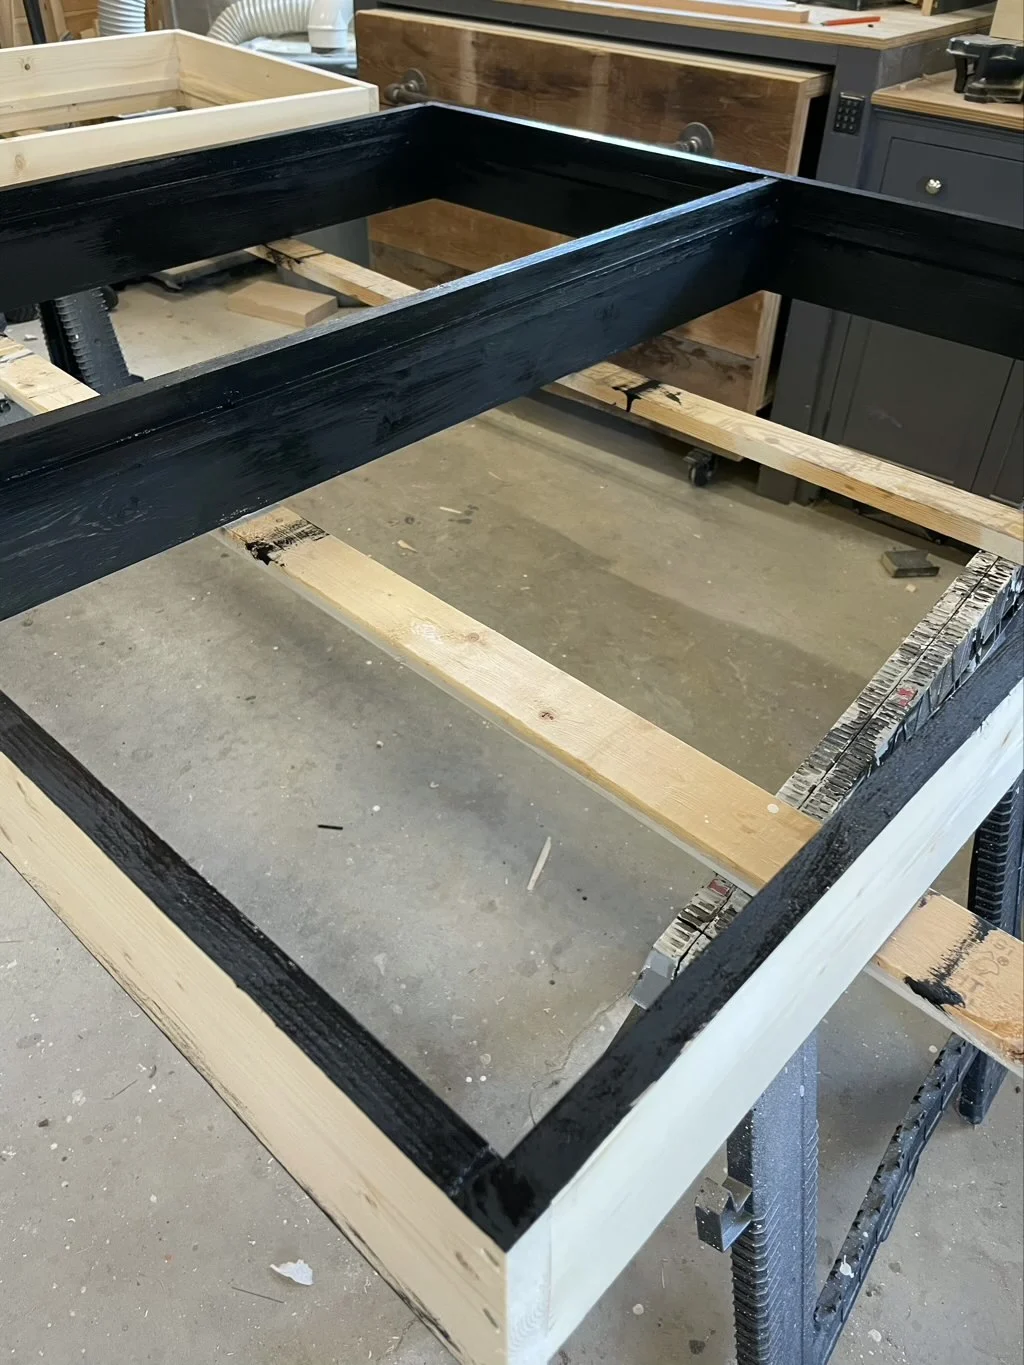
And yes, if you are going to stain your shed, I highly recommend pre-staining your window frames to match. It’s a lot easier to stain these ahead of time with no windows in them.
What about the framing?
The framing, as in the structure of the shed or barn, not the frame that we just built, we covered that, scroll up. So for the framing you normally would add 2″ to the window frame to get your rough opening so that you can shim and insulate and do a lot of other fancy house things. This is a barn. We don’t do that. I did add 1/2″ to the measurement so that I could make some minor adjustments, but the key is to frame the rough opening and make sure that the siding can be supported right up to opening.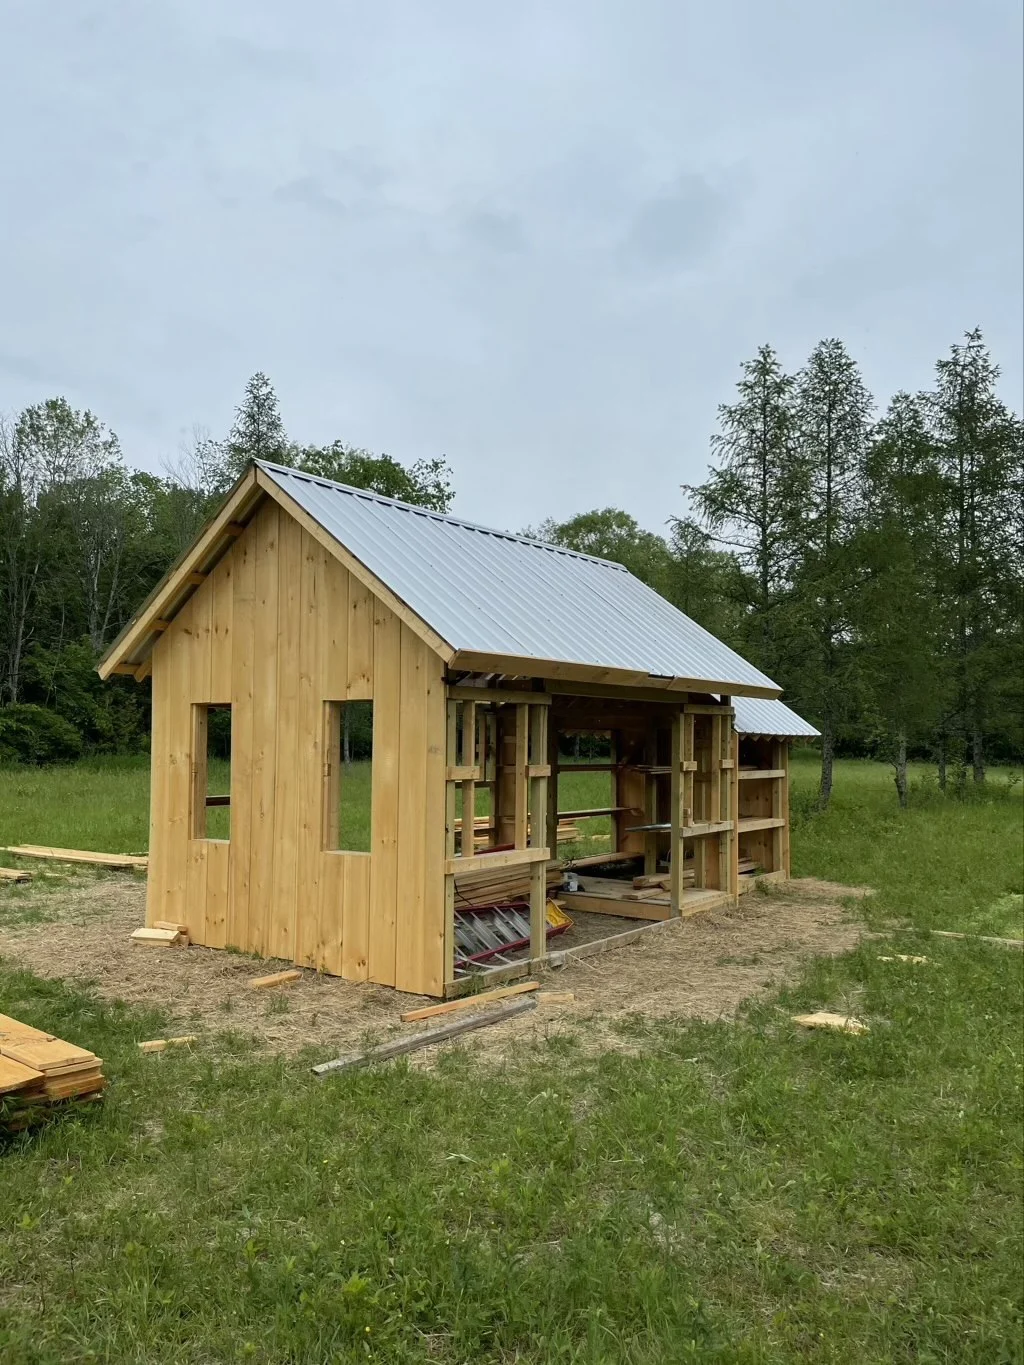
I ended up adding vertical framing around the rough openings you see here on the broad side of the shed. The horizontal members were probably sufficient but I didn’t want to there to be too much flex. 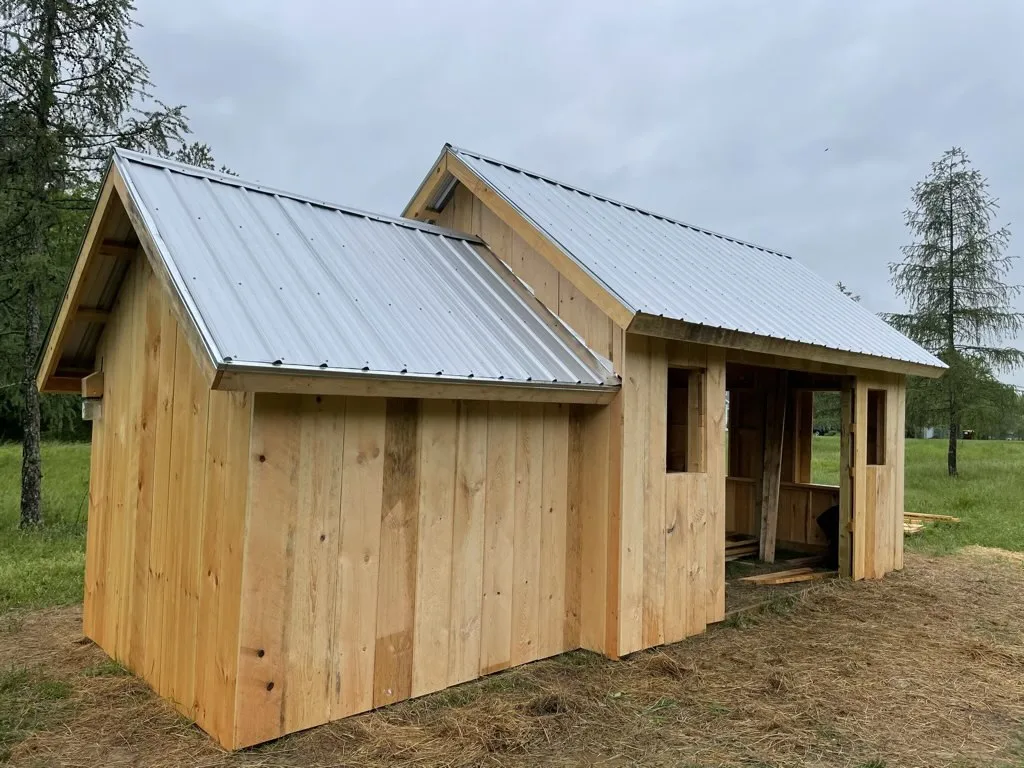
How do you trim around the frame?
Okay, so now that you have a window sash in a frame and a rough opening, what do you do with it? I know that sounds like a trick question, I promise it’s not. The key here is that you need to make sure that the frame sits flush with the siding. The easiest way for that to happen is to first side the shed and cut out any overlapping siding from the rough opening side. There is of course a gap between the siding and the window frame, but that is where the trim comes in.
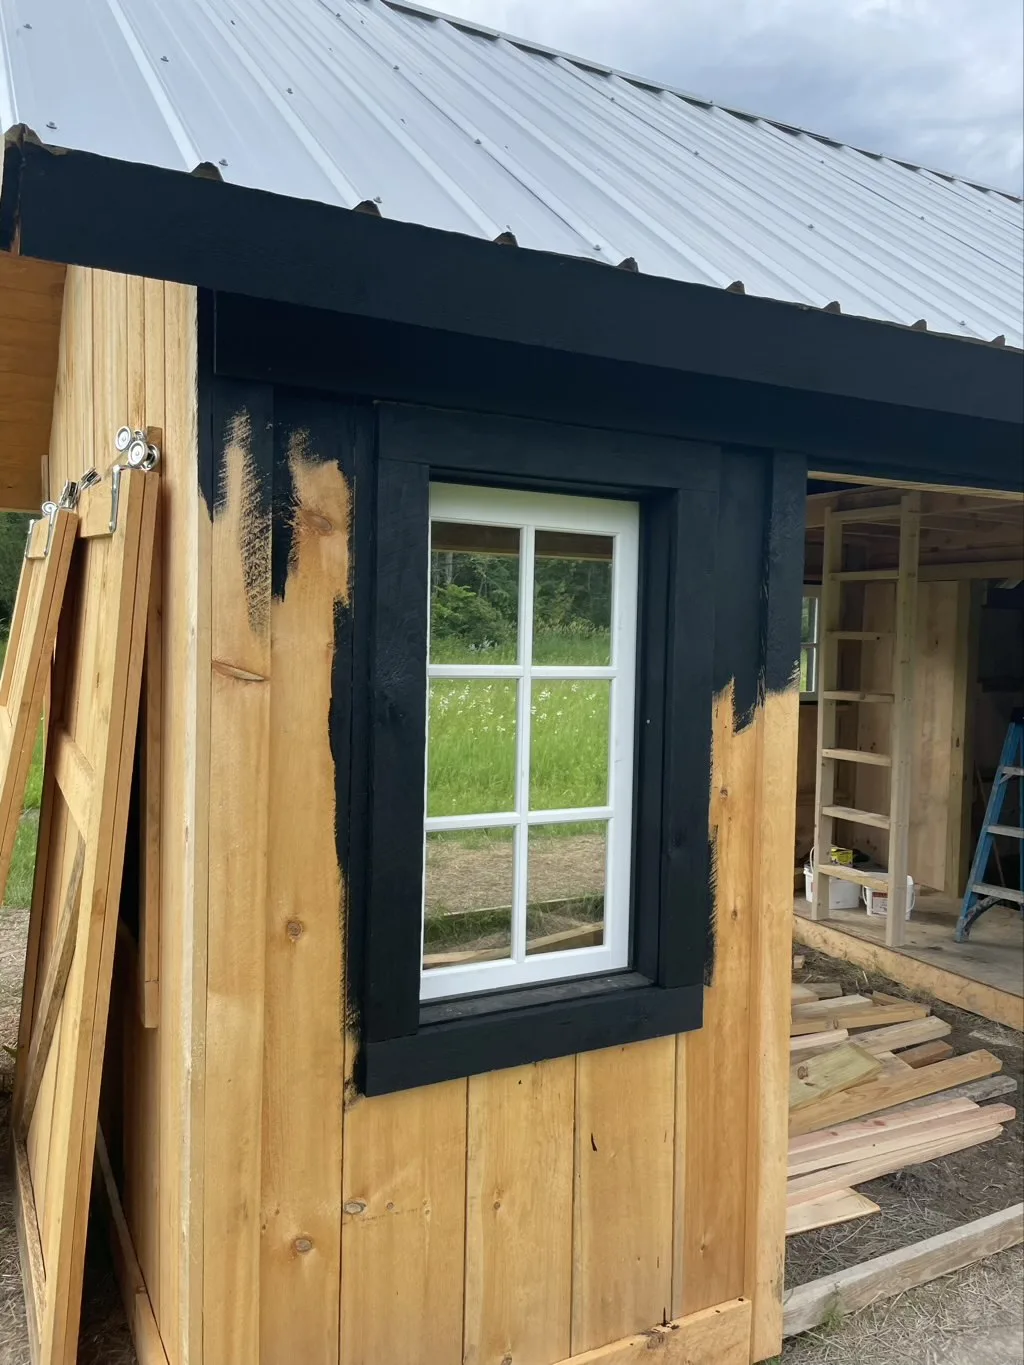
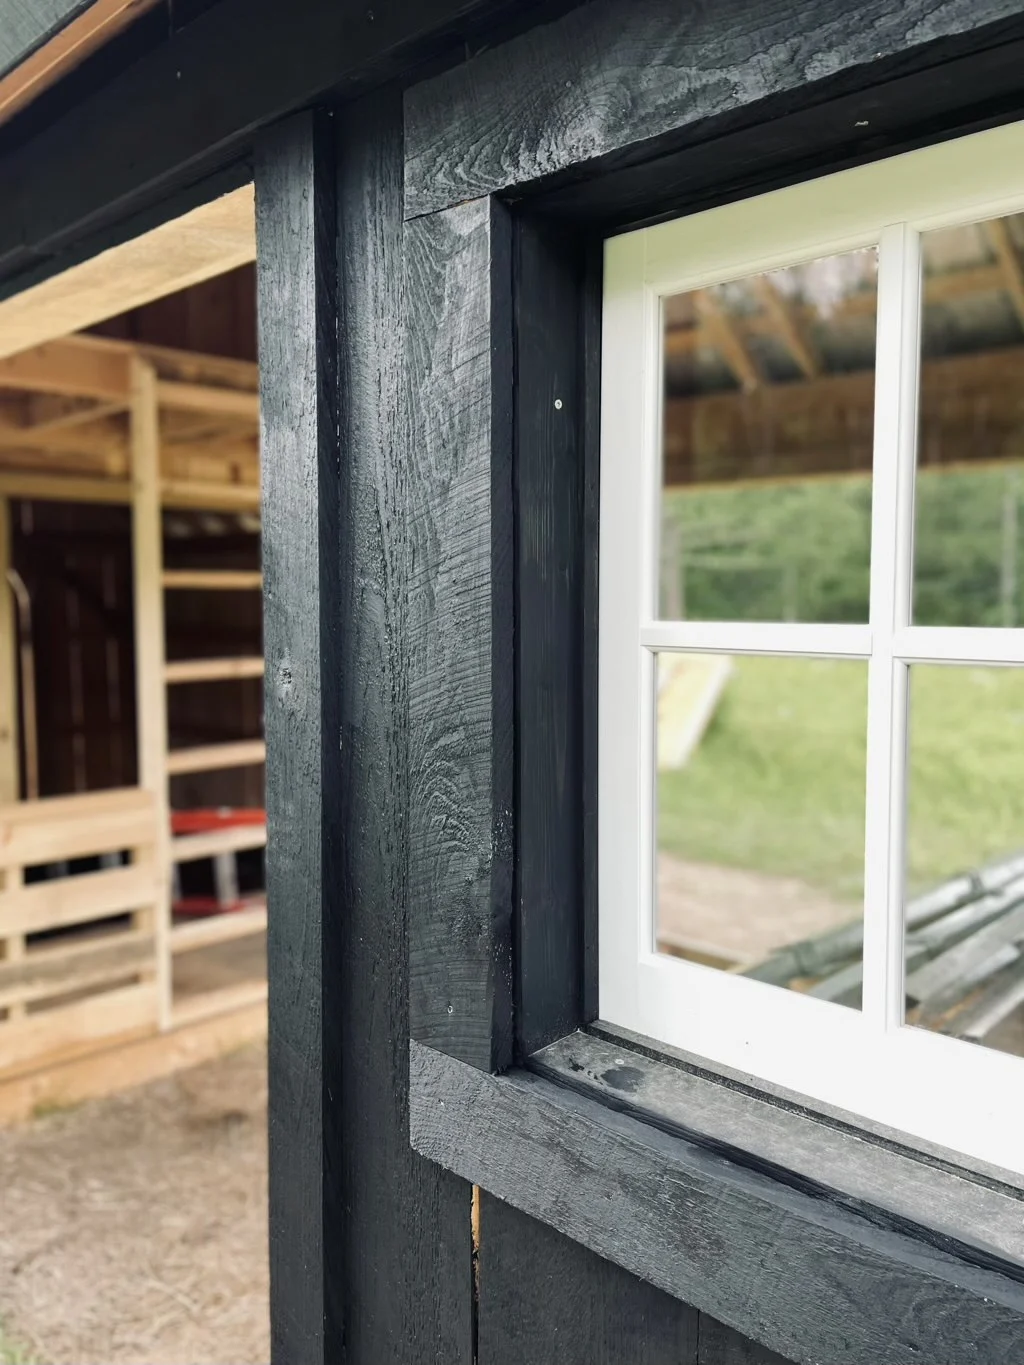
You can see here the simple screws we used through the frame to attach it to the rough opening. I later touched those up with stain to help make them disappear (along with some of the cracks that needed touch ups).
How do you keep barn windows shut?
There are lots of options for how to do this. You can buy simple sash locks. You can use hook and latch or slide bolts. I opted for the super cheap and lazy version which is a block of wood on the frame that you can spin to open the window or spin to keep it closed. They are not fully functional on all windows because I did exactly 0 planning. I’m going to replace them with proper sash locks now that the windows are installed. 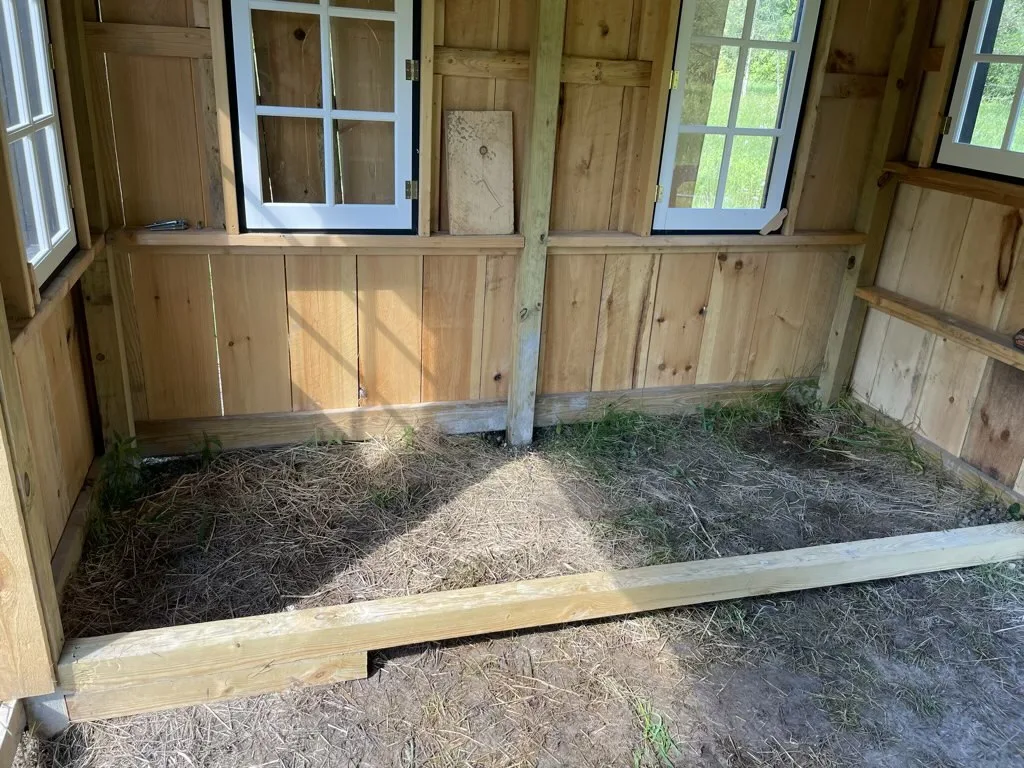
Overall I am extremely happy with the windows for the price I paid for them. The white pops so well against the black and they seem plenty sturdy. With the vinyl I don’t need to worry about rot, fading or paint or stain flaking issues. I plan to use wooden frames for my next project. I want to reverse the color scheme used here for the next one, but will likely do the same plan for the framing.
Hope this was helpful to anyone else over thinking this issue. 