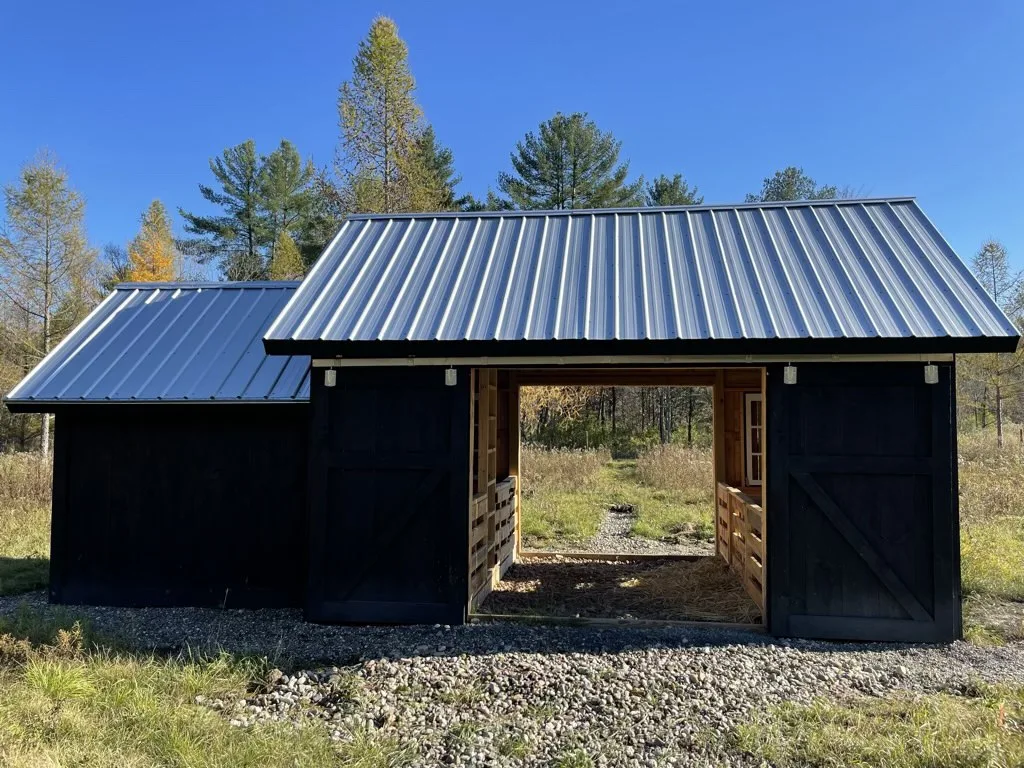
Our shed was muddy indoor sheep pond about halfway through building it. We desperately needed shed drainage, so I stopped building and shifted gears.
We have clay. And not just a mix of clay but over 500′ feet straight down there is nothing but miserable blue clay. It means that there is almost 0 natural drainage in the field.
When we put our driveway in the first rain turned what was to be our front yard into a very shallow, very large pond. So going into the shed project I was aware that water was going to be an issue. I just maybe underestimated how much of an issue.
Here’s how I added shed drainage.
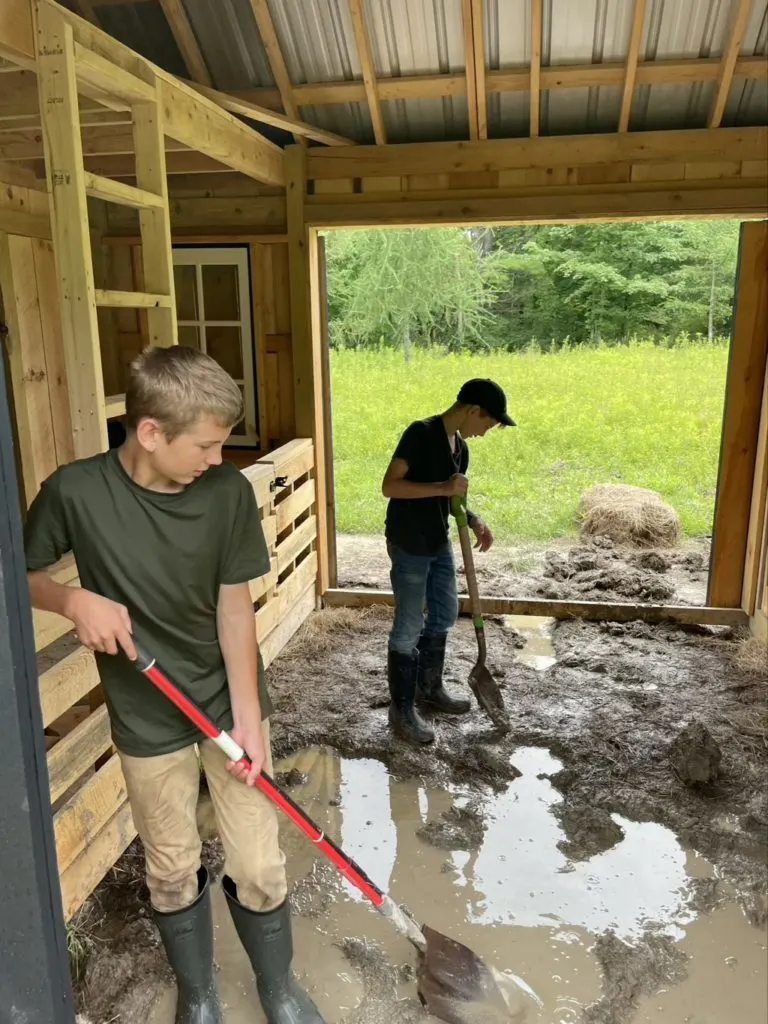
The ground around the shed doesn’t have anywhere to drain to. The ground inside the shed wasn’t draining anywhere. The rain falling off the roof (in what has been the rainiest year on record) had no where to go. So what was there to do? Well, really the same solution as the issue with our front yard, add french drains.
What are french drains?
A french drain is simply a trench filled with stone and a perforated pipe that provides a path for water to go where you want. The point is that it allows the water an easy channel to run in to where you want it to go. At least in my case away from where you don’t want it.
How did we get the shed drainage to drain?
The first step was to muck out a lot of the wet clay in the center main stall. We knew at this point that having a clay floor at all wasn’t feasible.
I was hoping with the roof it would stay dry enough but it wasn’t even close. So the plan changed to add drainage all the way around the shed, and a french drain that runs under the stalls and out to a dry well.
Wait, what is a Dry Well?
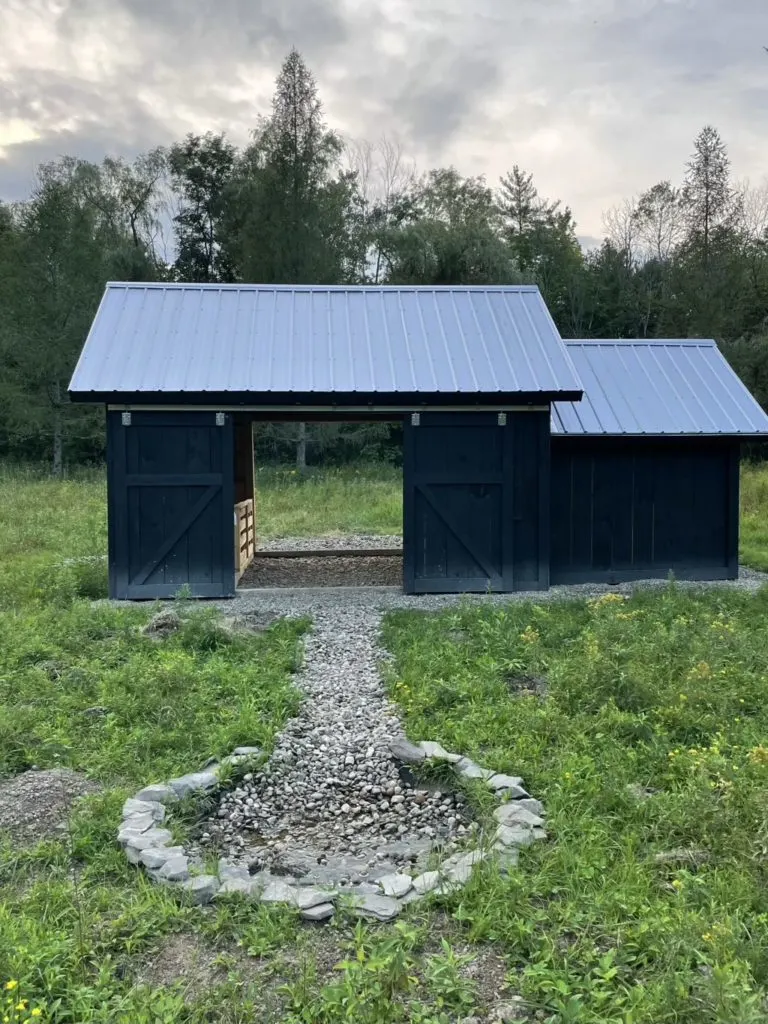
Are you ready for this? It’s a hole in the ground with rocks in it. So fancy. Eventually this is where we ended up with the dry well.
Before we got there though there was a lot of digging in the mud. So much digging. So much mud.
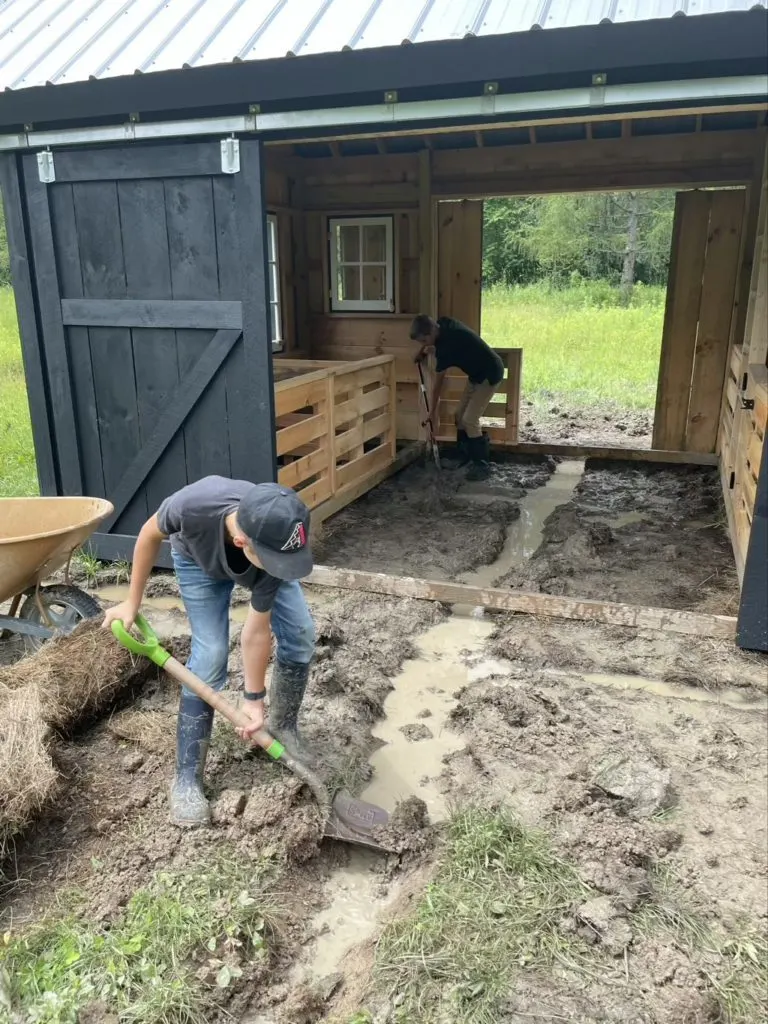
With the main area of the shed lowered to a fairly consistent depth, we added one main trench that connected the drainage around the shed and led out to a dry well, ie a hole.
The pipe we used is a 4″ perforated drainage pipe with a sock filter. So we had to make sure to dig out at least 8-10″ wide and deep trenches. There had to be room for the pipe and stone to stop clay from filling the pipe and defeating the whole purpose of it.
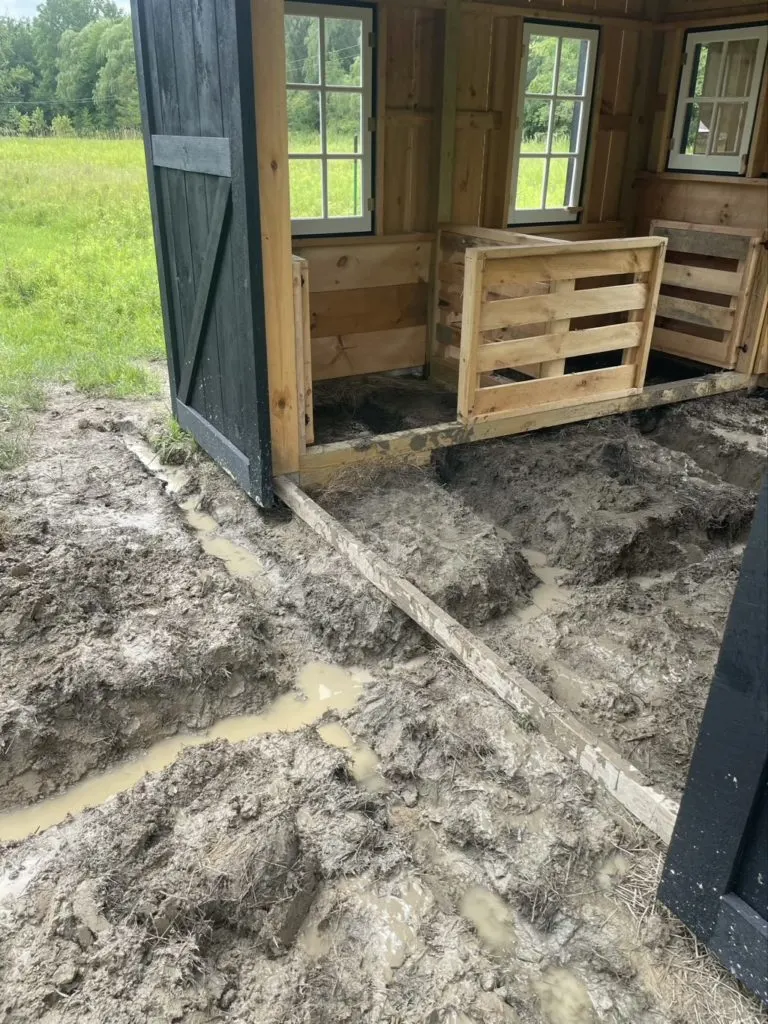
I would like to note I was actually doing a lot of digging here, not just taking photos of the boys digging. They did do a ton of work on this though.
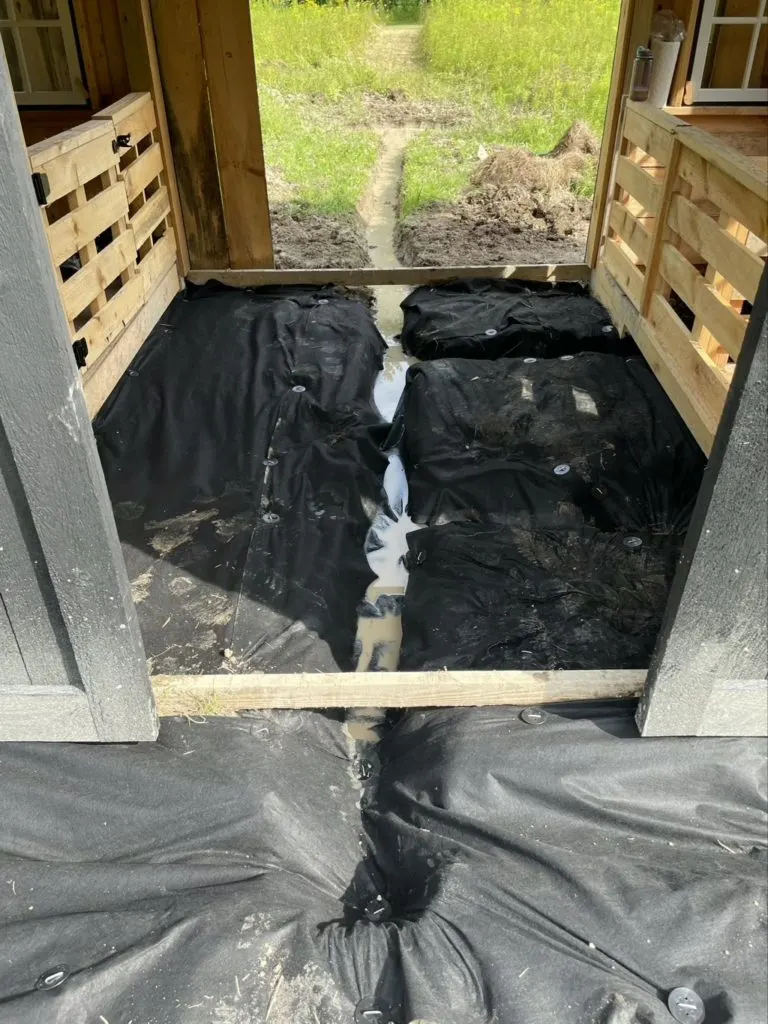
After we had the trenches dug, we laid down geotextile fabric.
What is the difference between Geotextile Fabric and Weed Barrier?
The geotextile fabric is more of a felt like consistency that is meant to withstand more force without tearing. The goal of the barrier is to keep different material layers separated. In this case we are trying to keep the clay and drainage stone from intermingling.
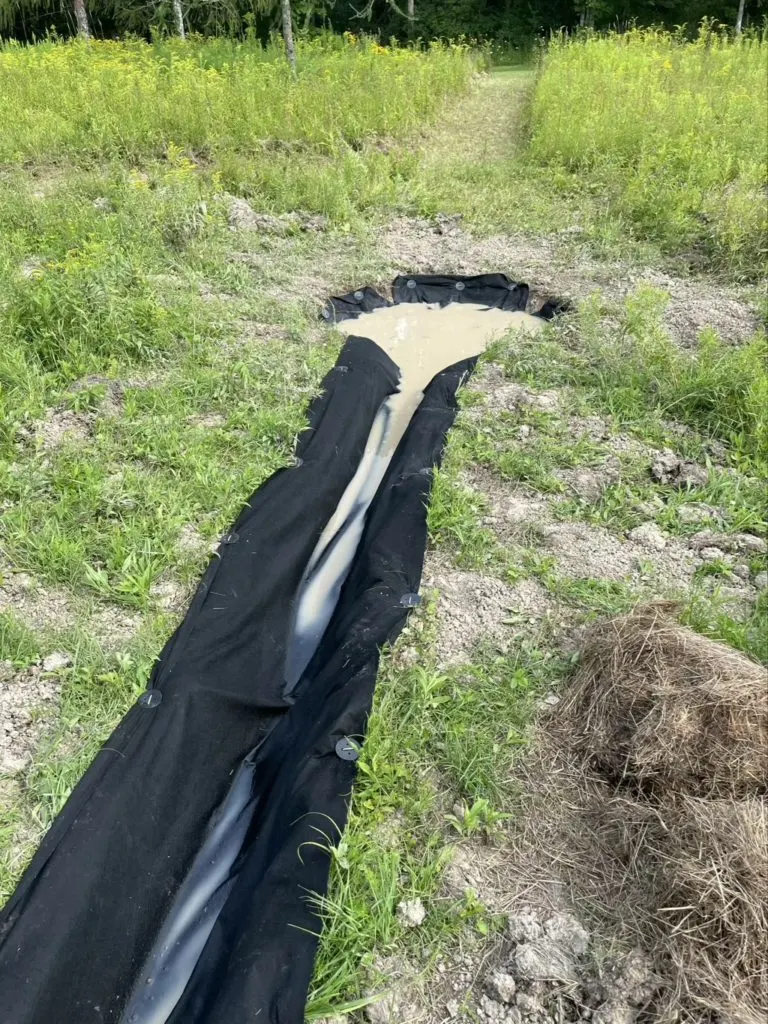
I bought specific pins for the cloth that had these plastic circles that would spread the pins force across a wider surface area. My hope is that there will be less tearing of the fabric and a more even surface over all.
Having the cloth down we then added the perforated pipe (with sock!) which I sadly failed to take picture of. We used Y fittings to connect the two side branches under the stalls to the main pipe. I put a closed cap on the far end and a drainage cap on the end that opens into the dry well.
What kind of stone did we use for shed drainage?
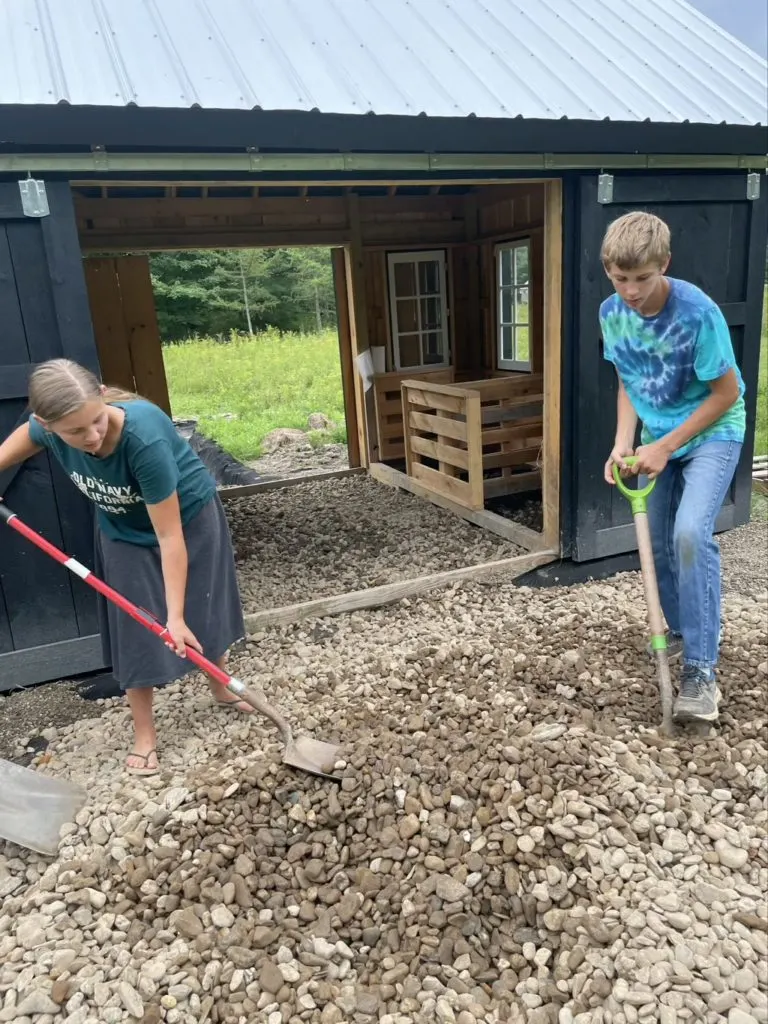
We had gotten a load of pea stone for the firepit project (more on that later) and then we were able to get a load of 2″ stone out to the field. The dump truck got stuck and I had to pull it out with my Sequoia, much to the concern of the young teenage kid who was driving it. I had to talk him into doing it and he was pretty sure he was going to lose his job if he had to call his boss to get him out. Thankfully we got it out, but it was very, very close.
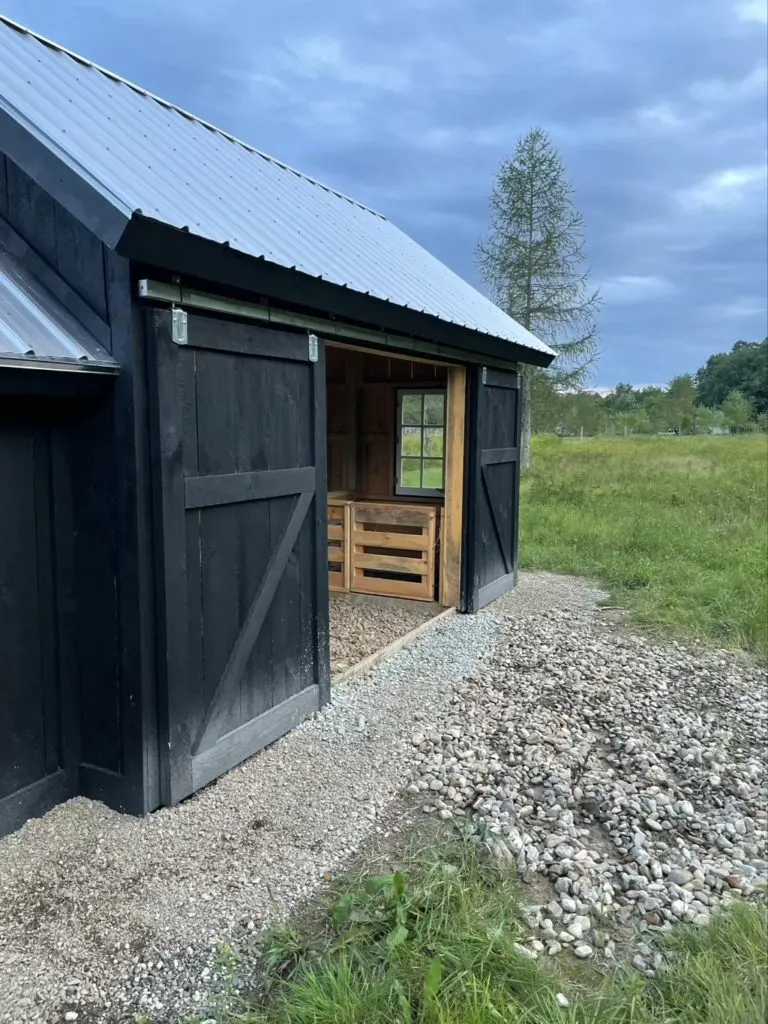
The pea stone we used for the drainage ditches around. The larger stone filled the main area and the stalls, covering the drainage pipe. We thankfully had nearly enough stone, I had to fill in maybe two bags of pea stone in one corner.
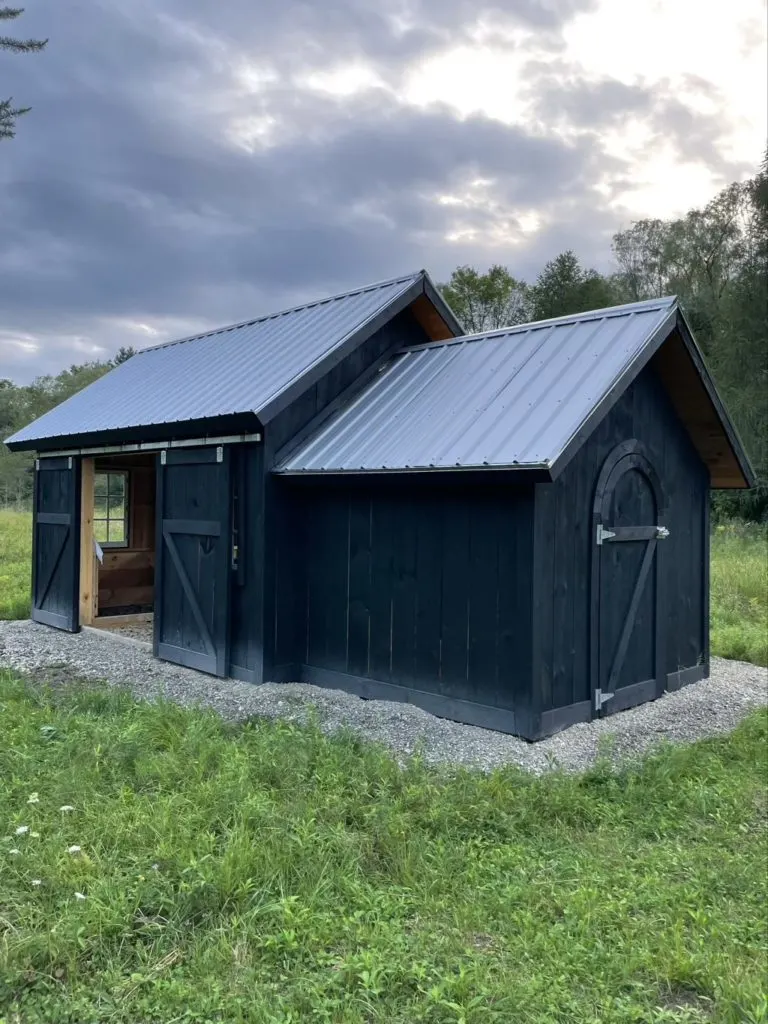
The rain against the stone actually kicks up a bit of dirt and dust that gives that gray tinge to the bottom of the shed. Maybe I’ll eventually wash that off, but I keep telling myself it’s a sheep shed and it will always be dirty. I will probably wash it. I also like how this angle shows off the round top door.
