I’m not much of a baker and pie crust, like most even moderately complex baking things, intimidates me. So when fall rolls around and the season demands a pumpkin chiffon pie, I take the easy way out and make an oil pie crust.

The benefit of the oil pie crust is that it’s dead simple. There is no worrying about butter melting on you or not getting the right folded layers. You don’t have to roll it into perfectly shaped anything.
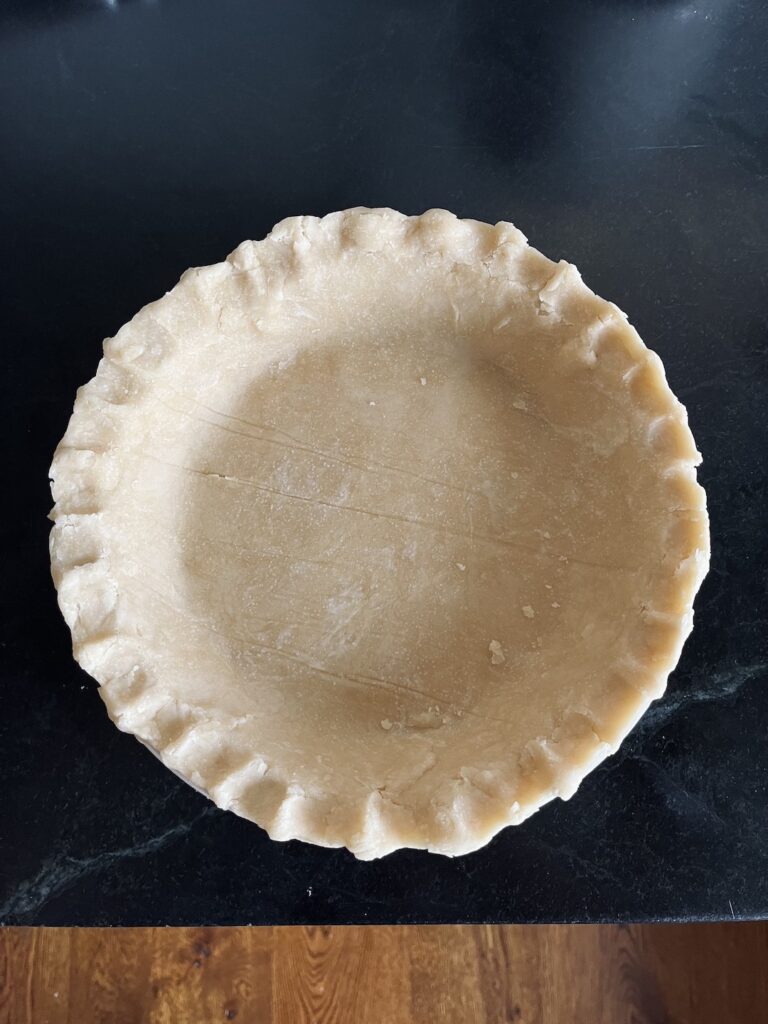
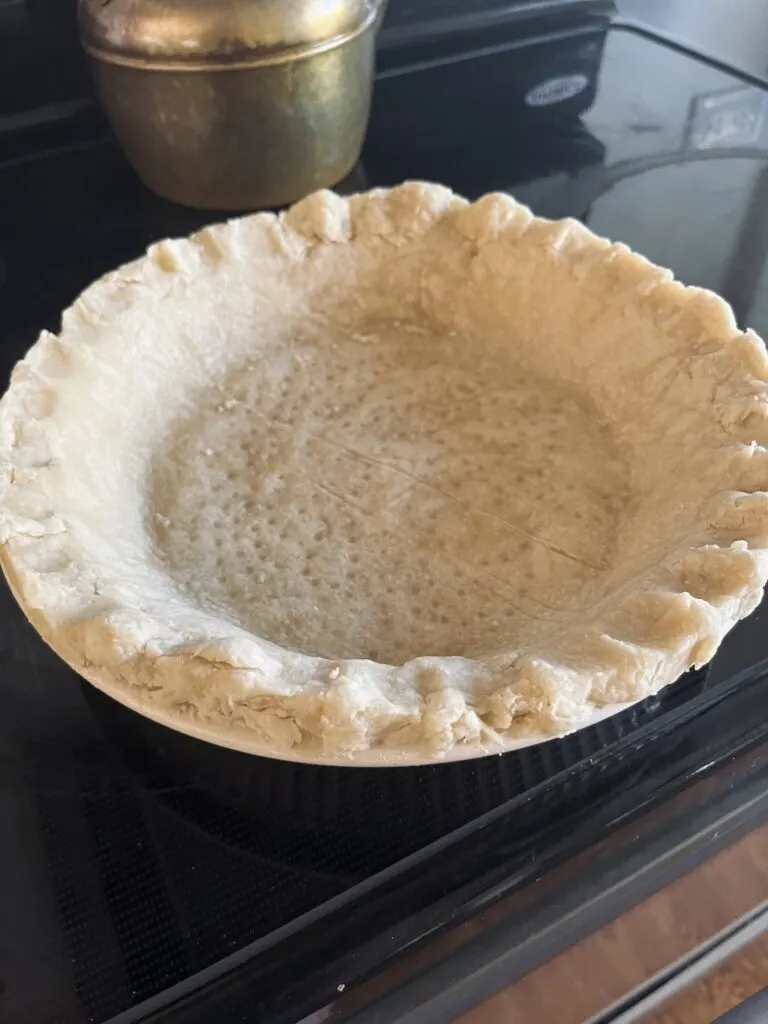
And we can all agree that the rough look is part of a purposeful rustic charm.
I’ll get to it later but the key to that imperfect wonky crimp are thick stubby fingers and only making a pie once a year. Yes, I’m giving away all my secrets here.
What is an oil pie crust?
It’s a pie crust. Made with oil. More specifically instead of using butter or shortening as the binder, this recipe uses oil to keep the dry ingredients together.
The benefit of using things other than oil is that you can get a flakier, more delicate pie crust. An oil based crust is not going be mistaken for dainty.
That thickness is one of the reasons it works well in my mom’s pumpkin chiffon pie recipe.

Oil Pie Crust Ingredients & Tools
- Flour
- Neutral oil (like canola)
- Salt
- Sugar (optional)
- Baking powder (optional)
- Wax or parchment paper
- Pie dish
- Rolling pin
Making an Oil Pie Crust
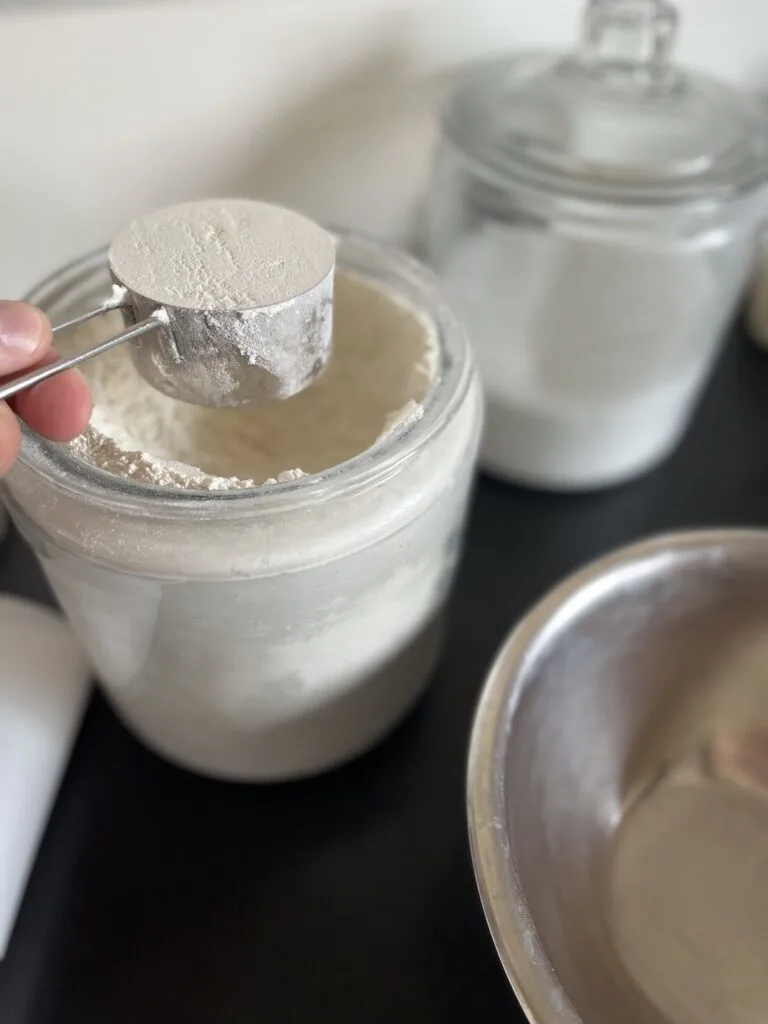
Start by mixing your dry ingredients in a bowl with a fork or by hand.
The sugar is optional and probably only makes sense for dessert pies. For pot pies, I would probably leave it out but you do you.
The baking powder helps to give the pie a more appealing color. We’ll see mine later but it’s a little too white and pasty looking. I’ve also used an egg wash to get a more attractive golden color.
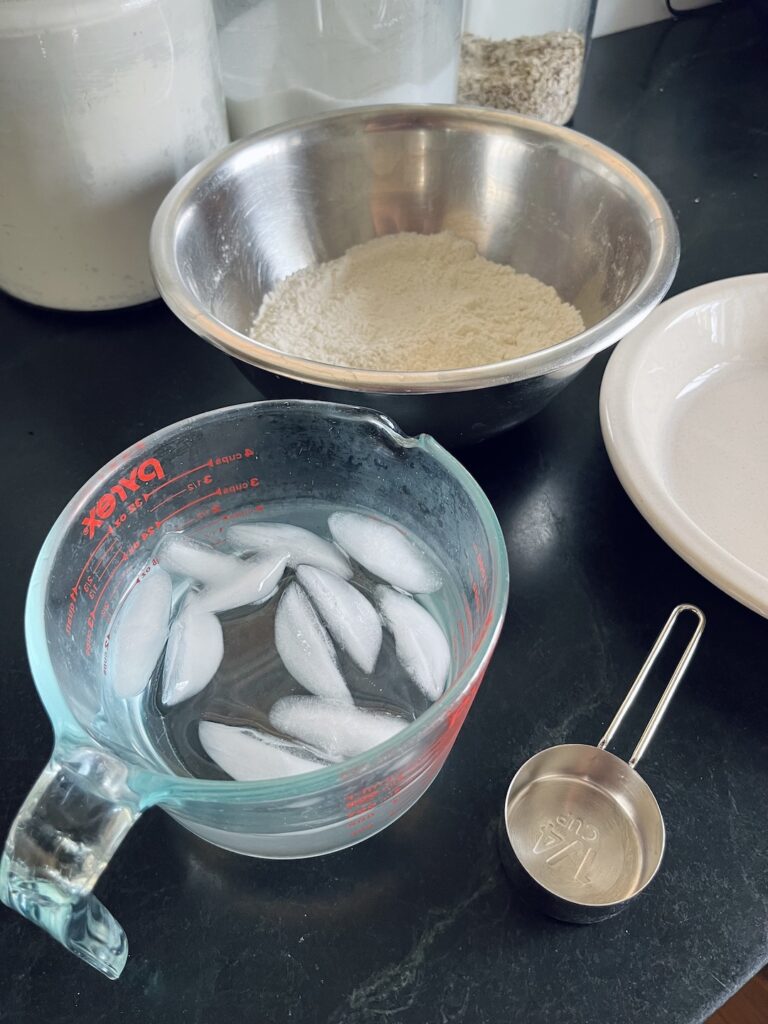

The use of ice cold water here isn’t quite as important as in a butter based crust, but it’s still a good idea to avoid sticky dough.
To get it as cold as possible I fill up a larger container of ice water and then scoop out the amount of water needed, avoiding the ice cubes.

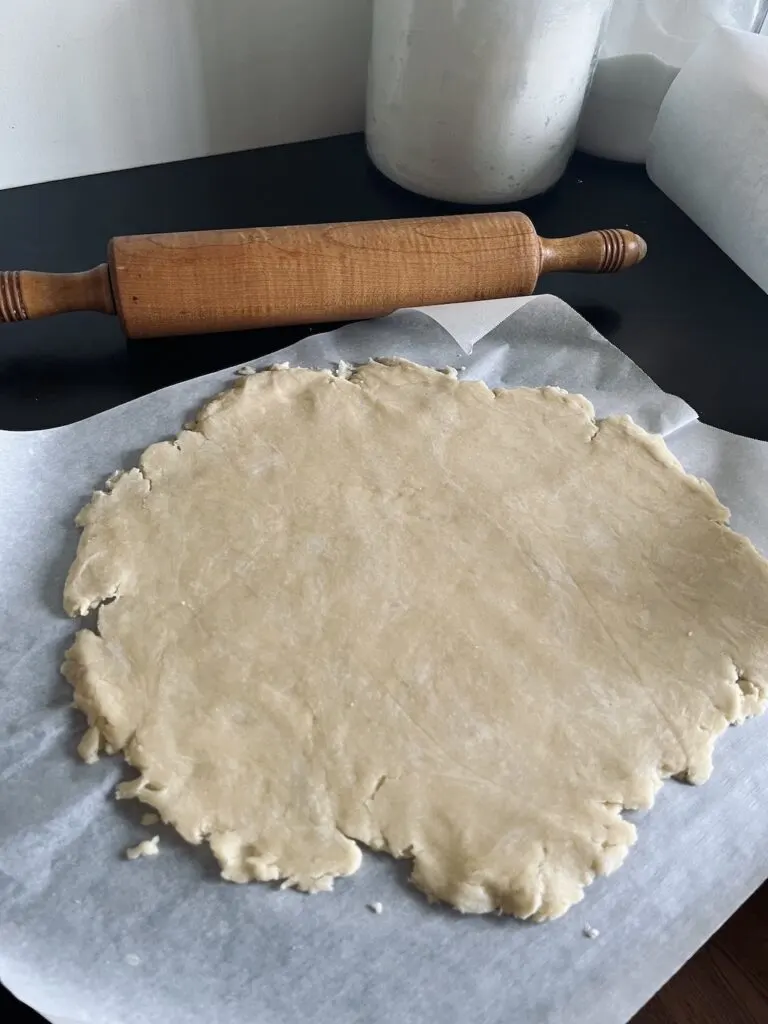
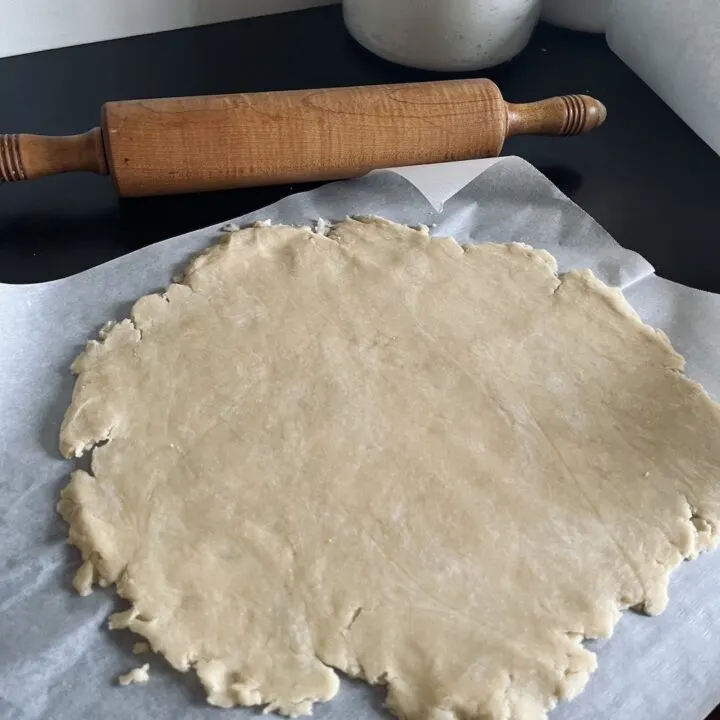
Rolling Out an Oil Pie Crust
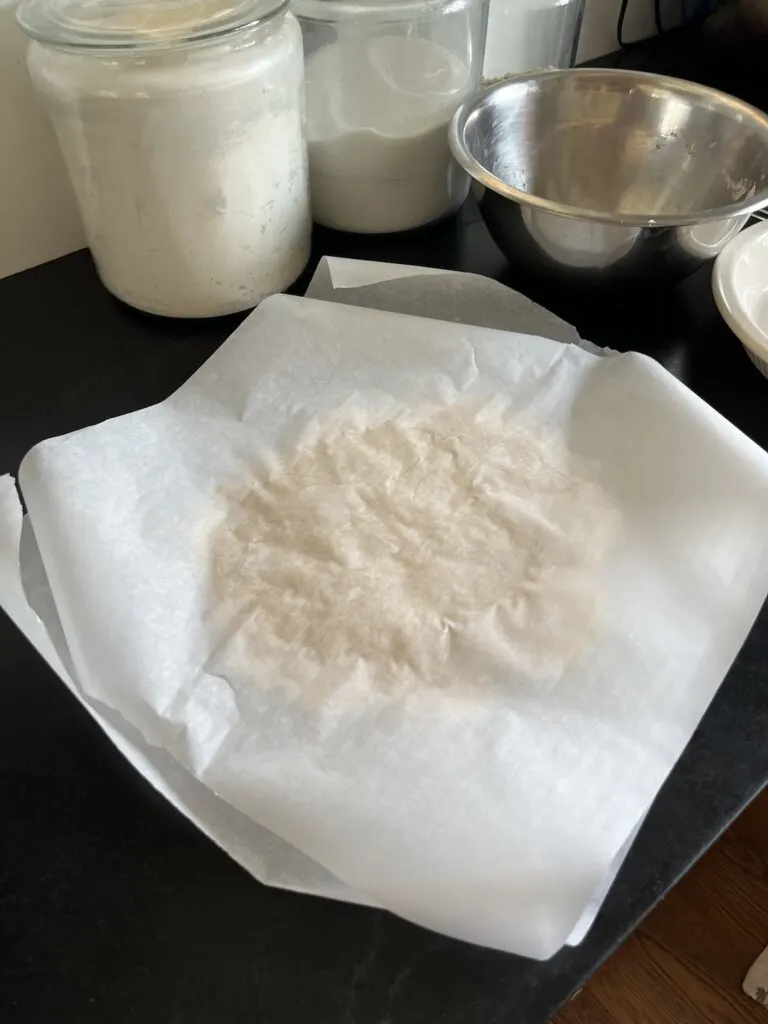
The cleanest way to roll out this dough without adding additional flour that will mess with the taste and baking is to sandwich it between two sheets of wax paper. I used parchment paper in this instance and it worked out fine.
The goal for rolling the dough out is to get an even thickness of roughly 3/16″. My wife has informed me that no one will care about the 1/16″ difference and I should just say 1/4″.
Regardless, the point is to have a crust that will cover the entirety of a 9″ pan including the top and be one uniform thickness.

The rough edges of the crust don’t matter so much. Once you get the crust in the pan, you can trim around the edges and use the extra to fill in where needed.
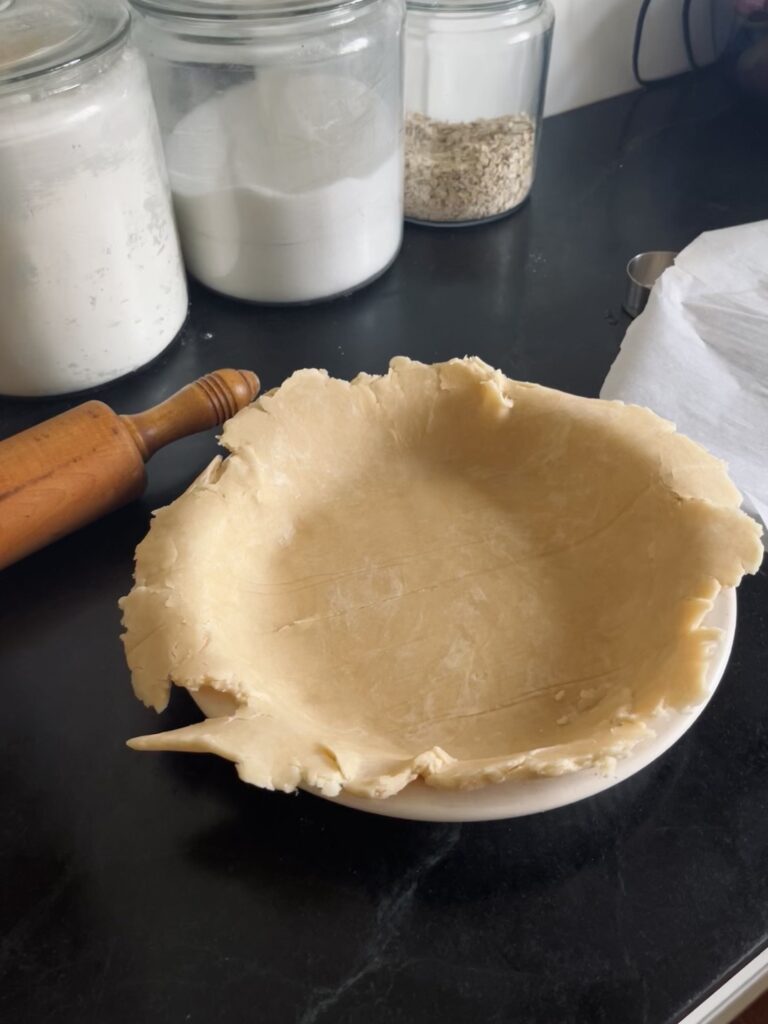
To make the decorative crimping, you just press it between two fingers or thumbs and move around the edge. My “decorative crimping” can use some work so sadly this is not really the place to find pointers on the best way to do that.
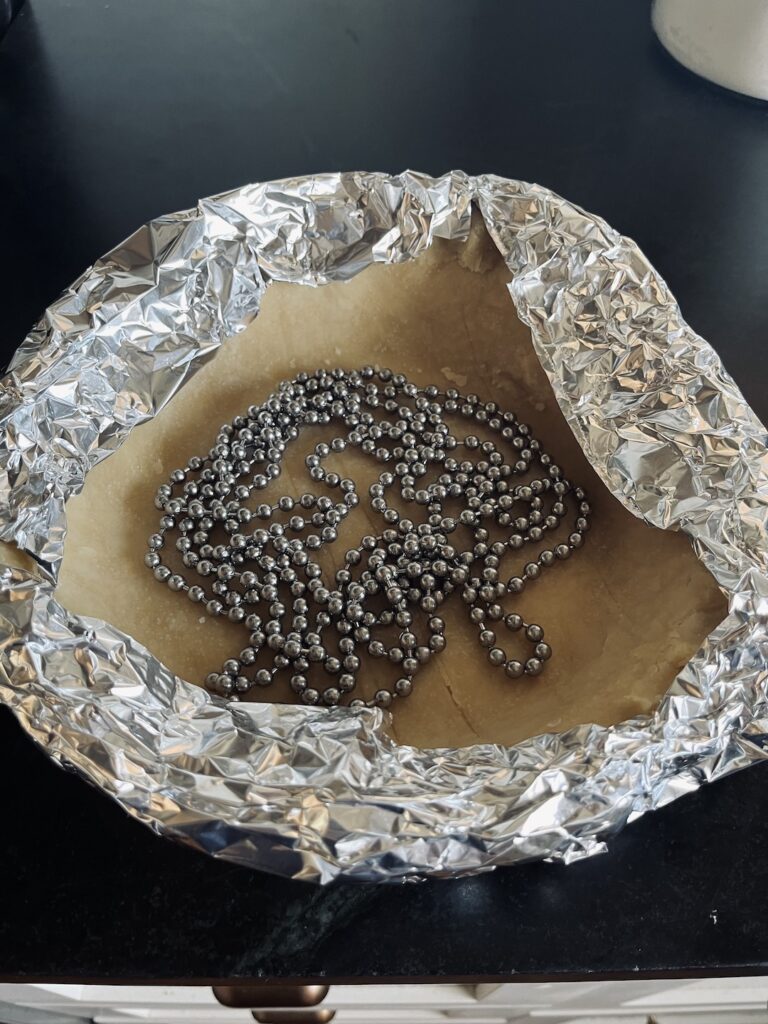
How to Blind Bake an Oil Pie Crust
What is blind baking? For pies (like my mom’s pumpkin chiffon pie) that are not baked in the crust you bake the crust by itself.
Why is it called that? I don’t know. Blame the English. Maybe the French. Or your neighbor if you’re feeling particularly uncharitable.
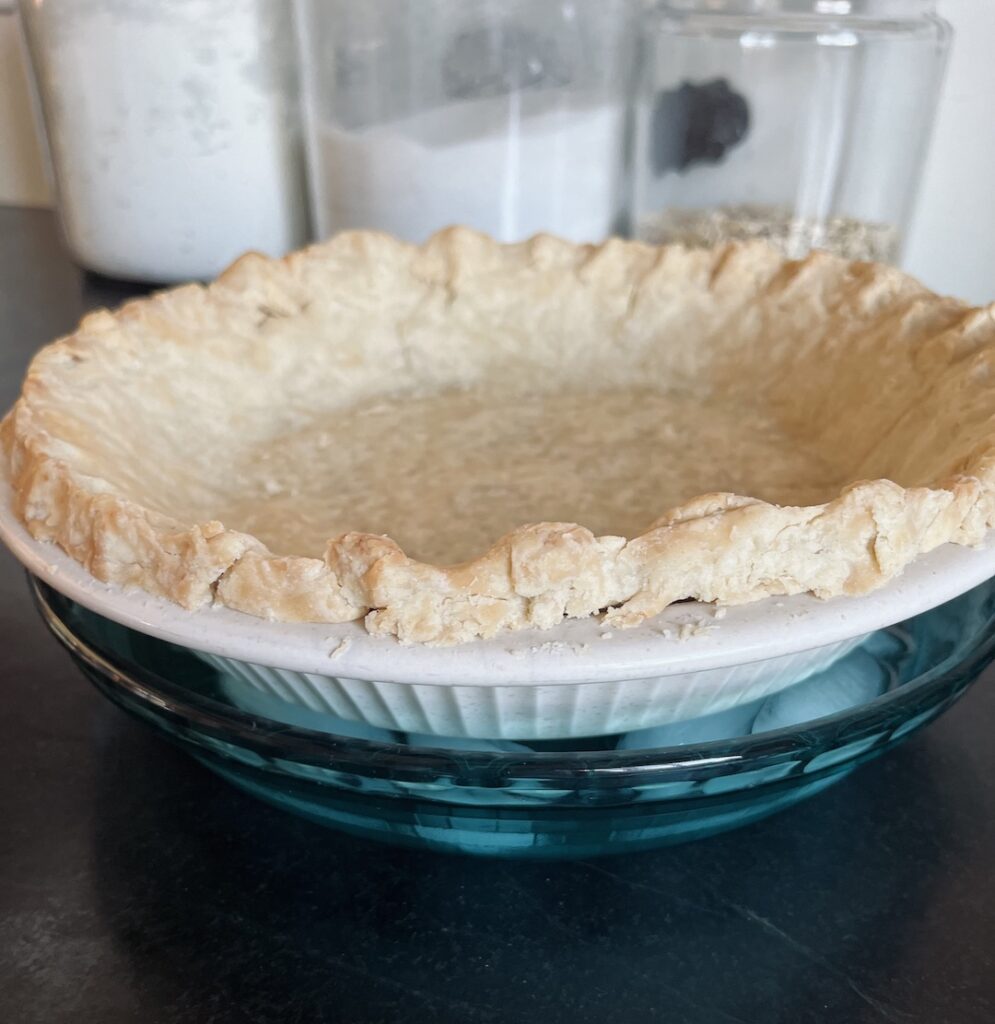
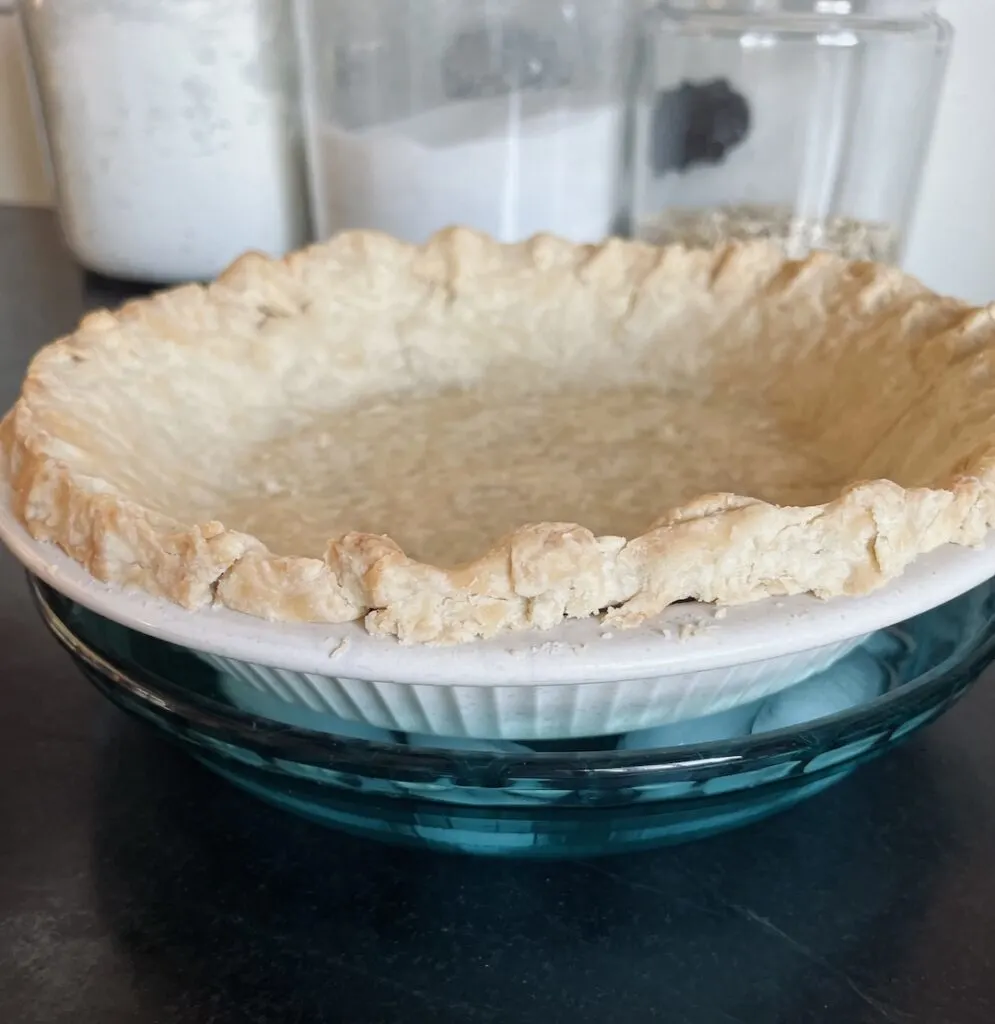
For this pie crust it’s important to protect the edges from over-browning by covering them with tin foil.
You also need to stop the center of the crust from bubbling up. That will pull the sides down and generally make a mess of the crust. You can use pie weights, dried beans, sugar but here I used a pie chain.

The crust should bake at 375 for 15 minutes with the tin foil on and then another 10 minutes without it. Of course those times may vary. For instance your oven may have more consistent heating than ours which I swear at times is little better than an EZ Bake oven.
I may have turned the oven light on to speed things along before.

Usually when I’m making a blind baked pie I’ve already started the filling while the pie is baking. Becuase the filling usually needs to be added to a cooled crust I’ve had to get creative in cooling it down quickly.
Placing the whole pie pan into another pie pan filled with ice water has worked well for me. Do not do this with a pie fresh from the oven. That’s a good way to break your pie plates and ruin the crust, your day and definitely the pie dish.

Oil Pie Crust
When you want a dead simple homemade pie crust, this is just about as simple as it gets. Baking instructions for blind baked single crust included.
Ingredients
- 2 cups all-purpose flour
- 1 tsp salt
- 1 pinch of sugar
- 1 pinch of baking powder
- 2/3 cup of oil
- 1/4 cup of very cold water
Instructions
- In a large mixing bowl mix the dry ingredients with a fork
- Add the oil and most of the water and mix together with a fork until it firms up
- If dough remains crumbly and refuses to form up into a ball add the rest of the water and maybe a splash more of oil slowly as needed
- Place the dough between two sheets of parchment or wax paper to roll out
- Flip into the pan and form up edges
- Cover edges with aluminum foil and place pie weights or dried beans in the center
- Bake for 15 minutes at 375
- Remove the aluminum foil and bake for 10 more minutes
Notes
While you can use a more flavorful oil like olive or coconut, the safest bet to go with all pies savory or sweet is a neutral tasting oil like canola.
The sugar and baking powder are optional but if you want a nice golden brown color (unlike mine shown here) I recommend the baking powder.